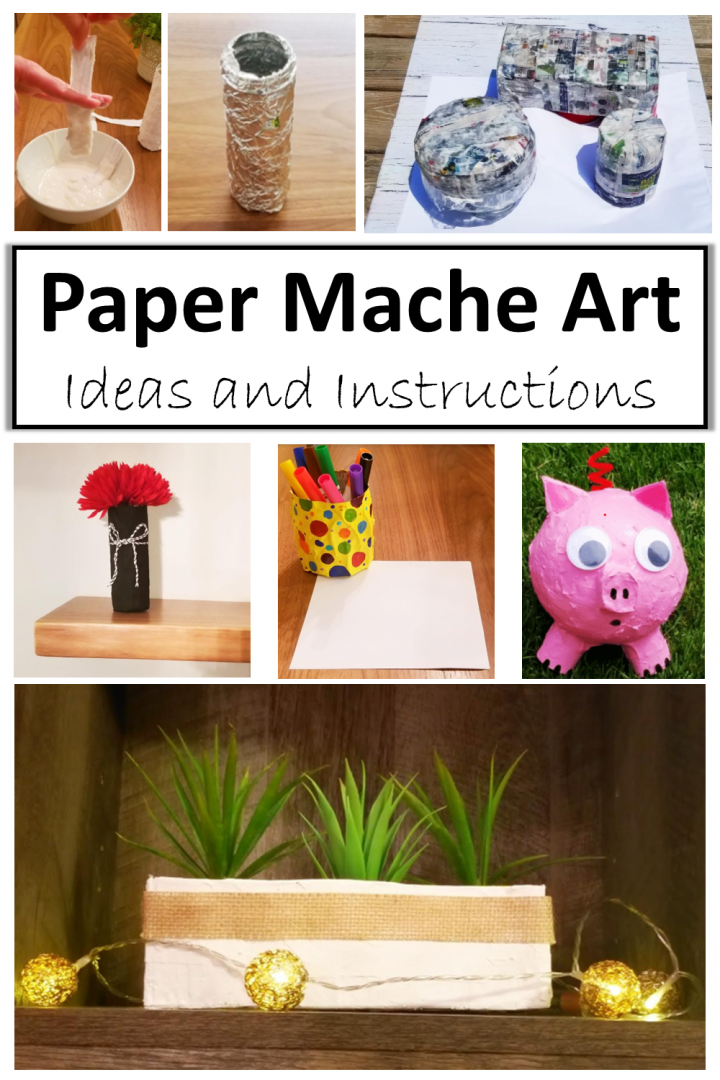
I love working with paper mache! It is so easy for young kids to create something amazing. Below is a collection of simple paper mache ideas to create paper mache art with kids. With my kids, I have made pinatas and one year we even made a paper mache pig. The other day my kids wanted to try to make something different, so we decided to make paper mache bowls! Below are a collection of paper mache ideas that you can try today!
One of the great things about paper mache is that you probably already have everything you need at home. To create paper mache art you only need water, flour, paper and your imagination.
It is easy and inexpensive to make and you may be surprised by how strong and solid paper mache is. Also the possibilities are endless for what you can create.
Paper mache is a great rainy day activity or simple activity to do any day with kids. I also love the fact that you recycle paper instead of throwing it for these paper mache ideas. So grab some flour, water and paper and start creating!
For a collection of 17+ Best Paper Mache ideas for kids, visit the post at the bottom of this activity. For more step by step paper mache art ideas, visit How to Make Paper Mache Art.

Easy Paper Mache for Kids Mix
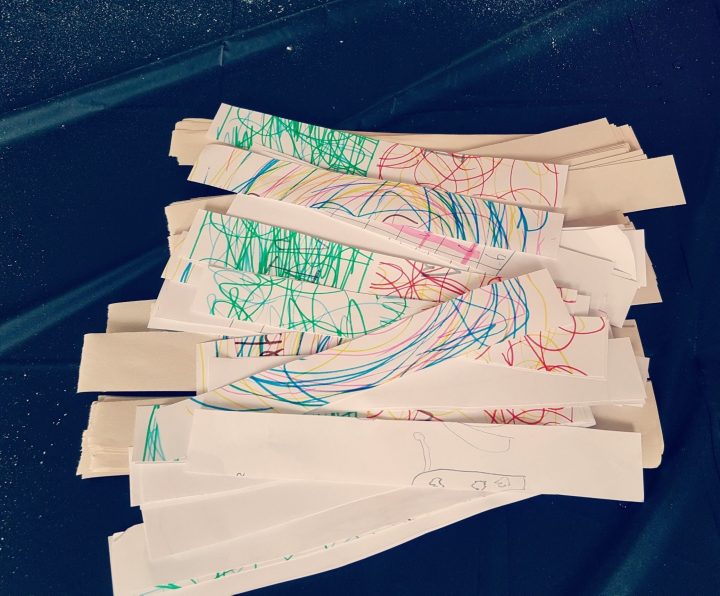
To start, I cut up some old sheets of paper that my kids had doodled on – every day is earth day, my kids reminded me. For the paper you can use anything from paper about to be recycled to newspaper and we will often use a layer of paper towel to help strengthen our paper mache creations.
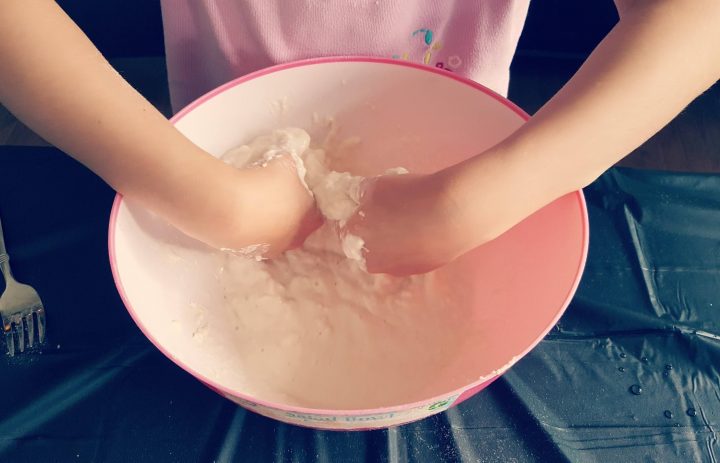
Next, make your mix. For the mix, all you need is flour and water. (1 part flour, 2 parts water). The consistency should be like melted ice cream or a bit thicker. We always find it best to mix with our hands.
Allowing kids to mix the paper mache with their hands is also a great sensory experience for kids. It is going to get messy anyways!
Paper Mache Art Steps
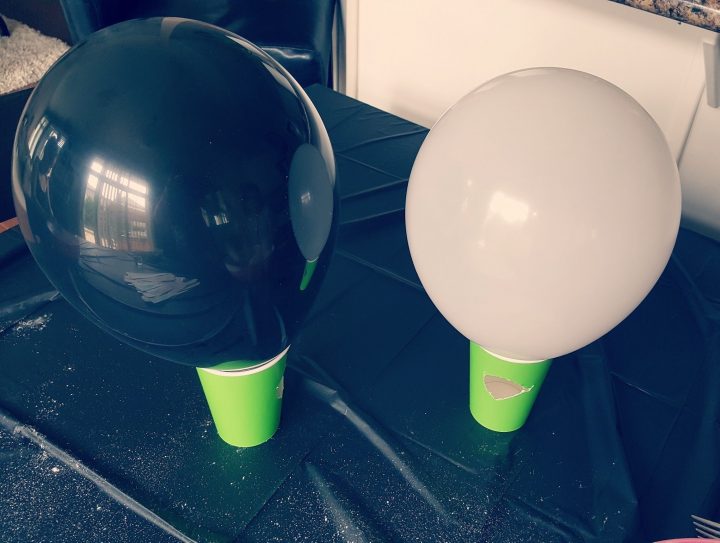
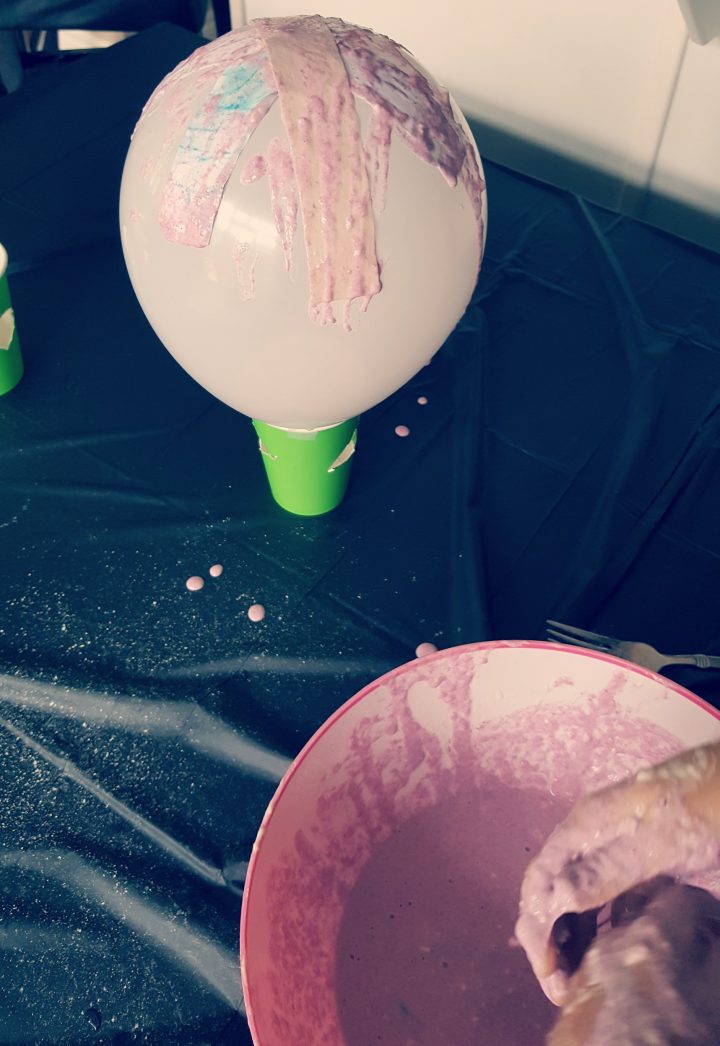
Next, blow up your balloons. I initially rested them in some paper cups to hold them in place, however, the cups were not stable enough, so we ended up using bowls. Use what works for you.
Now it is time to start creating the bowls. Dip one strip of the paper you cut up into the flour and water mix. Make sure that it is fully covered.
You can remove a lot of the mix before putting the paper onto the balloon. You don’t want the mix dripping off the paper when you put it on the balloon.
However, you do want the paper fully soaked in the flour/water mix.
We tried to put a few layers on each of our balloons. The more layers you put, the thicker and harder it will become, but 2-4 layers is usually plenty.
Make sure to criss-cross some of your sheets of paper for extra strength.
Both of my kids covered their balloons independently, which makes me love this activity even more. They end up with a creation that they know they created on their own.
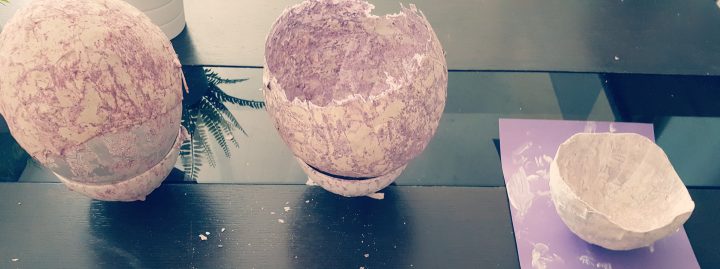
If you are making bowls, you will only need to cover half of your balloon. For a pinata, you will need to cover the whole balloon.
After covering the balloons, leave them to dry for at least 24 hours. As they are drying it is a good idea to check on your piece and check for any soft spots that were missed when putting the paper mache on.
If it is just a small spot, it is likely not going to matter, however, you can add a small piece of paper with paper mache to strengthen it.
After they are completely dry, you are ready to pop the balloons. I usually cut a small hole in the balloon first and let it slowly break apart from the paper mache.
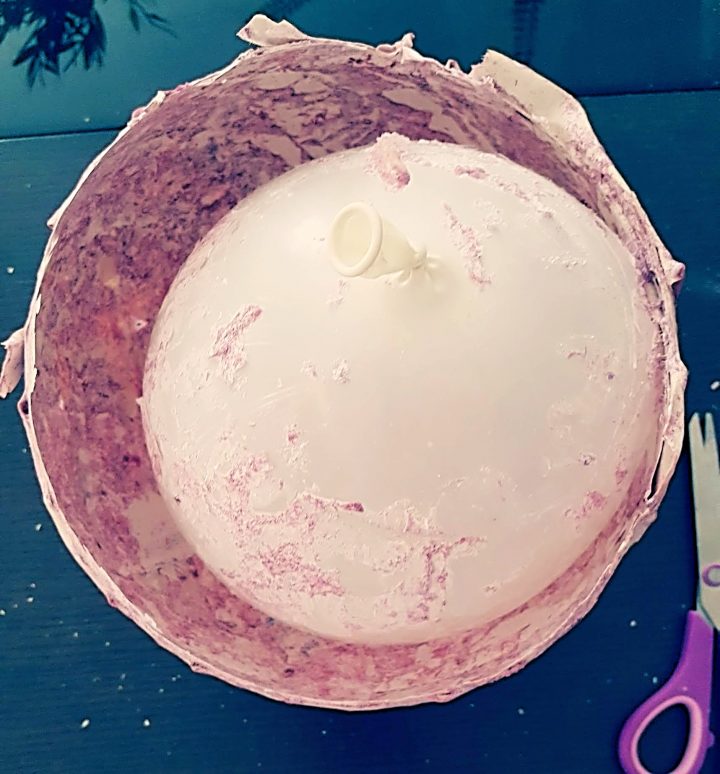
I like to paint a layer of white onto the paper mache before I add my other colors and details. The base coat of white will help cover up any marks or coloring on the recycled paper.
It will also make your final coat of colorful paint stand out more and look better.
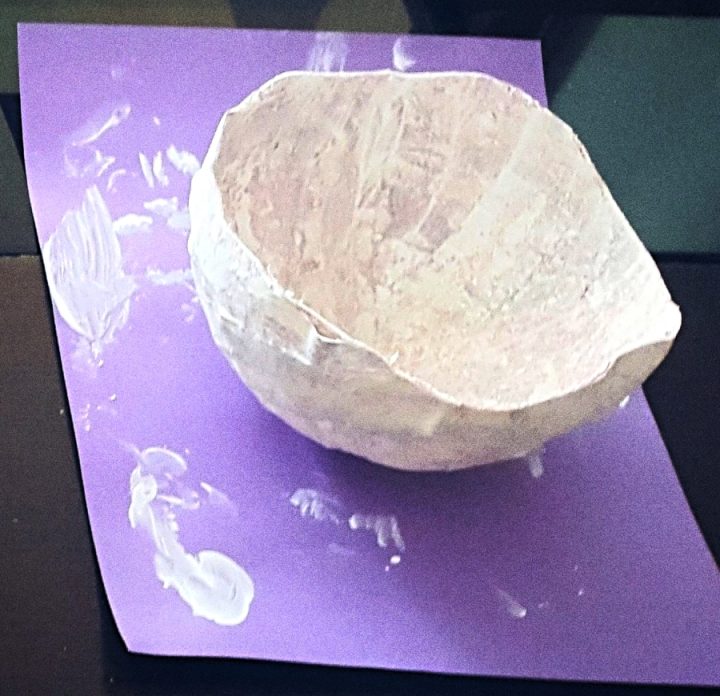
Once the white paint is dry, you are ready to design your bowls!
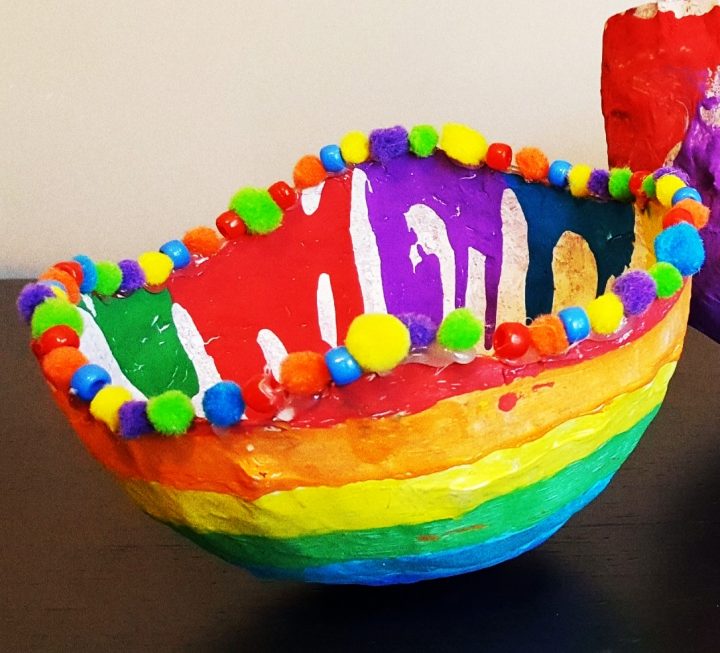
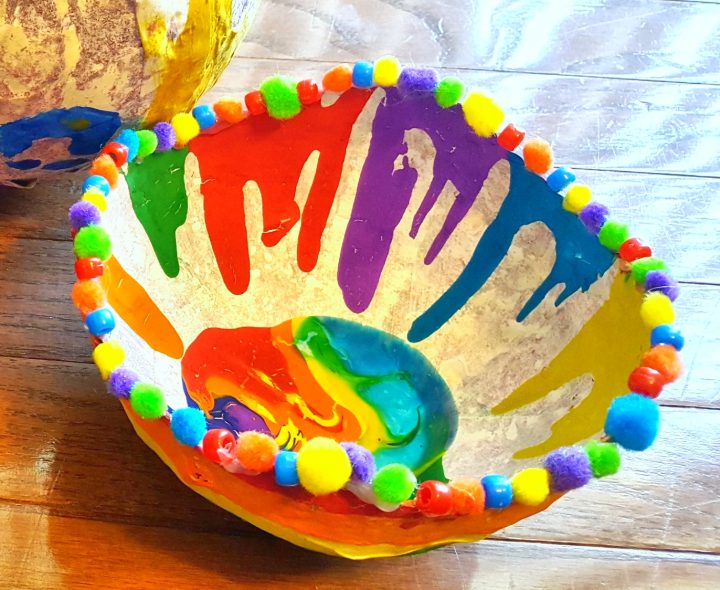
You can design your bowl any way you choose! For the rainbow bowl, I poured different colors of paint along the top and let it drip into the bowl. I then poured more paint into the bottom of the bowl and let it dry.
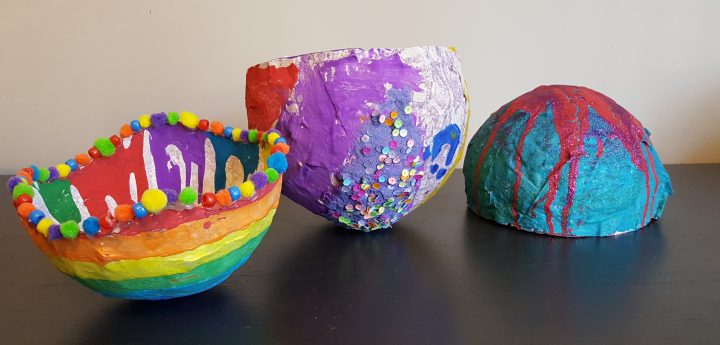
I love the bowls that we ended up with. My kids experimented by adding sparkles to the paint and even sequins. Everyone was proud of their mache bowls – or hats as my daughter decided she had actually made.
This activity is very messy, but so worth it!
More Easy Paper Mache Ideas for Kids…
Since my kids enjoy creating with paper mache so much, we have made many new things recently. My kids had some ideas of new things that they wanted to make, so we rolled up our sleeves and started creating!
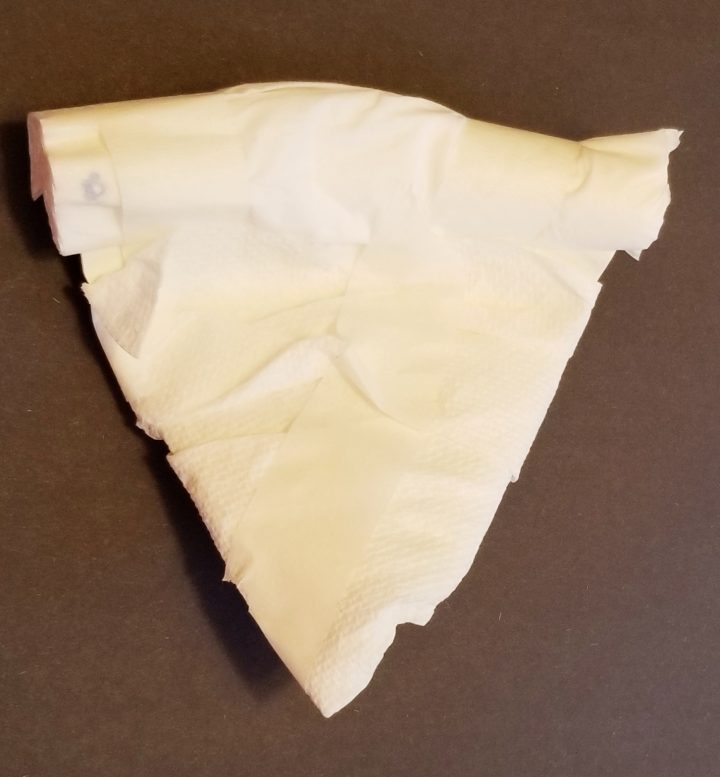
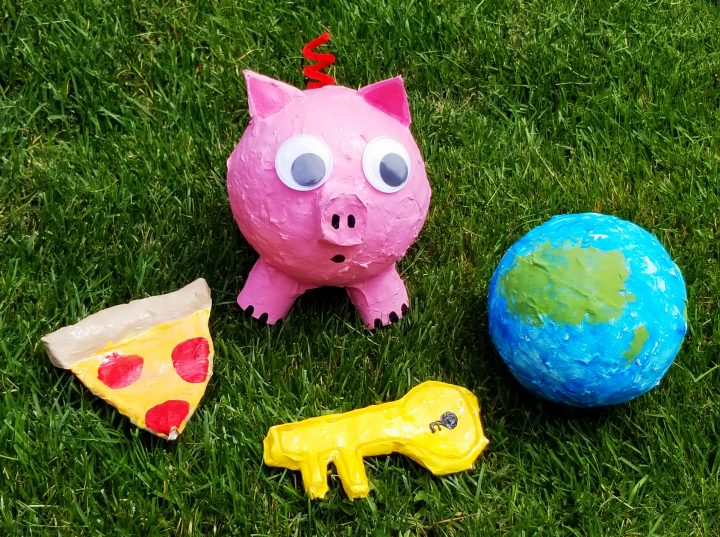
If you have an idea of something that you want to make, but are unsure how, simply start with cardboard cut in the shape of the item you want to make. My daughter wanted to make a slice of pizza, so she cut a triangle out of cardboard.
On top of the cardboard she taped some paper towel to give the pizza texture.
She then rolled up a few pieces of paper towel and taped it along the top to create crust. This gave her the frame for her creation. The frame can look messy and don’t worry about seeing the tape.
It will all be covered up with paper mache and then the paint.
For our pig, we used lots of paper towel to create layers and texture. We used a balloon for the body and paper rolls for the legs and nose. I think the pig is my new favorite!
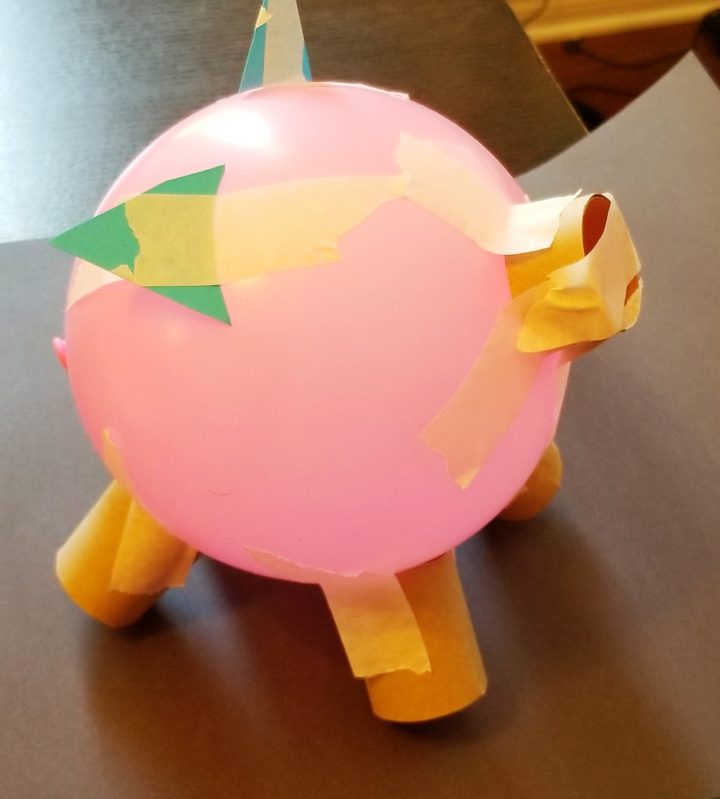
Once we had made the base/mold for each item, we covered them with the paper mache and set them outside in the sun to dry. Depending how many layers you added, they dry fairly quickly.
Just make sure that they are completely dry before painting.
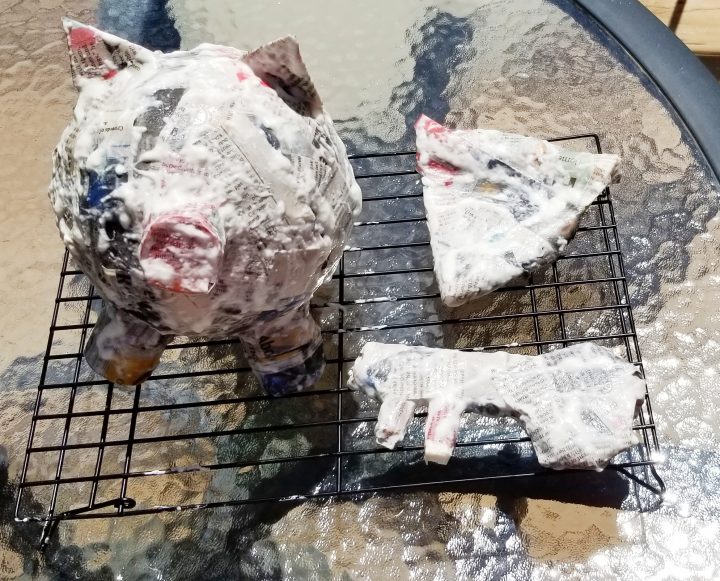
Next, we added a quick layer of white paint and then added the details.
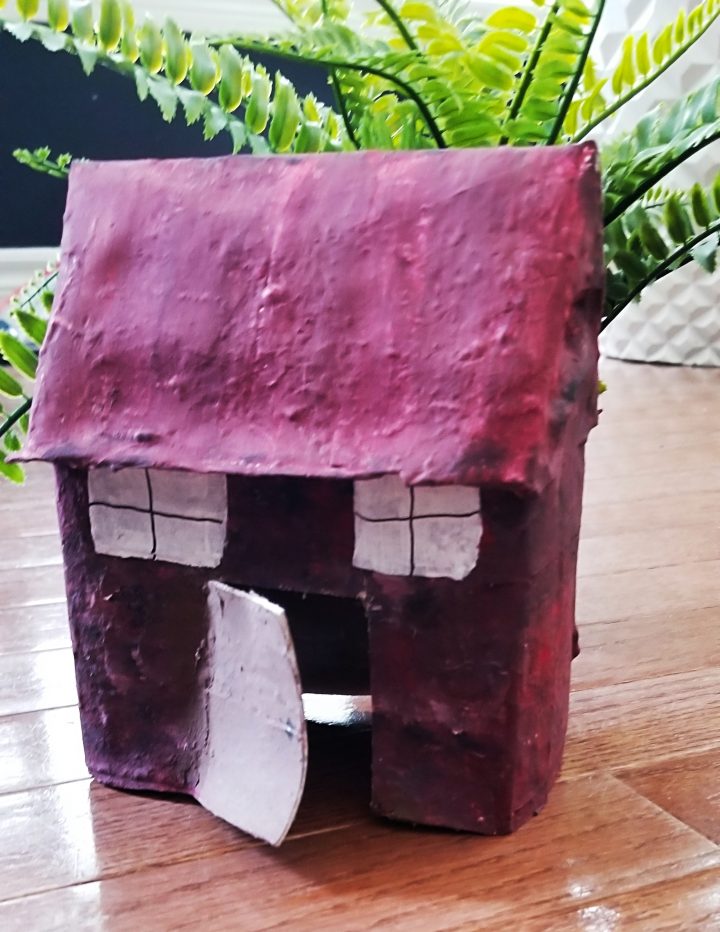
Another finishing detail that we have started adding to our paper mache sculptures is a layer of gloss which gives our creations a final, almost professional look! I am so happy with how well all of our paper mache art turned out.
Paper Mache Ideas
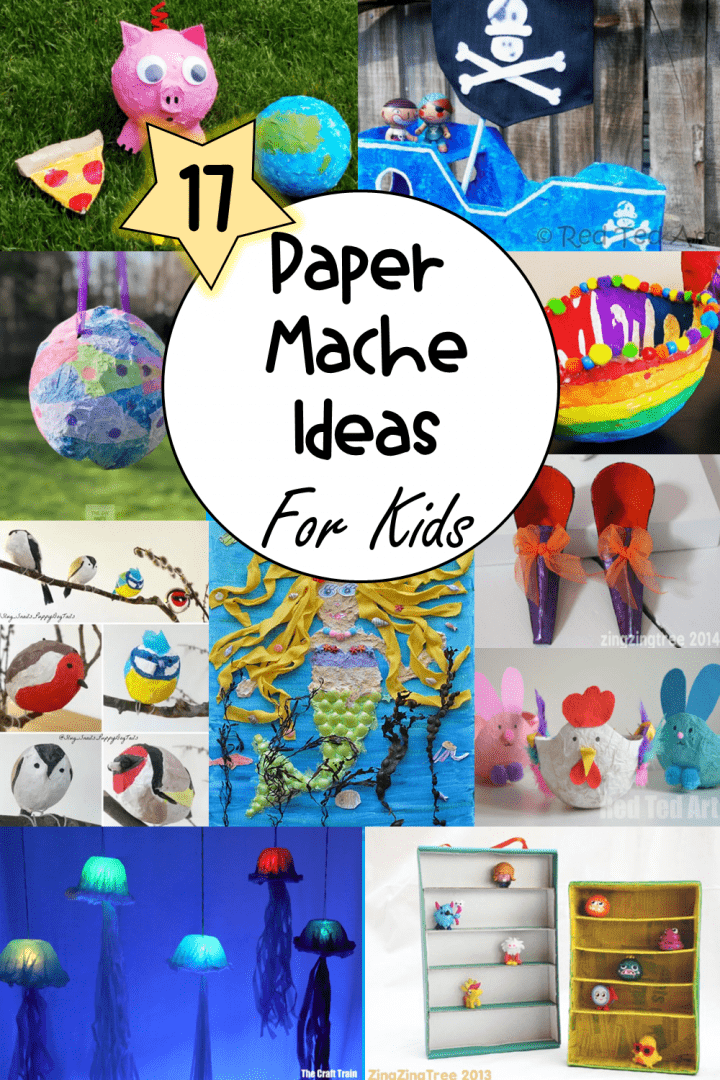
If you are looking for more paper mache ideas to create at home, or in the classroom, this collection of 17+ paper mache projects will give you lots of ideas. Click here.
Also, check out this collection of Paper Mache Art ideas. Use simple materials to create beautiful art for your home.
Join Hands-On Teaching Ideas
Subscribe to TeachingIdeas.ca to gain access to the Free Resource Library. When you subscribe you will also be added to my mailing list and hear about my latest products, promotions and activity ideas. Subscribe by clicking the image below.
More Hands-On Teaching Ideas
There are so many inexpensive activities that you can do with kids at home. Visit a few of our most popular, and favorite below.


Leave a Reply