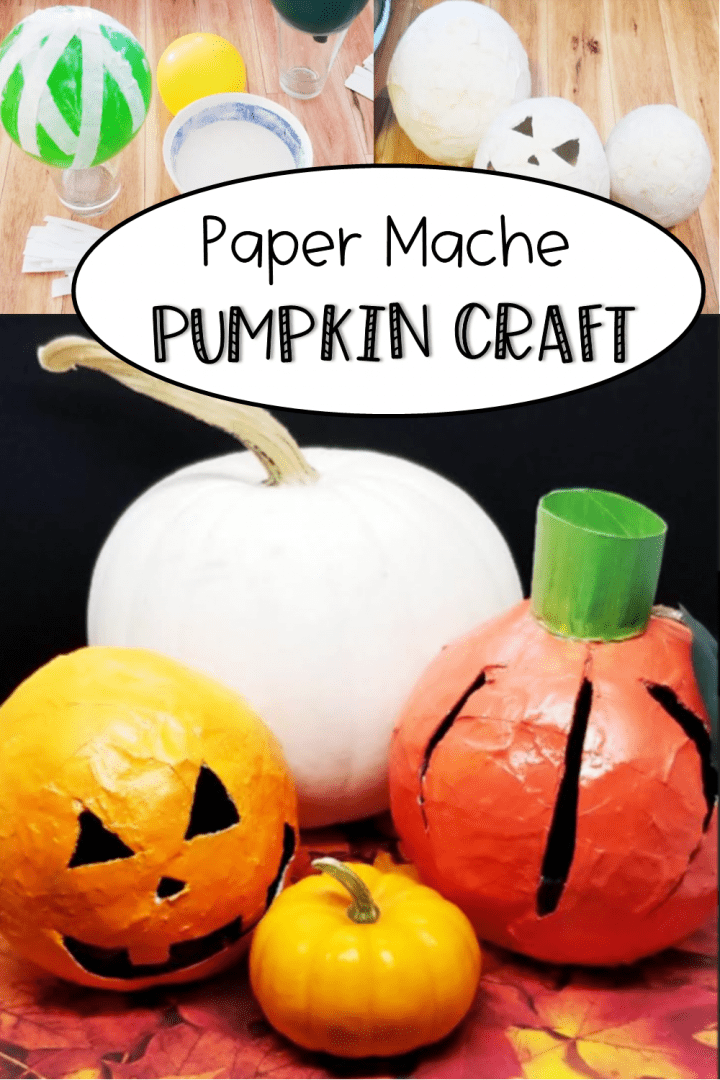
Fall is here! The leaves are starting to change and the weather is beautiful. Add some hot apple cider and hayrides with my kids and I couldn’t be happier. Although I am simply excited for fall, my kids are already talking about Halloween. It’s too early to carve our jack-o-lantern, but we did make this adorable Halloween craft for kids that will last long past October.
I love working with paper mache. It is inexpensive and there is no limit to what you can create. Kids of all ages can be successful in creating something beautiful because the steps are simple.
If you are looking for a decoration for fall, a simple pumpkin made from paper mache is a great idea. If you are looking for something for Halloween, or a replacement for a real pumpkin, a paper mache jack-o-lantern is an easy alternative.
I used a flameless candle inside of my pumpkins which created a safe, and beautiful glow to both of our creations.
For my new favorite pumpkin Halloween craft idea for kids, take a look below for how to create one of your own.
If you’ve never made paper mache before, make sure to visit a DIY How to Make Paper Mache Art post and a few Simple Paper Mache Ideas for Kids.
After creating these paper mache pumpkins, check out this collection of Halloween books for middle schoolers. Keep the celebrations going by choosing a few of the books to read this Halloween season.
From this paper mache pumpkin to candy corn crafts, there is lots to create this Halloween. For Easy DIY Halloween Gifts for kids, these candy corns are a great addition to your crafts this Halloween.
Halloween Paper Mache Materials
I typically make my paper mache out of flour and water. However, you can also make it out of glue and water. Glue and water can sometimes last longer because the flour can begin to rot. However, both create a beautiful paper mache pumpkin so use what you have on hand.
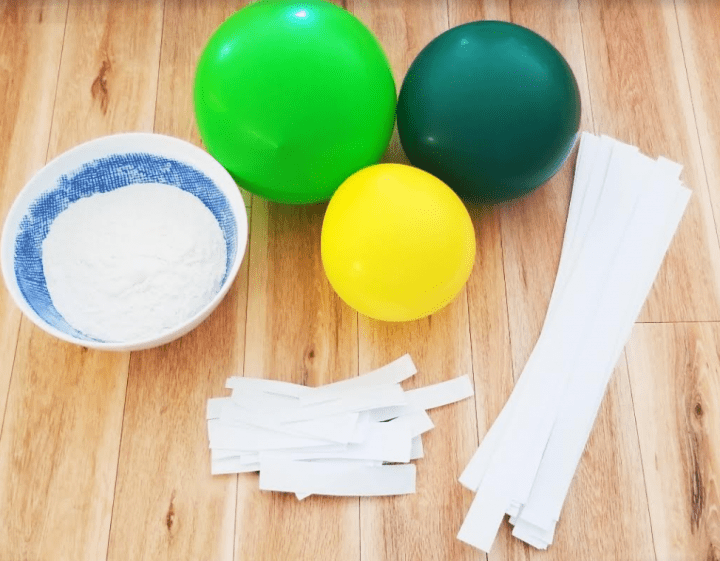
To create this adorable Halloween craft for kids, you will need.
- Flour
- Paper
- Balloons
- Paint
- Flameless Tea Lights (Optional)
- Gloss (Optional)
Steps to Making Your Halloween Craft for Kids
Start by cutting up paper into strips of different sizes. I usually use newspaper or paper that is ready to be recycled. It’s a great way to reuse paper. Any paper will work well.
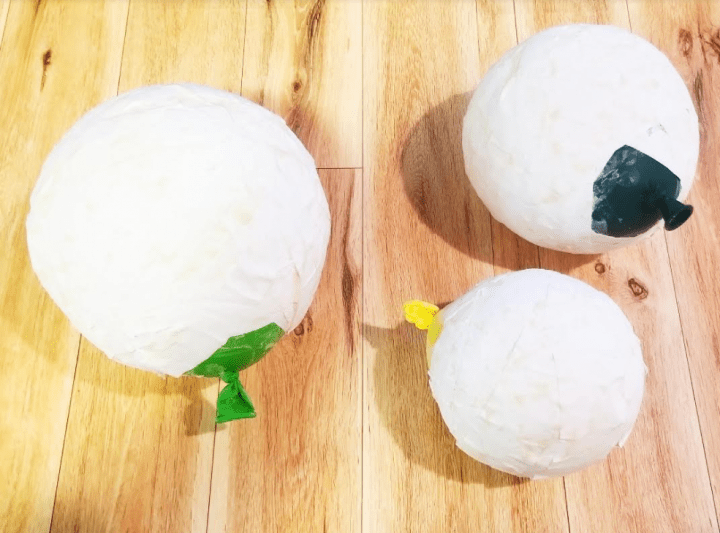
I like using balloons for paper mache crafts because it is a really easy way to make a sphere. Blow the balloon up to the size of the pumpkin you want to make. I made three pumpkins, each a different size.
Next, make your mix. For the mix, all you need is flour and water. (1 part flour, 2 parts water). The consistency should be like melted ice cream or a bit thicker. We always find it best to mix with our hands.
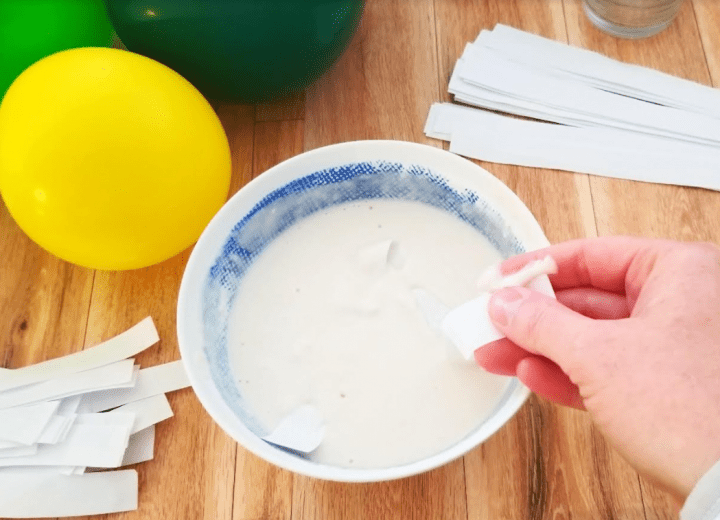
Next, dip a strip of paper into the mixture. You will need to make sure the entire strip is covered in the mixture. Do not leave the paper in the mache. It will get soggy and the paper will break. As long as the paper is wet it will work.
Making Your Halloween Paper Mache
You only need a bit of mix all over the paper. The mache should not be dripping off the paper or have clumps on it. Use your fingers to strip any excess off the paper.
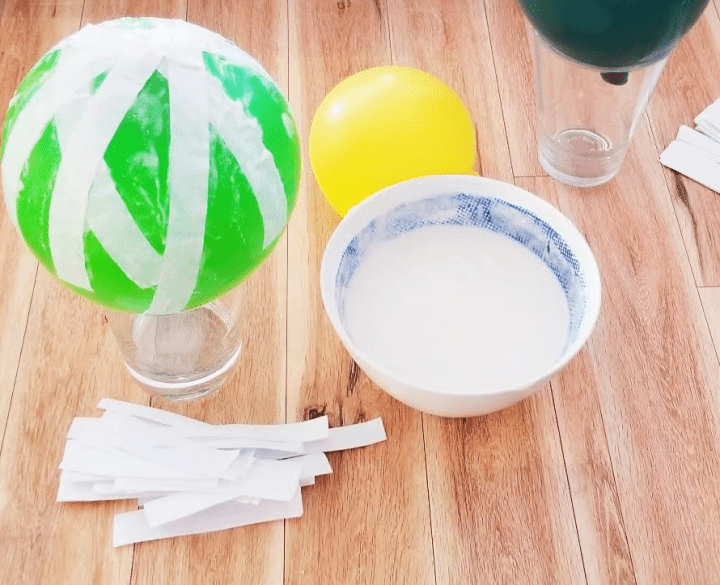
I use a cup to set my balloon into as I cover it – and as it dries. Continue adding strips of paper all over your balloon until you cannot see the balloon at all. Typically two or three layers will be enough to create a solid pumpkin.
If you are cutting the pumpkin to make a jack-o-lantern, or another design, avoid doing too many layers or you will not be able to cut into it to make the face.
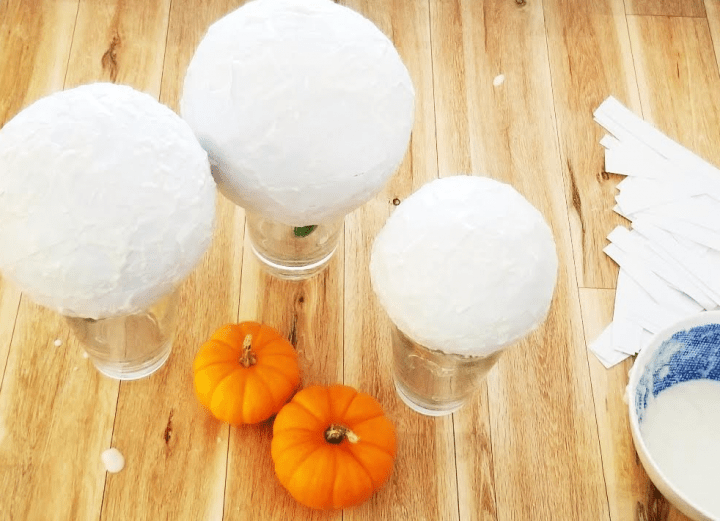
Once all of your balloons are finished, leave them over night to dry. Make sure that they are fully dry before moving onto the next step. Your paper mache should be hard and solid to touch.
Designing Your Halloween Paper Mache
Once it is dry, you are ready to remove the balloon. Cut a hole in the balloon and let the air come out. It is best to do this slowly in case part of the mache is thin and dents in as the balloon tears apart from the outside.
Once the balloon is removed, you are ready to cut and design your pumpkin.
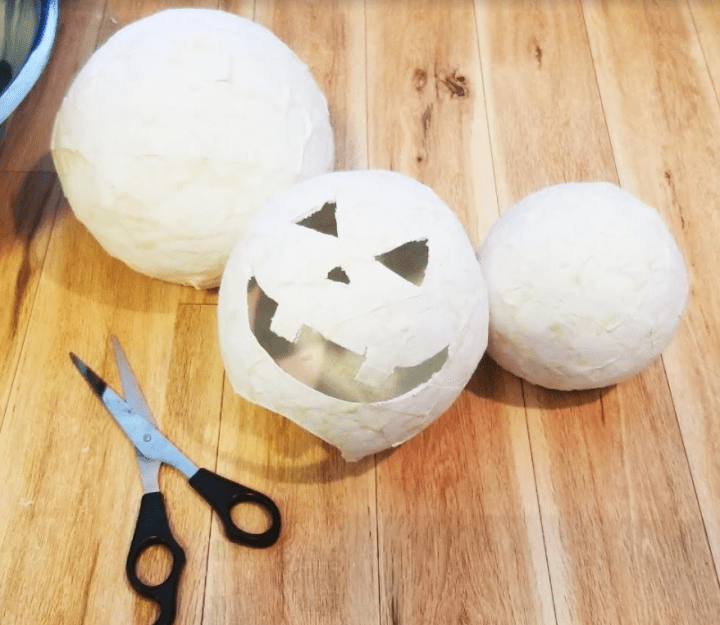
The paper mache may be hard to cut, and may require sharp scissors. An adult needs to do this part.
Start by cutting an even line along the bottom so that your pumpkin can sit flat and won’t roll on the table.
Painting Your Halloween Paper Mache
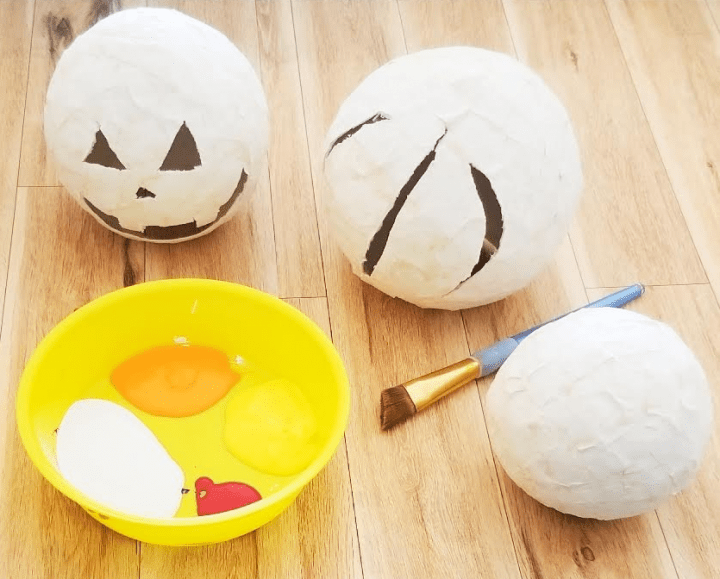
Once you have created, and cut your design, I recommend doing a base layer of white paint. This will help make the top layer of paint stand out and will cover any marks on the paper.
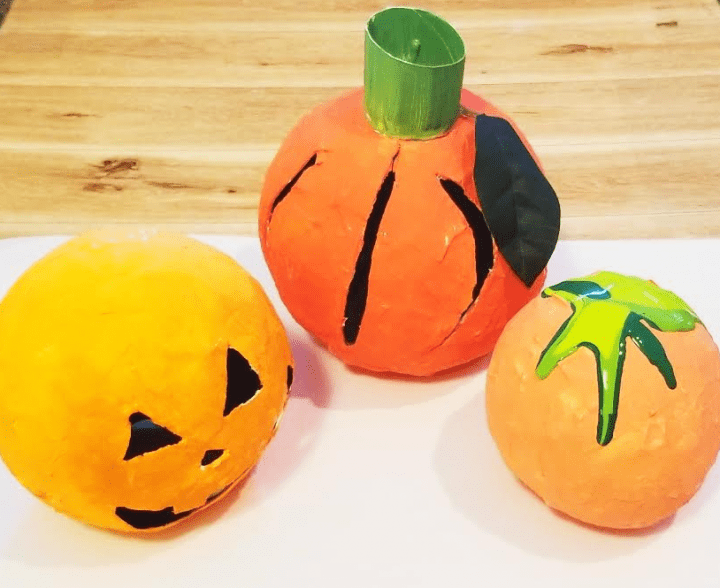
Once the white paint is dry, paint your pumpkins in any way you want. To the top of one of my pumpkins, I added a stem using a bit of a paper towel roll. I used hot glue to secure it to the top and added a leaf.
I also did a quick layer of black paint inside each of my pumpkins so that when we used the flameless tea lights it was dark inside.
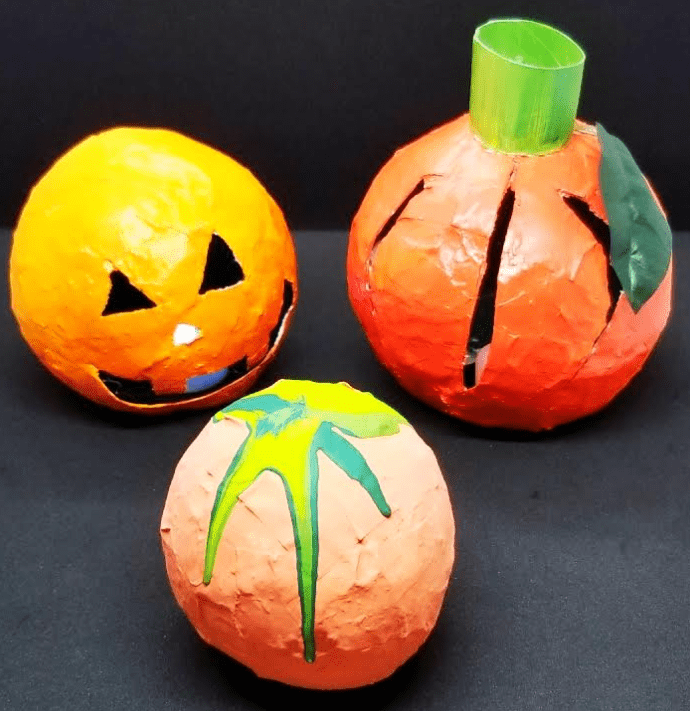
Once everything was dry, I sprayed my pumpkins with gloss. You don’t have to use a gloss top coat, but it gave my pumpkins a great ‘finished’ look.
(You can see the difference in the picture above of the 3 pumpkins. The front pumpkin doesn’t have a layer of gloss. I used a lighter shade of orange, but you can see the effect the gloss gives to the pumpkins.)
Halloween Craft for Kids Finishing Touches
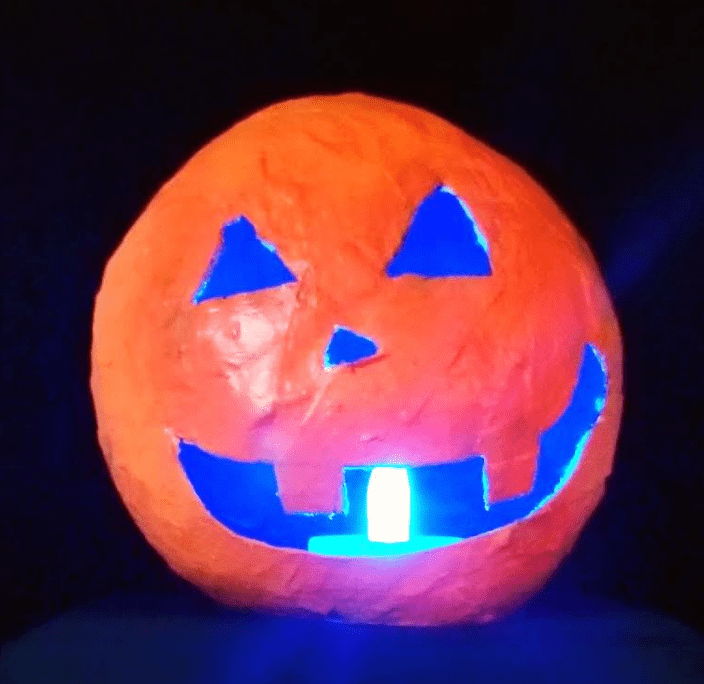
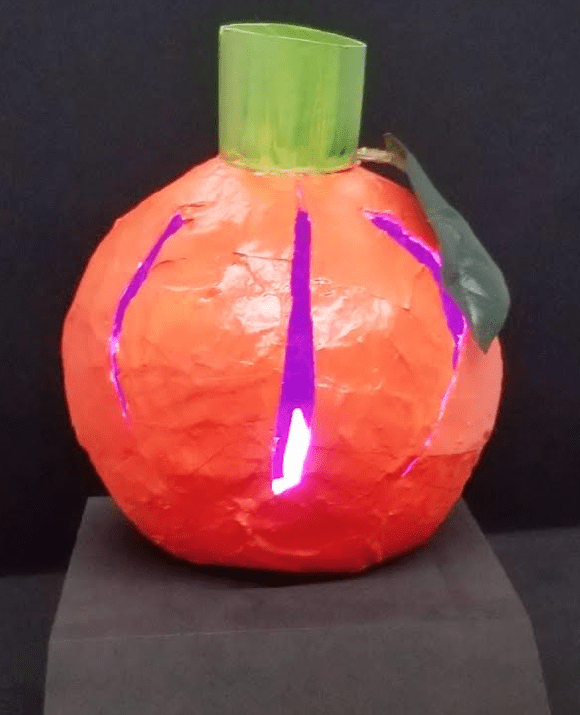
Once our fall and Halloween craft was done and dry, we added a flameless candle in the bottom. Do not use a real candle! The paper mache will catch fire. A flameless candle is a great alternative.
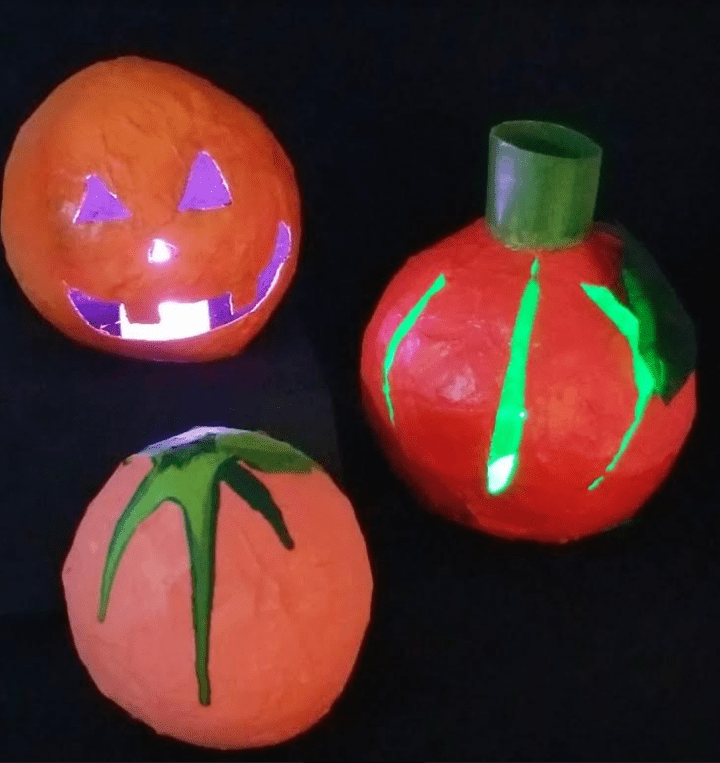
The pumpkins look great in the dark and I love the fact that we can already have jack-o-lanterns in our house. It is really amazing what all you can create with paper mache and kids are always really proud of how their pumpkin turn out.
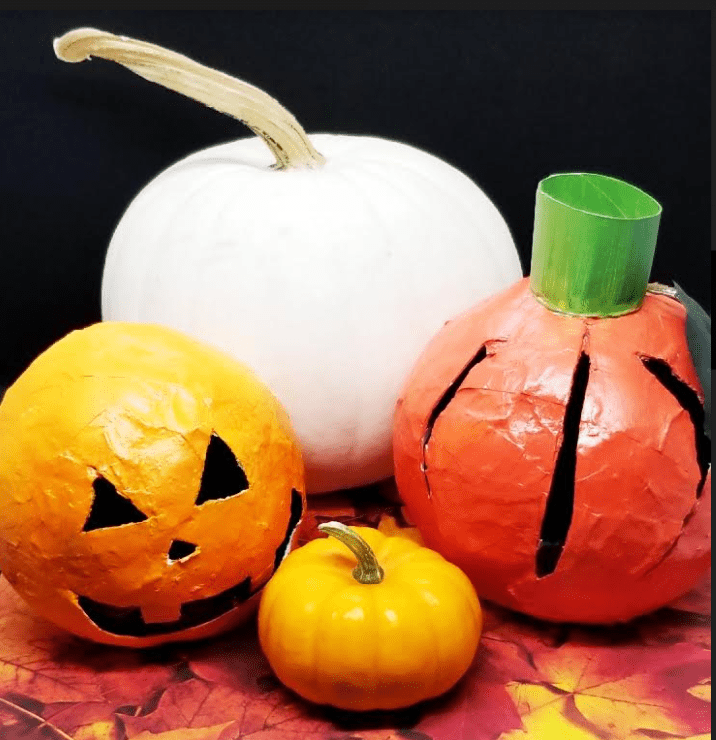
We used our pumpkins to decorate for fall, and Halloween. Depending on the size of balloon you use, you can create paper mache pumpkins the same size as real pumpkins.
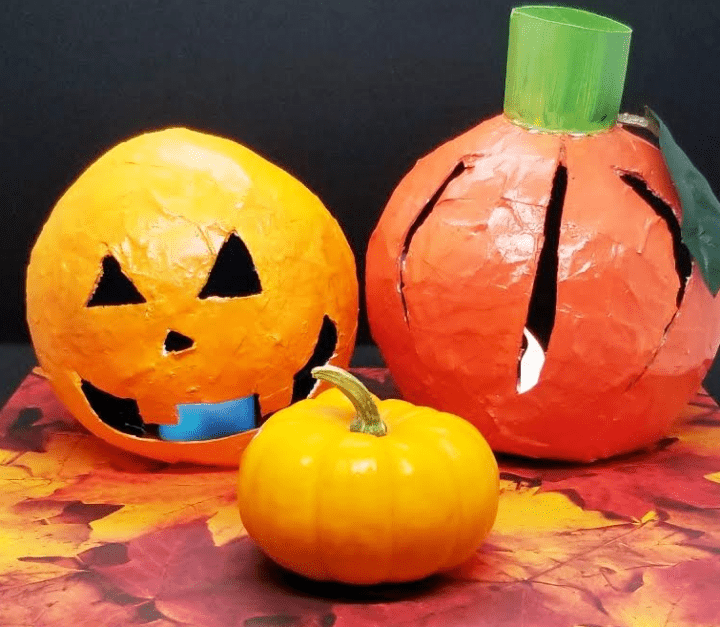
Halloween Paper Mache Extension Ideas
If you want to add to your pumpkin craft, or have older children or adults creating the pumpkins, you can add details to your pumpkin. For example, you can use paper towel dipped in the mache mixture and then stuck along the sides of the balloon to create textured lines that you find on real pumpkins.
This Halloween craft for kids is also a simple activity that can be done with a group of children. Using a large balloon, kids can work together to add the strips of paper with mache on them to cover the balloon together.
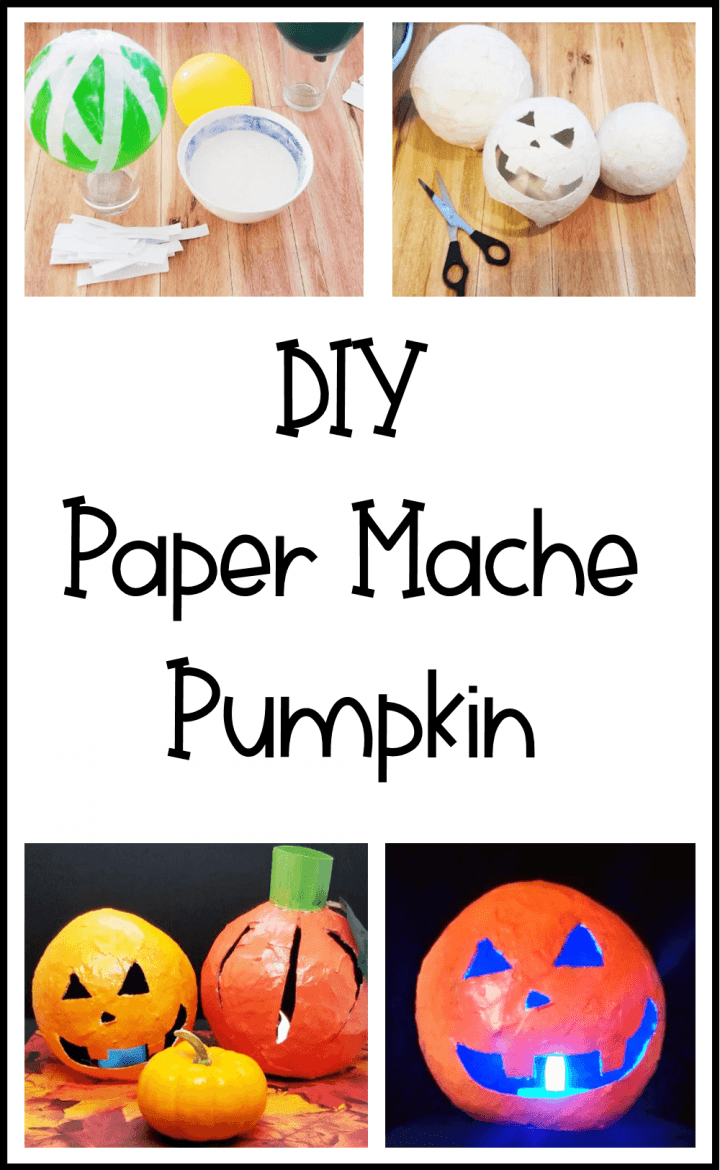
Halloween Craft for Kids Materials
The materials for this Halloween craft are fairy simple and easy to get ahold of. Make it even easier with the links to the materials you need below.
For your convenience, this post contains affiliate links. As an Amazon Associate I earn from qualifying purchases and I may earn a small commission at no cost to you.
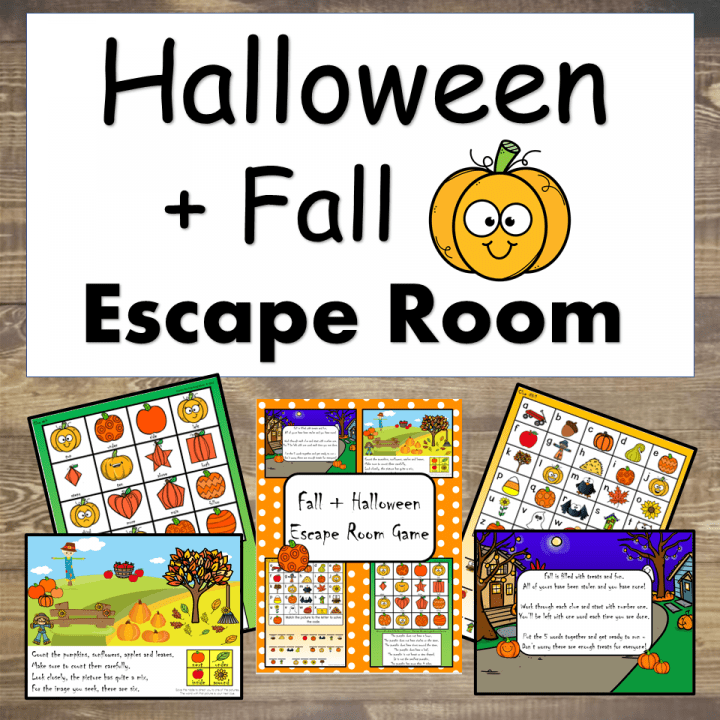
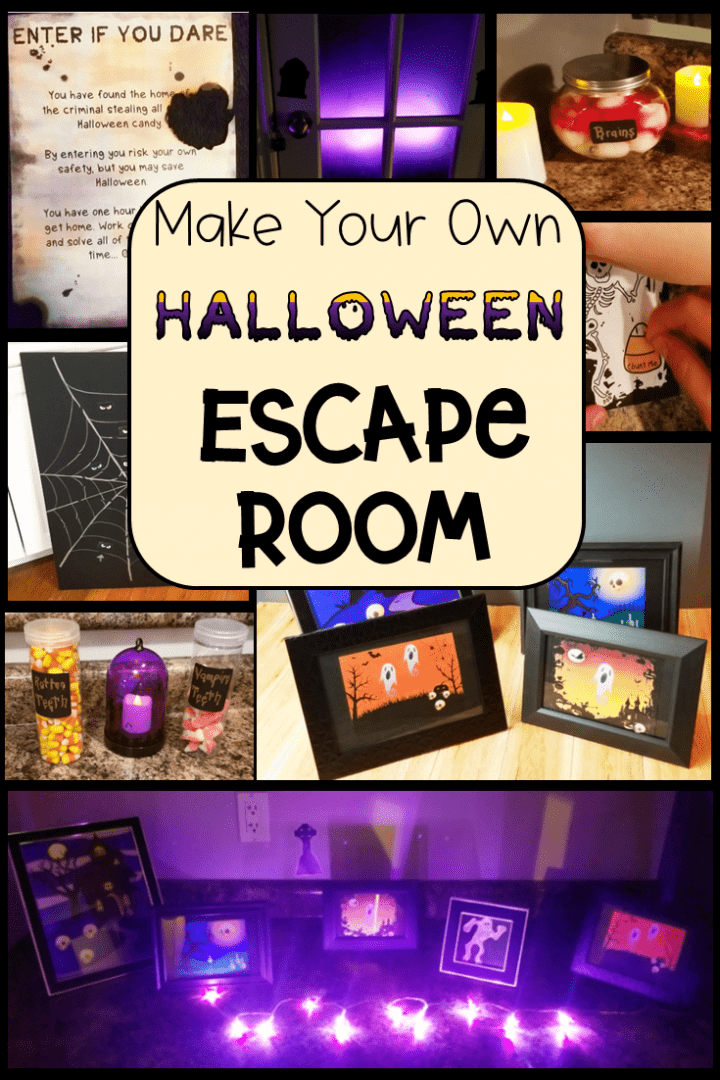
Fall / Halloween Escape Room
I love creating escape rooms and I love using them at home, and in my classroom. Even better, these Print and Play escape rooms can be set up in minutes and only require you to print the puzzles – no locks or keys needed!
This Fall / Halloween themed escape room is a fun activity to do to celebrate fall, or use for a Halloween party – in a classroom or at home.
Subscribe to Hands-On Teaching Ideas
Subscribe to Teaching Ideas to be the first to hear about my latest products, promotions and activity ideas. When you subscribe you’ll also gain access to the Free Resource Library filled with products you can download and use today!
More Hands-On Teaching Ideas
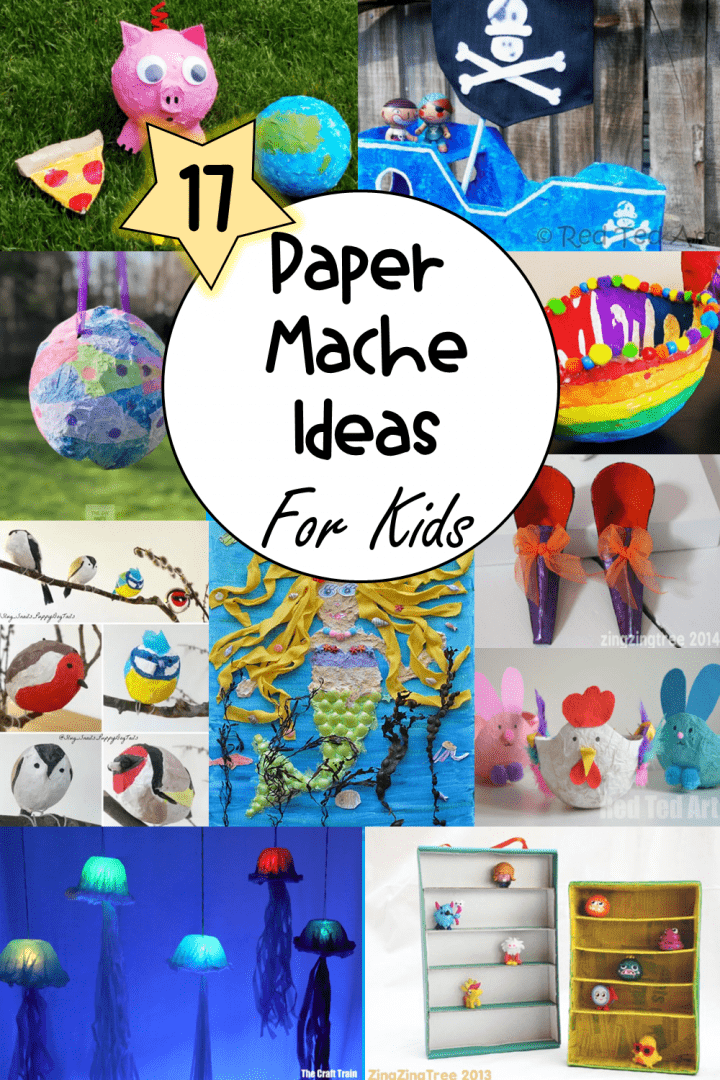
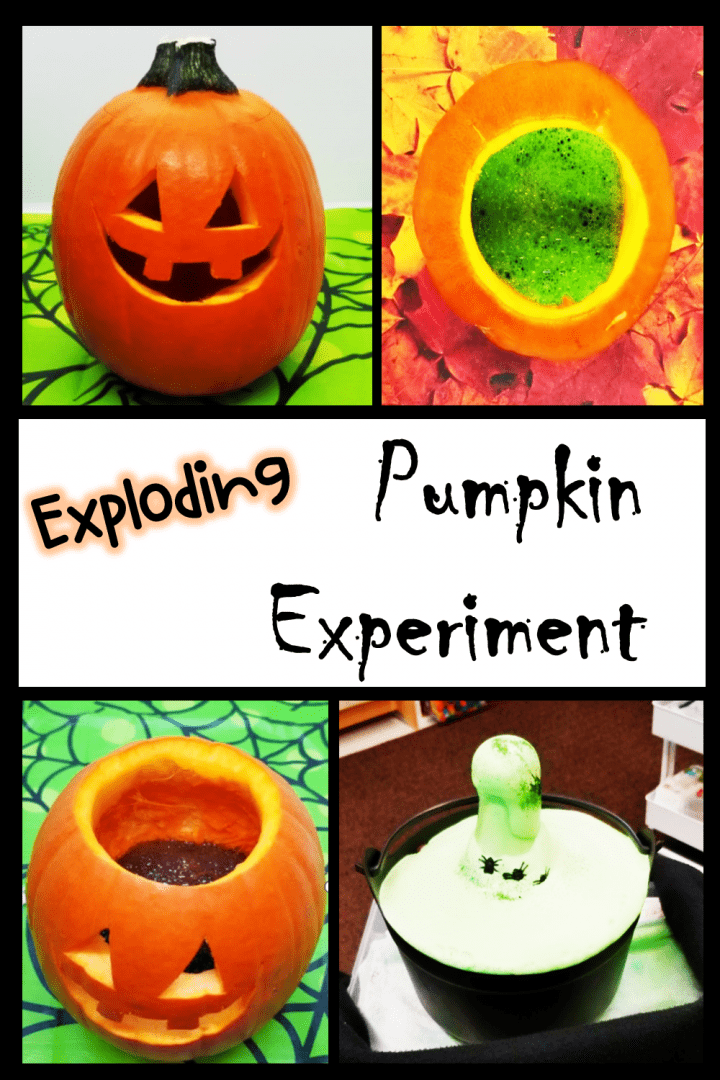
Looking for more hands-on teaching ideas? Below is a collection of my most popular and favorite activities. From more paper mache ideas and science experiments to fall crafts and escape room ideas for any season, there is lots to keep kids busy and learning.


Leave a Reply