This post may contain affiliate links.
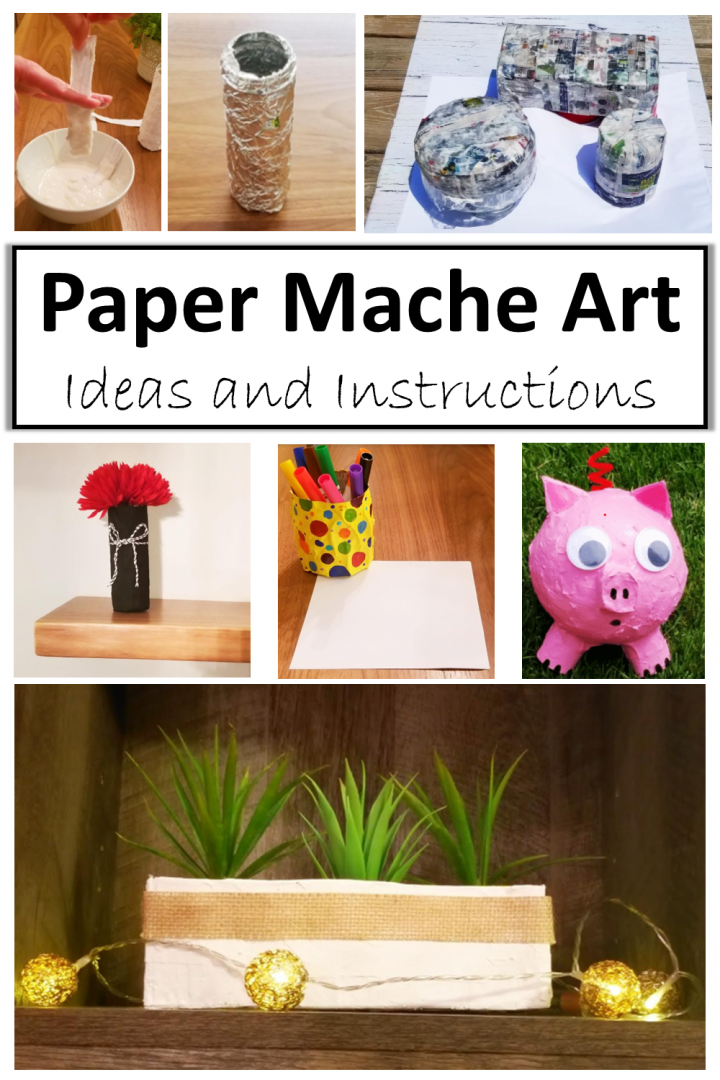
Paper mache is a classic art project for adults and children. It is inexpensive, easy to use and creates beautiful pieces of art. If you have ever wanted to try paper mache art, you have come to the right place! Below are step by step instructions and different paper mache ideas. The only limit to what you can make is your imagination!
Typically paper mache art is made from either a flour or glue mixture. Below are directions for either you choose and the benefits, and drawbacks of each.
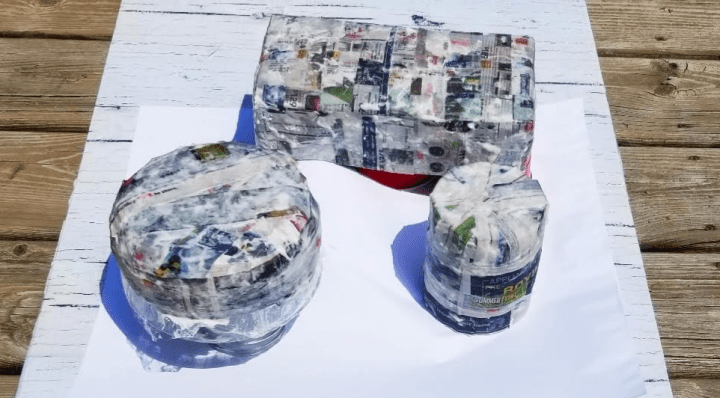
One of the tricky things about creating paper mache is finding a container to use for the shape of the item you want to make. In the past I have made shapes from cardboard and paper towel, but you may want a simple shape, such as a bowl or object from your house.
You can make virtually any shape or form you can think of. You can use aluminum foil to cover objects, or you make any shape out of paper and cardboard and then cover it in paper mache. When it dries, paint it and you will have some amazing art. You can find instructions for how to do all of these ideas below. For a free printable recipe and a great ideas for using paper mache with young children, visit Paper Mache Art for Kindergarten.
Challenge yourself once you have been creating with paper mache for awhile because you can create some incredible projects. Check out the bottom of the post for some extra tips and tricks to help you skip some of the things I have tried, that didn’t work.
Roll up your sleeves and get ready to get a bit messy!
For another super cute craft with just tissue paper, check out this easy picture frame craft that’s great for Mother’s Day, or any time of year. For a free printable paper mache recipe, check out How to Make Paper Mache.
How to Make Paper Mache
There are a couple of options when making your paper mache mix. You can use a glue mixture or a flour mixture. I tend to use the flour mixture because it is really inexpensive and I have always found that it turns out really well, but many others would suggest that the glue mix is superior. It’s your choice.
I love to start paper mache art when we have old paper that is otherwise headed for the garbage or recycling bin.
There are lots of ways to create different structures using paper mache. If you are using something that you don’t need again, such as a balloon or a tissue box, then you can simply cover the item in paper mache.
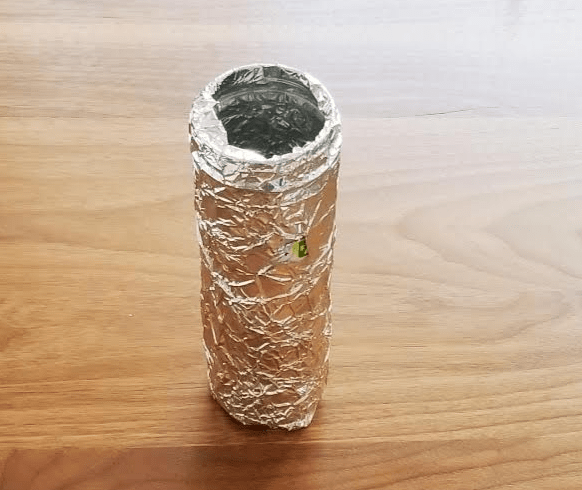
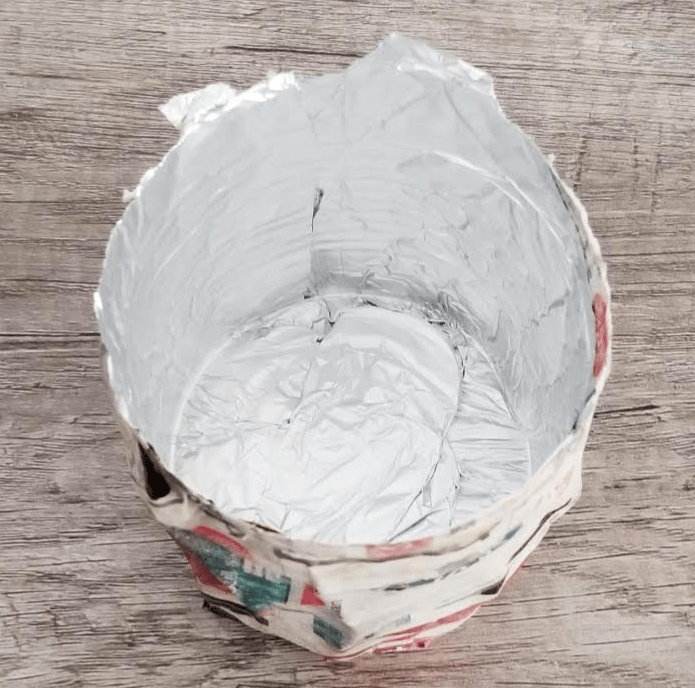
However, if you want to create a shape or structure but want to use the container again, such as a glass bowl or special container, then you can cover the container in aluminum foil and remove the container when it is dry.
I have tried covering containers in different materials, such as plastic wrap, but they do not work as well and can stick to the containers. Aluminum foil can easily be removed and you are left with the shape of the container, but the container is not damaged.
Flour Mixture
The benefits of the flour mixture is that it is inexpensive and perhaps more kid friendly then glue. The drawbacks are that it tends to take longer to dry and you can end up with a more uneven top layer. The flour mixture can also start to rot over time or if it gets wet.
I’ve included some tips for using the flour mixture at the bottom of this post.
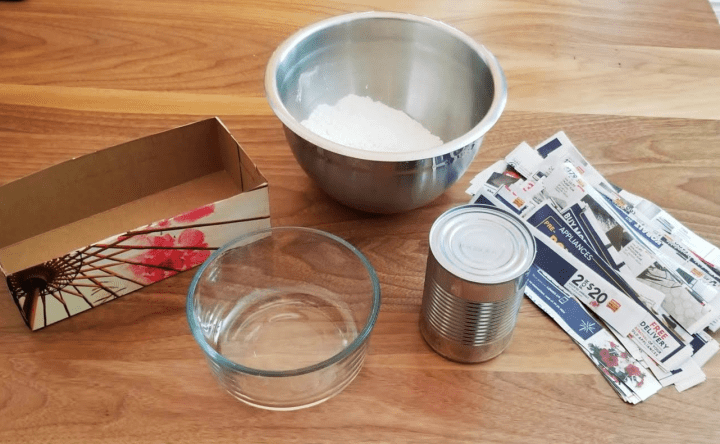
To create the paper mache mix using flour you will need:
- Flour
- Water
- A Container to Cover
- Aluminum Foil
- Ripped up Paper (Reusing old paper is a great idea!)
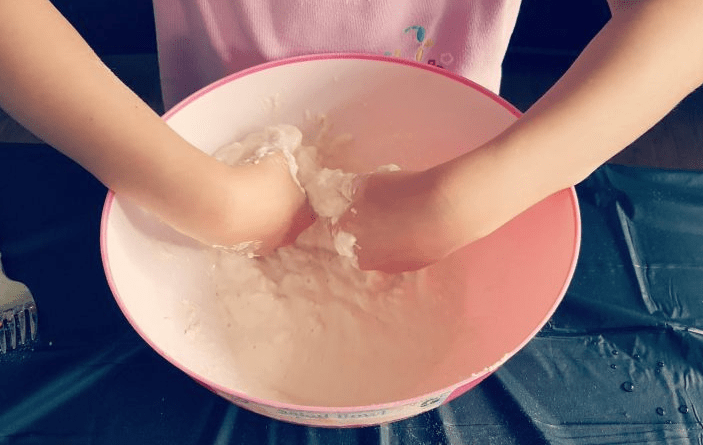
Mix equal amounts flour and water in a large bowl. The consistency should be similar to melted ice cream. This mixing is a great sensory activity for kids to do. Their hands are going to get messy as they create anyways!
Paper Mache Glue Mixture
The benefit to a glue mixture is that it will last longer, it is less likely to rot and it creates a stronger piece of paper mache art. The glue mixture can however, be more expensive and enough glue may not be on hand in every household.
To create the glue mixture, you will need:
- 1 1/2 cups of white glue
- 1/2 cup of water
- A Container to Cover
- Aluminum Foil
- Ripped up Paper
How to Make Paper Mache Art
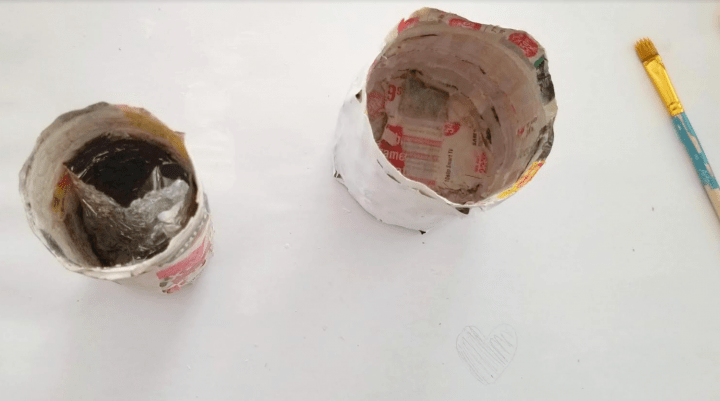
Start by ripping or cutting up the paper you want to use. My kids usually like to cut it into strips, but ripping it gives a smoother finish because the edges blend together better.
Once your paper is ready, next you want to get your container ready to cover.
Covering Your Object for Paper Mache
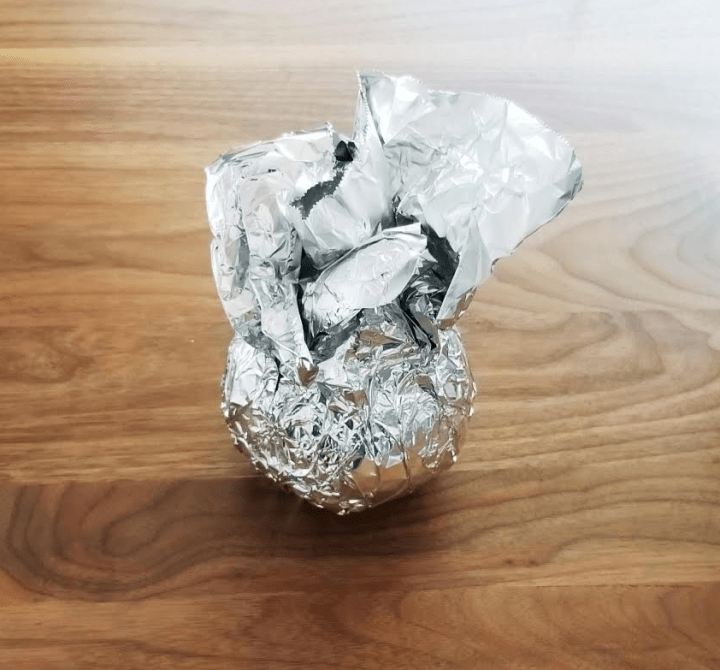
If you are using a container that you want to use again, cover it with aluminum foil. Make sure that you use an object that you can slip the foil off of afterwards. Covering something like a ball will not work because there is no way to pull the foil off.
Do not secure the foil too tightly or it can be difficult to remove. A loose wrapping is ideal.
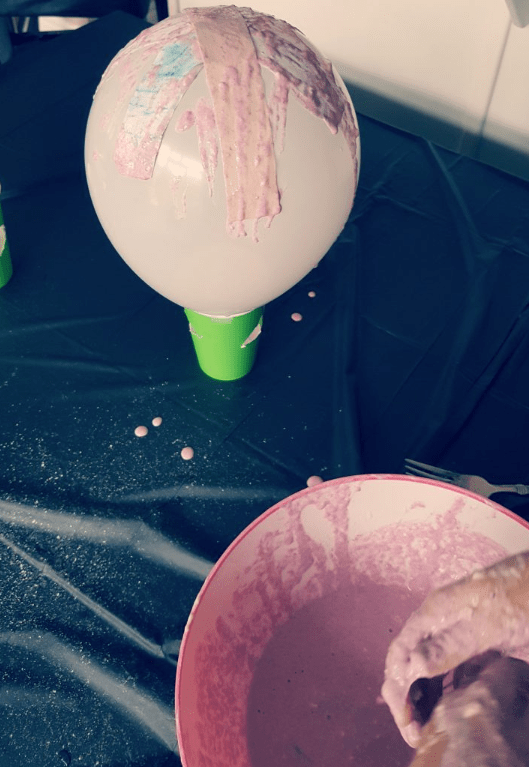
If you are using an object like a tissue box or a balloon, you don’t need to do anything special to prepare the surface.

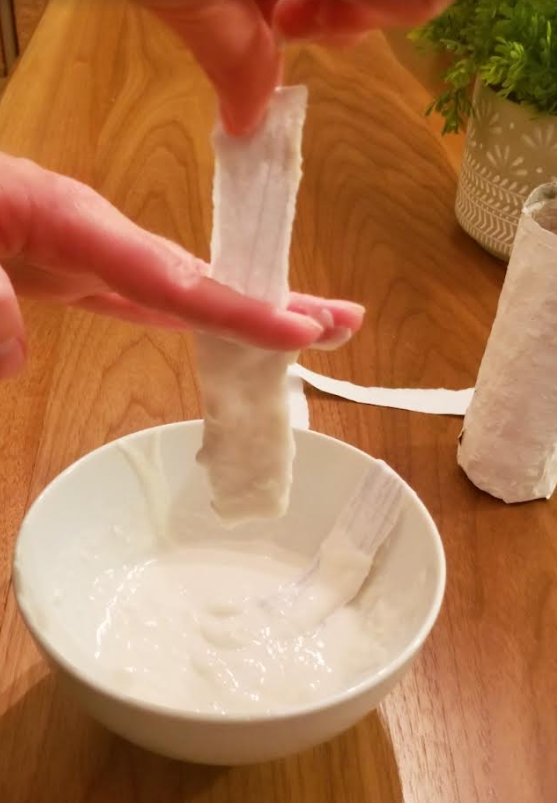
Next, dip one strip of paper into the paper mache mixture. Use your fingers, as shown below, to strip off a lot of the paper mache mixture. Your paper strips do not need to be dripping in the mixture, just fully covered.
Next, place the paper strip, covered in paper mache mixture on your container. Continue until you have one full layer all over the object. Then add another layer. Try to cross the strips of paper in a different direction then the first layer.

Cover fully and allow to dry. Depending how wet your paper is, typically 24 hours is enough to dry your paper mache art. If you want a smooth top layer on your container, smooth it while it is still wet.
With your hand smooth out any clumps of paper mache mixture left on the object. However you finish your paper mache will be how it dries.
You will know when it is completely dry because the paper will be rock hard with no soft, damp spots.
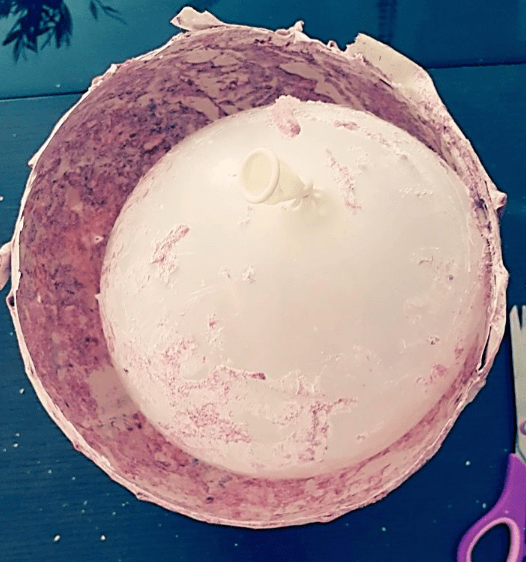
Dry Paper Mache Art
Once dry, the next step is to remove the object you covered. (Unless you used a container, such as a tissue box, that you didn’t plan to use again.) Peel the aluminum foil from the container and pull the container out.
The aluminum foil should then be easy to peel off of the paper mache when it is dry. However, you can also choose to leave the foil on as an extra layer.
If you used a layer of white paper for your top coat, you likely won’t need to paint a layer of white paint on top. However, if you want to add a finished look to your container, adding a coating of white paint is a great idea.
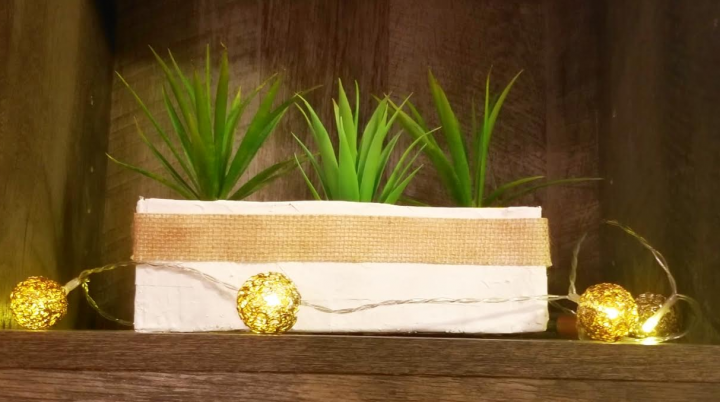
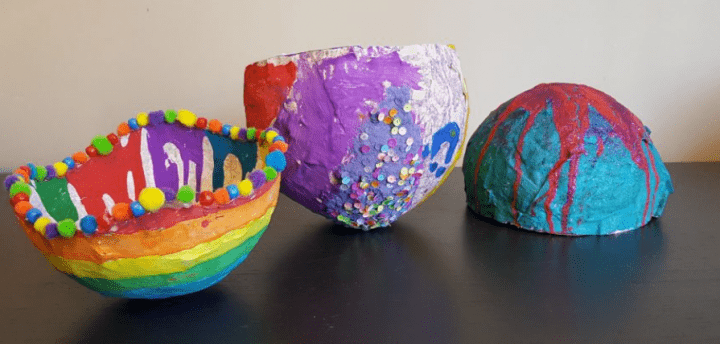
Once your paint is dry, you can paint it any design you want. You can even add embellishments or other designs to your object.
When you are finished you can spray the paper mache with a finishing spray to give it a shine and protect it.

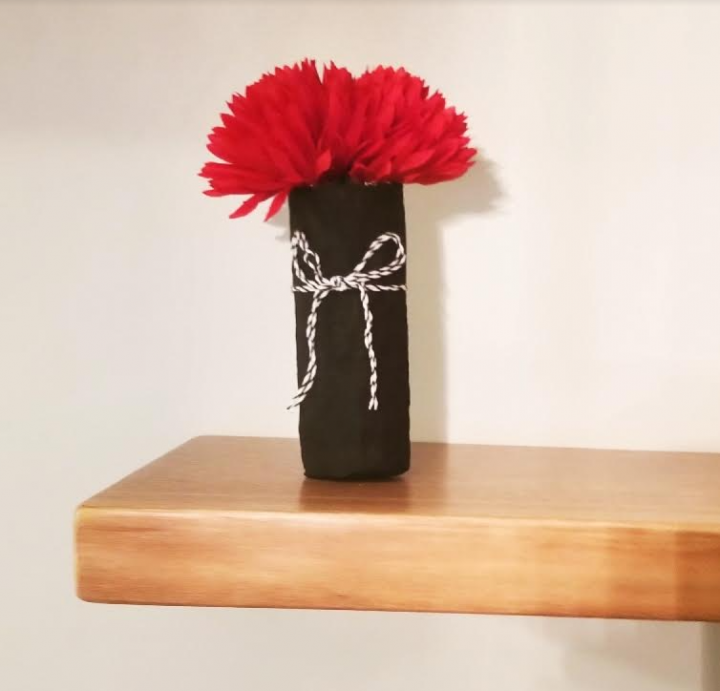
I love having paper mache art that my kids and I made around the house. You can get really creative with what you make and your imagination is your only limit. Paper mache crafts are easy and fun for kids and a classic art medium for kids to try.
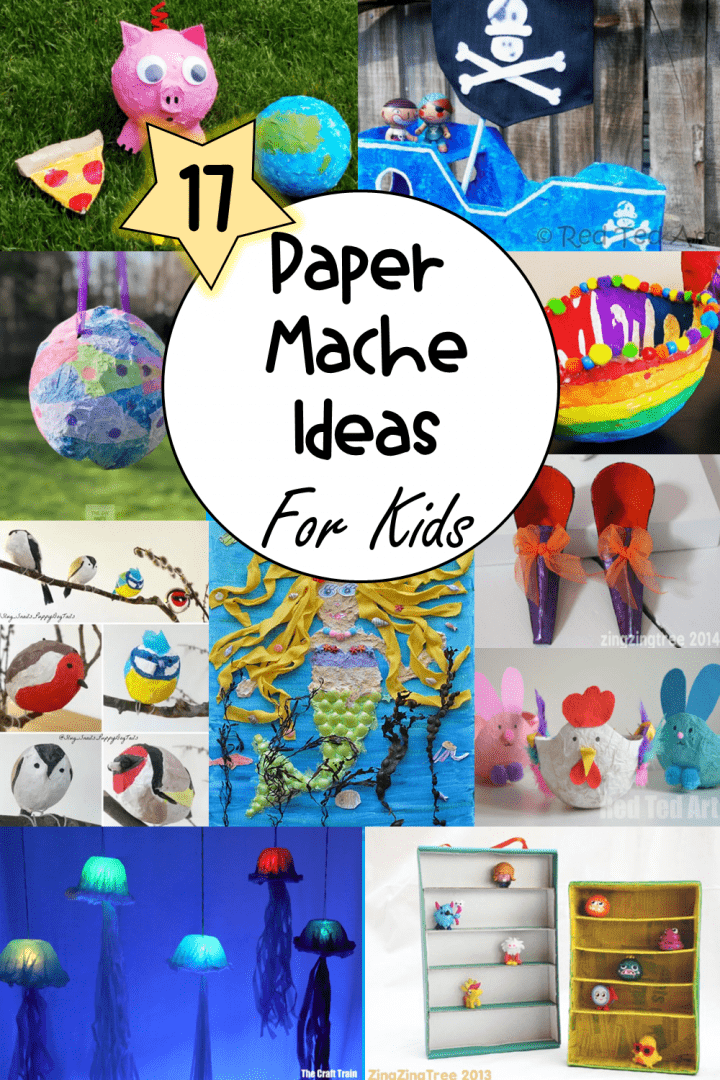
Extra Paper Mache Ideas for Kids
I love the idea of simply covering an everyday object in aluminum foil for my paper mache art projects, however, sometimes you may have ideas but don’t have an object to cover. Don’t worry! Below are a few paper mache ideas using regular materials to cut and create any shape.
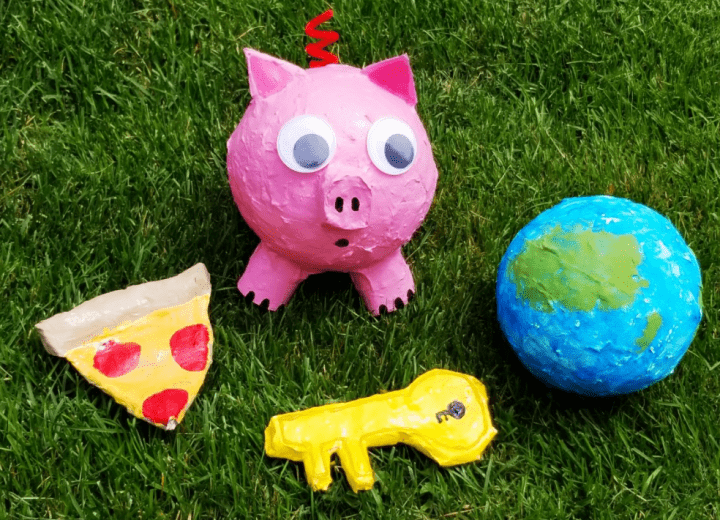
To make an animal or similar shape, you can use a balloon for the body and then add pieces of construction paper that you shaped to make the ears, legs, nose etc. It doesn’t have to look pretty because you are going to cover this with paper mache.

You can create virtually any shape. Balloons are a great option to use for paper mache because when the mache dries, you can pop the balloon and it will peel off of the hard paper mache. This can create some really beautiful bowls and even piñatas.
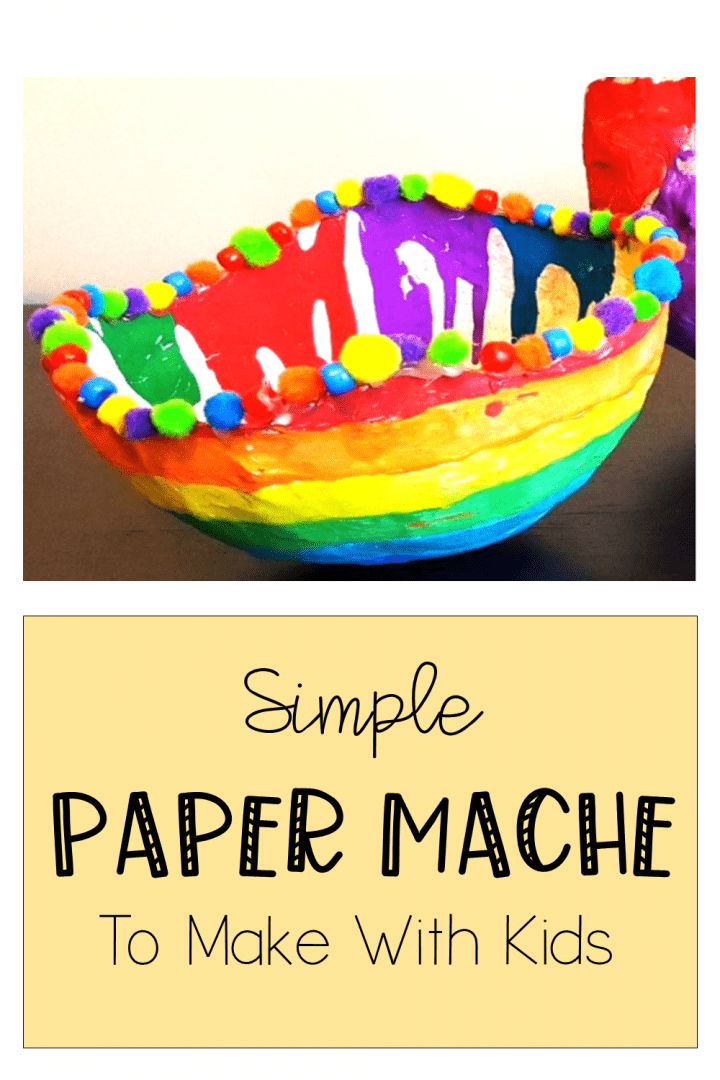
Try creating something unique with paper mache. Kids will be amazed at what all they can make and how professional it can end up looking. You will be impressed with what a little flour, or glue can make!
Paper Mache Art Tips and Tricks
Over time, and especially in damp areas, paper mache made from flour and water may begin to mold. If you are hoping to keep your paper mache art for a long time, try adding a few tablespoons of salt to your mixture.
If you are wanting your paper mache art to dry quickly, add less water to the mix and avoid chunks of the mix on the strips of paper as you put it on your object.
The more layers you add, the stronger your paper mache art will be. However, generally 2-3 layers is plenty and very strong.
A great idea for the final coat of paper on your object is to use white computer paper. We usually apply a coat of white paint to our paper mache when it is dry, but if your final coat is white paper then you can skip the step of painting.
If you don’t have computer paper, I have used paper towel for my last layer in the past. If your paper mache art is quite wet, then a final layer of paper towel, that has no mixture on it is, a great idea and easy way to finish your art.
Make sure not to pour unused paper mache mixture down a drain. It can harden, as paper mache does, and cause terrible plumbing issues. Scrape any unused mix into a garbage.
Free Resource Library
Subscribe to hands-on Teaching Ideas, for free, and gain access to my always growing, Free Resource Library. There are lots of educational resources and printables, such as escape rooms, math worksheets and lots of choice boards.
You will also be the first to hear about my latest activities and promotions.

Materials for Paper Mache
If you want to grab the materials you need to create paper mache art, below are links to the products you can use.
For your convenience, this post contains affiliate links. As an Amazon Associate I earn from qualifying purchases and I may earn a small commission at no cost to you.


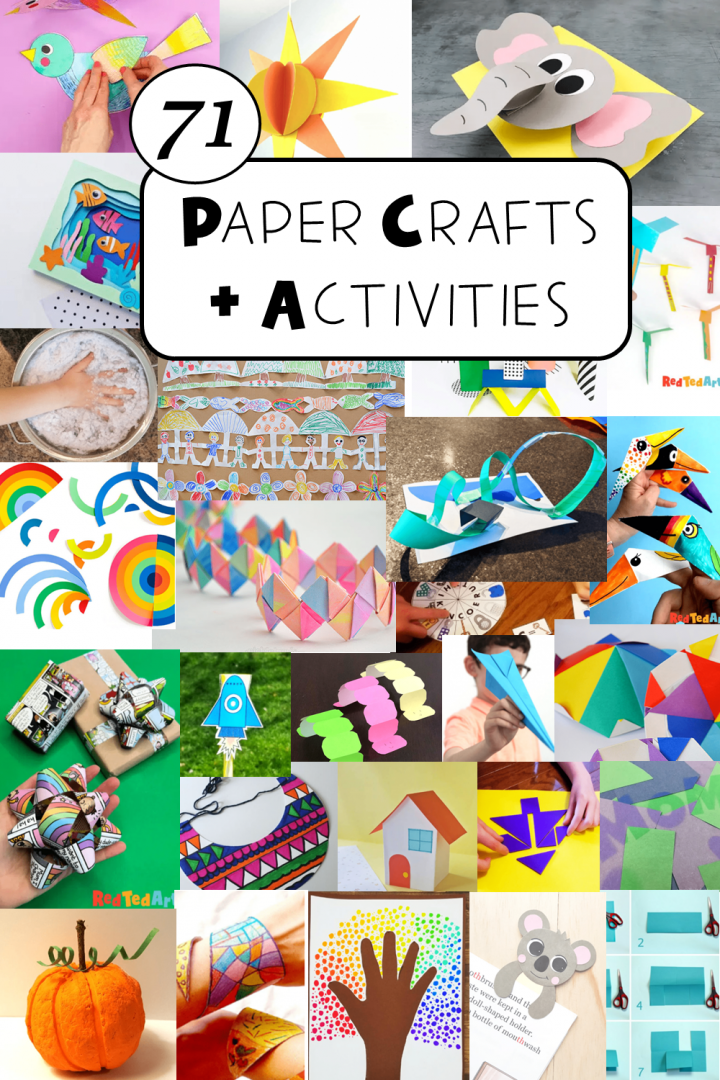
More Hands-On Teaching Ideas
If you are looking for more great ideas and activities to try with kids, below is a collection of my most popular and favorite hands-on learning activities. From activities that only require paper and more paper mache ideas to STEM challenges and escape rooms, there is lots to keep kids busy and learning!