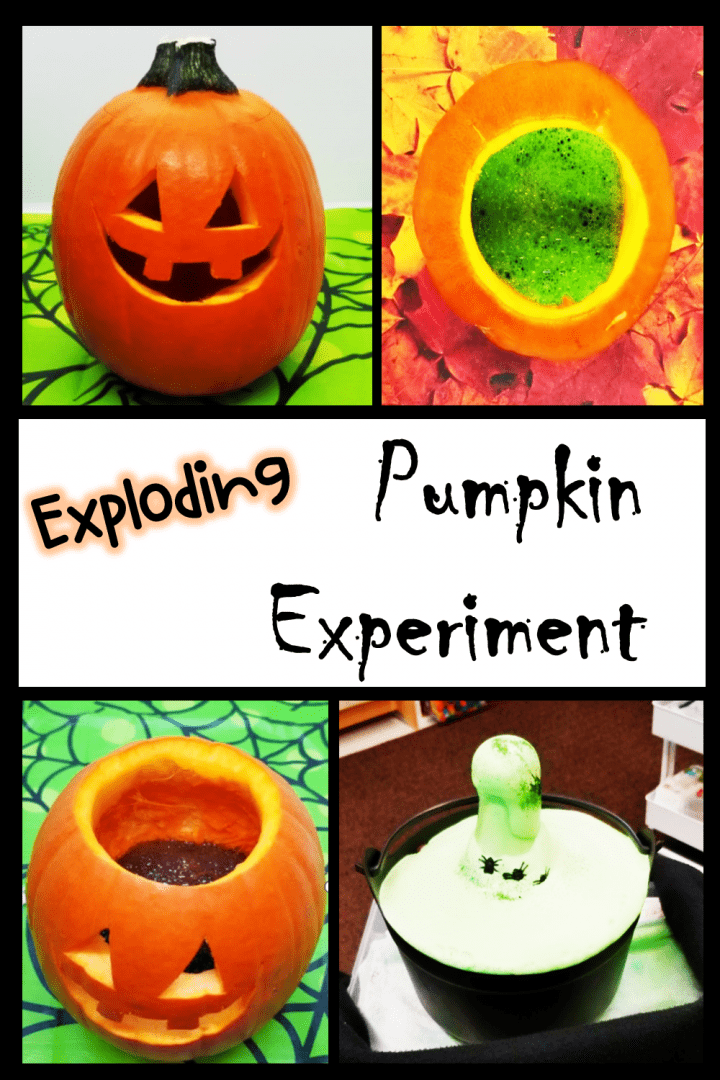
Fall is the perfect time for some fun science experiments for kids! This exploding pumpkin experiment is one that I always do this time of year – both in the classroom and at home. It tends to be one of the science experiments for kids that many of my students remember many years after doing it in class.
It’s a great way to create interest and excitement in science and chemical reactions. Plus it very exciting and fun to watch this exploding pumpkin!
Although I often plan to do this experiment in the fall, or around Halloween, you can do this experiment any time of year. It is fun for birthday parties or simply a fun experiment to do on the weekend.
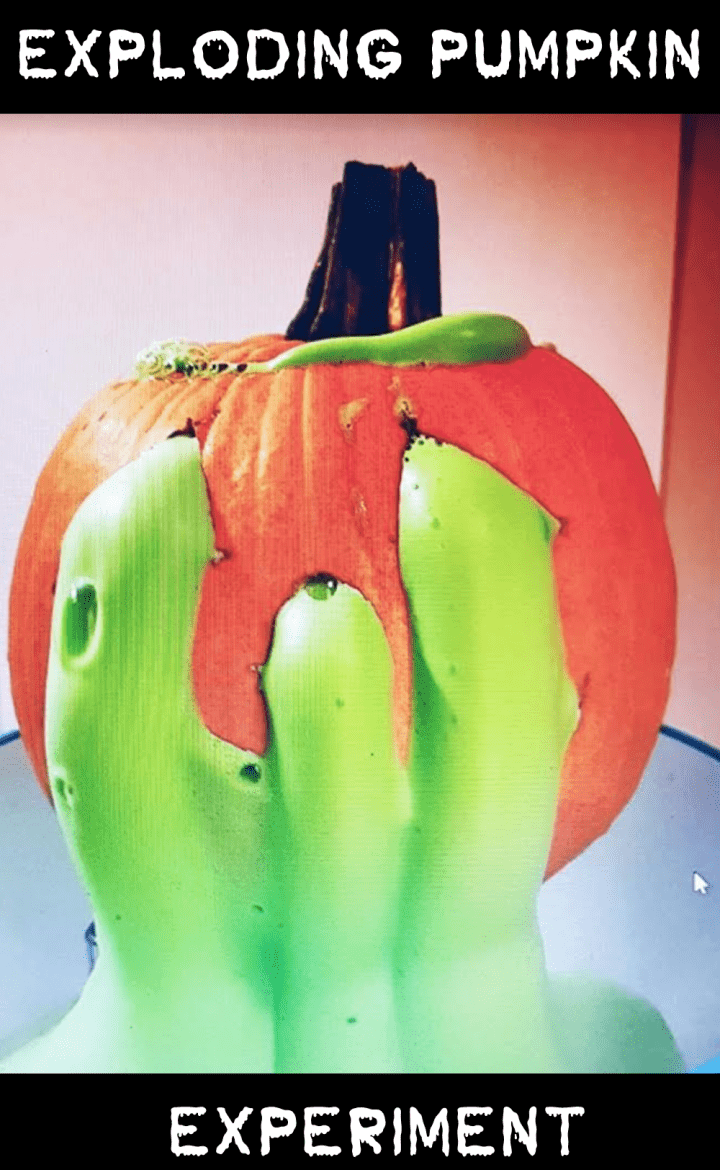
I call it our “exploding pumpkin” experiment because that’s what my kids always called it and they describe it in that way, but don’t worry, the pumpkin does not actually explode. However, be prepared for a lot of fast moving and growing foam.
This experiment can get messy, but it will also create some great memories and learning experiences for kids.
If you’re looking for more ways to celebrate Halloween in the classroom or at home, check out a free Classroom Scavenger Hunt or free Scavenger Hunt at home.
As with any science experiment, adult supervision is essential and all materials should be handled by an adult. It is always a good idea to talk to children about chemical safety.
Science Experiments for Kids – Materials
The materials that you need for this experiment are fairy simple and easy to acquire. You will need:
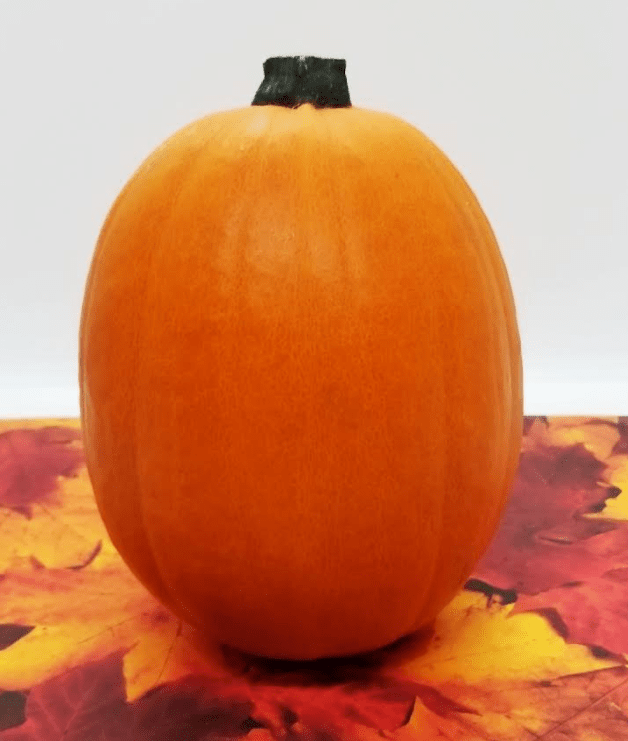
- A Pumpkin (I used pie pumpkins)
- Dry Yeast
- Warm Water
- Food Coloring
- Dish Soap
- Hydrogen Peroxide
- Mixing Bowls
- A Cloth (optional, but highly recommended)
Science Experiment Steps
Start by adding 3/4 of a cup of hydrogen peroxide to a container. Next, add roughly 1/4 cup of hand soap. Stir to mix. If you want to add food coloring to the foam, add it to this liquid mixture.
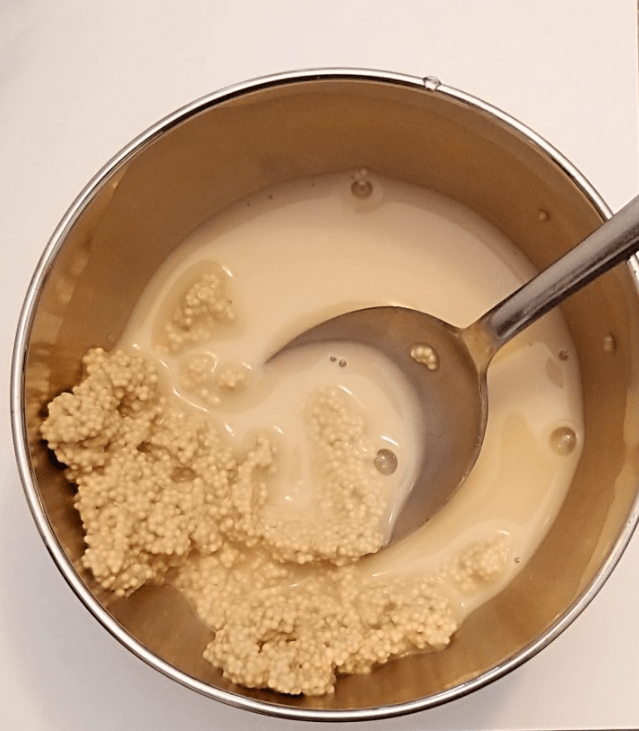
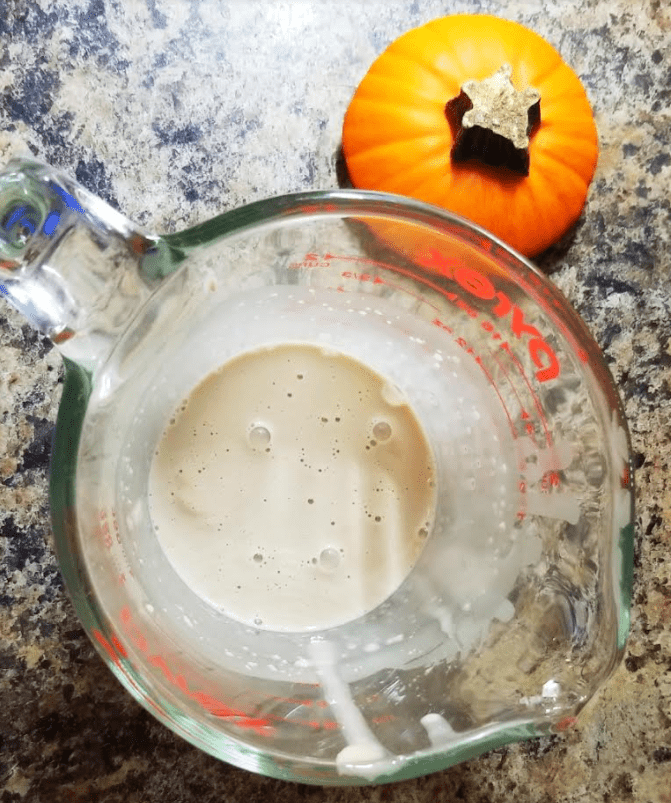
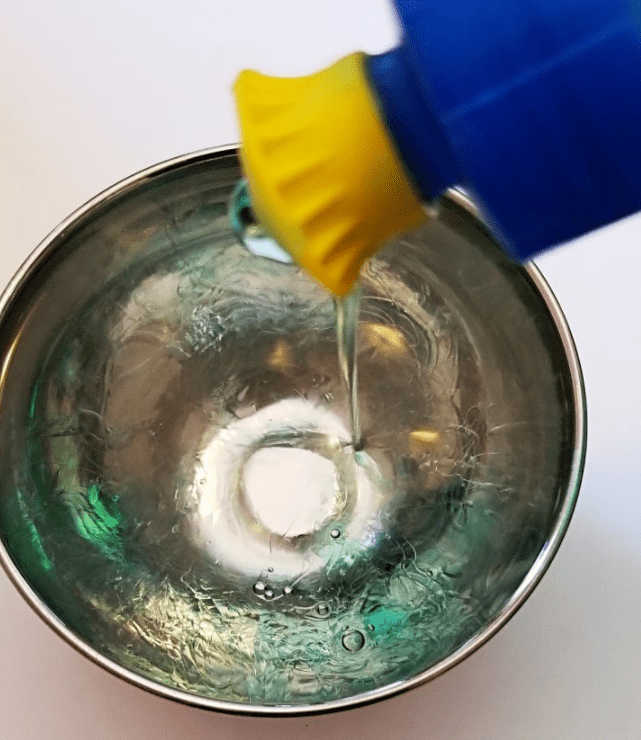
In another bowl, mix 2 tbsp of the dry yeast with 6 tbsp of warm water. Make sure to fully mix the dry yeast. The experiment will not work if the yeast has not fully dissolved into the water. It may take a few minutes to fully mix.
This mixture will produce several cups of foam.
Preparing Your Exploding Pumpkin
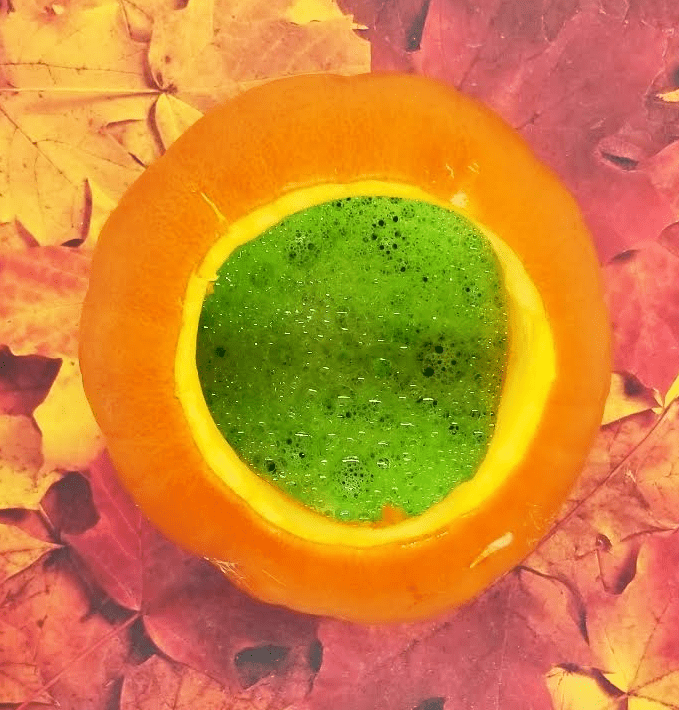
If you are doing this experiment for fall, you can simply cut open a pumpkin and remove the seeds and pumpkin slime. Next, pour the mixture of hydrogen peroxide, soap and food coloring into the pumpkin.
If you are doing this experiment for Halloween, or want to carve your pumpkin, you can design and carve a face. I suggest carving the face a bit higher up on the pumpkin ie. have the mouth in the middle of the pumpkin. This way you can pour the liquid mixture into the pumpkin without it running out.
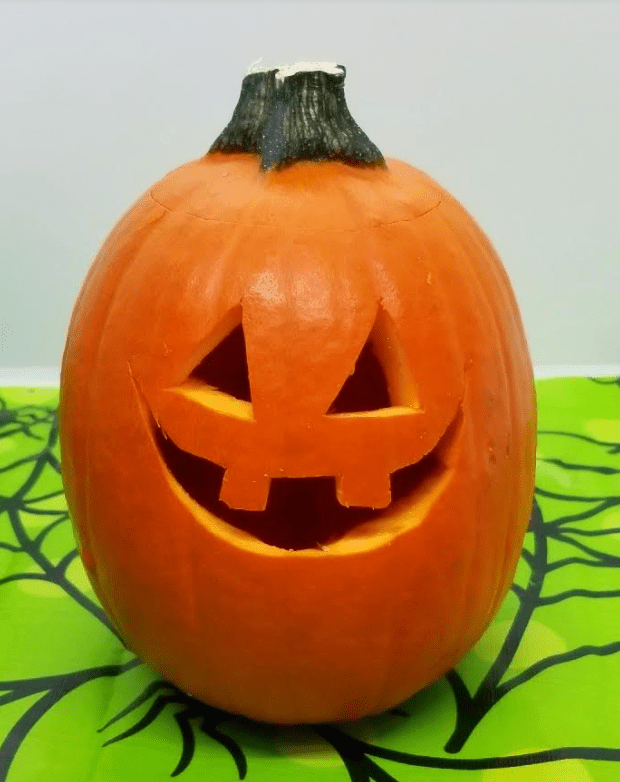
Whenever I do this science experiment for kids in the classroom, I like to set the pumpkin out on a mat, or table cloth and have the children gather around me. I make sure to use a large bowl or container under the pumpkin to catch the foam, but sometimes I am even surprised by how much foam it creates. The cloth also adds to the excitement because children know it is about to get messy.
I always show children the substances that I will be mixing for the experiment. It is a great opportunity for children to predict what they think is going to happen, and even guess why.
Science Experiments for Kids – The Steps
Once you have poured your liquid into the pumpkin, next pour the yeast mixture into the liquid mixture inside the pumpkin.
You will immediately see the chemical reaction of all of the materials being added together.
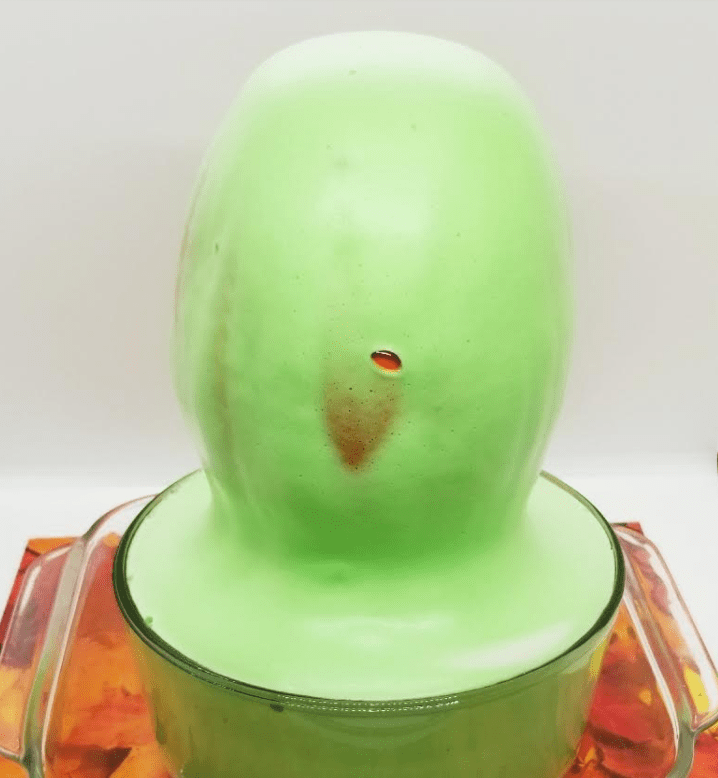
The foam will continue to run for a minute or two after the materials have been mixed. Make sure to set the pumpkin on a tray or in a large bowl, so that you catch all of the foam for easy clean up. Be prepared for lots of foam!
I often set the pumpkin on top of a bowl that I flipped over so that it is propped up higher for kids to see.
There will likely be a lot of excitement as soon as the foam starts coming out of the pumpkin. Give the kids time to simply watch and be excited. Enjoy them being happy and engaged in their learning.
After it foams, talk to kids about what happened. What did they notice? What did it sound like? Why do they think it happened? This is a great opportunity for discussion.
A Bit of Science
On their own the materials used for this experiment do not change and will not cause a reaction. However, when certain materials are mixed together, such as hydrogen peroxide and yeast, they react to each other. We see this reaction with the ‘explosion’.
If you have the opportunity, this experiment is a great chance to test the reaction of different things by altering the experiment slightly. What would happen if you didn’t add any dish soap? What would happen if you added A LOT of dish soap?
Always make sure children understand that you are using materials that you are familiar with and understand. It is not safe to mix any materials that they may find at home. Science is to be done with an adult.
Carved Pumpkin Science Experiment for Kids
Using a scooped out pumpkin works well, but if you choose to carve your pumpkin like a jack-o-lantern, you can replace the lid of your pumpkin or keep it open. If you put the lid back on, the foam will come out of the carved face with more force.
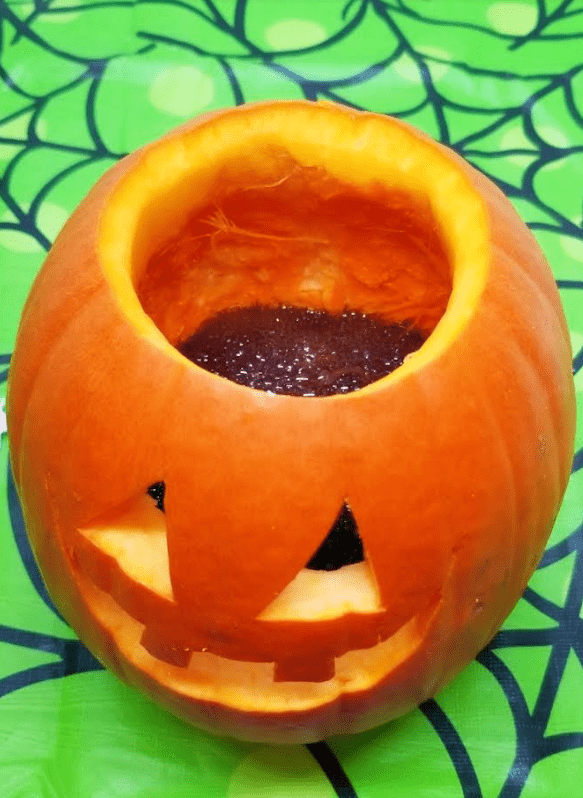
You can follow the same steps for the uncarved pumpkin.
I added some black food coloring to my liquid ingredients, however, it ended up looking more brown.
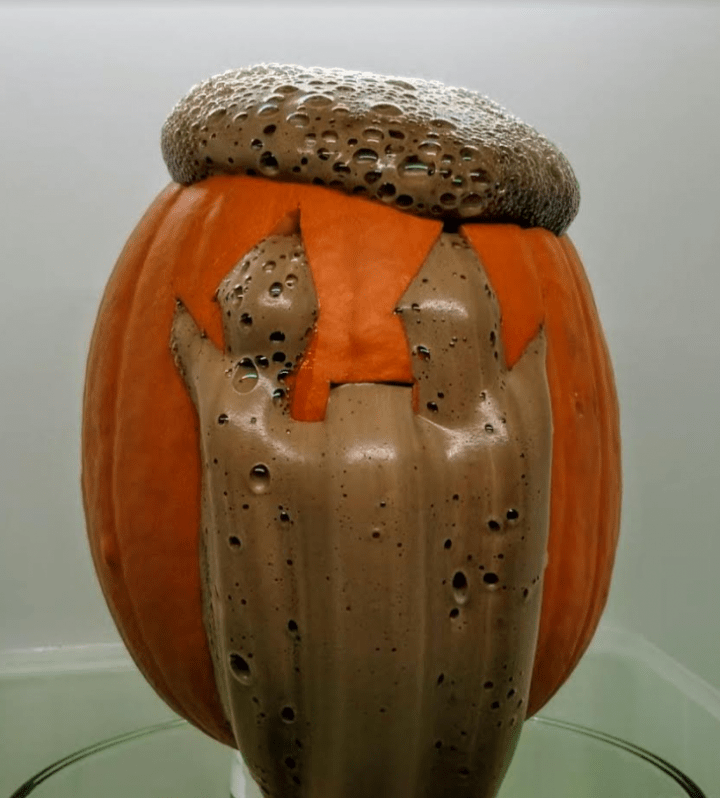
In the past, I have also added, little plastic spiders, or sparkles to my ingredients that then come out when the ‘explosion’ happens.
This is a really simple experiment and I like the fact that it works quite well each time. It is very exciting for kids and they are always very excited to learn about science whenever I do it.
If you try this science experiment for kids and it does not work, check out my Tips and Tricks below to hopefully help you out. It really is an experiment worth doing.
Halloween Science Experiments for Kids
Halloween is a great time to try this experiment. The foaming jack-o-lantern is always a great way to do this experiment, however, you can put the foam pretty much anywhere.
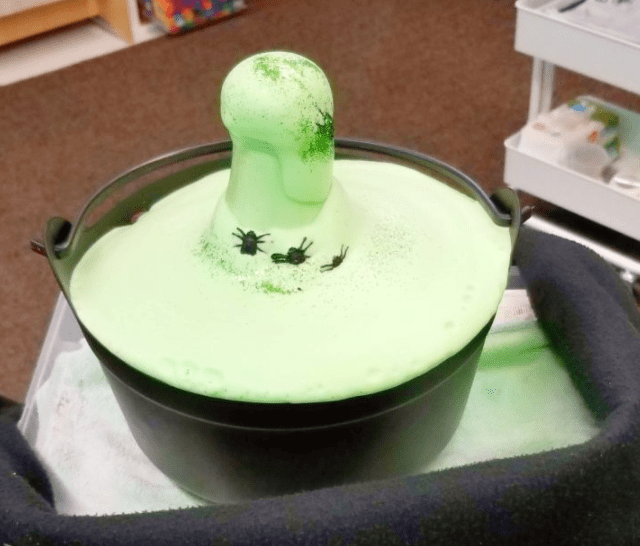
One year I made a witches brew and added the mixture to a cauldron. I added a few spiders and sparkles just for fun. Either way you do the experiment children will simply love watching the expanding foam.
Exploding Pumpkin Tips and Tricks
If your experiment does not work as well as you had hoped, below are a few things to try.
To simply have more foam, you can easily double, or triple the amount of the materials used.
If the foam does not seem to be foaming properly at all, there are a few things that you can try:
- Add a bit more soap to make it foam more. (But too much can mess up the balance of ingredients and make the reaction not work at all. Try adding just a bit more at a time.)
- Make sure to use warm water when mixing the yeast.
- Fully mix the yeast before adding it.
- Make sure that the hydrogen peroxide you buy/use is at least 3%. I purchased some that I tried to use with no success. A lower % level of hydrogen peroxide did not produce a chemical reaction at all.
Science Experiments for Kids Materials
For your convenience, this post contains affiliate links. As an Amazon Associate I earn from qualifying purchases and I may earn a small commission at no cost to you.
Join Hands-On Teaching Ideas
Join Hands-On Teaching Ideas to gain access to my Free Resource Library filled with lots of printable learning resources, from a choice board full of STEAM activities including science experiments for kids to escape room games, you can download anything that interests you for your classroom or home. Subscribe here.
More Hands-On Teaching Ideas
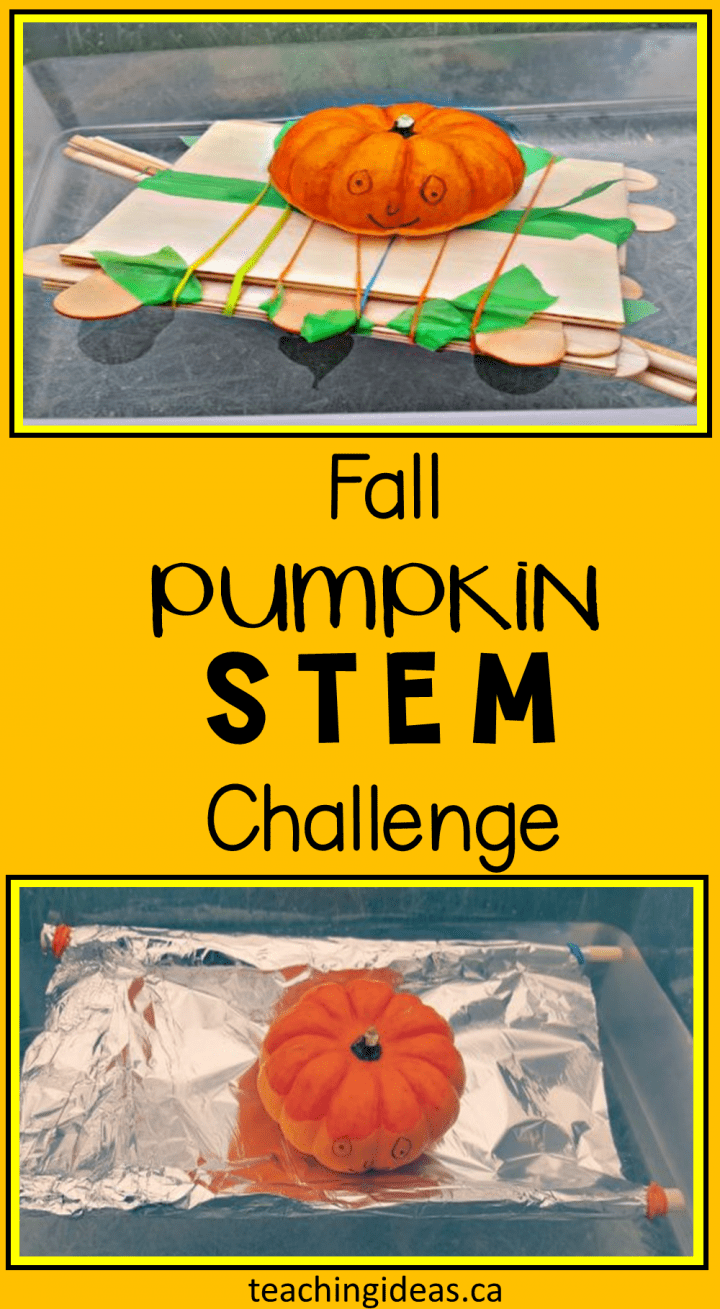
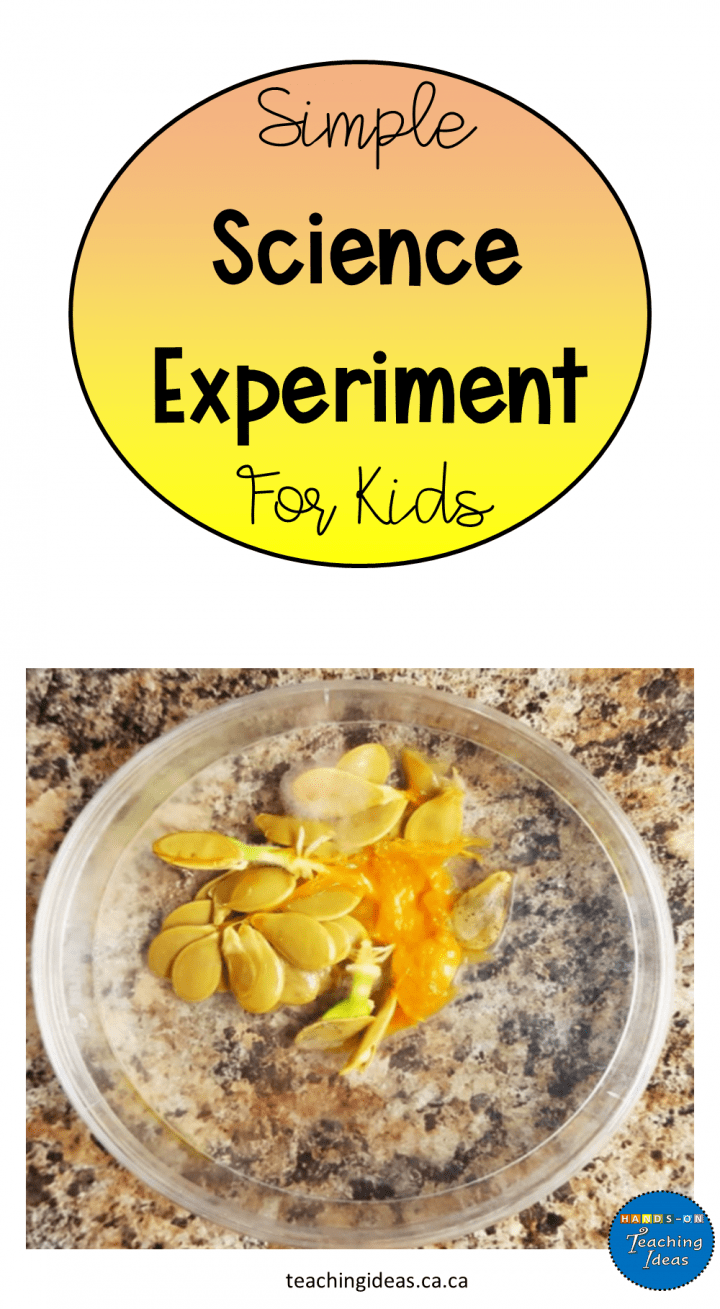
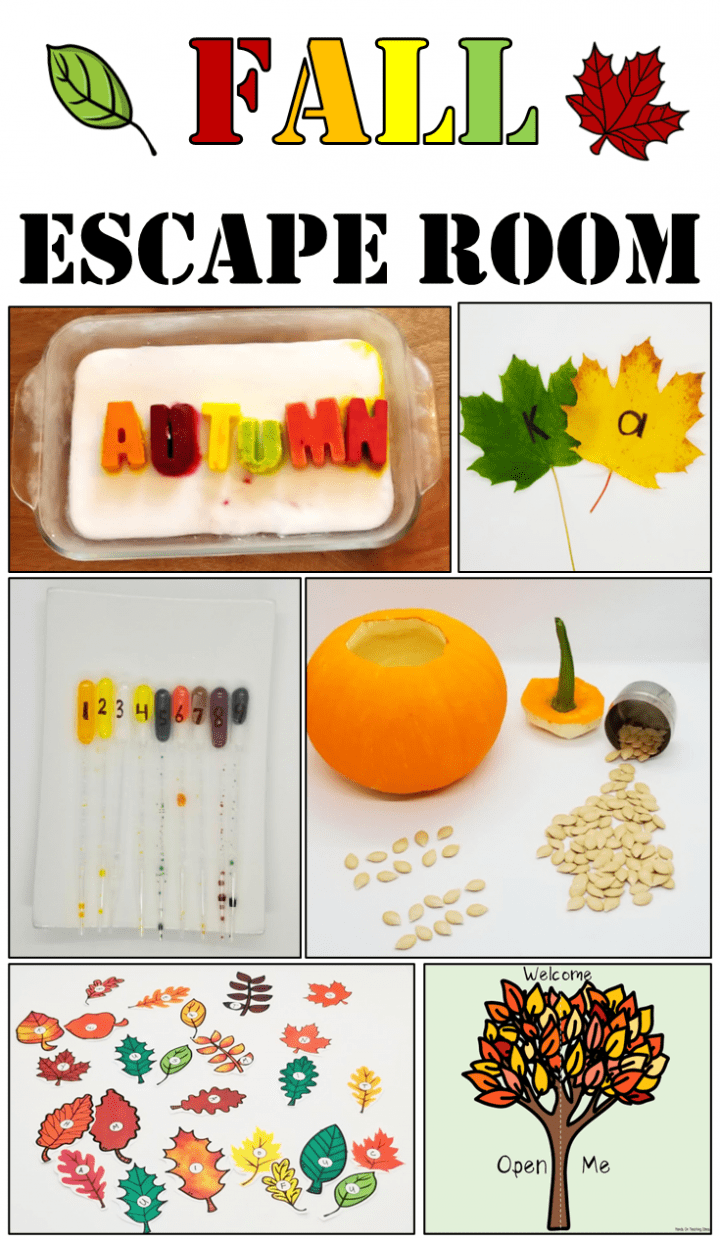
If you are looking for more hands-on activities to try with children at home or in the classroom, below is a collection of my most popular and favorite activities. From fall STEM challenges and science experiments to escape room ideas for kids, there is lots to keep kids busy, and learning.


Leave a Reply