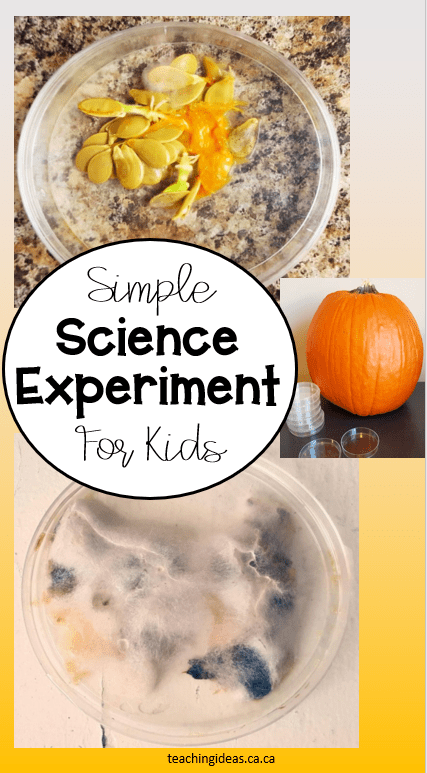
Kids love learning about the world around them. Throughout their day they are learning, exploring and experimenting. I love doing science experiments for kids because they are always so excited and engaged in what we are doing. This pumpkin experiment uses pumpkin seeds for a fun and hands-on experiment.
I have done this experiment with children as young as 3 both in a classroom setting and at home with my own kids.
Science experiments for kids do not have to be complicated or expensive to do. In this experiment I simply used the insides of a pumpkin, or pumpkin brains as my kids called them, and petri dishes.
I had these dishes available to me so I used them; however, you can simply use any container with a lid. Even plastic baggies can work.
Typically petri dishes are used with older students, but I am a firm believer in (safely) introducing kids to science materials and experiments even when they are young.
It gets them excited and interested in science at a young age and I am always amazed at how much they remember and understand.
There is so much that you can do with pumpkins! I did this experiment in the fall, so I used a pumpkin to fit our theme, however, you could use something like apples or even broccoli. Use what you have.
Keep with your pumpkin, fall theme with some printable pumpkin size sorting activity for little ones. They’re an easy way to teach sorting skills to kids and they’ll love the pumpkin theme.
Science Experiments for Kids
At my school, I found some old Petri dishes and immediately knew that I wanted to used them for our next experiment! We wanted to see what happens to pumpkin seeds and pumpkin goo when left over time.
I showed the kids the petri dishes and explained what they are used for. The kids love the idea of using them and feeling like real scientists!
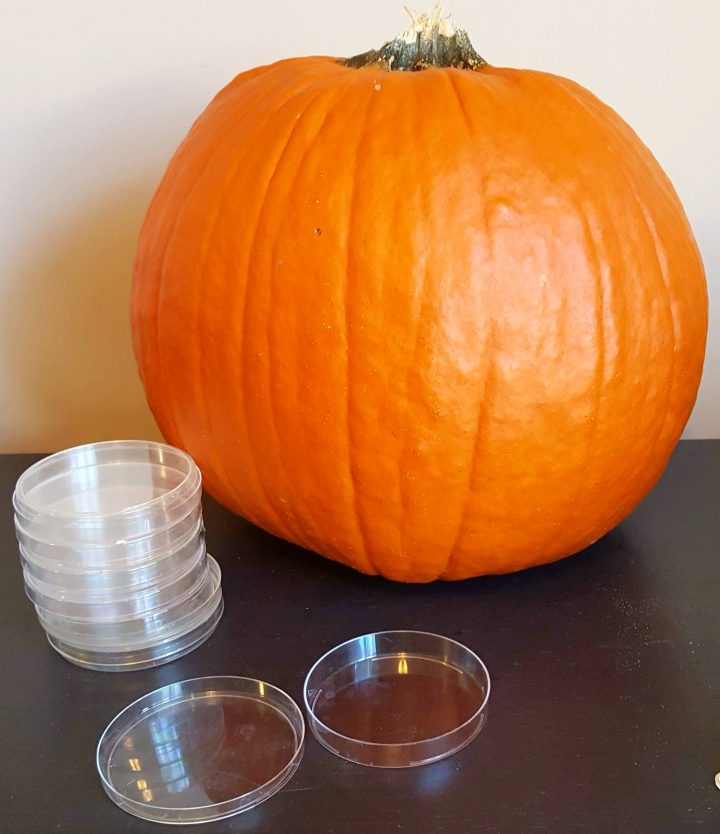
I started by giving each group a pumpkin and petri dish. They then scooped some goo and seeds out of and place into their dish.
Always use caution and have an adult present, but it is always best when science experiments are hands on.
The more petri dishes you fill, the better. Once each group had a petri dish with some pumpkin in it, we then walked around the school and placed each dish in a different place.
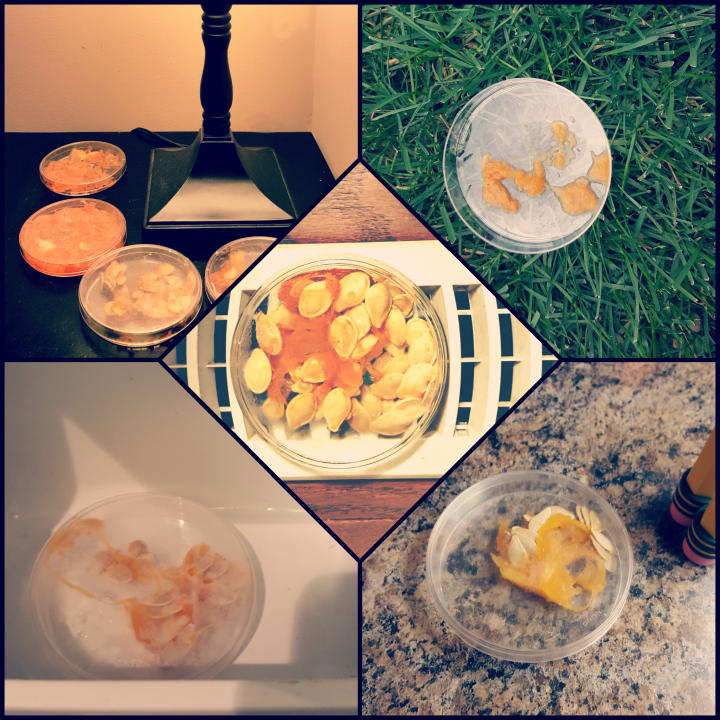
You could place them anywhere, but we placed them in the following locations: a dark cupboard, the freezer, buried in the garden, outside, but not buried, under a lamp, a classroom table, and on the register/heater.
(If you set the dish somewhere warm, make sure that the temperature does not get too warm that it could melt your petri dish, or start a fire. Always use caution.)
Science Experiments for Kids – Making Predictions
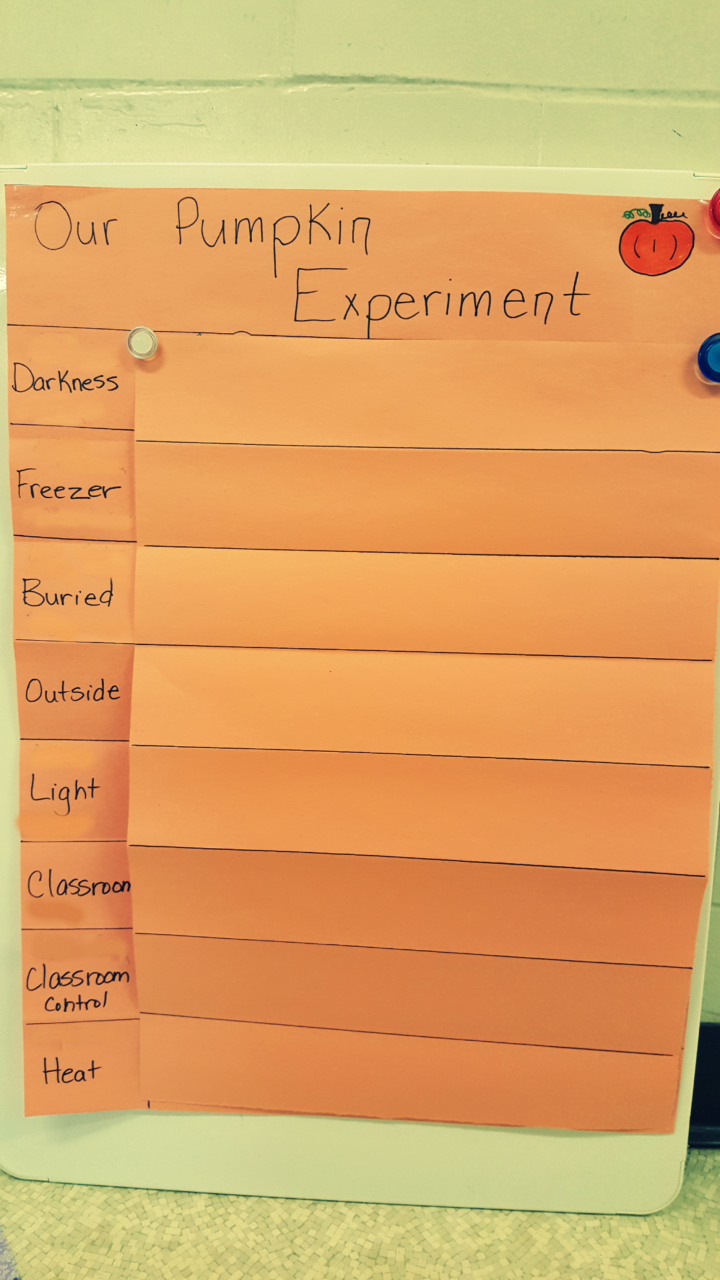
Once the dishes were all placed around the school, we made predictions for what we thought would happen before we checked on them again. Would the pumpkin change at all? What would change? Why?
We left the dishes for one week. Our chart for our predictions was not fancy, but it was a great way to record our discussion and predictions.
I also had students make predictions as to which pumpkin they thought changed the most over the week.
We added a small tally chart to our predictions – any chance to add in a little math is always a bonus!
Most children predicted that the pumpkins that were either in the freezer or buried changed the most. However, they didn’t think that there would be much change overall. I was so excited to share the results with the kids!
I do a lot of science experiments with my students, and typically the result happens the same day as the experiment.
This is a good science experiment for kids because it shows kids that with science we often have to wait for the results and science often takes time.
The Pumpkin Experiment Results
The results are below! Everyone was excited to check on our pumpkin petri dishes!
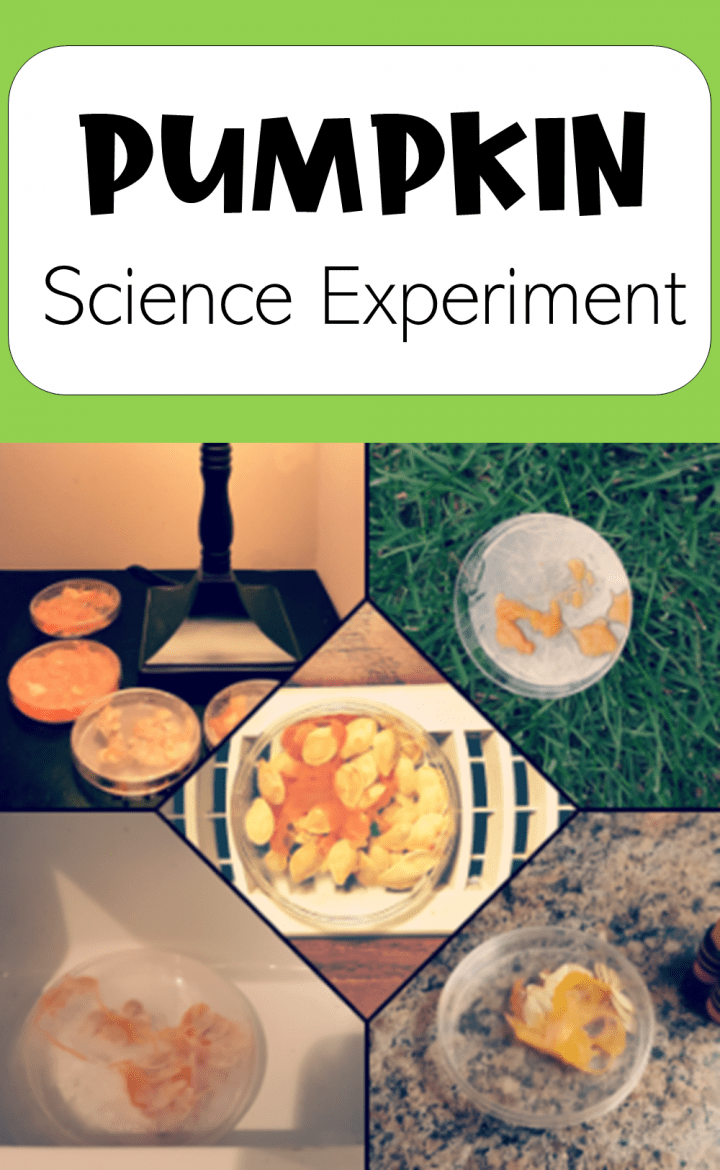
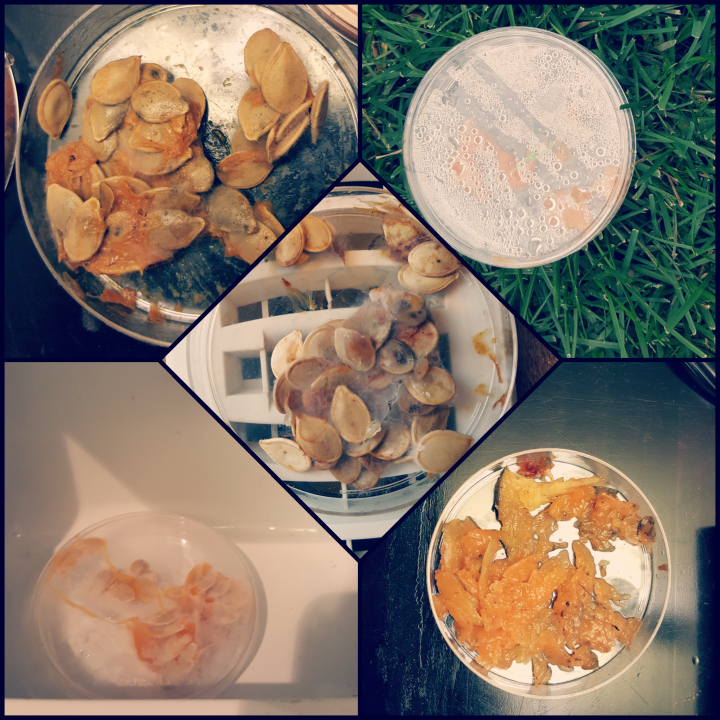
Our pumpkins did change, although not drastically. The main changes are below. The one on the register (heat), did start to grow some mold. The one in the freezer froze, but did not change.
There was condensation on the one outside and the dish that we buried. Many of the pumpkins had become a bit runny and students noticed ‘pumpkin juice’.
Depending on the conditions and temperatures of your locations you will notice different things and they may be different from our results. That’s okay!
The important thing is having kids make observations and try to figure out why the changes occurred.
The whole experiment caused lots of great discussion. We talked about the fact that temperature and location can play a part in speeding up, or slowing down the process of decomposition.
(There is not photo of the dish that was in the darkness. It had some pumpkin juice, but did not change much overall. It was similar to the one under the light.)
Science Experiments for Kids – Extension Idea
Just for fun I added a small side experiment to our pumpkin dishes around the school. As sometimes happens, it actually ended up being the best part of the experiment and caused the most excitement.
I had 2 petri dishes left over. In one dish, I carefully scooped a bit of pumpkin goo and seeds from a untouched pumpkin.
In the other dish, I placed some pumpkin meat/seeds/goo that I had passed around to all children to touch first. Both dishes were simply placed on a table in the room.
This was to test if the germs from our hands would make any difference. We used this dish to think about what other factors may affect the results of our other petri dishes.
For example, would it make a difference how much groups handled their pumpkin before putting it in each of the dishes? Would the type of pumpkin make a difference?
Extra Experiments Results
The results were more than I could have hoped for! The one that we left out in the classroom (that we didn’t touch) had sprouted! It also had a bit of mold.
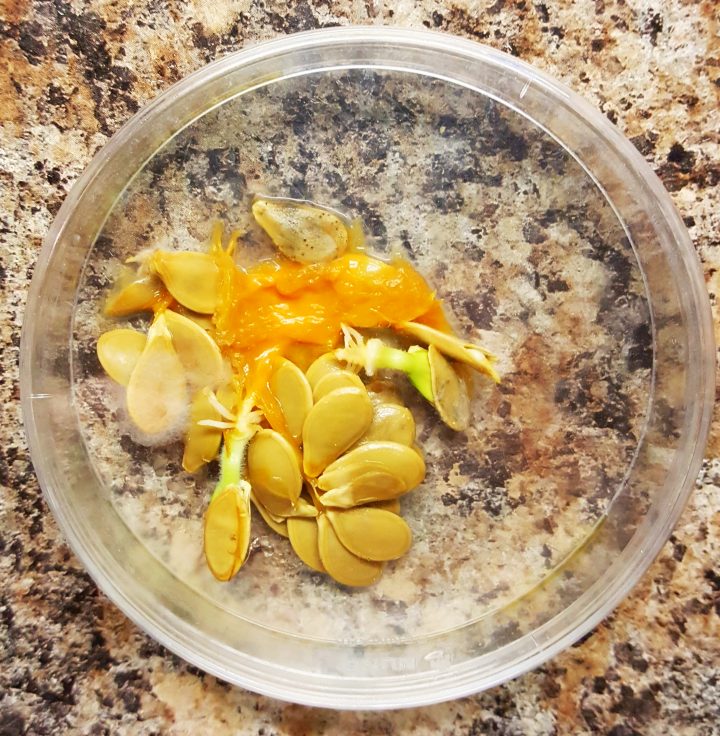
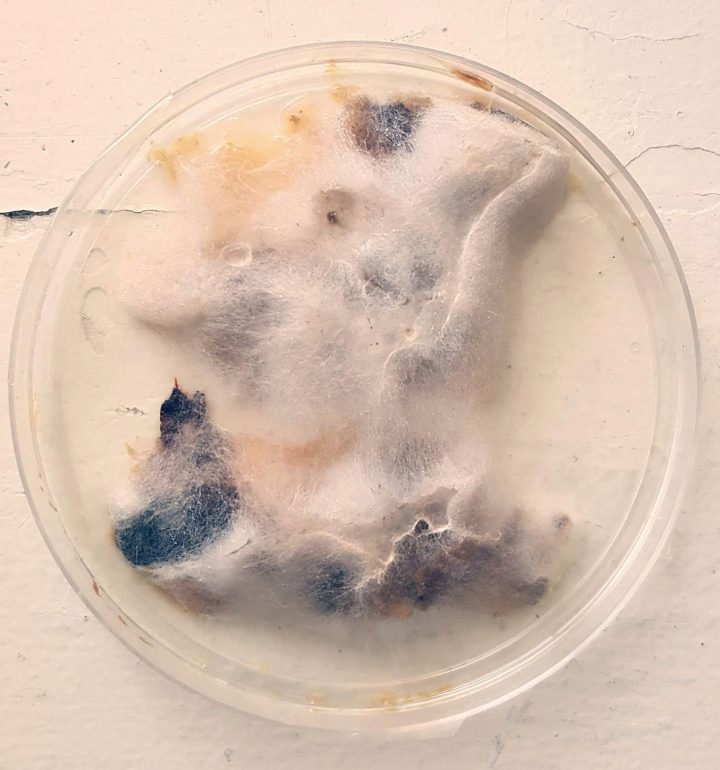
The pumpkin in the petri dish, that was handed by everyone had changed the most! At first students thought that it was cotton candy, or a spider web, but upon closer inspection, and a discussion, we realized that the pumpkin had rotted and started to go moldy.
One of the great things about the petri dishes is the fact that children could still see the mold and sprout without touching anything.
It is also best that kids aren’t tempted to taste or smell the pumpkins.
(I must note that where this dish was placed in the classroom was a warm and likely caused part of this drastic change.) Either way it was great for kids to see.
There are a lot of factors that would have played a part in our results. This is always the case with science. I always try to talk about these factors so that children begin to think about them when doing their experiments.
Although I initially did this experiment at school, I replicated it at home with my own kids. We placed containers around our house filled with pineapple slices.
My kids were really curious about the changes so they checked on their containers on a daily basis. After a week we did bring all of our containers together to compare.
Science experiments for kids do not have to be complicated and you don’t have to be a scientist to do these simple experiments. Kids will love learning and exploring their world with you.
Join Hands-On Teaching Ideas
Join Hands-On Teaching Ideas to gain access to my Free Resource Library filled with lots of printable learning resources, from a choice board full of STEM activities and science experiments for kids to escape room games, you can download anything that interests you for your classroom or home. Subscribe here.
For your convenience, this post contains affiliate links. As an Amazon Associate I earn from qualifying purchases and I may earn a small commission at no cost to you.
More Activity Ideas to do with Kids
Keep learning and having fun with more hands-on activities for kids. From free printable scavenger hunts for Halloween and lots of STEM activities, you can easily keep kids busy and engaged all year long.



Leave a Reply