This post may contain affiliate links.
My kids have always loved creating and doing anything hands-on. Art and science experiments have definitely filled many of our days. One of my kids favourite experiments is experimenting with baking soda and vinegar. They love the ‘explosion’ that it creates. I decided that it would be fun to create a DIY volcano to put the ‘explosion’ in.
This DIY volcano is pretty simple to make and the other great thing about it is that you can use it more than once. The steps are all clearly listed below and explains how to make a volcano for kids, or by kids.
This worked out really well for me because I teach kindergarten and the children at school had shown an interest in volcanos. Therefore, I was able to use my DIY volcano again, many times, at school.
For this DIY volcano I needed it to be simple enough for kids to make, but I also wanted something that was strong enough that I could use several times – not just once. This DIY volcano has been been used dozens of times and is still holding strong.
When I was a student in school, I still remember using plaster cloth for an art project. I remember loving the way it felt and the way you could mold it over shapes. I also remember the art that I made was strong and I held onto it for many, many years.
It is such a unique material to work with!

If you have never used plaster cloth before, this DIY volcano is a great place to start. Kids will love the feel of it and it makes for a unique arts and crafts project.
DIY Volcano Materials
For the DIY Volcano Project for Kids
- Plaster Cloth
- Tape
- Construction Paper
- Empty Plastic Bottle or Small Cup
For the science Experiment
- Baking Soda
- Vinegar
- Red Food Colouring (Optional)

We made two volcanos. In one we used a small water bottle. In the other we used a small cup. The size of the bottle doesn’t really matter, except the bigger you use the more baking soda and vinegar you will need to get the volcano to ‘explode’.
You can usually find plaster cloth at a craft store. It is similar to the material used for casts for broken bones. It also hardens to about the same strength. A link to purchase plaster cloth is provided below.
How to Make a DIY Volcano for Kids
Volcano Project for Kids – The Steps:
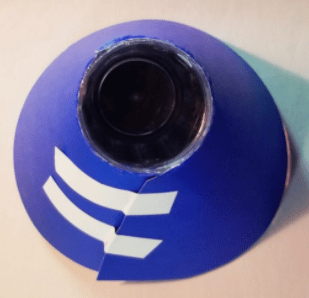
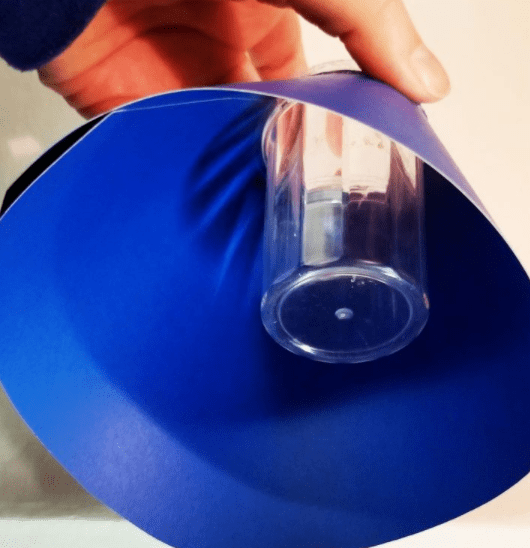
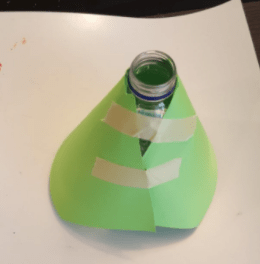
The first step to creating your volcano is cutting a piece of construction paper to wrap around the sides. I never found a really simple trick to doing this, but you can just roughly tape and cut so that it fits. The construction paper doesn’t have to look great because you are going to cover it up anyways.
When you wrap the construction paper round, and cut a hold for the top. It is best to have the paper start below the top opening of the bottle or jar you are using.
You don’t want the vinegar and baking soda that you will use for the lava to be able to soak into the construction paper.
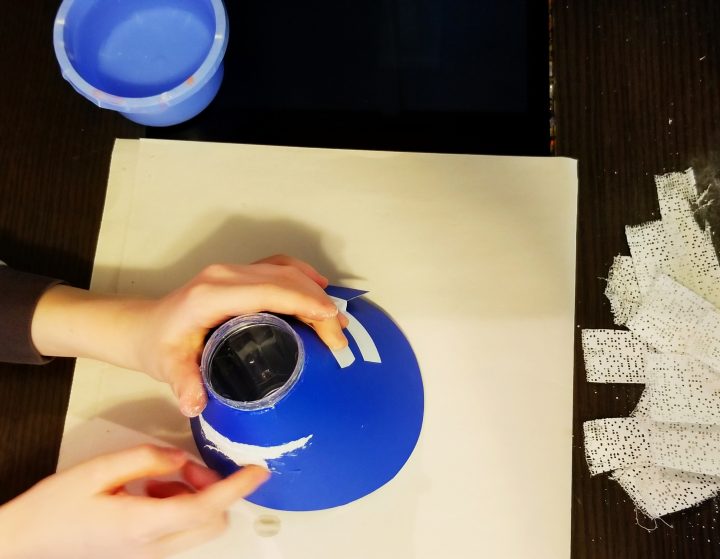
The next step is cutting up the plaster cloth into small pieces and strip. My kids loved using the plaster and applying it to the construction paper. They fully dipped it into water and then pressed it to the sides. Then use a finger to smooth out the plaster.
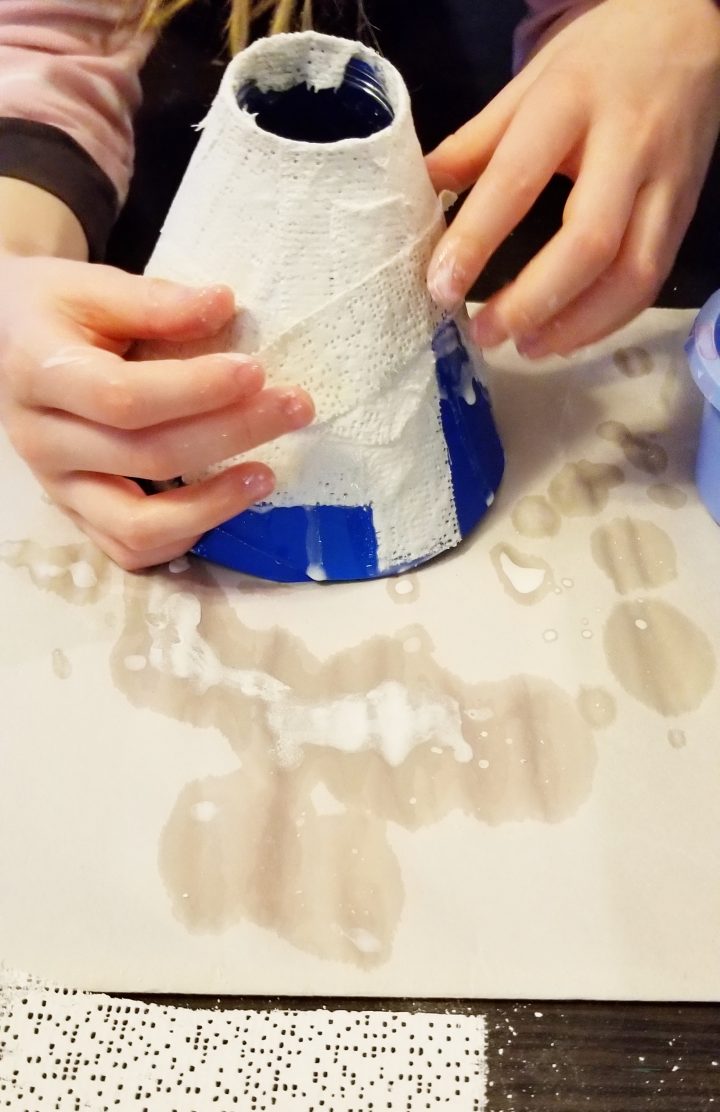
The more layers you add, the stronger your volcano will be. I added two layers and our DIY volcano has held up very well.
When you add the layers of plaster cloth, make sure to have some fold over the top to seal around where the ‘lava’ will come out of.
It is also a good idea to tuck a layer underneath the bottom. This way after your volcano has exploded and the lava has run down the sides, and your volcano is sitting in the lava, it won’t soak into the construction paper and cause your volcano to break down faster.
Decorating Your DIY Volcano
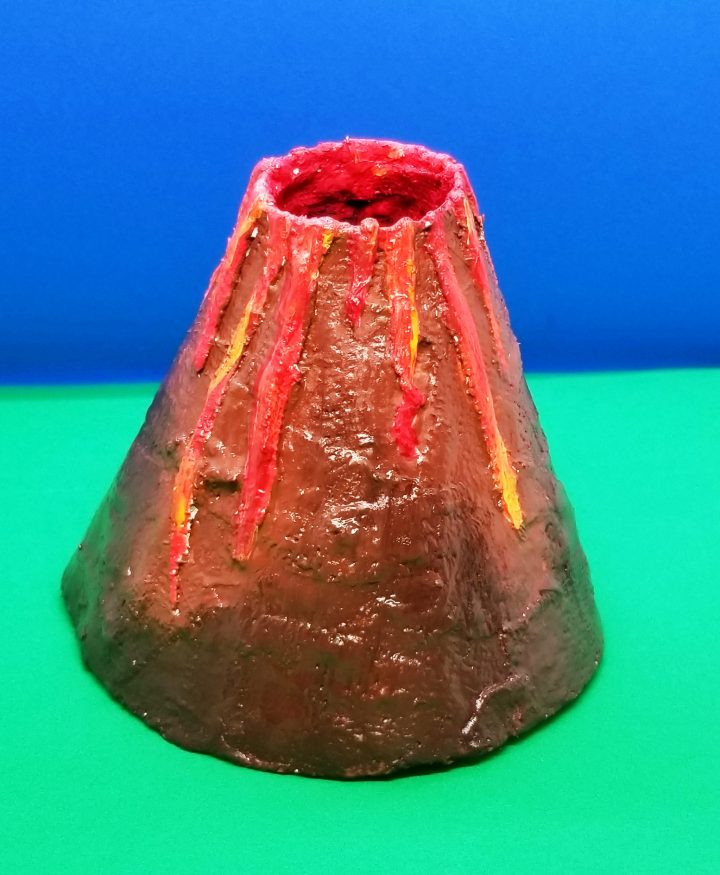
Once you have finished you DIY volcano with kids, you can add some extra details. My kids decided to use some of the plaster cloth to drape over the top opening. They twisted and laid the cloth down the side to look like lava.
We all loved the look of this when it was dry because it gave it an extra 3 dimensional effect. It also made painting the volcano easier and better.
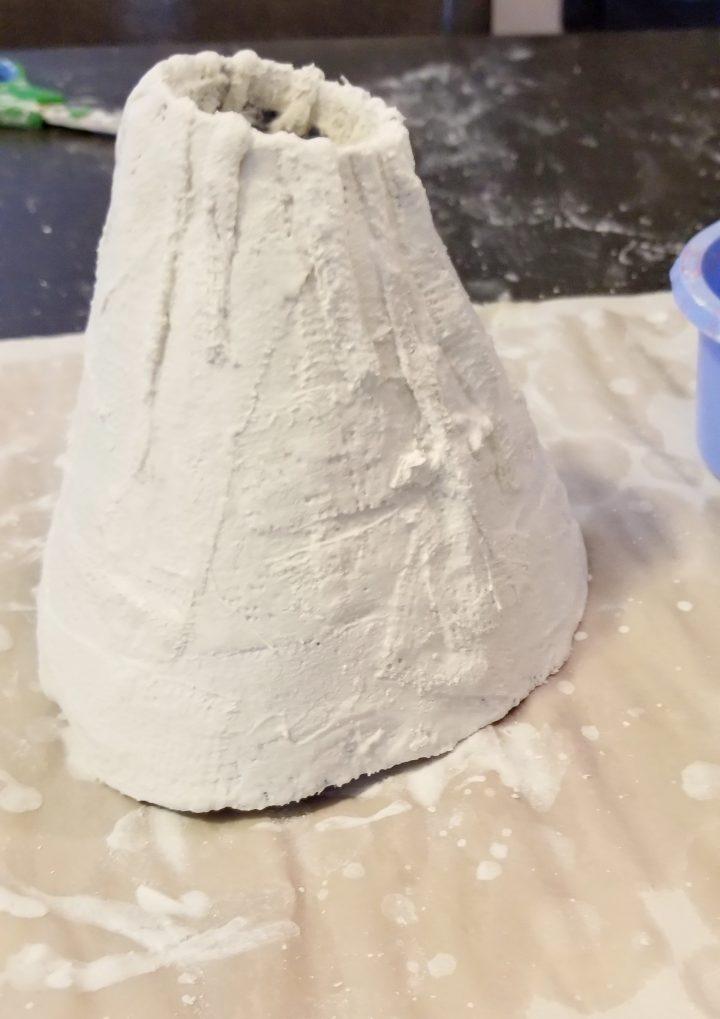
Once you have finished and covered your volcano, leave it to dry. Overnight is ideal, but the plaster cloth does dry quite quickly.
Once it is fully dry, the fun begins with painting. How you choose to paint your volcano is up to you. Kids will love putting their own twist on their volcano if they are given the chance.
Over the years I have seen some really amazing purple and sparkly DIY volcanos by kids. Adding some extra details with paint can make a big difference in the overall look of your volcano.
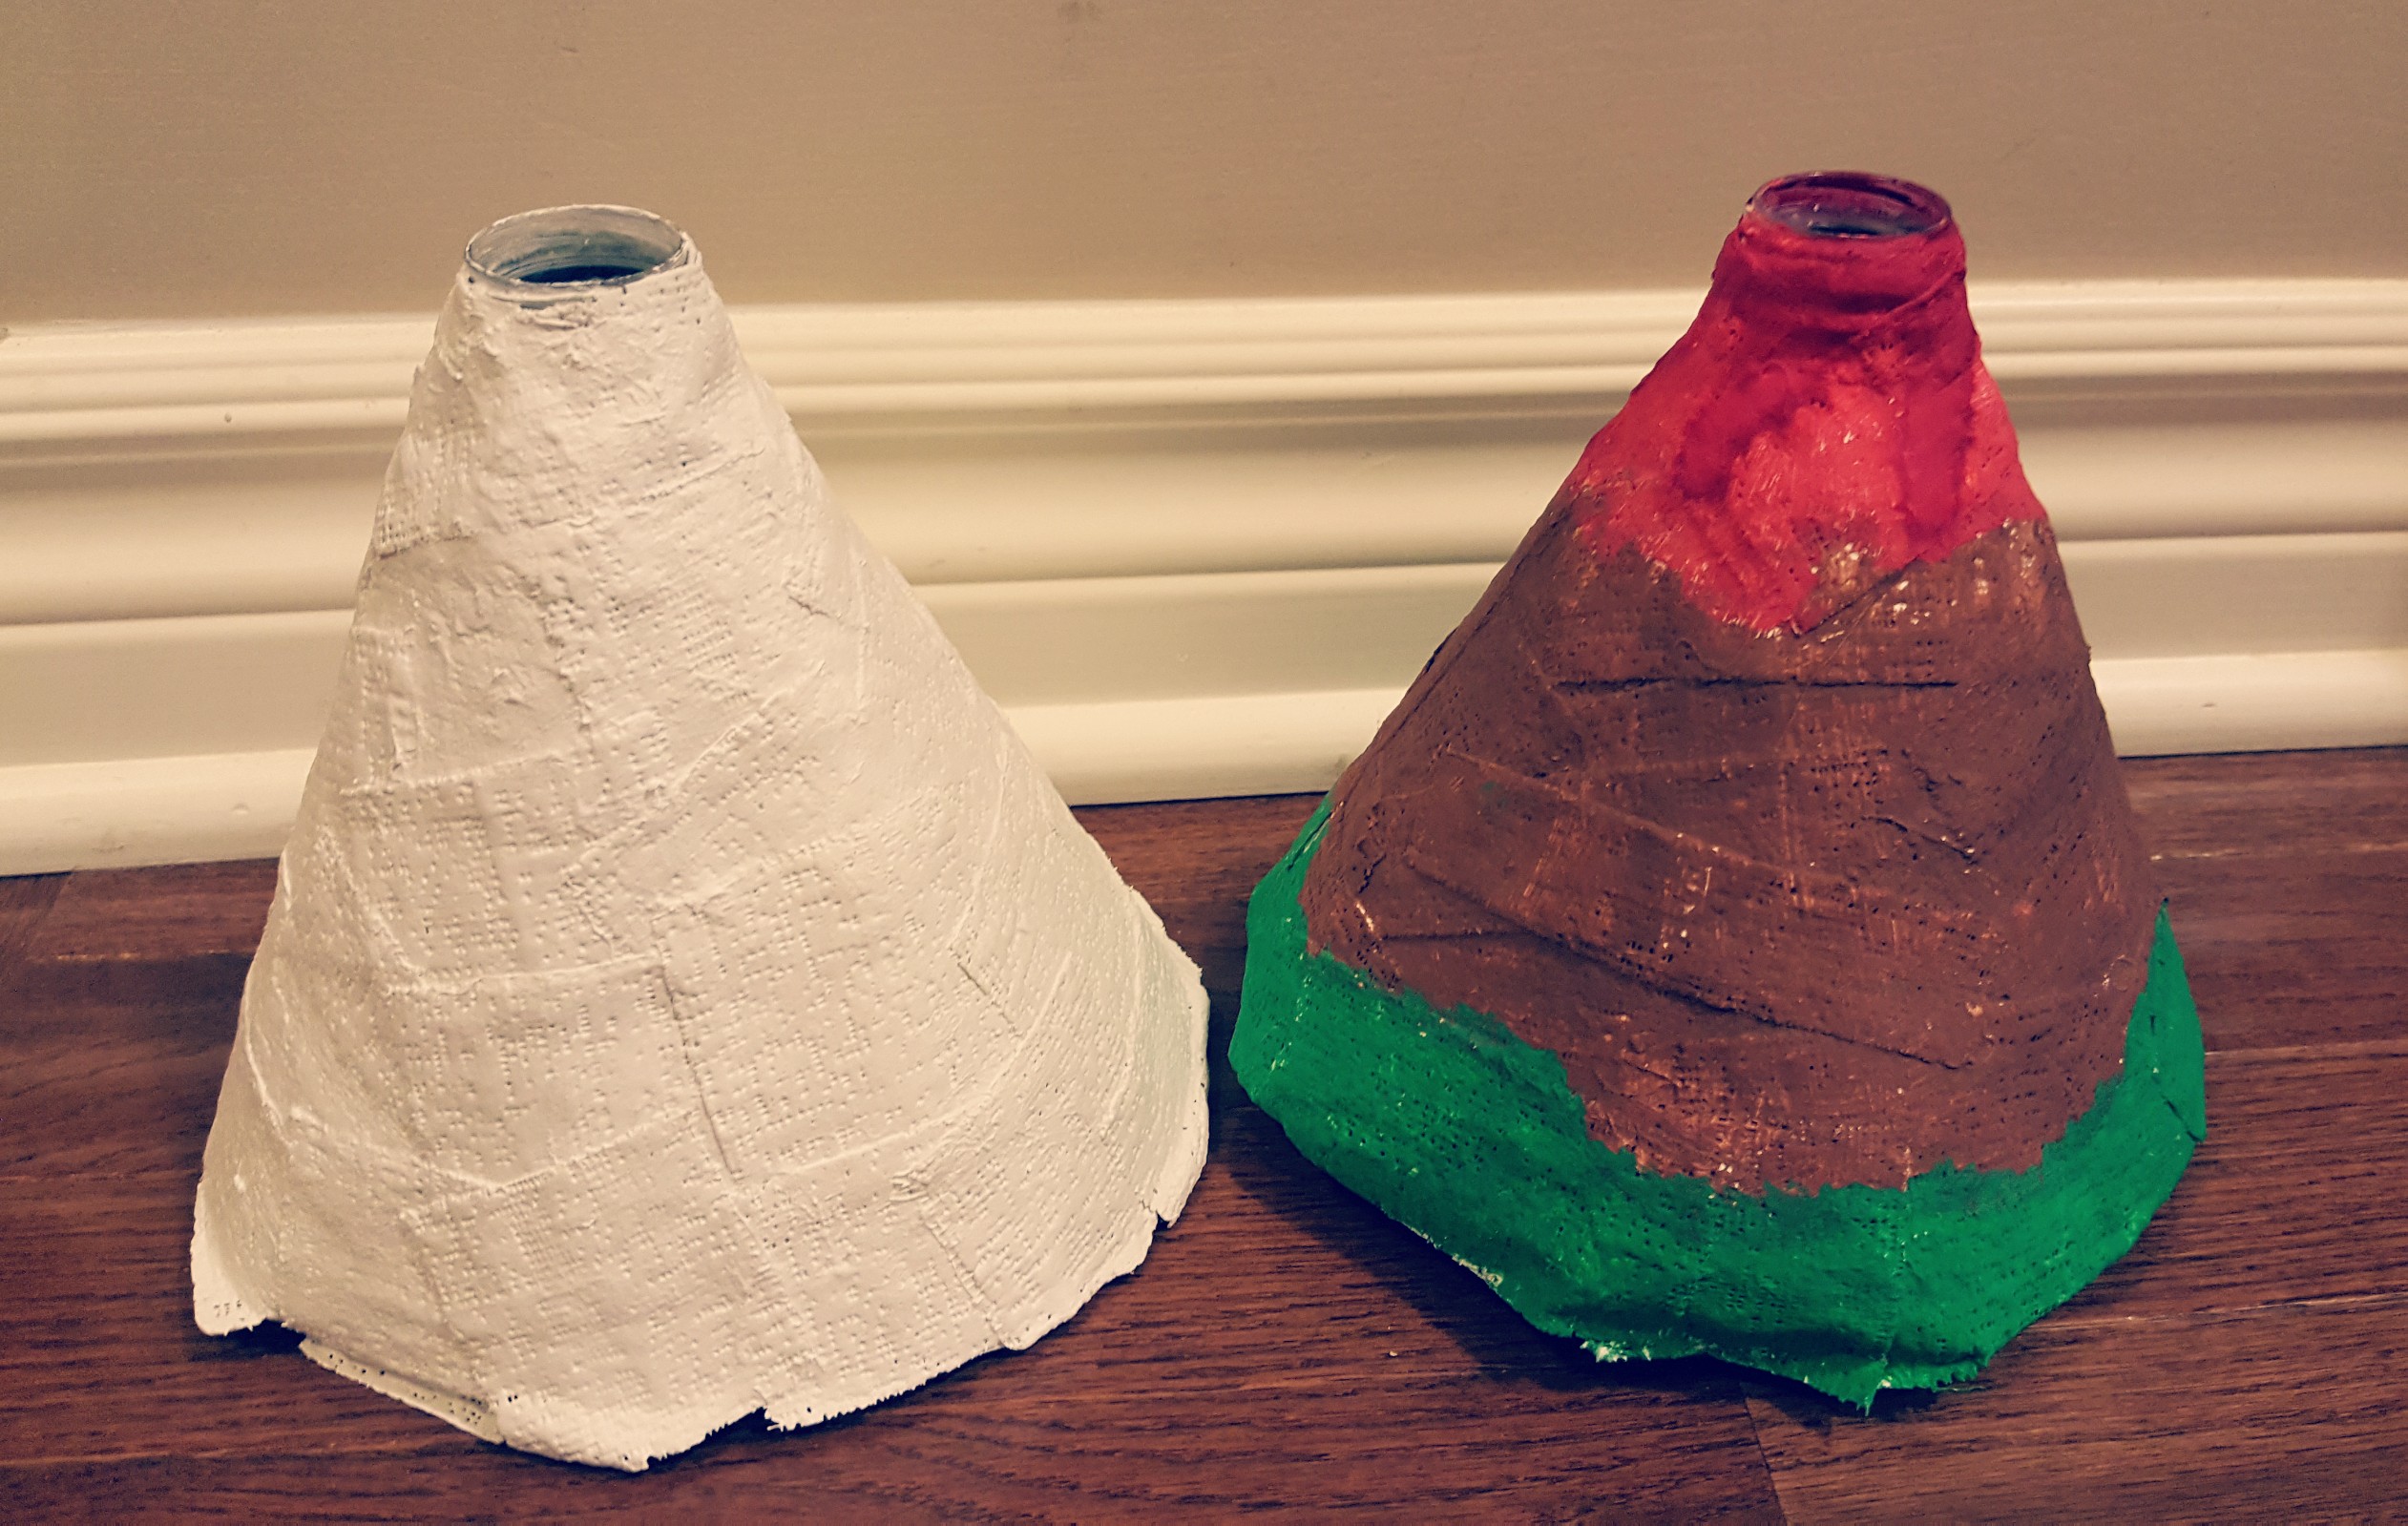
We used red, orange and streaks of yellow for the lava. We stuck to painting the extra pieces of cloth that we added to drape down the sides.
Then we added brown for the rest of the volcano and finished off with some dark brown along the bottom and my other daughter added some green for grass.
You can put a finish on your volcano, that can give it some shine and some extra protection. You DIY volcano is now complete! But the fun has just begun!
DIY Volcano Science Experiment
As with all science experiments, make sure children are supervised.
Making your volcano explode is really simple. All you need is baking soda, white vinegar and red colouring. I filled the water bottle in my volcano 3/4 of the way full of baking soda (a funnel can work really well).
The more you add, the bigger your explosion, but you want to leave enough room for the baking soda and vinegar to be able to mix.
Place a tray or bowl under your volcano to catch the lava that flows out. It can get messy!
Next, add red food colouring to white vinegar. You don’t need the food colouring for the lava to work, but it makes for some great looking lava.
Start with 1/4 of vinegar and pour the vinegar onto the baking soda. Immediately, your volcano will explode. You can continue adding vinegar and baking soda until the volcano doesn’t explode any more. Watch the lava flow over the sides!
Young kids love when things ‘explode’ and this is such a great example of a chemical reaction. Kids have fun making these and they are easy enough to do with little hands.
The great thing about this DIY volcano is that as long at it does not get soaking wet, you can simply wipe it down and store it to use again next time!
This DIY volcano for kids worked out really well for me because we experimented with it at home several times and I was able to use it several more times in my classroom. It looks great, stays strong and is a great way to mix art and science together!
Extension Ideas
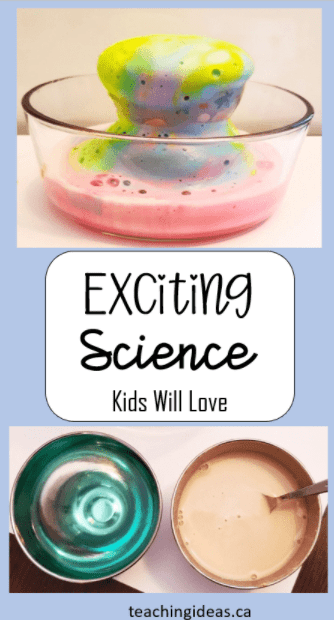
If you really want to impress kids with an ‘explosion’, try using this foam/lava recipe. A few more materials/ingredients are needed, but the lasting, foaming explosion is definitely worth it!
DIY Volcano Art Activity
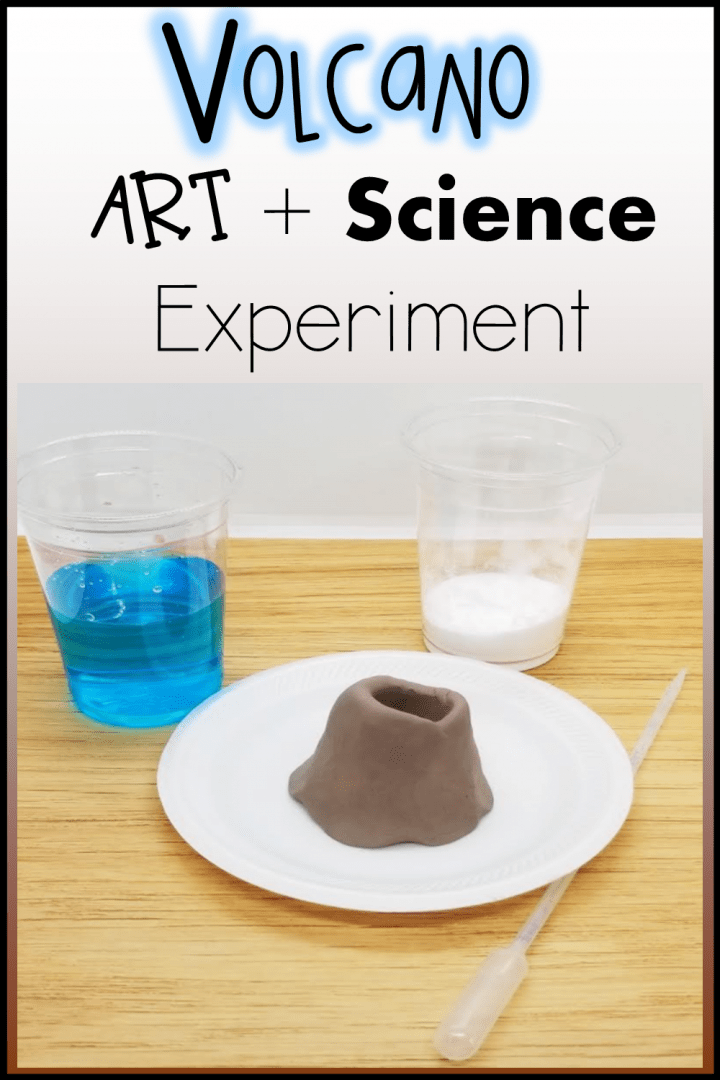
If you love the idea of creating a volcano and then doing an explosive science experiment, there are many different ways to create your volcano. I often use clay so that even young children can create their own volcano.
How to Make a Volcano for Kids Extension Ideas
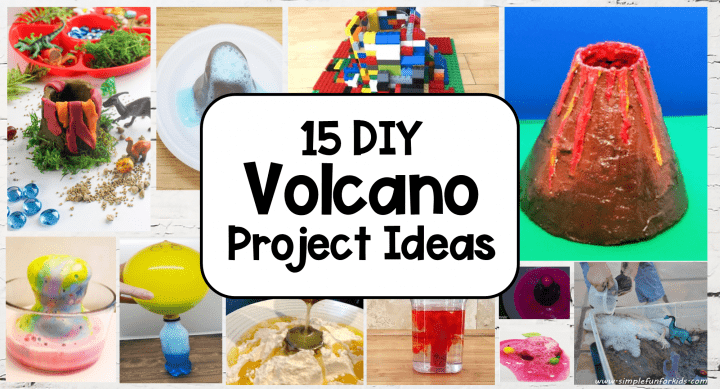
If you want to keep the interest in volcanoes and learning going, check out this collection of 15 How to make a volcano project ideas.
Subscribe for FREE Printables
Join Hands-On Teaching Ideas for hundreds of activity ideas. When you subscribe you will also gain access to the Free Resource Library. The library is filled with over 100 printables resources.
Click the image below to sign up and gain instant access to the Free Library. Click and subscribe through Grow. Once you subscribe a page with a link to the Free Library will appear. Click the link and look through for any resources you want to print and use.

More Hands-On Teaching Ideas
Check out more learning activities for kids at school or at home.