My kids love arts and crafts. Almost daily they create a few new, beautiful pieces of artwork. Usually, I post their pictures around our house, and on the fridge. I like showing off my kids artwork, and they love seeing it around the house.
However, as much as I love their artwork, I can’t keep all of it. At first I tried putting their artwork in bins that I had for each of my children, and hanging onto it, but I quickly realized that I would have dozens of bins storing all of their work over the years.
Some of their artwork I have simply thrown out, but this tends to not go over well with my kids.
The other day when my kids brought home stacks of artwork from school I needed a solution.
I finally feel like I have found a way to organize and display my kids artwork in a way that works for all of us. It is a simple idea to quickly hang onto kids artwork and minimizes how much you need to store before displaying it. Below is my kids art display ideas.
Materials
You don’t need any special materials to store and display kids artwork in this way, but you will need:
- Kids Artwork
- Glue or Tape
- Scissors
- Picture Frame
- Cutting Template
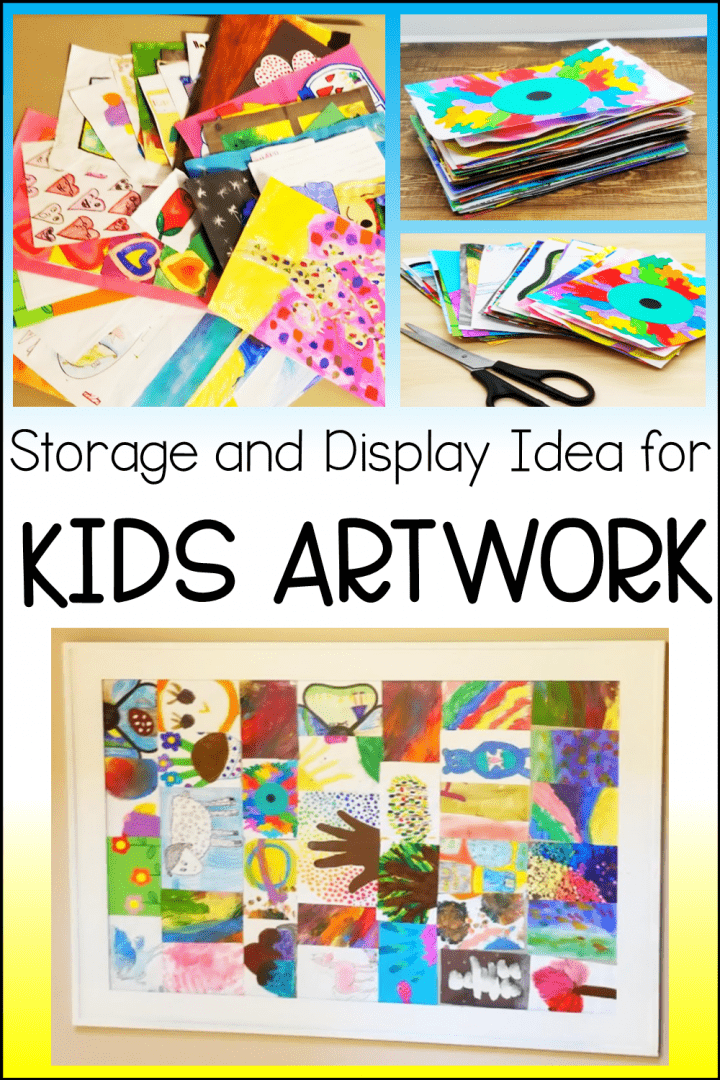
For this project, you will basically be cutting a piece out of each of your kids artwork into a rectangle (or two). Then, you will take all of the cut out rectangles and place them together to create one large photo or an artwork quilt as my kids called it.
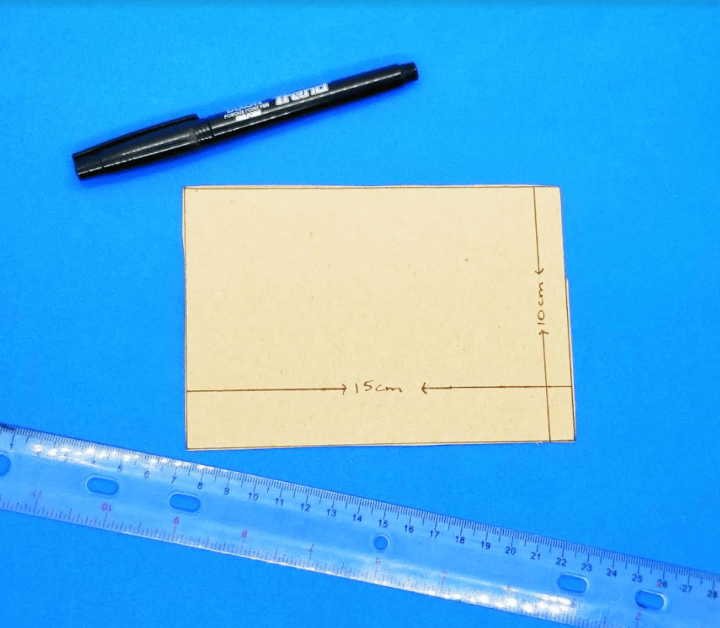
Once you select a picture frame, next decide what size you want to cut each piece of artwork into. I made a rectangular template (15cm x10cm) that I measured to allow me to line up six pieces of art laid vertically with 4 pieces laying horizontally. This gave me the option to place the cutouts in different ways.
Find a size that works for you. Squares also work well. If you have a lot of artwork that you are using, you could always cut the pieces really small. I found that it works best if you cut each piece of artwork into the same size, but you can certainly get creative.
How to Create Your Kids Artwork Display
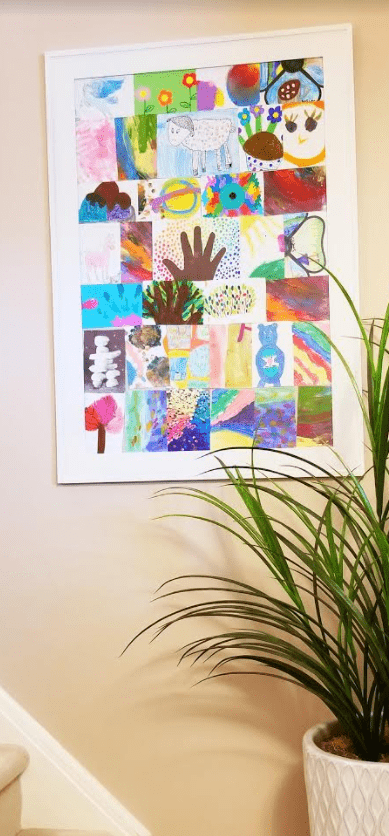
This storage and display idea for kids artwork is a great way to display dozens of pieces of artwork into one beautiful picture.
We have our picture frame filled with my kids artwork displayed in our front hall. My kids constantly stop and look and admire their art. I couldn’t purchase a more beautiful or meaningful piece of art!
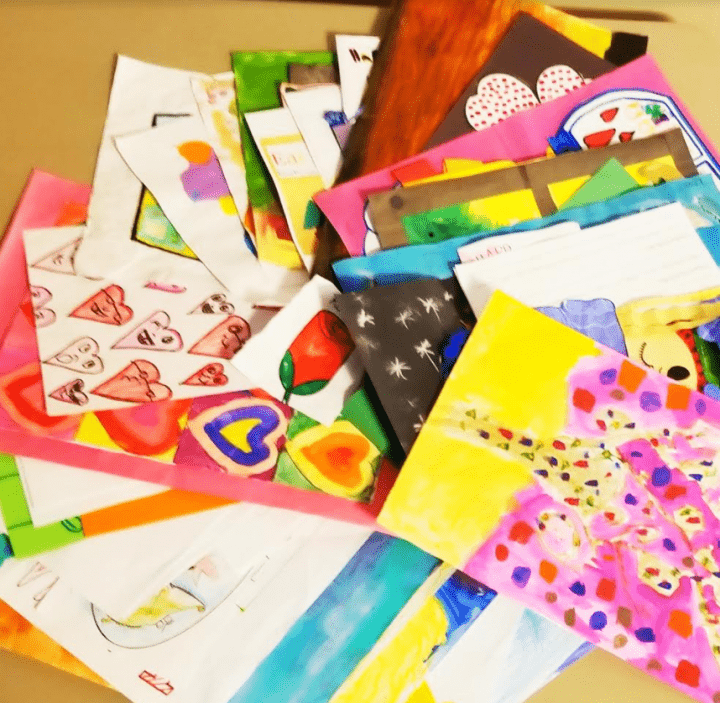
Choosing the Artwork
Once you have a collection of artwork, decide what pieces are really special or that your kids absolutely do not want cut.
Generally my kids can decide on one or two pieces for a collection that they want to hang onto and the rest are okay to go into our artwork quilt.
Typically the art that we save are art projects that my kids spent weeks working on at school. These are the pictures that I hang onto or store in a bin. Trust me, you want to avoid cutting one of these pictures that are really special.
The rest of the pictures are used for your art piece to put into your picture frame.
After we made one of the artwork displays with all of my kids artwork cut and then displayed together in a frame, they loved it and wanted some of their special pictures cut so that they could be displayed in the same way.
Using the Cardboard Template
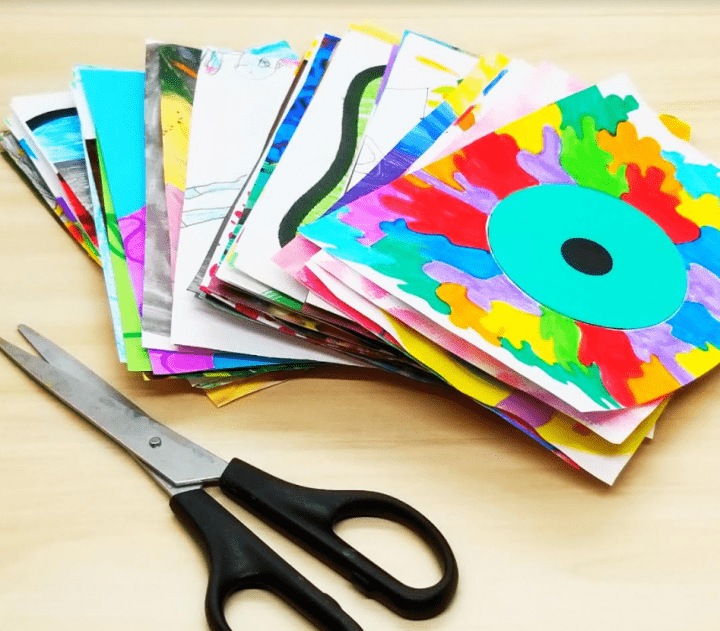
After you decide what pieces you are going to cut, get out your cardboard cutting template. I usually keep the template on hand and cut whenever I have artwork that I am ready to get rid of.
You can cut each time you have a picture you know you want to keep or wait until you have a few pictures to cut.
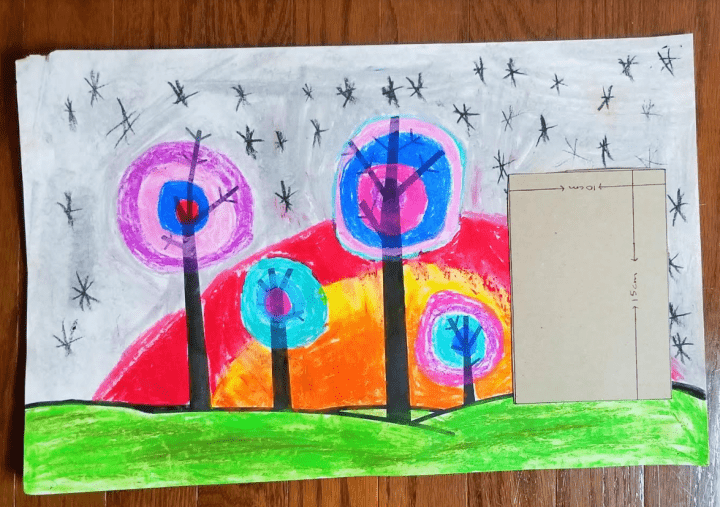
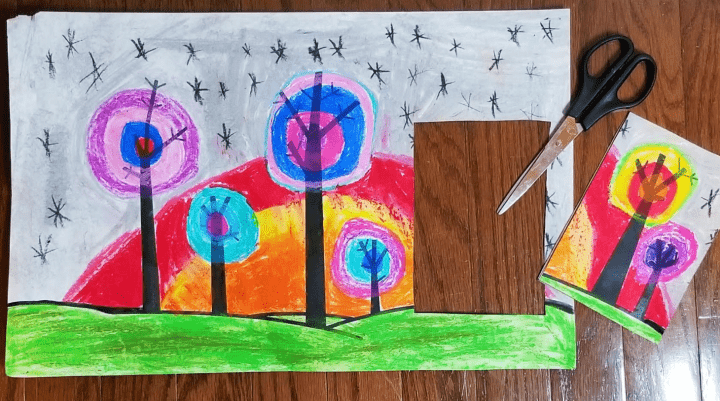
You can quickly cut out your kids artwork into the rectangles using the template. I pick a part of the artwork that is the focus of the art. Sometimes I cut a few rectangles from one piece.
My kids now love cutting out their own artwork and choosing what part of their work they want to keep. Once cut out, I throw out the rest of the art.
Storing Your Kids Artwork
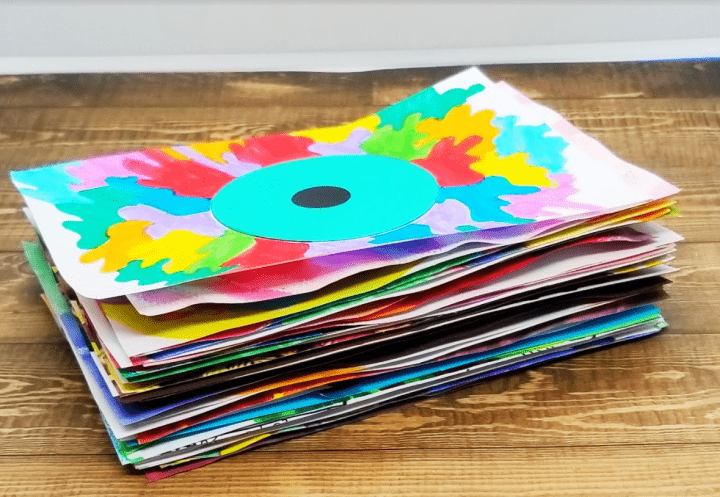
One of the great things about this art project is that you can cut, organize and store all of the rectangles that you cut up until you are ready to use them. 100 small rectangular cutouts take up a lot less space than 100 pieces of art work.
You can store all of the rectangles that you cut out in a baggie or small container until you are ready to put your picture together. It makes for a very organized way to store your kids artwork.
Creating Your Display
Once you have enough rectangles of cutout artwork, then it is time to create your display. My kids love helping with this part!
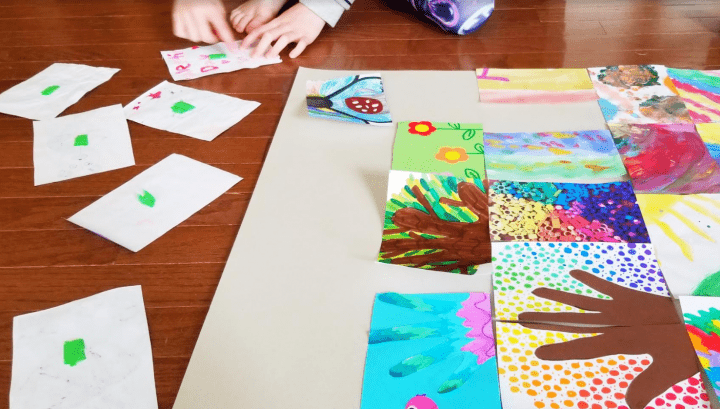
Grab all of your cutouts and the backing from your frame (or paper the same size.) Start by laying each of your pictures out and deciding what order you want your pictures to be displayed in the frame. What pieces do you want as the focus in the middle? Will you lay all of the pictures vertically or will some be horizontal?
Move the artwork around until you are happy with the placement. Next, use glue or tape to secure all of the pictures.
Finally, put together your picture frame and display it on a wall or somewhere around the house.
We had so much fun creating our artwork quilt and we loved talking about the pictures. My kids had fun telling about their memories of making each piece. We have gone on to create a few more and are displaying more of their artwork than ever.
Extension Ideas
If you have a few pieces of artwork that are too special to cut, but you really want to include it in your artwork quilt you can take a picture of the artwork. Next, print the picture and cut the piece you want to keep from the printed image.
Since everyone was so happy with our artwork quilt, our plan is now to create a few picture frames for each of my kids that includes only their artwork. The ones displayed in our front hall are a mix from each child.
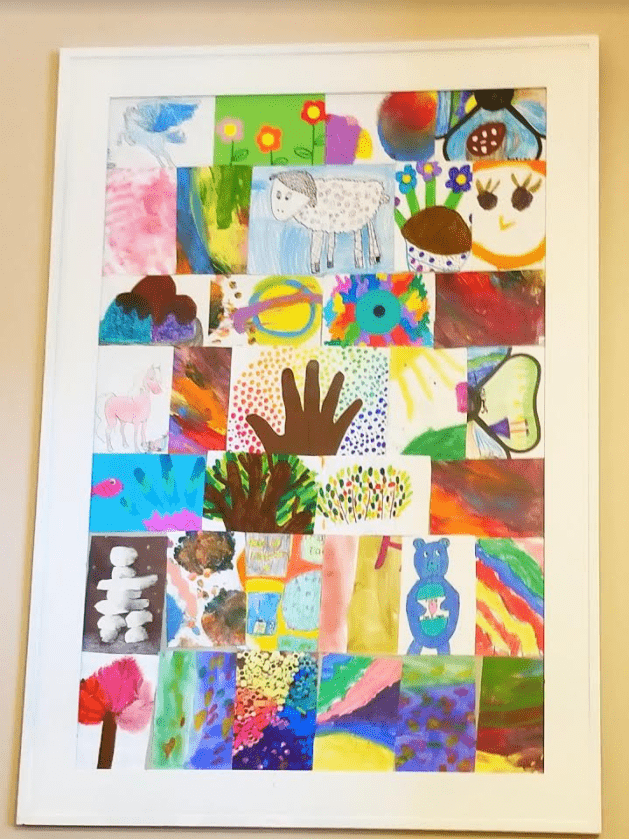
There were a few pieces of artwork that included images that were larger than one rectangle to cut out, but I really wanted to keep more of the picture. I ended up cutting out two rectangles side by side and then placing them together in the final frame.
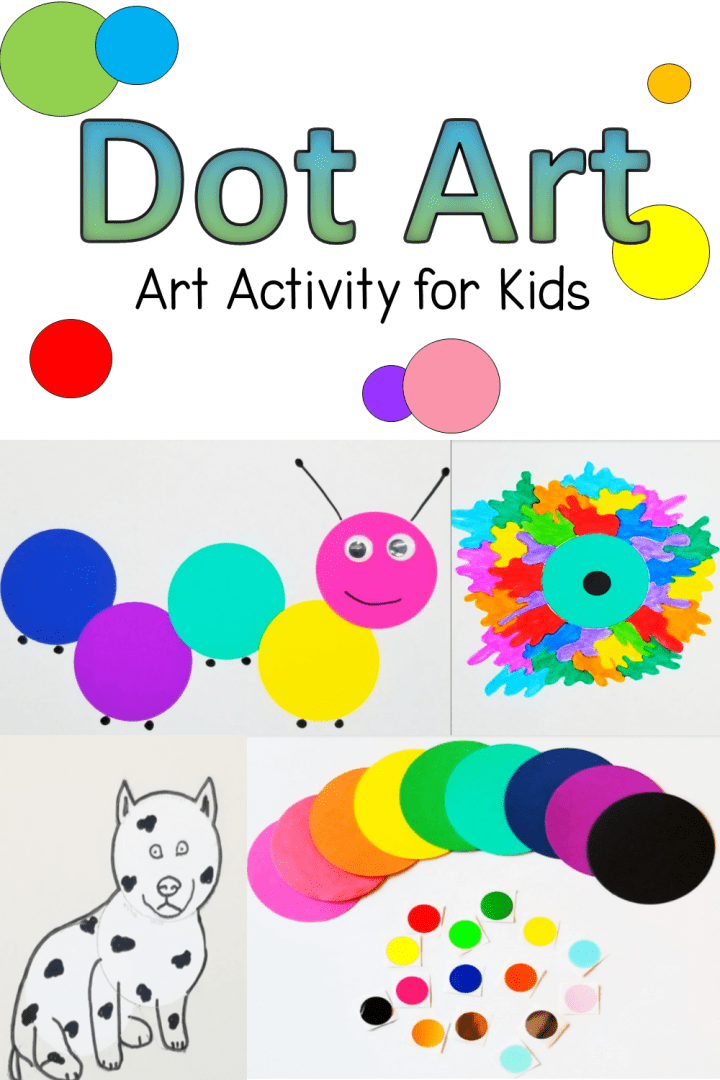
This is an easy way to keep larger images together, but still fitting the look of your art. (You can see this with the sheep image in the second row of our framed art below.)
I hope this post gives you some ideas to do with all of the kids artwork around your house.
More Hands-On Teaching Ideas
If you are looking for more activities and ideas to do in the classroom, or at home with kids, below are some of my favourite and most popular learning activities.
From a collection of science experiments to do at home or school and more arts and crafts to escape rooms and printables, there are lots of things to keep kids busy and learning. Click image for activity description.