This post may contain affiliate links.
I am very excited for summer and spending long days outside enjoying everything the summer brings. I am always looking for different activities for my kids that they can easily do outside. Most years we end up making liquid sidewalk chalk and it is always a hit!
This year, I wanted to try something different. Although we will definitely still make liquid chalk, we created some beautiful solid sidewalk chalk – and it was so easy!
Sidewalk Chalk Materials
We often purchase a box of sidewalk chalk and my kids love creating with it, but there is something exciting about creating your own. Plus making your own allows you to get a bit creative – like making rainbow chalk!
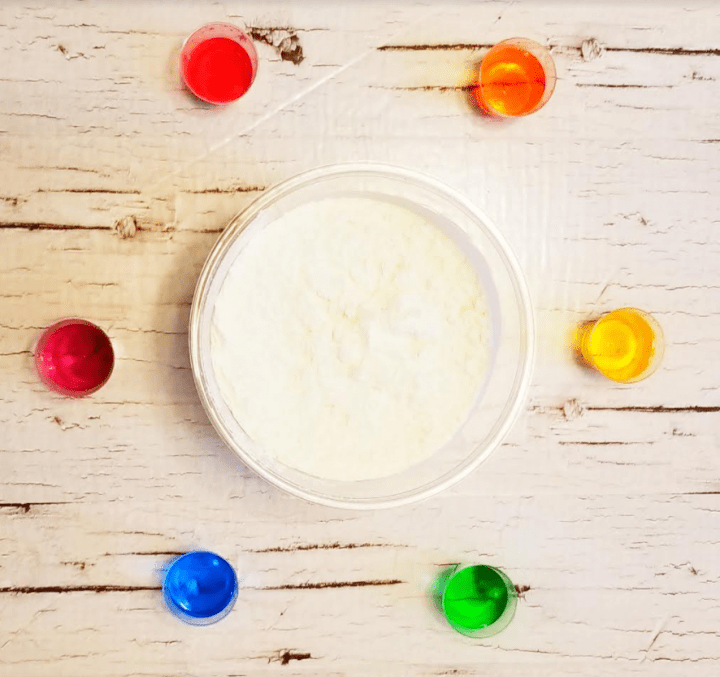
You only need 3 ingredients and a few supplies for sidewalk chalk. (Link at bottom of post available to purchase materials).
- Plaster of Paris
- Food Coloring – or Tempera Paint
- Water
- Styrofoam Cups
- Silicone Molds
I used food coloring for my chalk, but tempera paint also works well. Use what you have on hand or have easy access to.
Using Plaster of Paris for Sidewalk Chalk
Start by checking the instructions on your plaster of Paris. Generally, the ratio is 2:3 of water to plaster. (2 cups of water for every 3 cups of plaster.)
Plaster of Paris is really easy to work with, but can harden very quickly. Read the instructions for the plaster that you are using for how much water to add. I recommend making small batches at a time.
Disposable cups are also ideal to work with because they can be thrown out afterwards verses scraping the hardened plaster out of a container.
I typically add a bit more water then the directions say in order to give myself an extra minute to mix the color in and pour into the mold.
However, when you add extra water, it can take longer to dry and may not dry properly. Experiment a bit to find what works best for your plaster of Paris.
How to Make Sidewalk Chalk
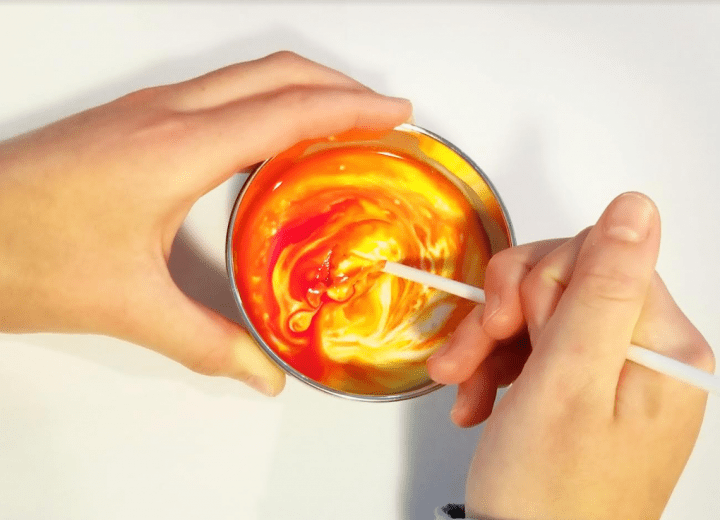
Mix the plaster of Paris powder and water together. Quickly add your food coloring (or paint) and mix. The more coloring you add the more vibrant and bright your sidewalk chalk color will be.
Mixing the plaster should be done by an adult. It is easiest to mix and make one color at a time.
Once you have your colored plaster of Paris, next pour it into your mold. Silicone molds work best because they are easy to remove the chalk from later.
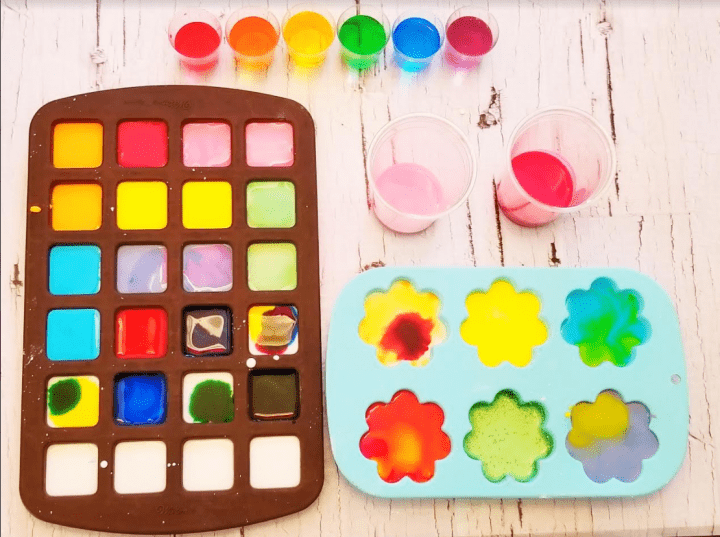
For some of the molds, I used white plaster of Paris without any color added and then added a drop or two of food coloring and swirled it through the white. We even added some sparkles on top of our heart molds just for fun.
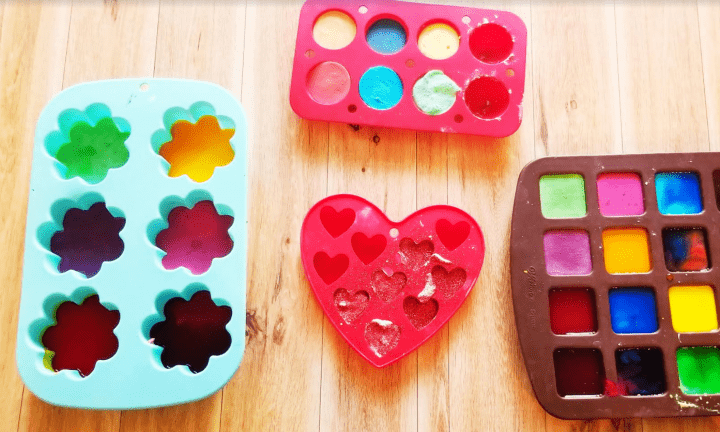
It is best to leave the plaster in the molds for at least an hour, or even overnight, so that it becomes completely solid. Once dry, pop the plaster out and you are ready to create!
This is the basic way to create your own sidewalk chalk, below are the steps to create our favorite creation – rainbow sidewalk chalk.
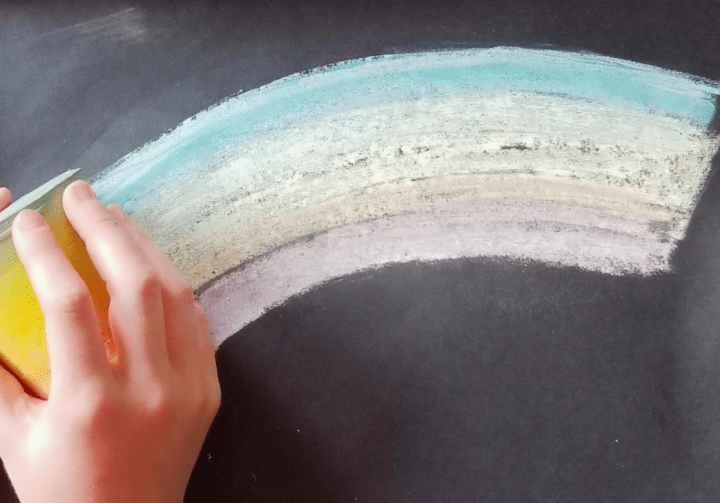
Always test the sidewalk chalk on the surface you want to draw on first. I have never had it mark a surface, but every surface is different.
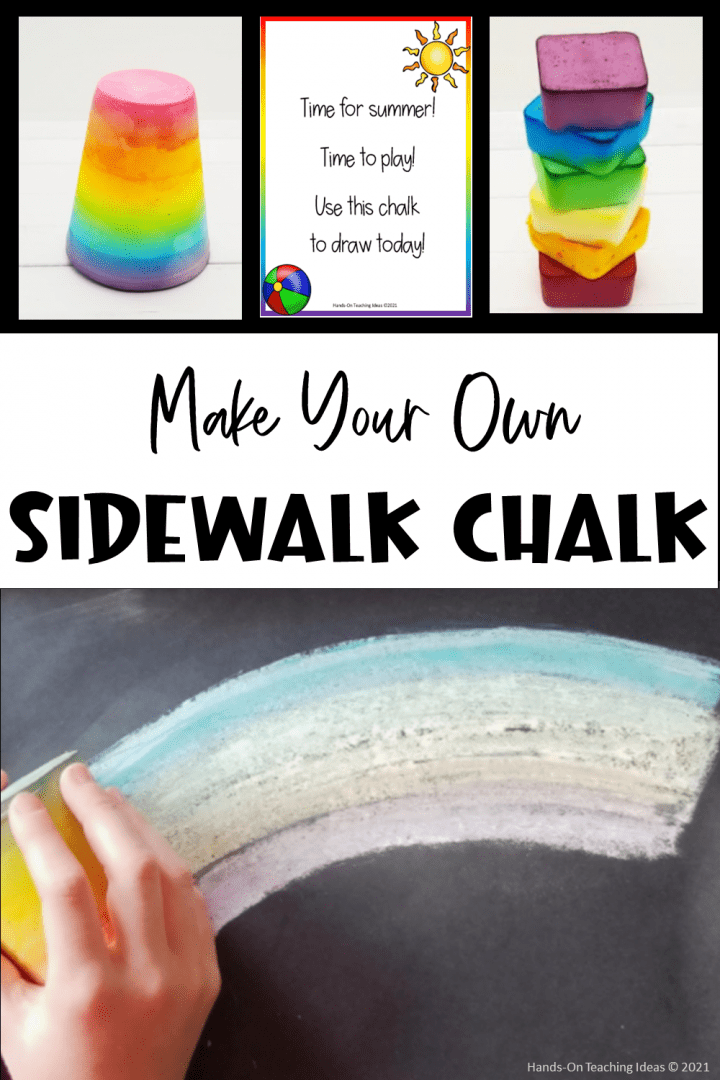
Rainbow Sidewalk Chalk
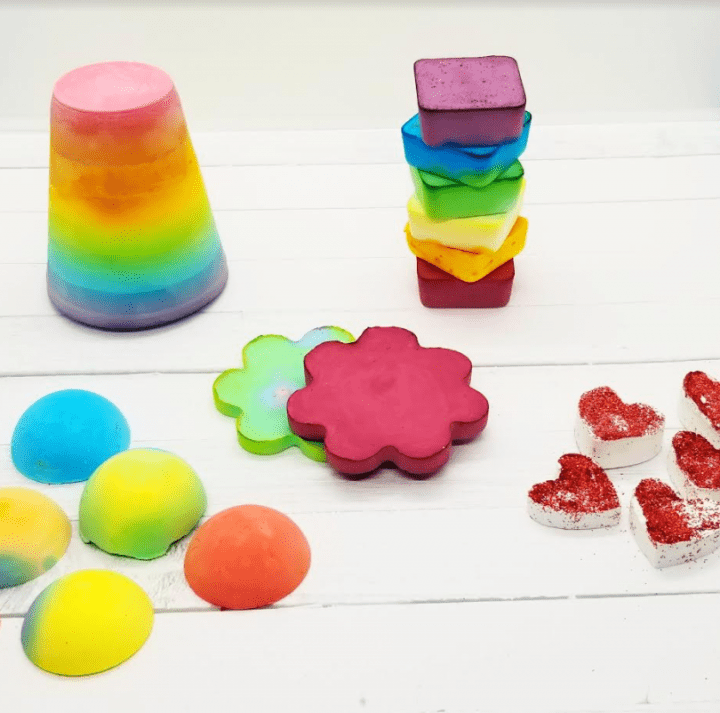
I loved our pieces of different sidewalk chalk that we created, however, we were really excited about how our rainbow sidewalk chalk turned out.
You make the rainbow sidewalk chalk using the same steps as above with the silicone molds, however, instead of the molds, you can use disposable foam cups.
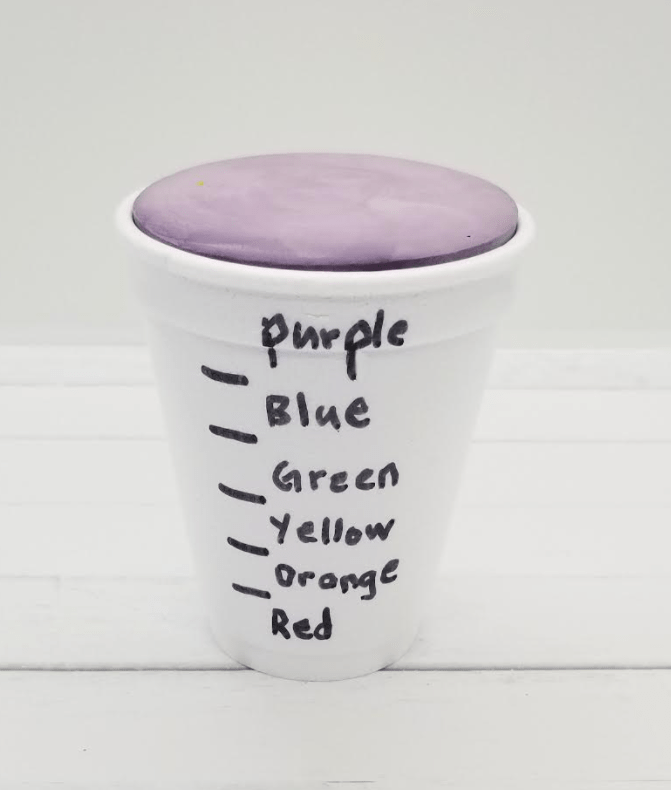

I marked on the side of the cup how much plaster I needed for each layer. You could also use a clear plastic cup. Either will work.
Start by mixing your red plaster of Paris and pour it into the cup. Next, add orange, then yellow, green, blue and finally purple on top.
The most important part of the process is adding each layer when the color below is still a bit wet. You have to work fairly quickly. If you add a layer and the layer below is already set/solid, the next layer will not blend in and will break away.
I basically poured one layer in and then quickly mixed my next layer and poured it on top.
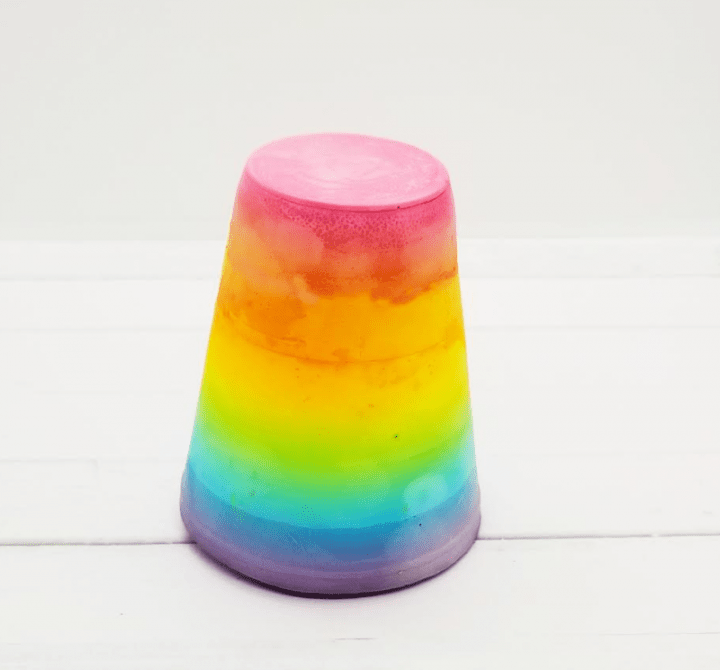
Leave the plaster overnight and then peal, or cut the cup away. You will have a beautiful, big piece of rainbow sidewalk chalk.
Sidewalk Chalk Gift Idea
As a teacher, I am always looking for ideas for interesting little gifts for my students. I love the idea of this chalk as an end of the year gift for children or even for a birthday. It is homemade and gives children something creative to play with during the summer.
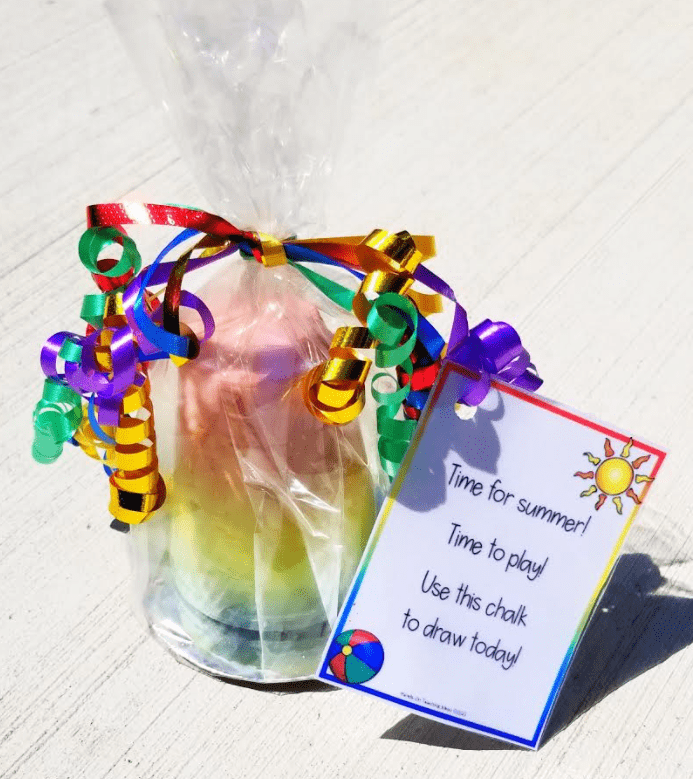
I wrapped it in a clear plastic bag and added some ribbon. I created a little tag to attach to the rainbow sidewalk chalk.
A copy of the printable tag is available for FREE in Hands-On Teaching Ideas FREE Resource Library. Link below.
Once you’ve made your chalk, or if you have some leftover, hang onto it for this Easy Summer Craft for Kindergarten and Young Kids.
Subscribe to Hands-On Teaching Ideas
If you would like to receive freebies, activity ideas and promotions subscribe today. You can also access Hands-On Teaching Ideas Free Resource Library filled with free printables! Visit today. Click below.

More Sidewalk Chalk Ideas
If you are looking for more ideas for creating and drawing with chalk, my kids LOVE this liquid sidewalk chalk that we make every year. All you need is corn starch, food coloring and water! Click for full activity description.

More Hands-On Teaching Ideas
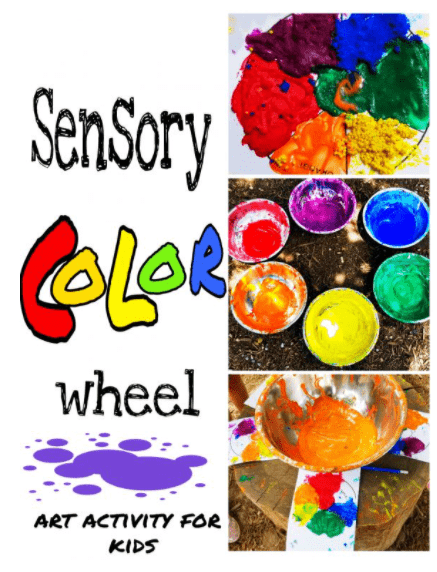
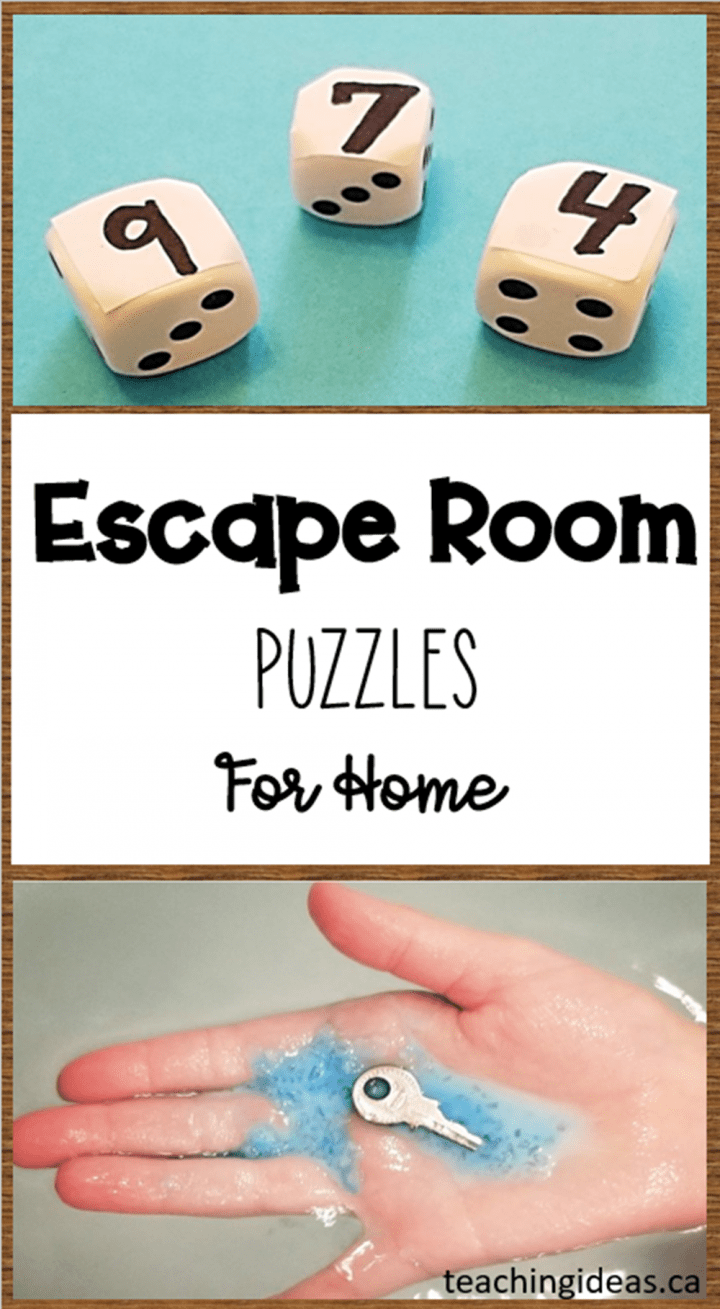
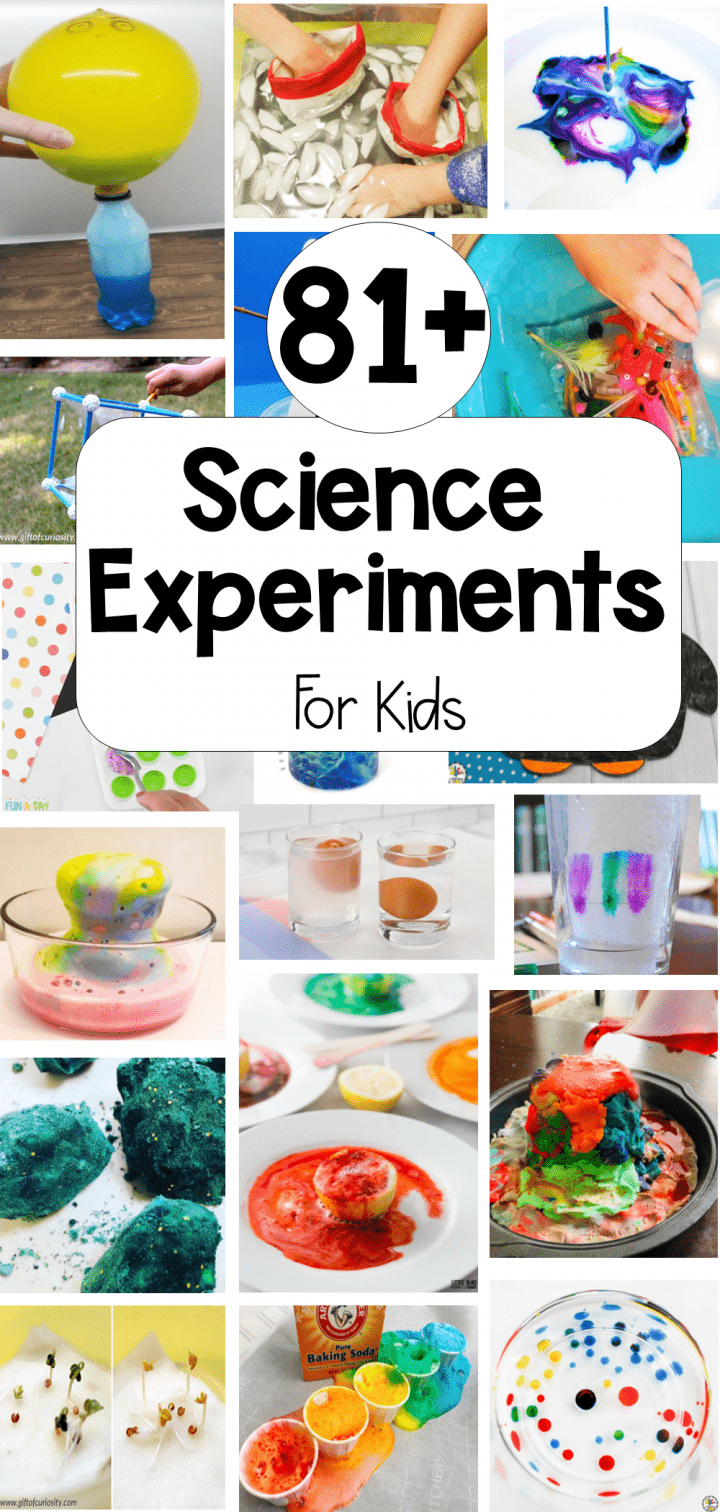
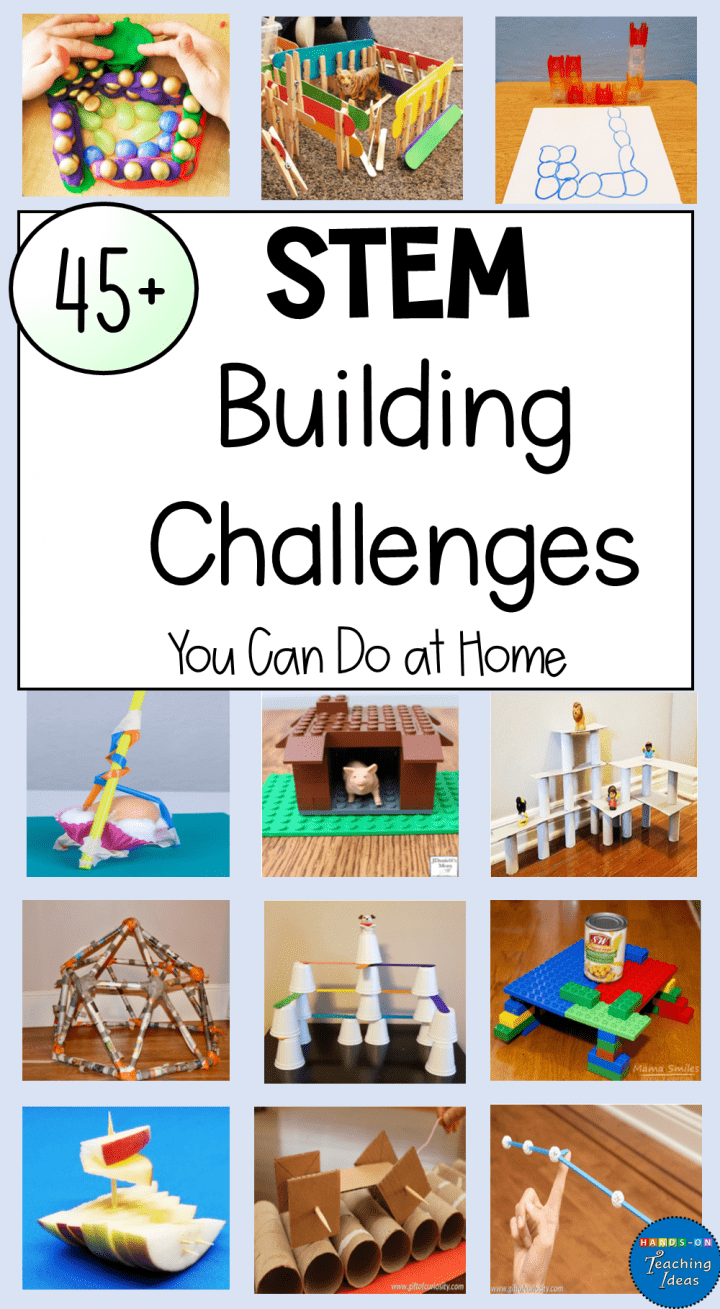
If you enjoyed creating, and using this sidewalk chalk, you will love these other hands-on teaching ideas and activities. From escape rooms to sensory painting and science experiments to STEM challenges, there is lots to keep kids busy and learning.