I love when I have an art activity for kids that is simple to prepare, inexpensive and is a hit with the kids that I do the activity with. I have done with activity many times over the years and it always turns out wonderfully! This art activity is perfect for home or the classroom.
This is a very simple art activity, but it is perfect for creative and imaginative art. Each child has the opportunity to create something different.
When I did this activity with over a hundred kindergarten children, no two pieces of art turned out the same.
Materials
Part of what makes this art activity for kids great is that it uses really simple materials. All you need for this art activity is:
- Construction Paper
- Dots/Circles
- Glue
- Markers/Crayons (Any drawing materials)
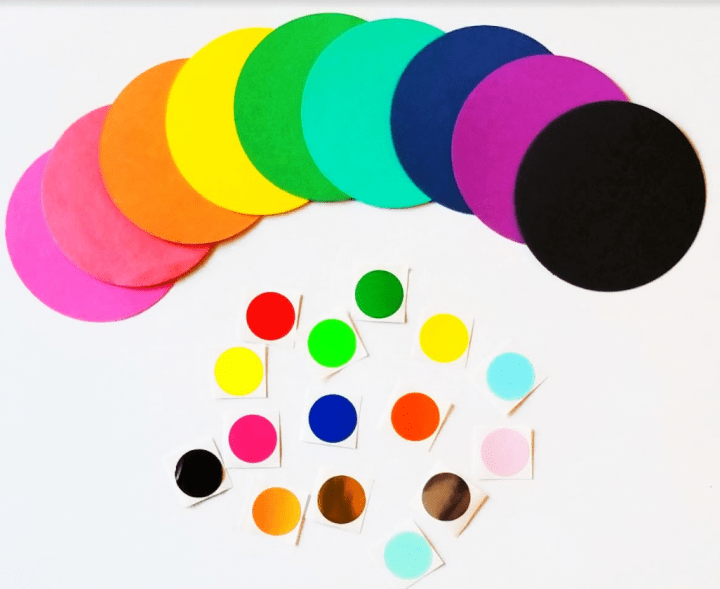
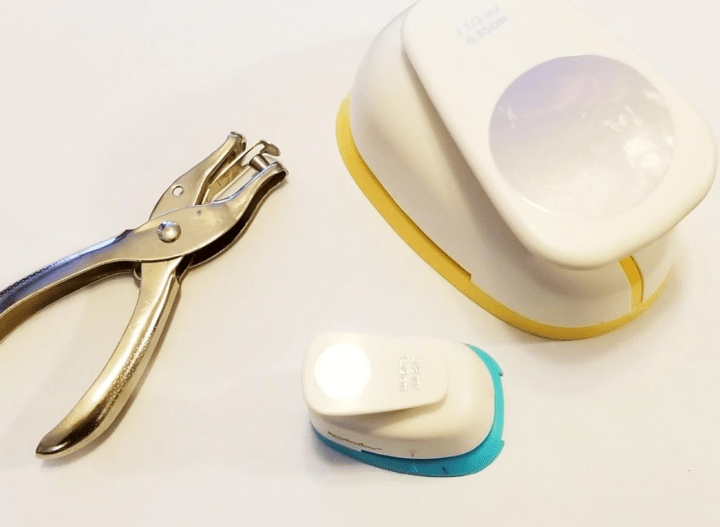
For the circles/dots you can use various things. Sticker dots work really well because they can simply be stuck to the page, and no prep is needed. You can also cut out circles or you can even use bingo dabbers!
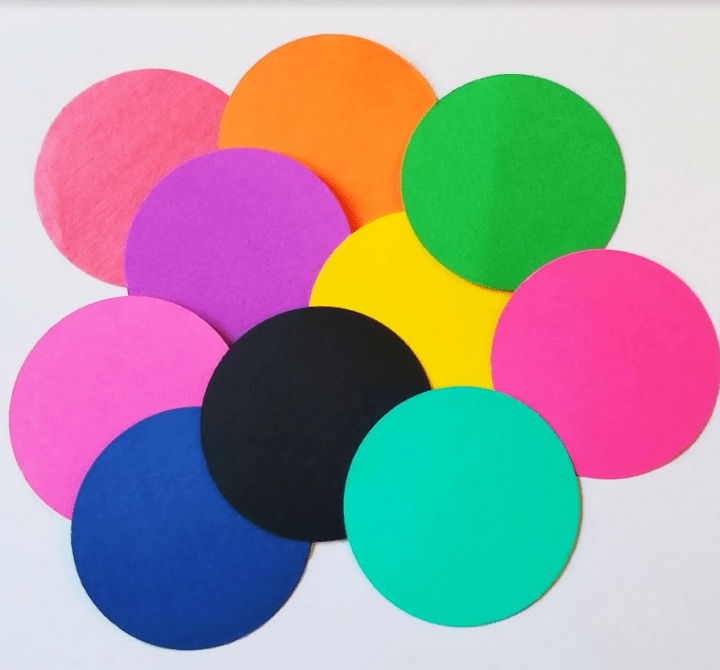
I had some paper cutters/punches to create the dots. I used cardstock in various colors and punched a bunch of circles of different colors for the activity.
Use what you have available to you and keep it simple.
Steps to Create Your Art Activity for Kids
Once the circles are prepared, there is little to no other prep that you need to do! Below I have listed three ways that I did this activity.
Activity #1
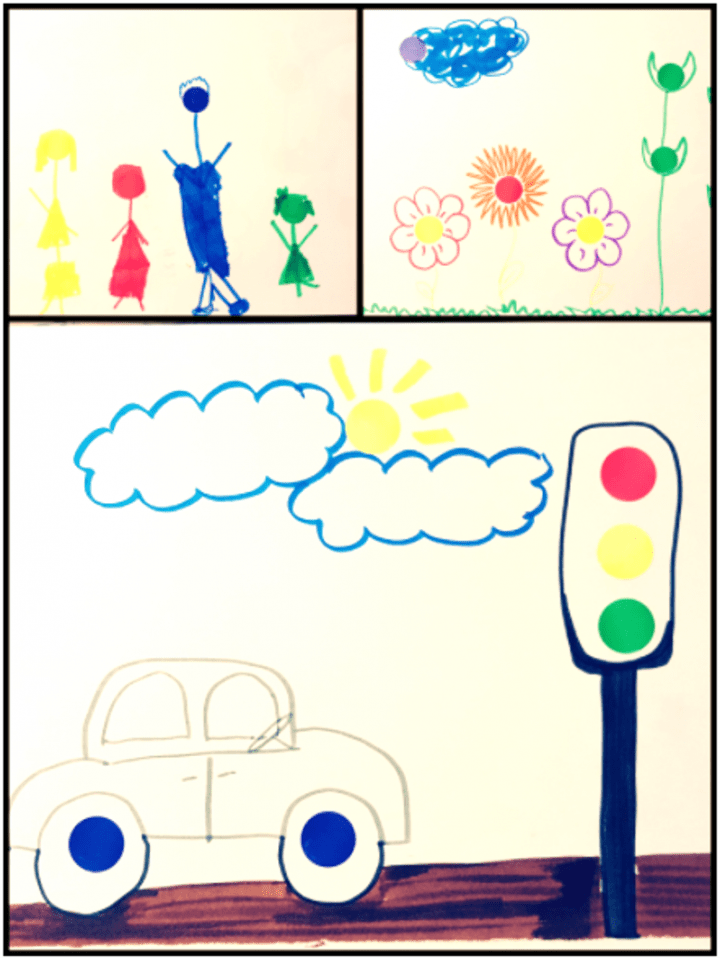
Start by giving each child a sheet of paper. On each sheet of paper I stuck down 4-6 dot stickers of different colors all over the page. Each page was different and children chose a sheet that they felt they could create something with.
The goal is for children to look at the dots and create a picture that seamlessly includes all of the dots.

Some kids have ideas right away when they see the dots, others may find this activity challenging. My goal, especially for art, is not that kids create a perfect picture, but rather something that they love and created on their own.
There is no right or wrong way to do this dot art!
For those kids who find this challenging, I encouraged them to start by connecting the dots in some way. Start by drawing a line or two and see what they then see in the picture.
Sticking down the dots ahead of time is best for slightly older children because it is more structured, but can limit what they see in the dots.
Art Activity for Kids Option #2
Another option for the dot art is to make it more open for children. I set aside several circles of different sizes and children each had to choose a specific number of circles. I did not glue the dots down ahead of time for them.
They could choose any combination of sizes, but they had to pick a specific amount of dots. Once they pick the circles, they get to decide where they want to place them on the page.
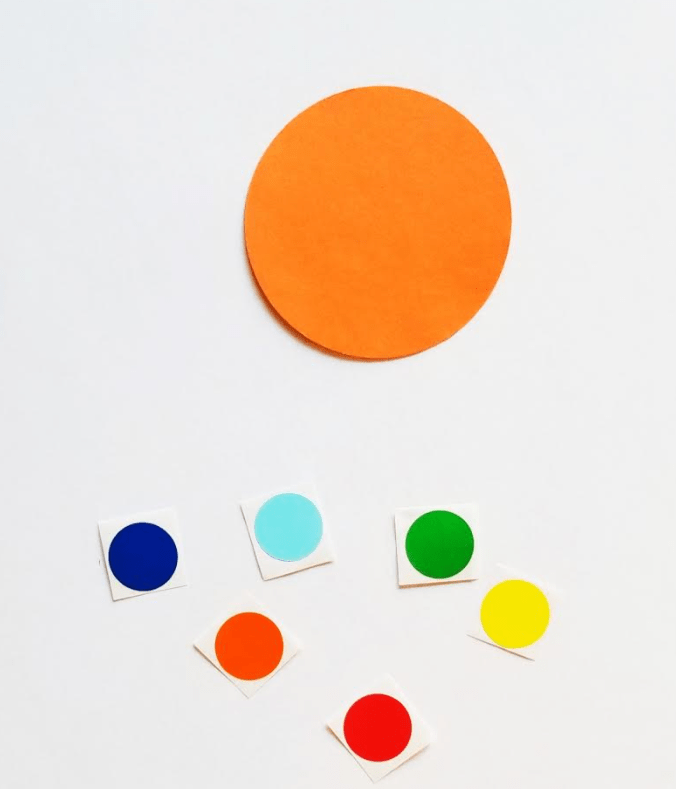
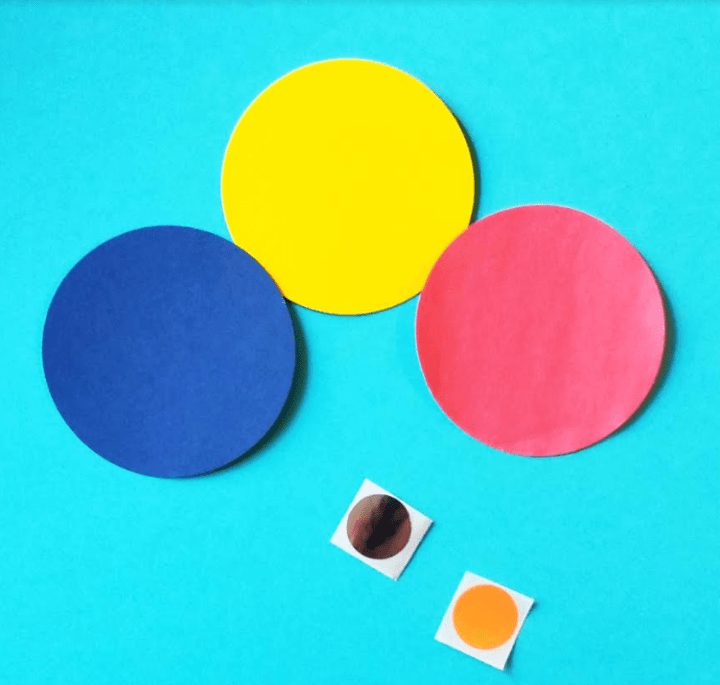
For young children, I let them choose 5-10 colored dot stickers. Before sticking them to the page, children consider their placement of the stickers on their page.
Then give them a sheet and they stick or glue down their dots.
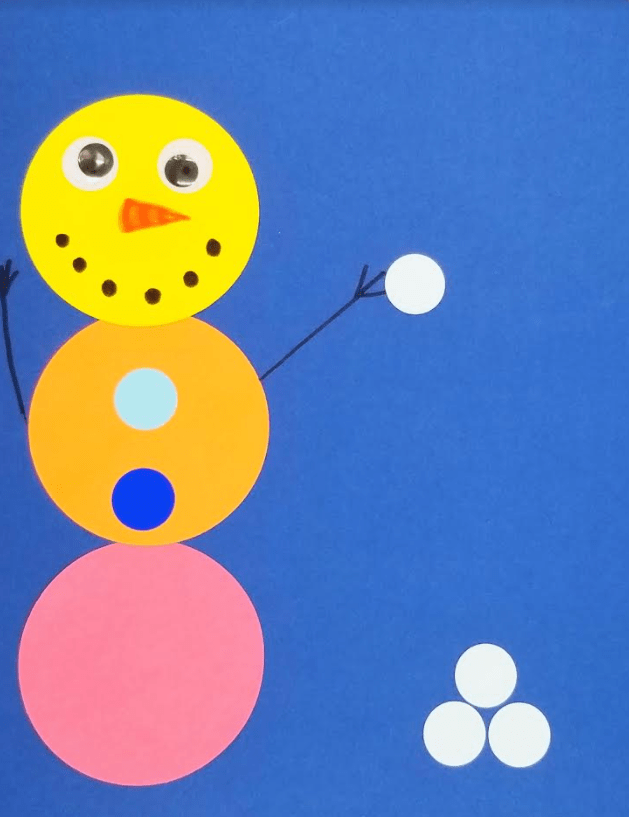
I like the challenge with this art to use the different dots and different colors to create a picture. It is always interesting to see what kids can come up with and what they see when they look at the dots.
I am always amazed by what children can come up with. A circle becomes a snowball. A small blue dot becomes a wheel. The possibilities are endless!
Art Activity for Kids Option #3
The final way that you can do this art activity, and my favorite, is to simply place out a bunch of circles of varying colors and sizes.
By giving children the materials and the option to use as many, or as few, of the materials that they want to there are no limits put on what they can create.
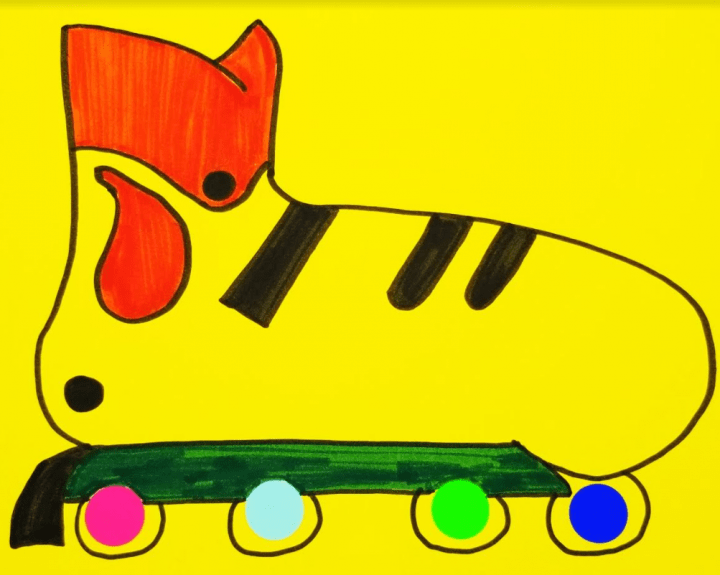
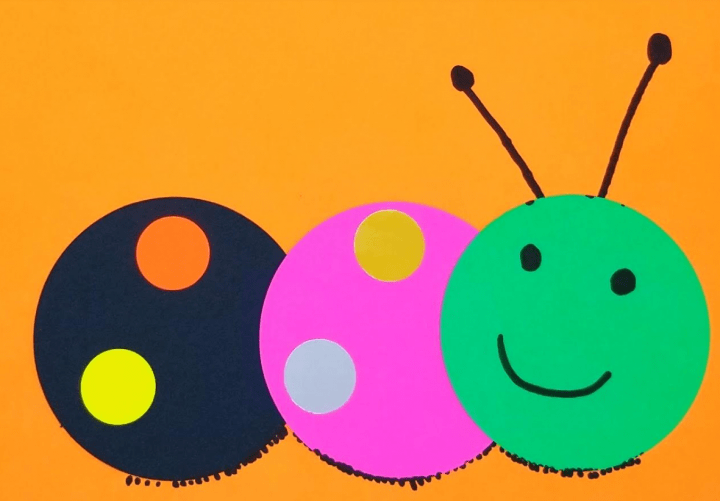
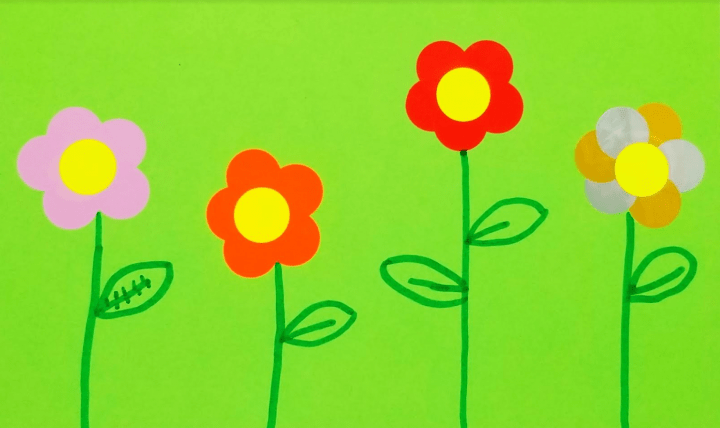
When I did this dot art activity with older children I challenged them to use the circles to create a picture that the dots would simply blend in to. I wanted them to use the circles to start and create their picture, but make it so the final product was not just circles.
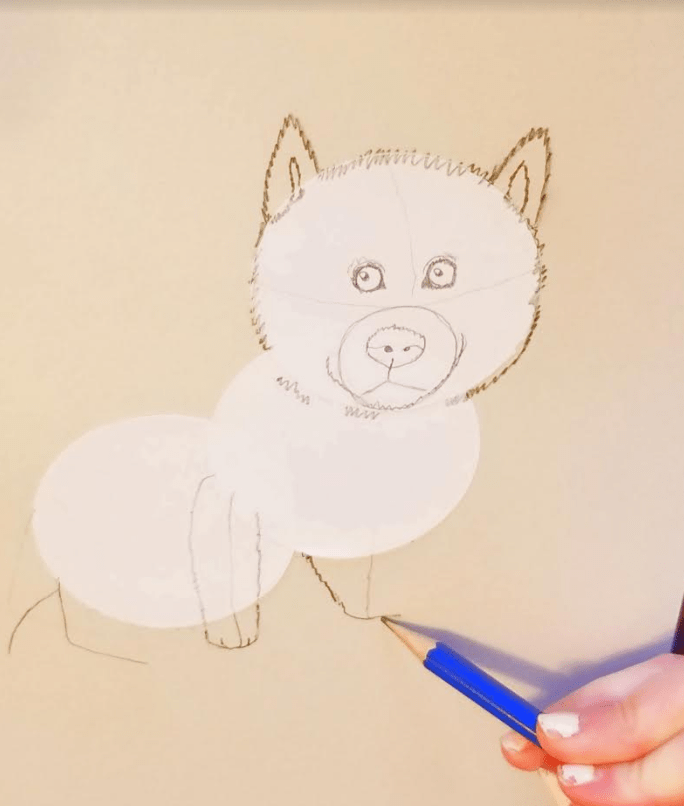
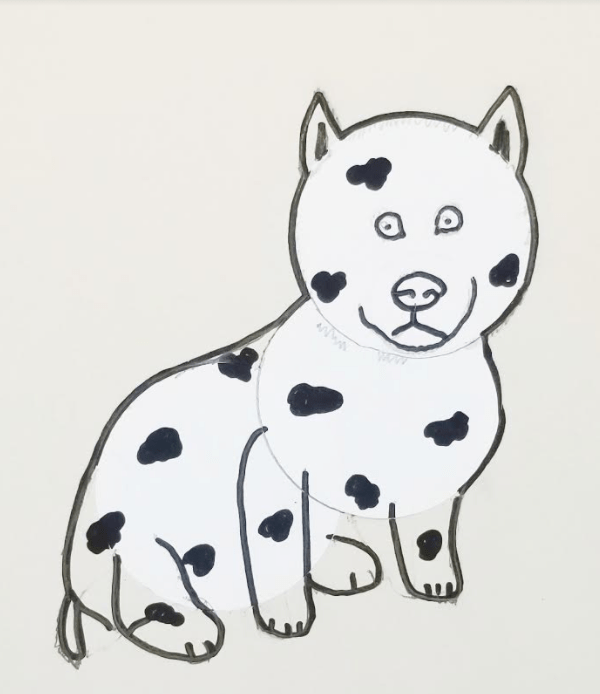
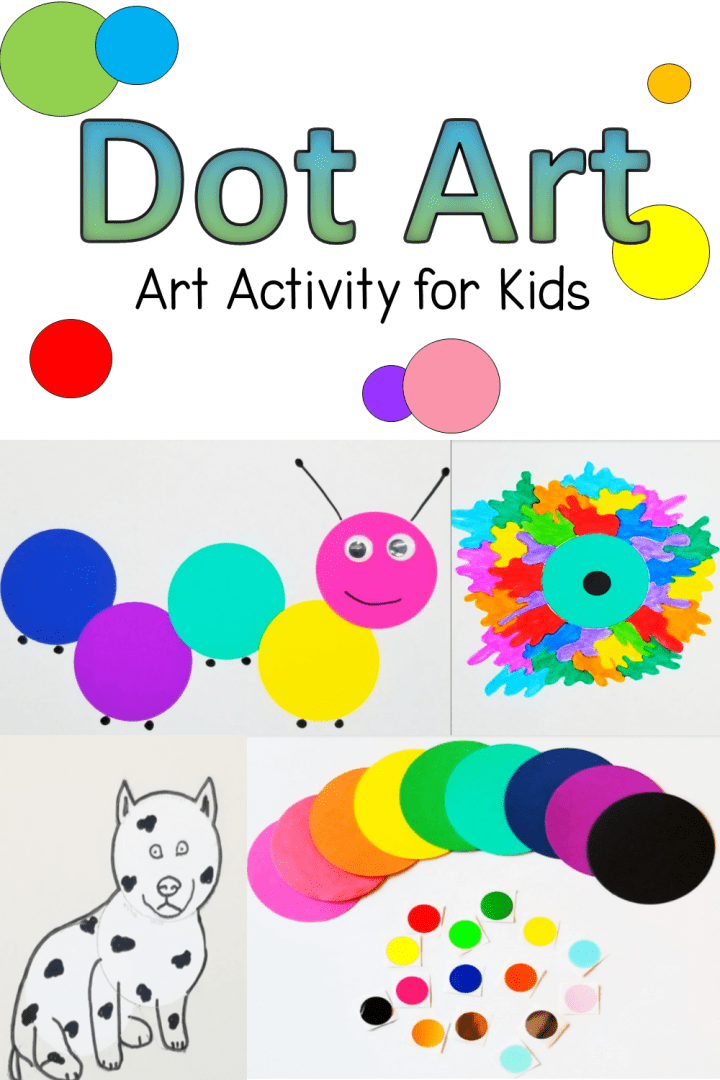
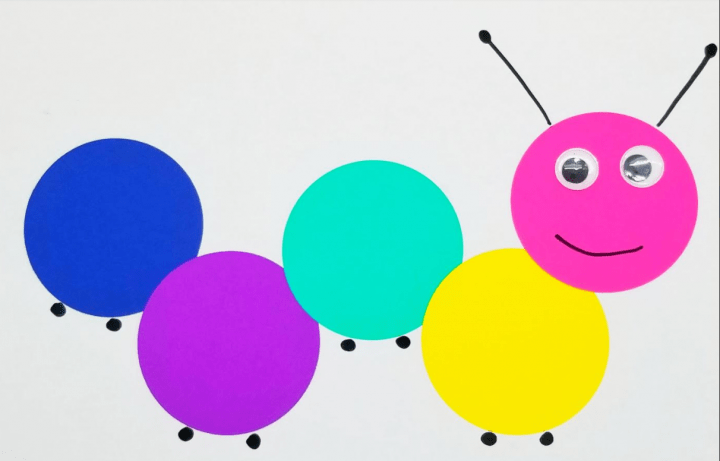
With younger kids, some of them kept their art fairly simple and used the circles to create animals, such as caterpillars. They used each of the circles as a part of the body. They added googly eyes for some details on the eyes.
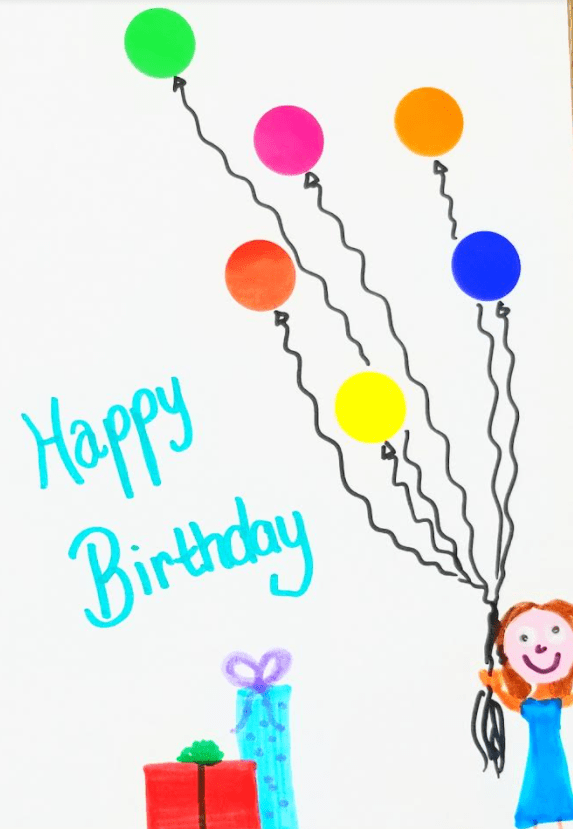
When I did this activity at home with my own kids, they ended up creating a birthday card for a friend using the same materials. When they looked at the circles they saw balloons and created their picture with the sticker dots.
It turned out looking great! I love when the circles are really naturally part of the picture. The balloons are bright and colorful and make a great card!
Some children decided to use a circle, or two, as a starting point for their art. They made designs and pictures coming from the dots to create a whole new image.
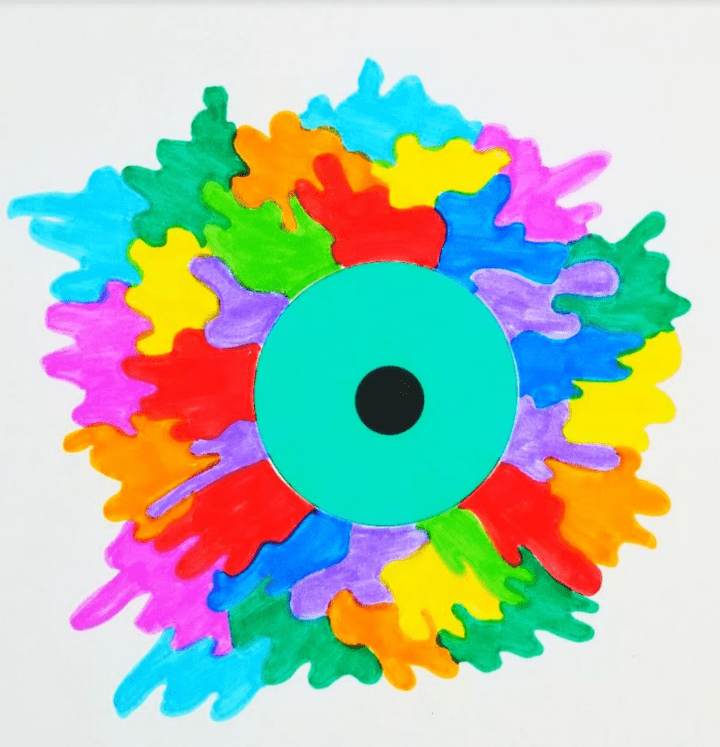
Even though the dots are not used as part of a real image, children are still creating using the circles and creating beautiful pieces of art.
I hope that you can have some fun and create some simple, but beautiful art activities for kids. You may just be surprised by what children may come up with!
For your convenience, this post contains affiliate links. As an Amazon Associate I earn from qualifying purchases and I may earn a small commission at no cost to you.
More Hands-On Teaching Ideas
If you are looking for more activities and ideas to do in the classroom, or at home with kids, below are some of my favourite and most popular learning activities.
From arts and craft ideas such as quiet books and paper mache, to STEM challenges and escape room puzzles there are lots of things to keep kids busy and learning.


Leave a Reply