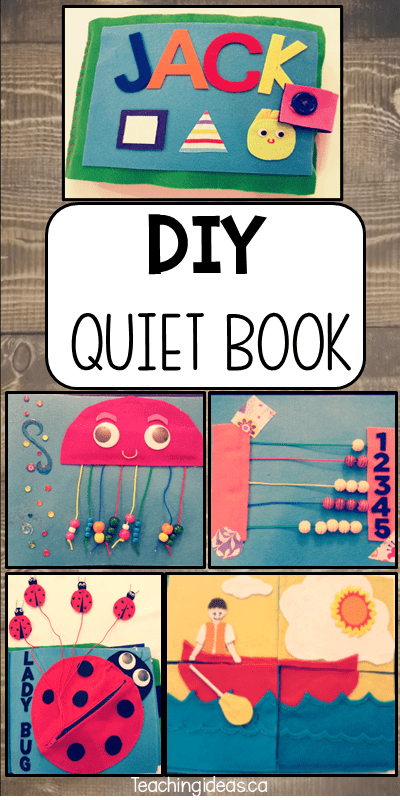
Ever wonder how to make a quiet book? Me too! I wanted to create something special for my nephew that he would hopefully be able to use for many years. I love the idea a quiet book, so I decided to create one just for him.
This was my first attempt at a felt quiet book, but I am so happy with how it turned out! I am not great at sewing so most of the book is put together using hot glue, but there are a few areas that I strengthened by sewing.
This quiet book, like most quiet books, contains small parts. The book is not intended to be used with, and should not be used with babies, toddlers or children that may put the pieces of the quite book in their mouth.
I made every attempt to ensure that everything was well connected and secure; however, avoid small pieces that pose a choking hazard. Children need to be supervised at all times when using a quiet book.
There is a video at the end of this post to show you all of the pages in this quiet book. It can help with scale and give you a better idea of the finished product.
Quiet Book Materials
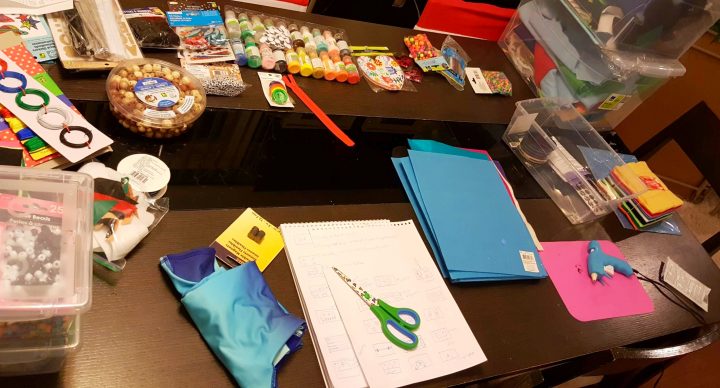
There are quite a variety of materials that you need to make a quiet book. Below is a list of the items that I needed for my quiet book.
I tried to use a lot of things that I already had on hand at home, but I did have to purchase some.
I recommend deciding what pages you want your quiet book to include and then check what materials you will need. You will need:
- Hot Glue
- Needle and Thread
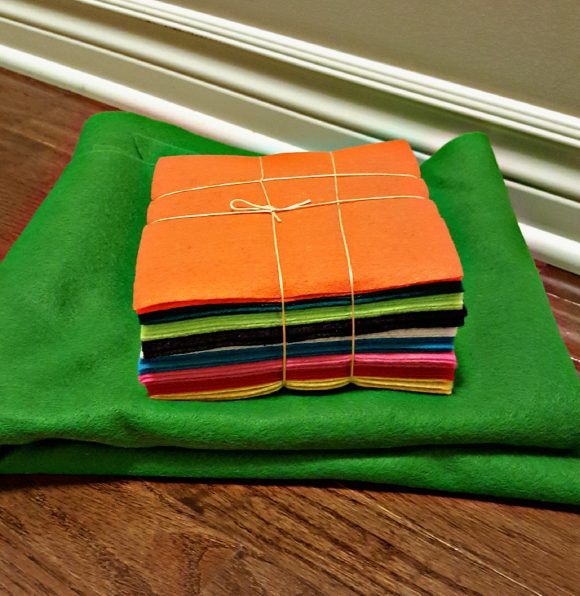
- Felt Sheets in all Colours
- String/Yarn
- Pieces of Fabric (Striped, Dotted etc.)
- Thick Sheets of Felt – For the cover and back of the book
- Hoop and Loop Fasteners
- Puffy Paint
- Fabric Stickers,
- Small Toy Fishing Pole
- Magnets
- Buttons, Googly Eyes, Tongue Depressors, Pompoms, String, Zipper, Fabric Stickers, Felt Letters, Wooden Beads, Number Beads and a few other decorative items.
Majority of the materials that I needed for the quiet book I was able to find at a dollar store. I had a few old felt pieces from an old felt board that I also used.
I tried to include pages that could be used and enjoyed by children at a young age for sensory play, but as a teacher, I also wanted pages in the quiet book that were educational and could be used to learn numbers and letters as the child gets older.
These quiet books are excellent for sensory play and an easy way to have lots of hands-on entertainment in one package.
Quiet Book Steps
Quiet Book Page 1
The very first thing that I did before I started creating with the felt was draw a sketch of each page that I wanted to include.
Once I had my pages drawn I made a list of the materials that I needed for each page. Then I was ready to start my book!
I was able to find pieces of felt that were stiff/hard. I used these for each page of the quiet book. This way the pages held their shape, but were still soft.
For the cover of the book, I cut a long strip of soft fabric that was the length of 2 and a half pages in the book and about 2 inches taller.
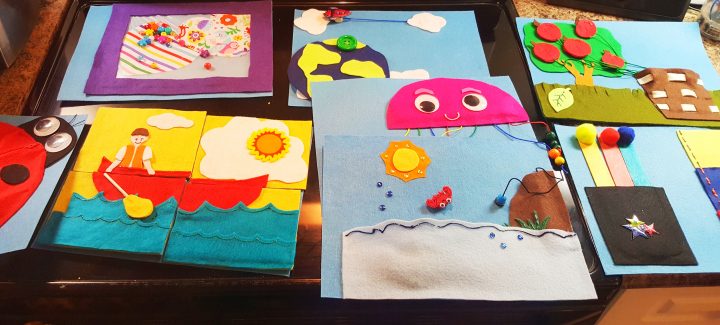
I tried to make it personal for my nephew. My first page includes a felt puzzle of a red canoe, much like the one my nephew often goes out in.
I made many of the character by hands, but you can buy felt characters/people to save you some time. Premade pieces also add to the overall look of quality for the quiet book.
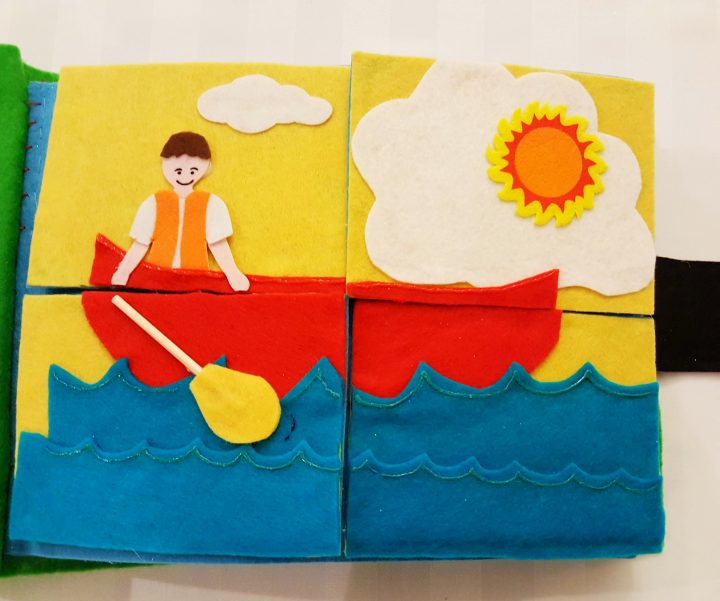
I made the puzzle picture on a piece of yellow felt, and then cut it into four sections once I had completed the picture.
Next, I attached this picture to a sheet of the stiff felt. I used small hook and loop pieces on the back of the sections.
Details on the water were added with puffy paint.
The puzzle is simple, but requires an essential learning skill of being able to identify pictures looking complete and put together properly in the right order.
Quiet Book Page 2
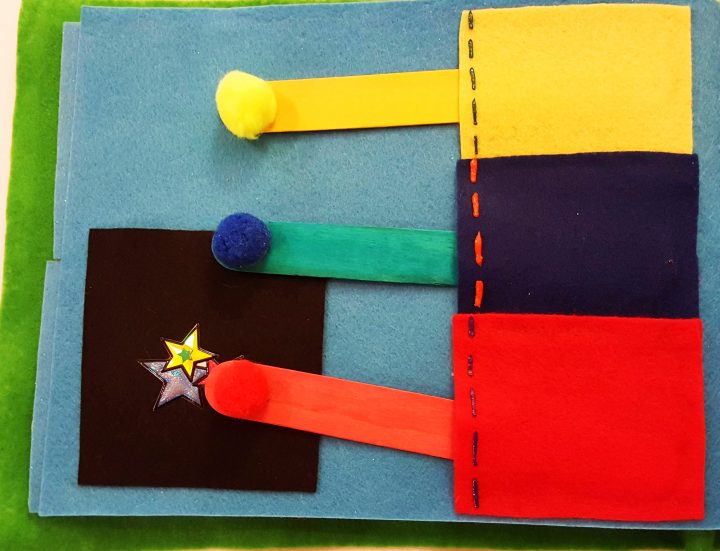
This page encourages color matching. I made a pocket to hold all of the tongue depressors with a matching pompom attached to it. Each stick has a pocket at the side to go into.
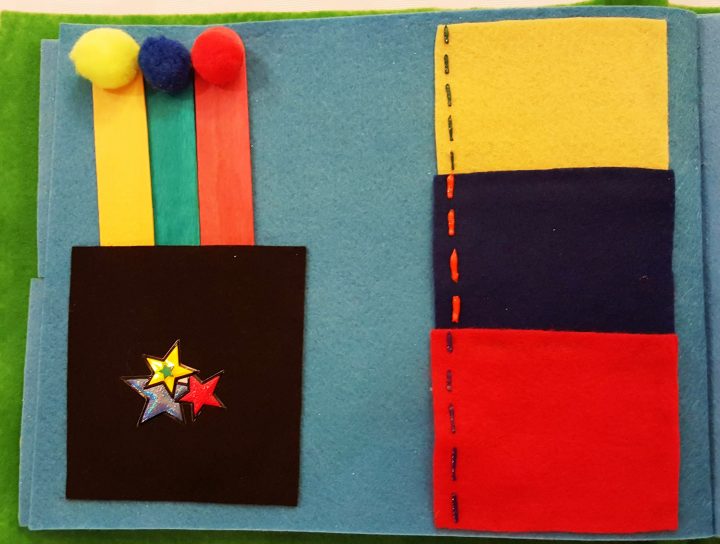
The red popsicle stick fits into the red pocket etc. The details on the side pockets were added with puffy paint. The pockets are open – not sewn across.
Quiet Book Page 3
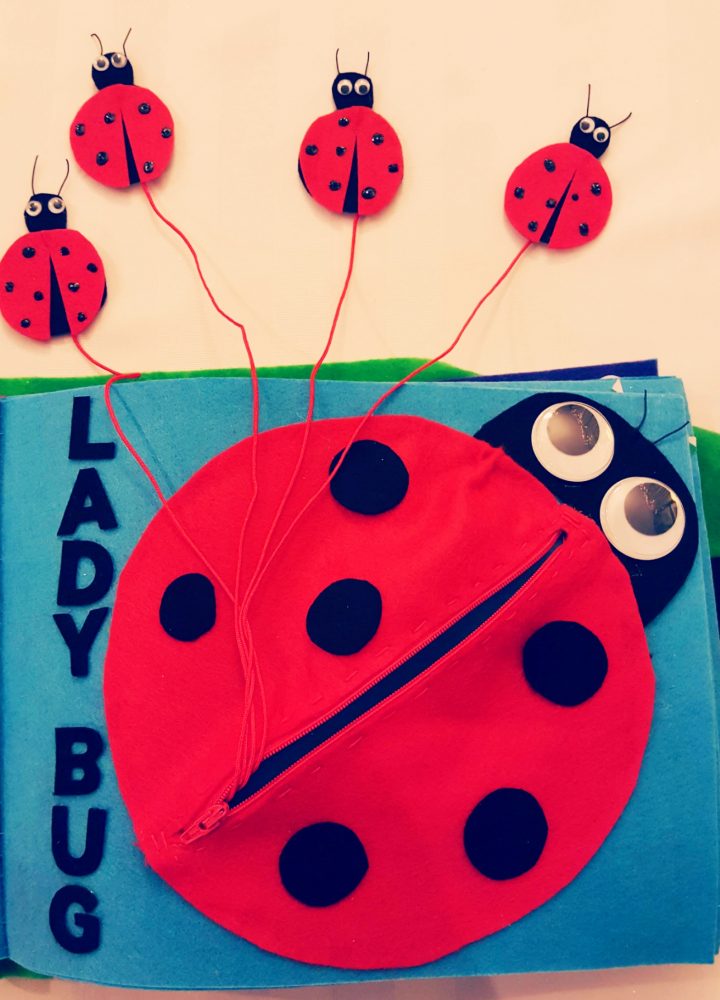
This is my favourite page! Isn’t it adorable? This ladybug page includes a zipper that I sewed on. I started with a large red circle and cut in the middle of the circle the same length as the zipper, but I made sure to not cut the circle fully in half.

Then, I added 4 ladybugs inside and attached them each to a string secured with glue (and sewn) inside. A page with a zipper is a great addition to any quiet book.
Zippers are an important learning skill for young children and a great way to learn is through play with a quiet book.
Quiet Book Page 4
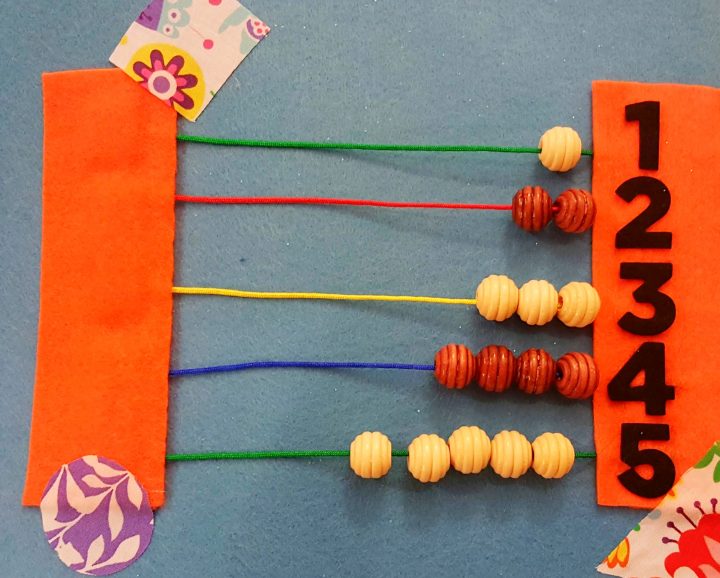
As a teacher, I had to include this next page. It is a great sensory page and perfect for older children when they are learning their numbers and letters.
Avoid this page if very young children are using the quiet book. The beads pose a choking hazard.
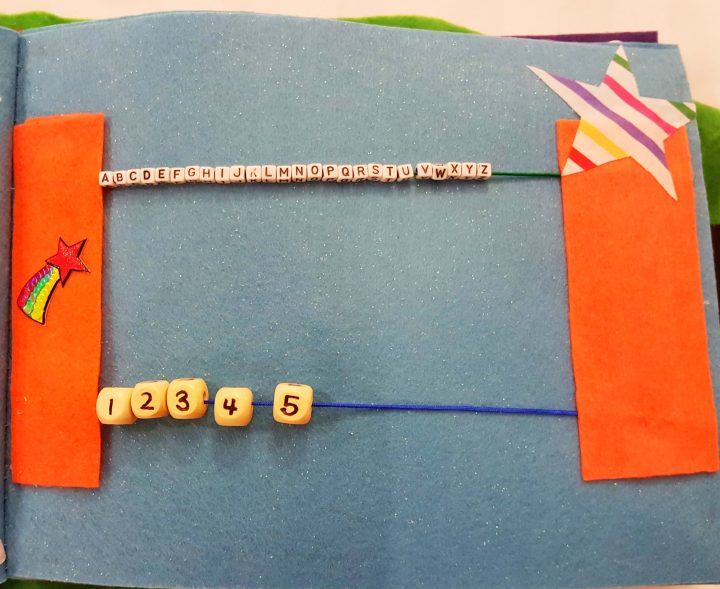
The other side of this page includes two strings of beads. The top line are small letter beads and the bottom are 5 beads numbered 1-5.
(Again avoid this page for very young children. You can encourage children to say the letter or number as they move it from side to side.)
The strings are secured at each side with glue and then covered with the orange felt pieces for extra strength.
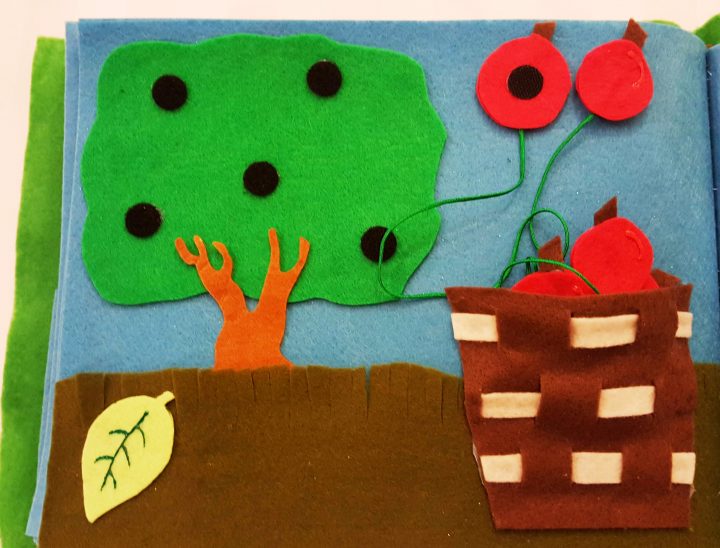
Quite Book Page 6
This is a simple page that turned out well. I made 5 apples and attached string to each. The bottom of each string is sewn/glued into the basket on the page.
One problem that I ran into was that the basket was tricky to keep open in order to add the apples.
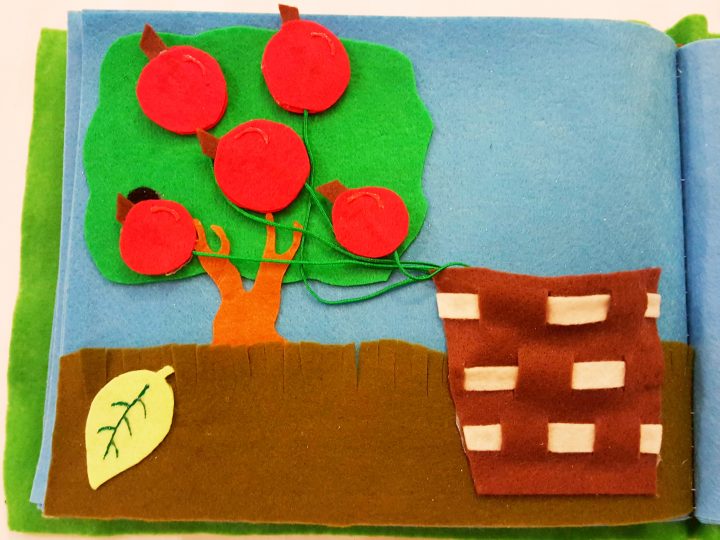
To solve this, I added a pipe cleaner along the top of the basket. This way it pops off of the page and forms an opening to put the apples into.
The apples are secured to the trees with hock and loop fasteners.
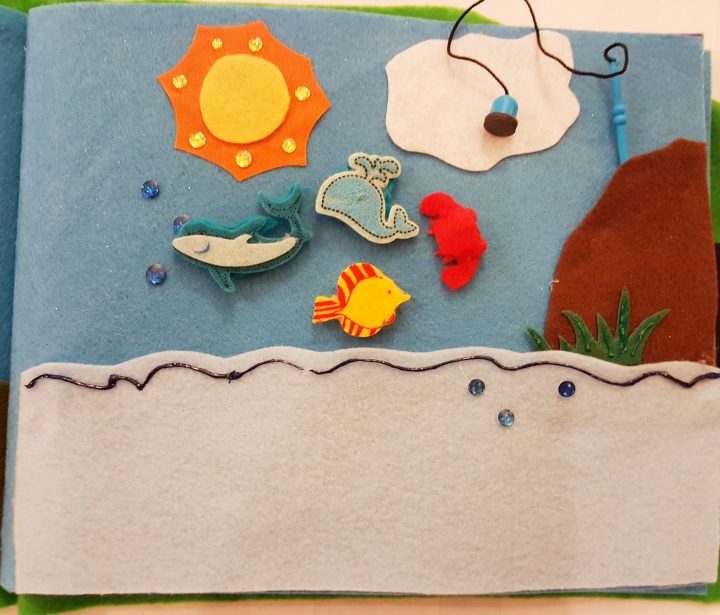
Quite Book Page 7
My (older) kids loved this page of the quiet book! I had some old felt characters from a felt board and I used the felt fish and sea creatures and glued a magnet to the back of each.
I had an old fishing rod from a travel game that I also glued a magnet to. (Again, be careful using this page with magnets with young children. Always supervise during use.)
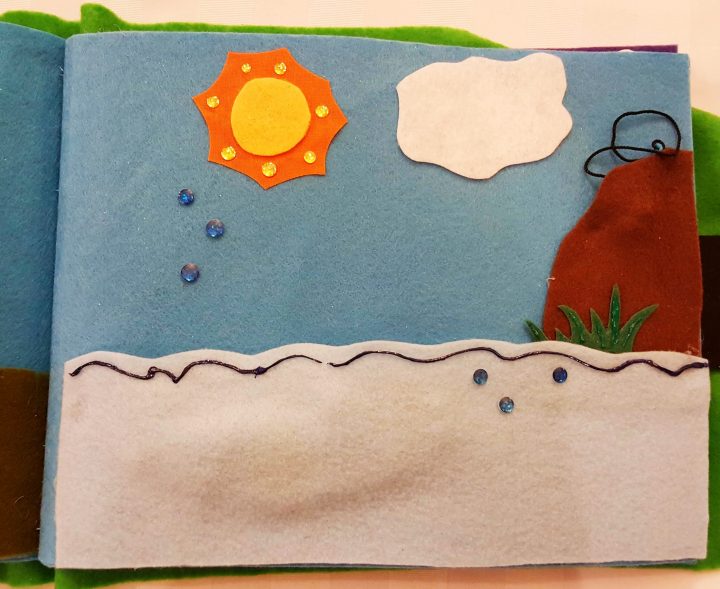
At first glance, this page looks really simple, but the fun and interactive pieces are just below the surface!
The sea creatures can be placed on the page and the fishing rod can be brought out from behind the hill to “catch” the fish.
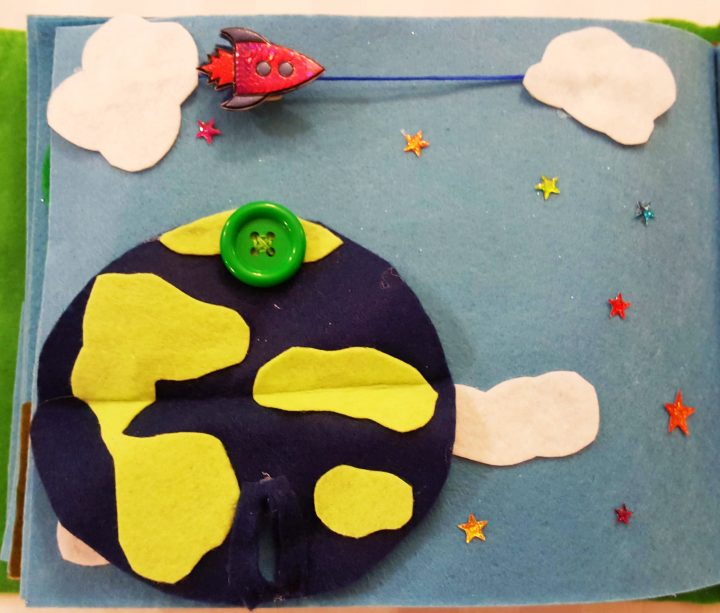
Quite Book Page 8
This space page in the quite book has a few learning skills built in. Any child playing with the quiet book will work on the skill of buttoning and unbuttoning buttons.
The big button the the planet allows the earth to spin, but in order to actually see the planet, you have to undo the button.
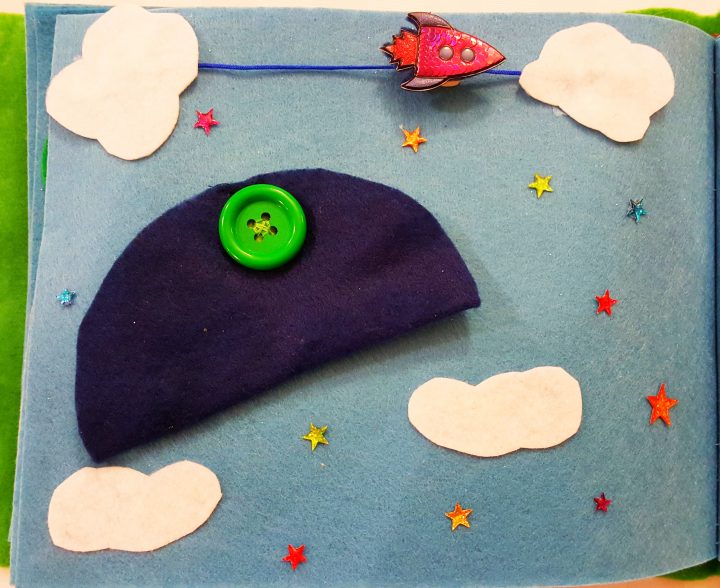
The other great part about this page is the rocket. The rocket is simply a sticker that is attached to a bead and placed on a string. The rocket slides from side to side.
Quite Book Page 9
This seemed to be one of my nephews favourite pages. I used a half circle of felt and hot glued eight pieces of string hanging down.
Each has beads tied to the bottom. Older children may find the patterns within the string and beads.
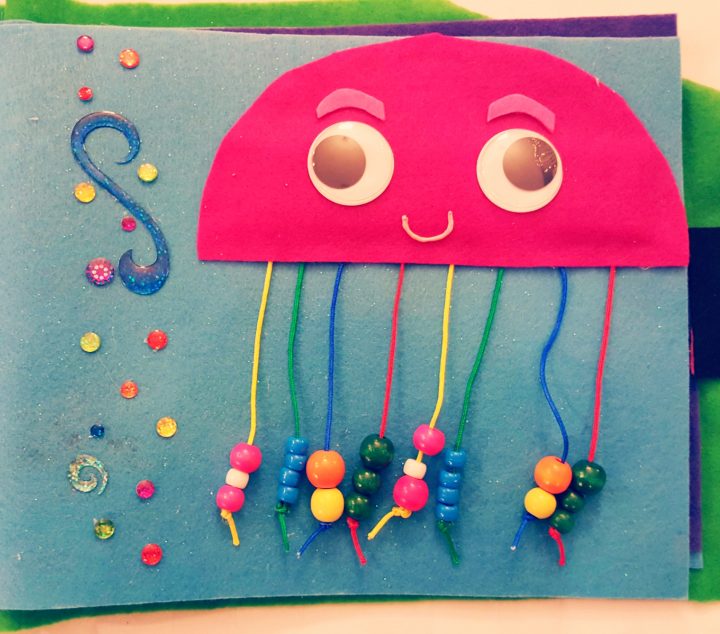
I hot glued some puffy gems to the side and some big googly eyes. This is a fun page for sensory play because the beads make a great sound and feel neat running your fingers through them.
I secured the bottom of each string of beads by double knotting them and then adding a bit of glue to the bottom
Quite Book Page 10
I added this page specifically for my nephew. I was able to find the black letters at a dollar store. The precut letters are a lot easier to use than trying to cut out each letter by hand with black felt.
I also feel that it makes the quiet book look more professionally made.
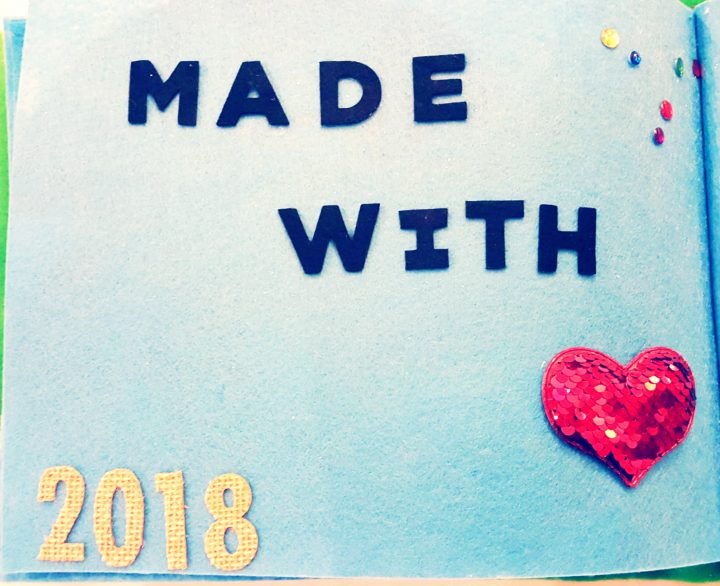
If I made this book again, I would have added this page at the very end of the quiet book, however, I wanted my last page to sit flat in order to move the beads within.
Quiet Book Page 11
The final page in the quite book, is a colourful page with beads. There is a clear sheet of plastic with beads behind it. I used a piece of an clear shower curtain and secured it around the edges.
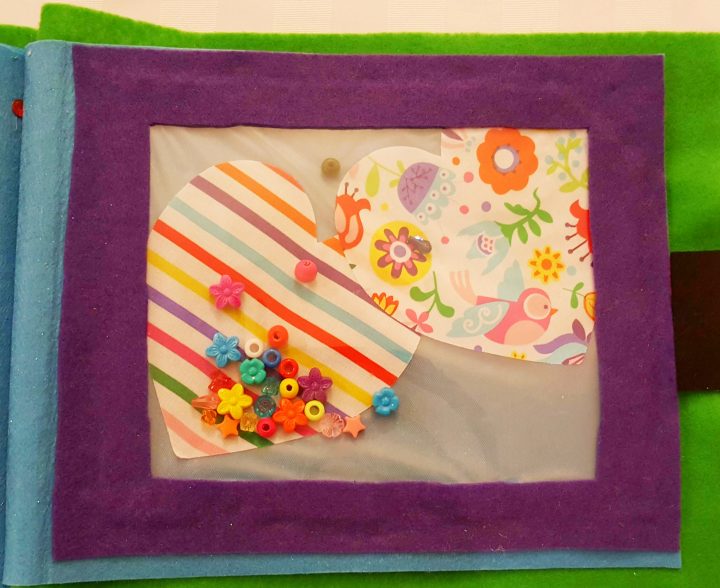
To be honest, this final page did not turn out as well as I had intended. The beads inside do not move as easily as I would have liked.
The beads are tricky to move under the plastic, however, it does look nice and it is still fun for kids to work to move the beads around.
If I did it again, I would use circular beads, like I used on page 4. The are larger and wouldn’t ‘stick’ to the page as much.
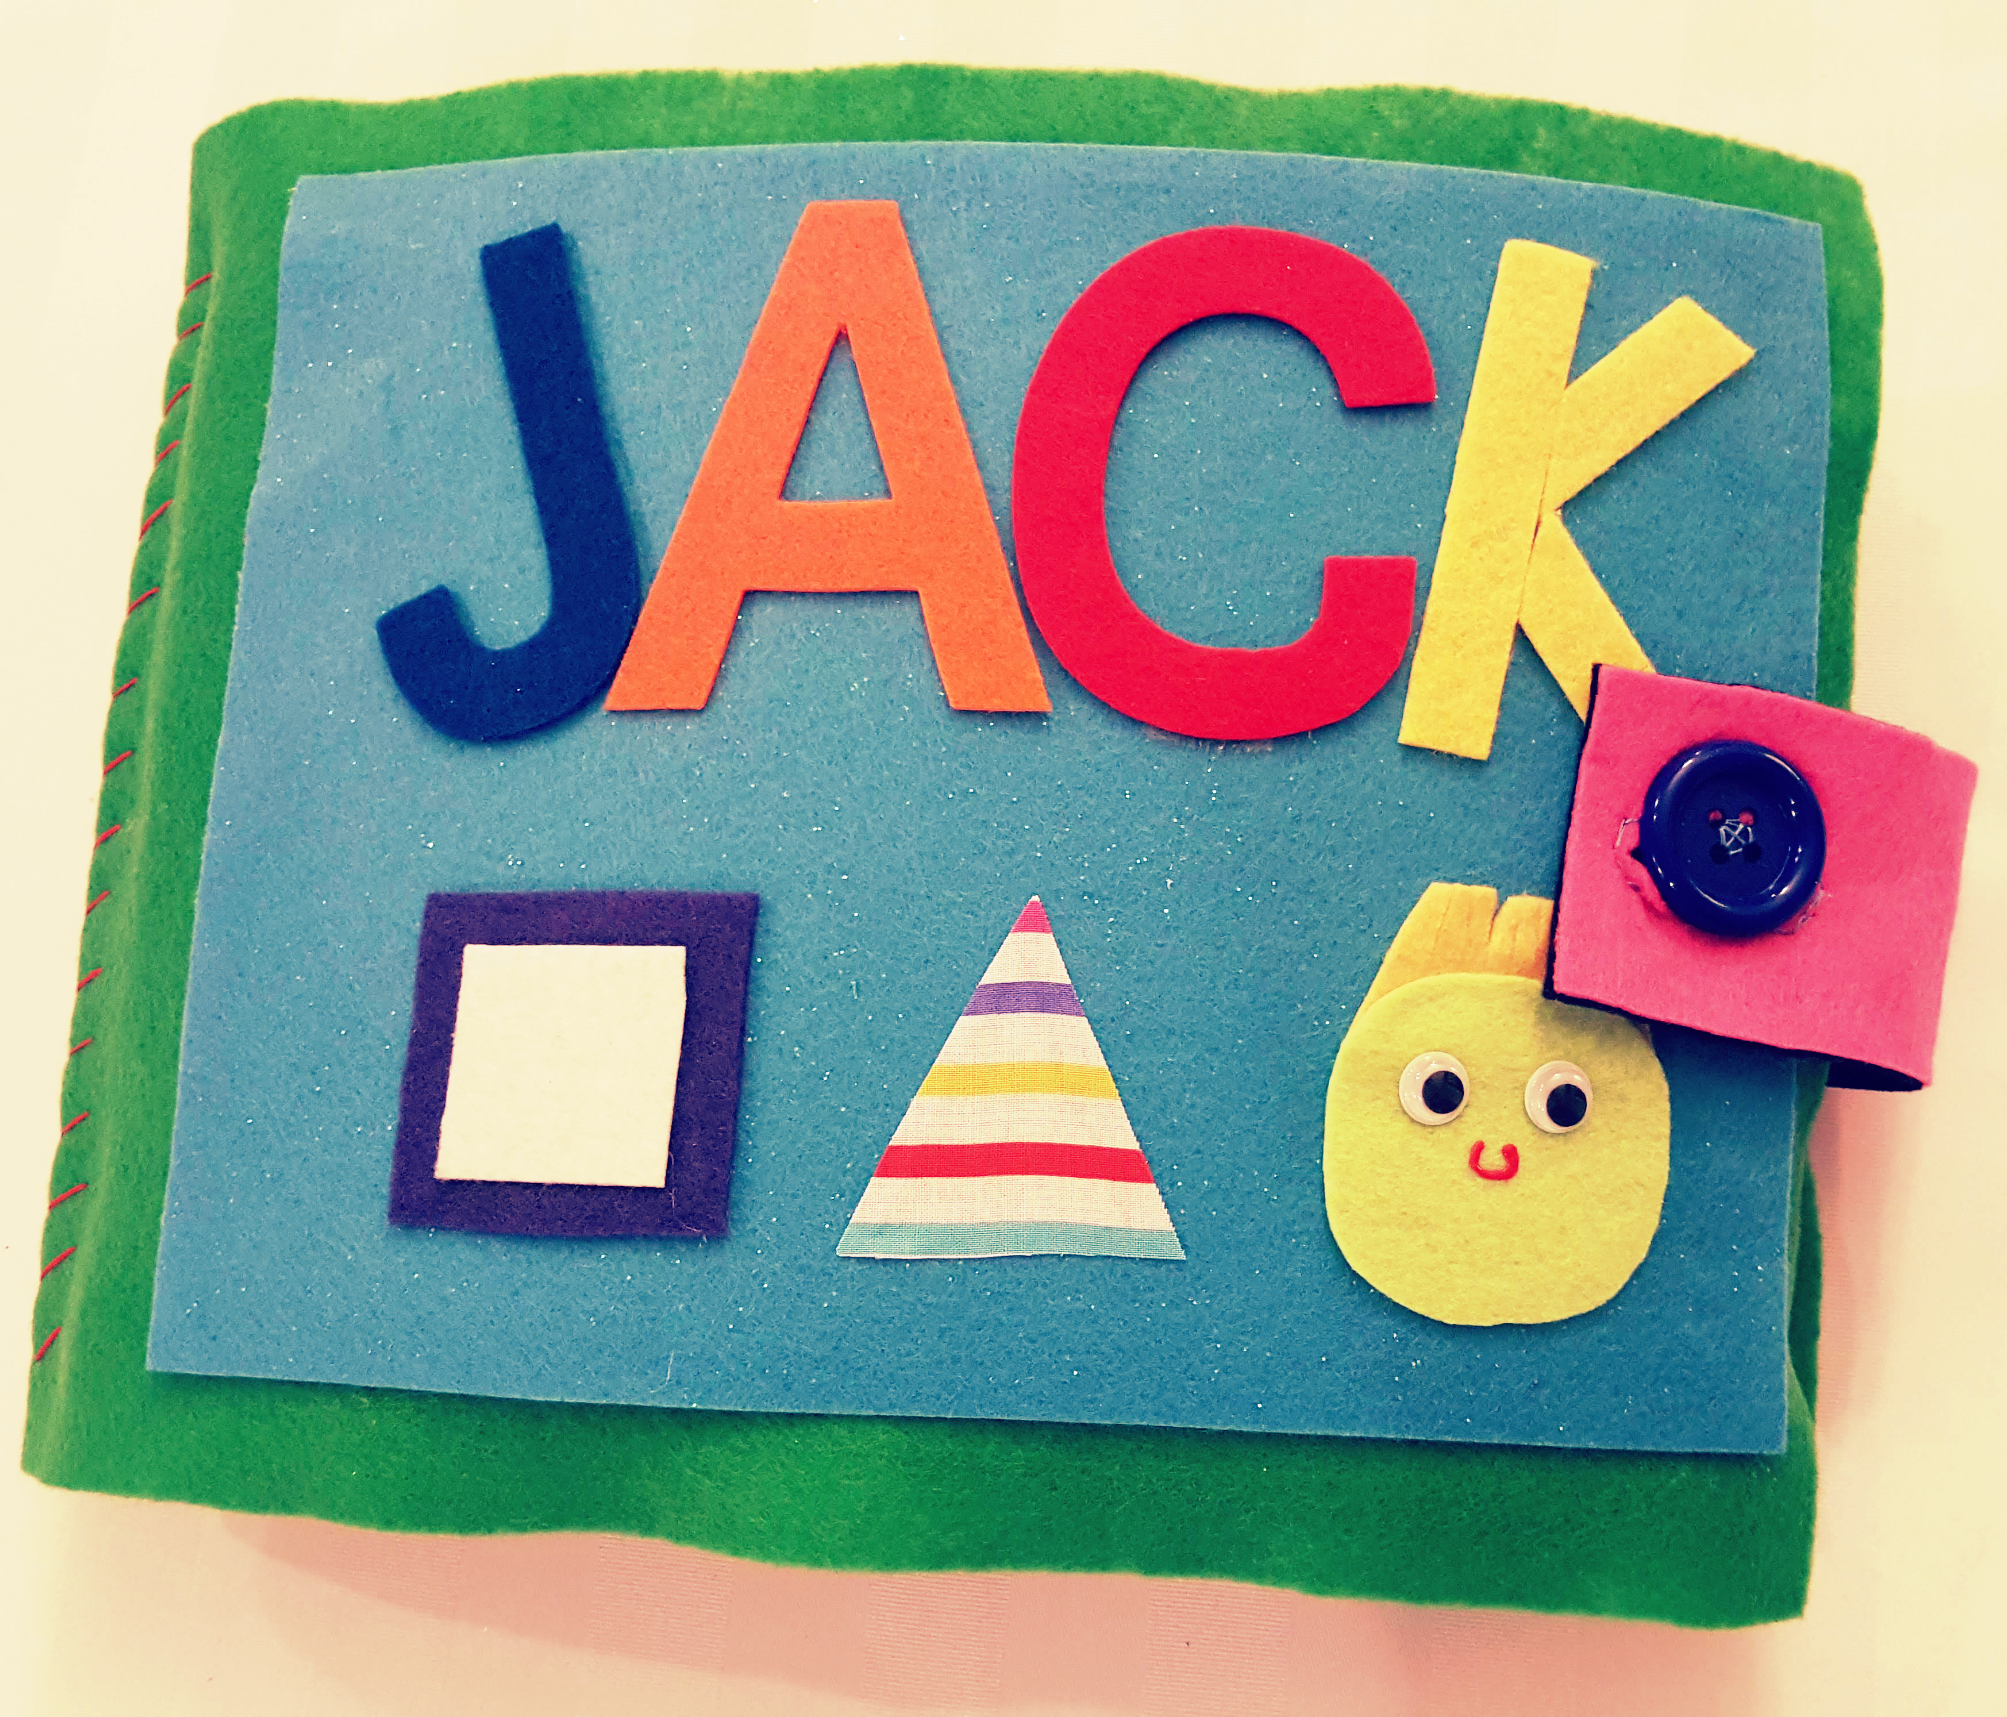
The Cover
I left my cover to last just to use what I had to finish it off. I had felt letters for my nephews name that I bought precut. They look great! I love the way the cover looks and my nephew knows that it is made specially for him.

To Complete Your Book
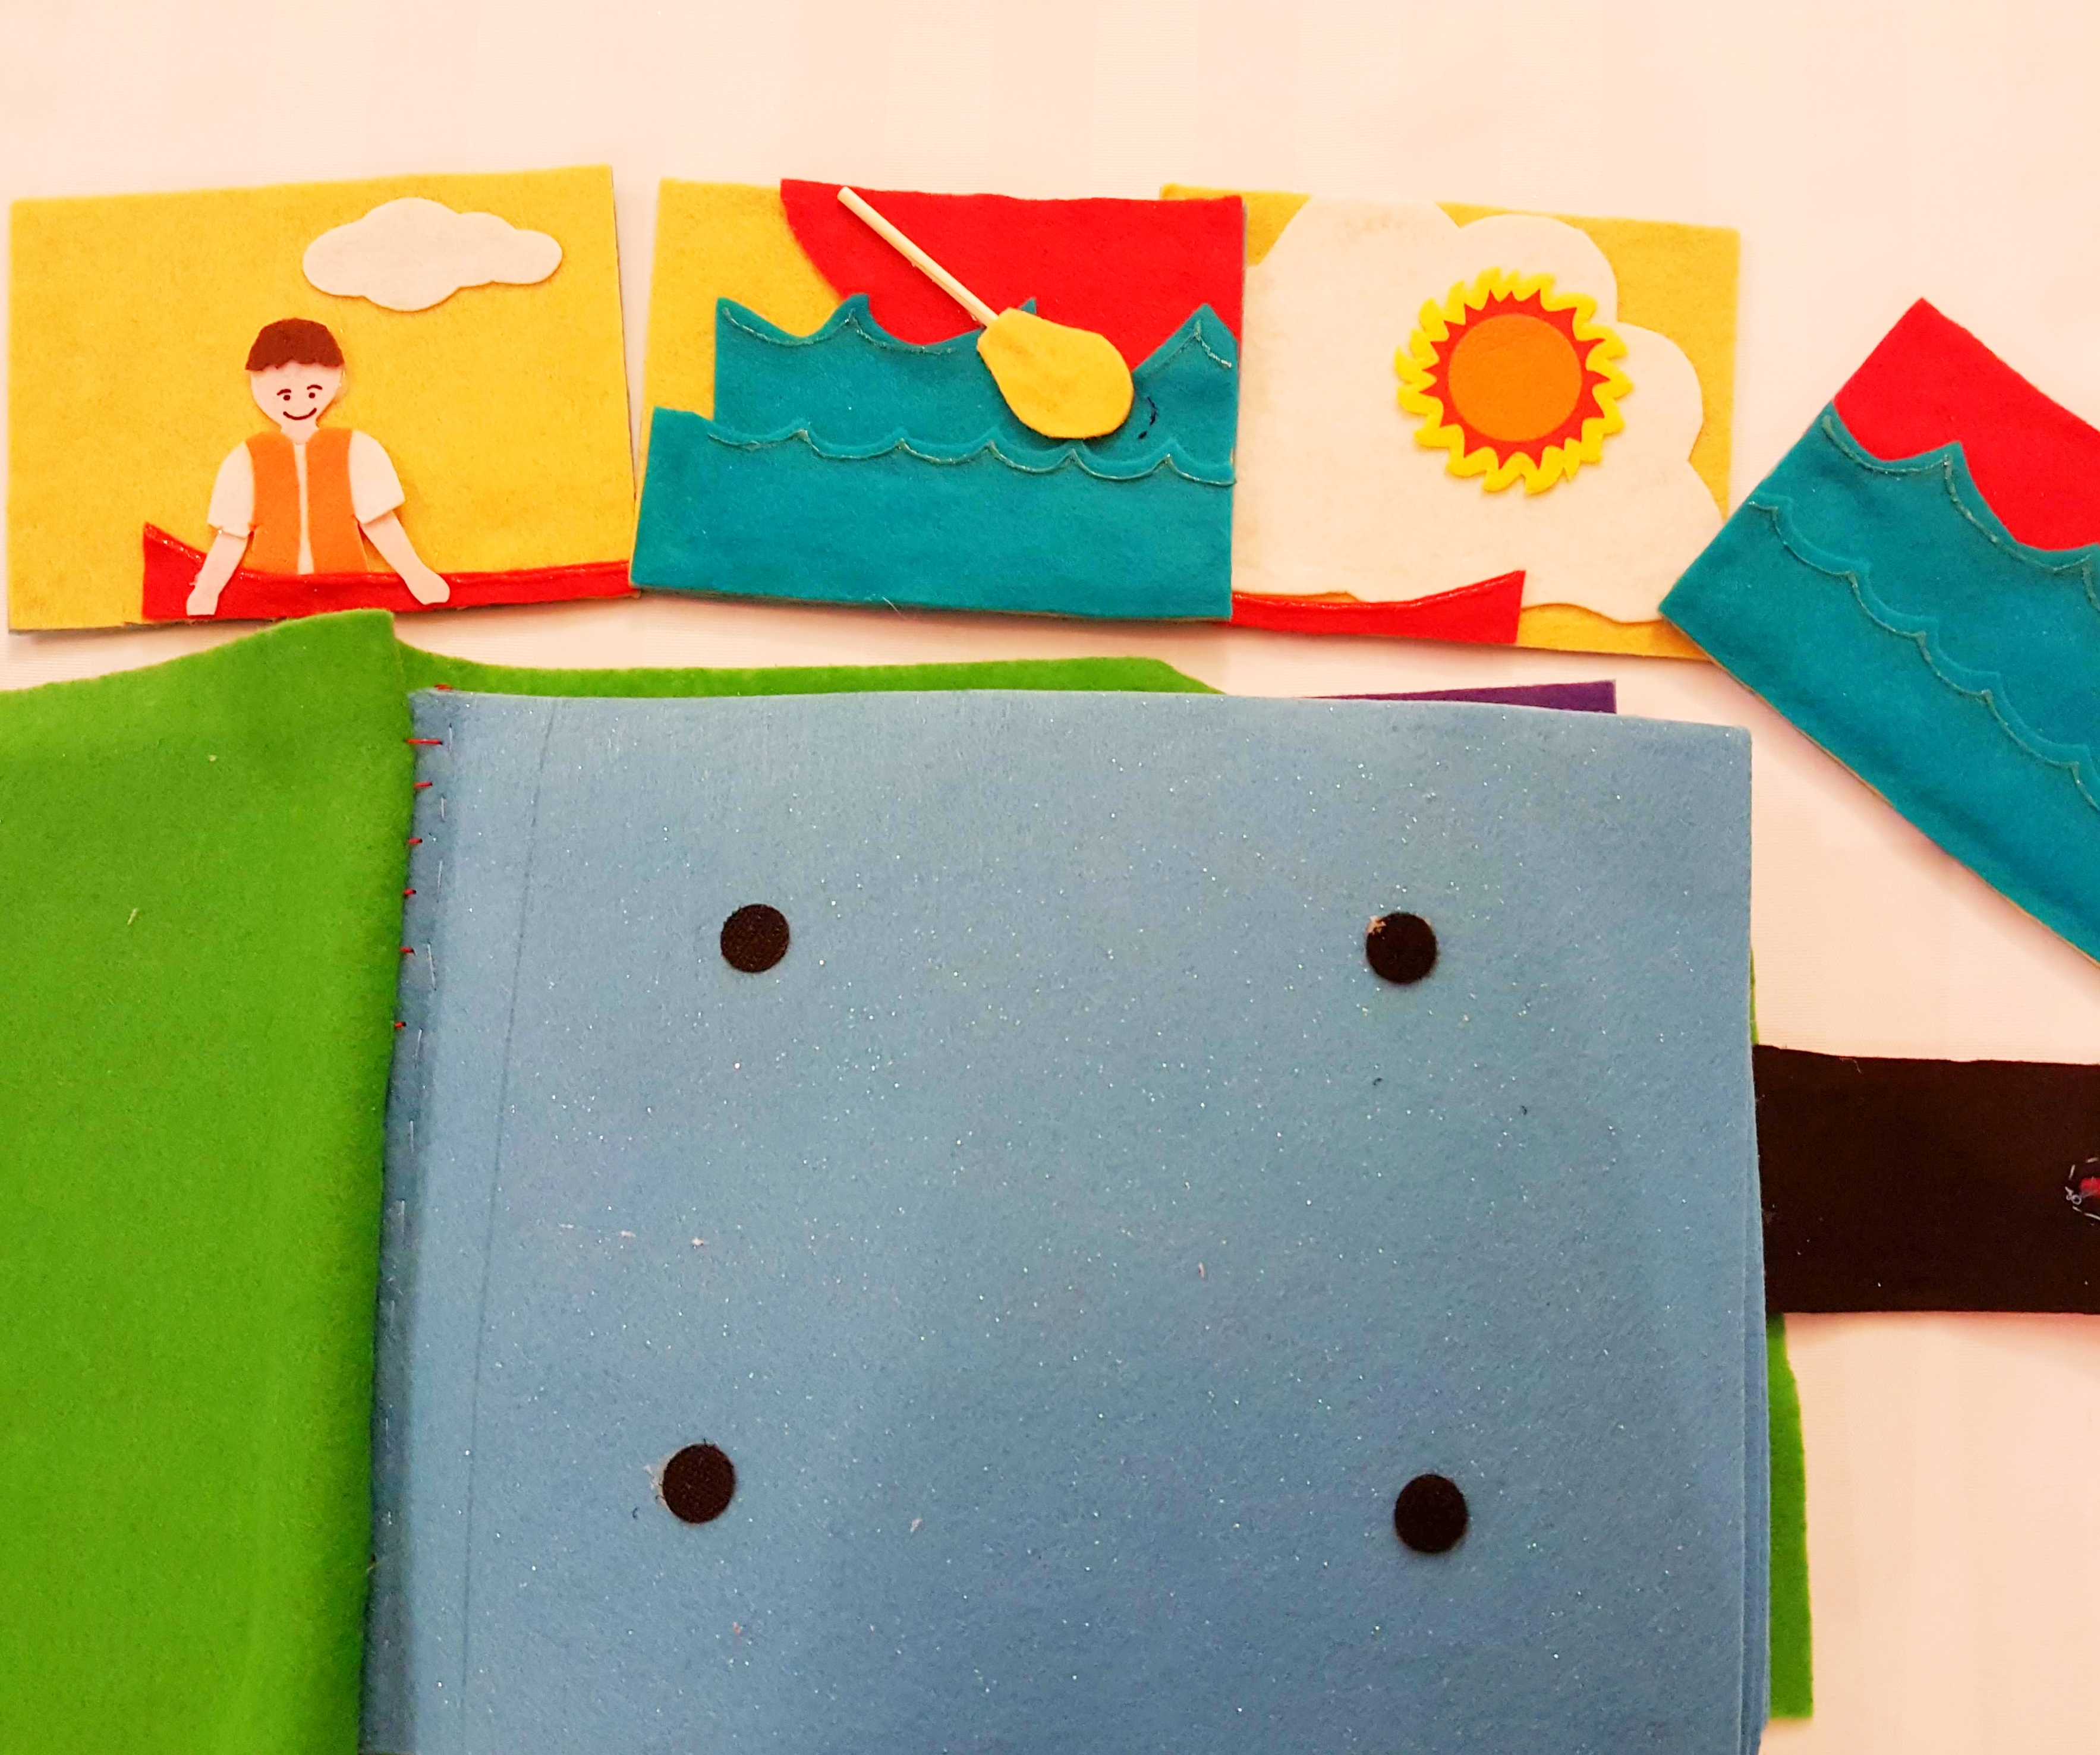
Once all of the pages are complete, the book is ready to put together. I began by stacking them in the order I wanted them to appear in the finished quiet book.
I glued the pages that were back to back. Next, I pinned all of the pages together so that I could sew them along the edge to make it into a book. I used the pins because the pages were thick and I needed them to stay put.
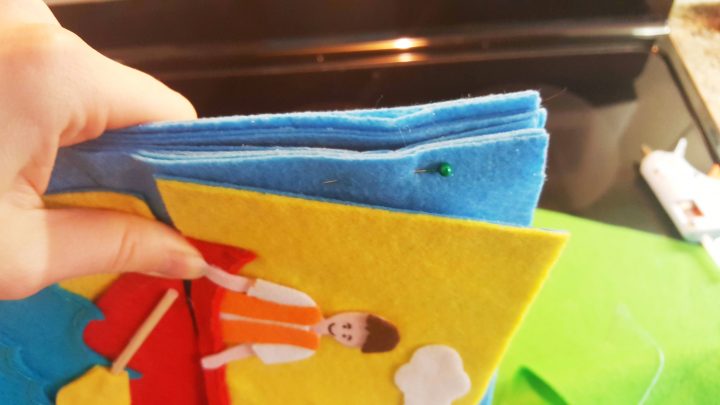
I then sewed all of the pages together and then set the pages on top of the (green) felt cover that I cut so that it was larger then all of the pages at the sides and top.
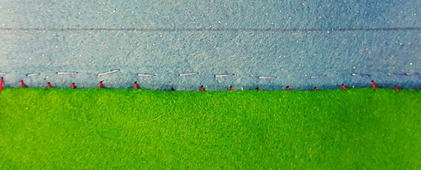
Finally, I then sewed the side of the book together by sewing the large green felt sheet to the blue inside pages (that were sewn together already).

DIY Quiet Book
Once you have sewn all of the pages and cover together the last step is the strap and button to close the quiet book and keep it secured.
I simply cut a long strip of felt and attached it on the large green cover piece. I then cut and reinforced my cut by sewing along the cut (so that it doesn’t rip over time).
Make sure to not attach the button and strap before your book is complete. My book ended up being quite thick so I needed a long strip for my button. Once you have sewn your book together, then add this final touch.
I sewed a large button on and my DIY quiet book was complete!
Take a peek at the DIY quite book described above in the video. The quiet book was much easier to make then I expected it to be. These would make for a great birthday gift for a child and it is a special gift because it is made with love!
Free Resources from Hands-On Teaching Ideas
Join Hands-On Teaching Ideas by subscribing below through Grow. Click the box below and subscribe. Once you’ve subscribed, you will unlock all of the free printables on this site. You will also receive a link to the Free Resource Library where you can access over 150 free printable products. As a subscriber you can download and use any that you would like it.

Top Posts and Activities
If you are looking for more DIY ideas that you can do at home and with kids, take a peek below at some of my most popular activities from escape room puzzles to science experiments and arts and crafts for kids.