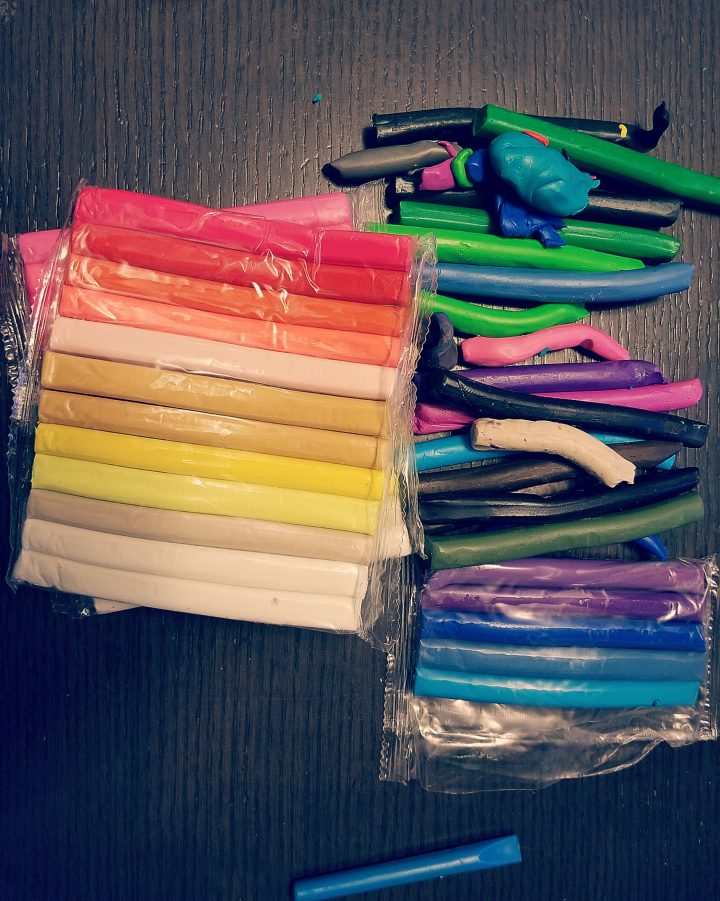
When I purchase materials to use with my students at school, or my own kids at home, I try to make them last. When I bought a collection of plasticine I decided to create a week long unit filled with kindergarten activities.
I also wanted to do more than have children create something from the plasticine. I wanted them to explore and experiment with it too!
Below are the activities that I used for our unit with preschool and kindergarten aged children with plasticine. I hope that the activities give you lots of ideas for great learning activities that can be done with the art material.
Older children also love the opportunity to experiment with plasticine. Any new hands-on learning experience is valuable for any age. All of the activities could easily be done at home or school.
We had a great week working with plasticine! This mini unit includes, art, science and even some math activities broken into five 40-60 minute lessons.
I did these lessons with 4 classes of 25-30 kids ages 3-6.

Day 1 – Plasticine Play
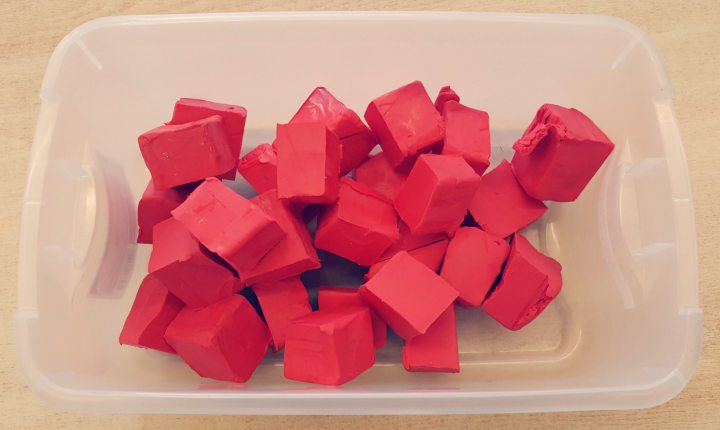
To start, I gave every child a small cube (roughly 1″) to work with. I asked them to think about how it was different from playdough and other materials they were used to working with.
Children happily explored the plasticine for the entire 40 minute period. They were encouraged to roll, flatten, make into a ball, smoosh their fingers into it – anything they wanted.
At the end of the period, everyone handed their plasticine back in to use on day 2.
Any time I introduce a new art medium to students, I always try to devote the first day to free play with the material.
Having this time to play and explore increases their success and focus with the material for the next day.
Day 2 – Plasticine Centres
We continued to explore the plasticine today with centers. I broke the class into small groups (4-5 kids) and set up 5 centers. Every child got a cube of plasticine and took it with them to each center.
I rotated groups roughly every 10 minutes. Exploring the plasticine in various ways encouraged children to know how to use the material properly and learn about its properties.
Each center has a brief description below the picture.
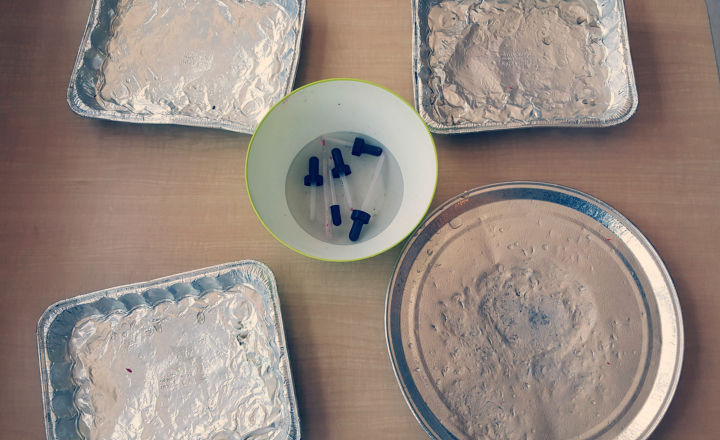
I added in this science based centre after students wondered what would happen if they got their plasticine wet.
I set out a small bowl of water with eye droppers and trays. Children used the eye droppers to drop water onto their plasticine and watch what happens. (The plasticine is ‘water proof’ and the water beads off of it.)
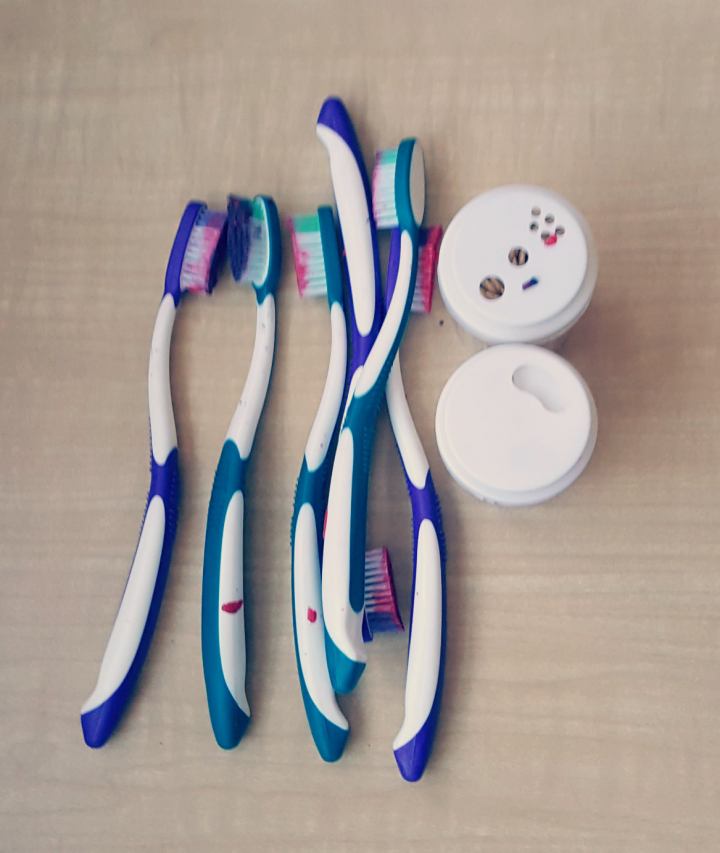
This centre may seem unusual, but it was a favourite for many kids and the effect that the tooth brushes create is really interesting.
Children used tooth brushes and toothpicks to create designs and texture in their plasticine.
At first they thought the toothbrushes were very funny to use for art, but this center was a quick favorite because of the texture print they leave on the plasticine.
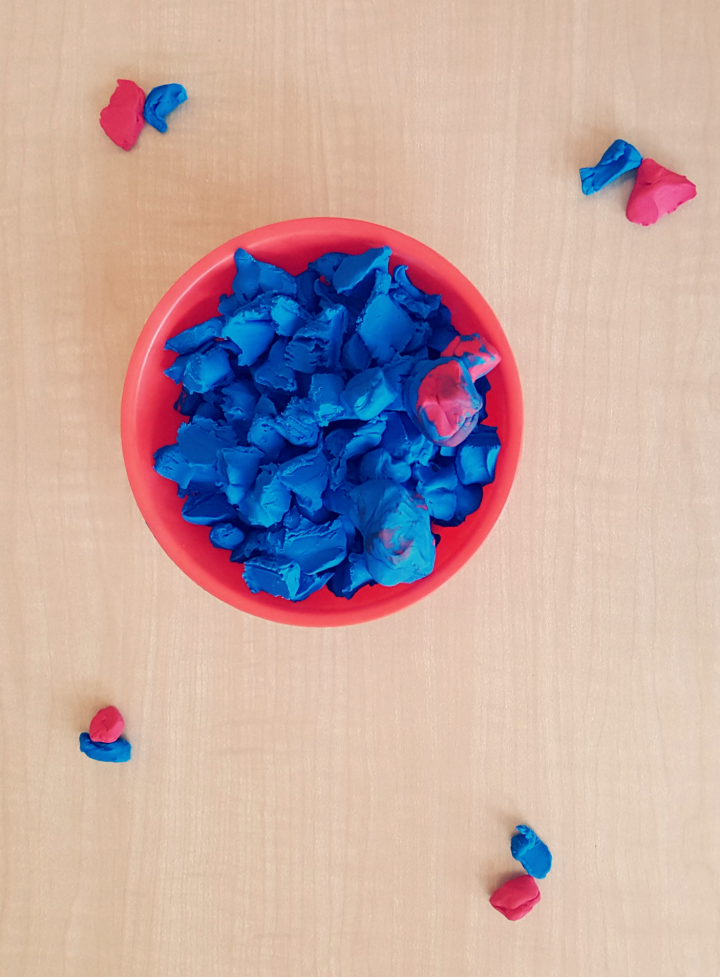
The next centre was our mixing centre. Children picked a small piece of their red plasticine and mixed it with an equal amount of blue. They mixed and mixed until their plasticine turned purple!
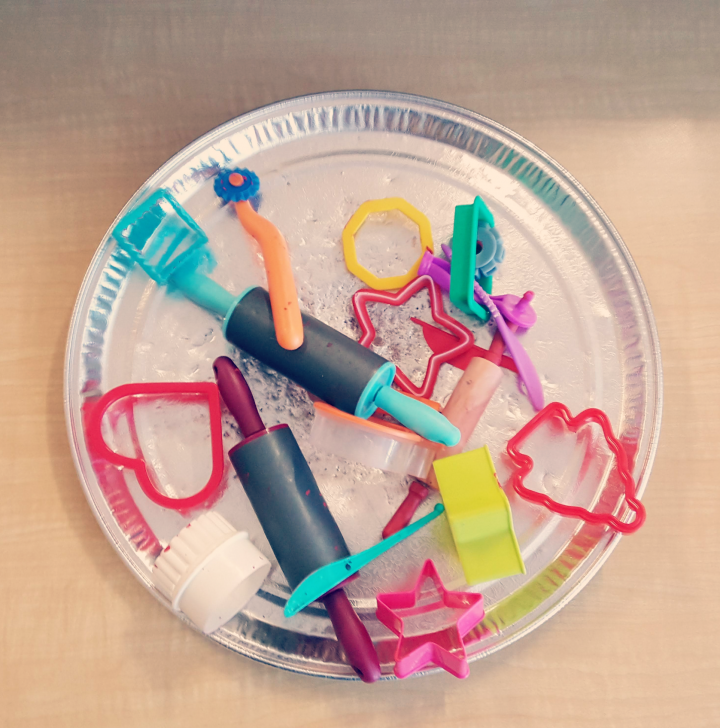
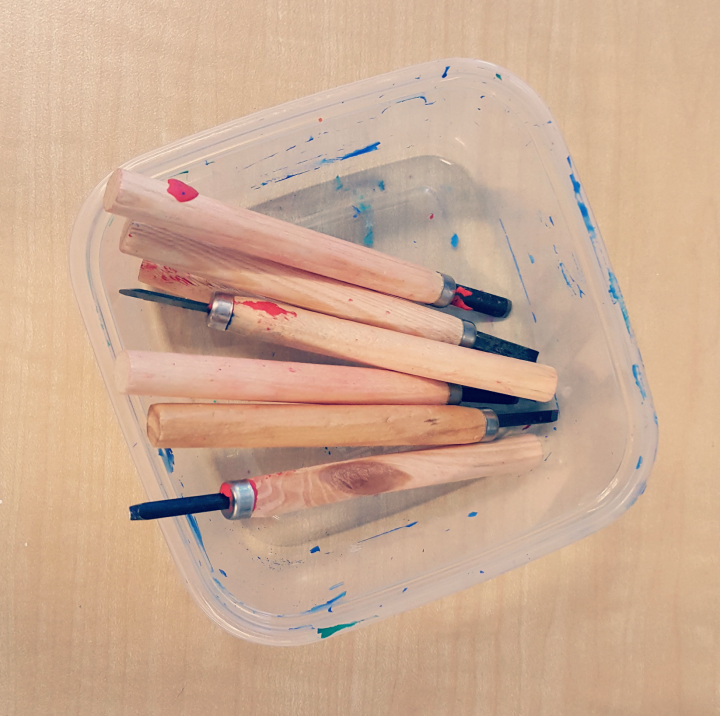
Since the children are used to using playdough, I gave them the tools they use with playdough.
They used the cookie cutters and rolling pins to cut and shape their plasticine; however, they noticed that the plasticine behaves differently. It is more challenging to use these materials with.
These tools are great for creating texture and experimenting with the plasticine. However, they are sharp and could be very dangerous in young hands. Do not use them with kindergarten or preschool aged children.
I used these with an older group of children, not with 3 year olds. However, I have used them one on one at home with my young children.
Another idea for this center is to give children a variety of art books to look through for ideas and inspiration.
Day 3 – Plasticine Math + Art
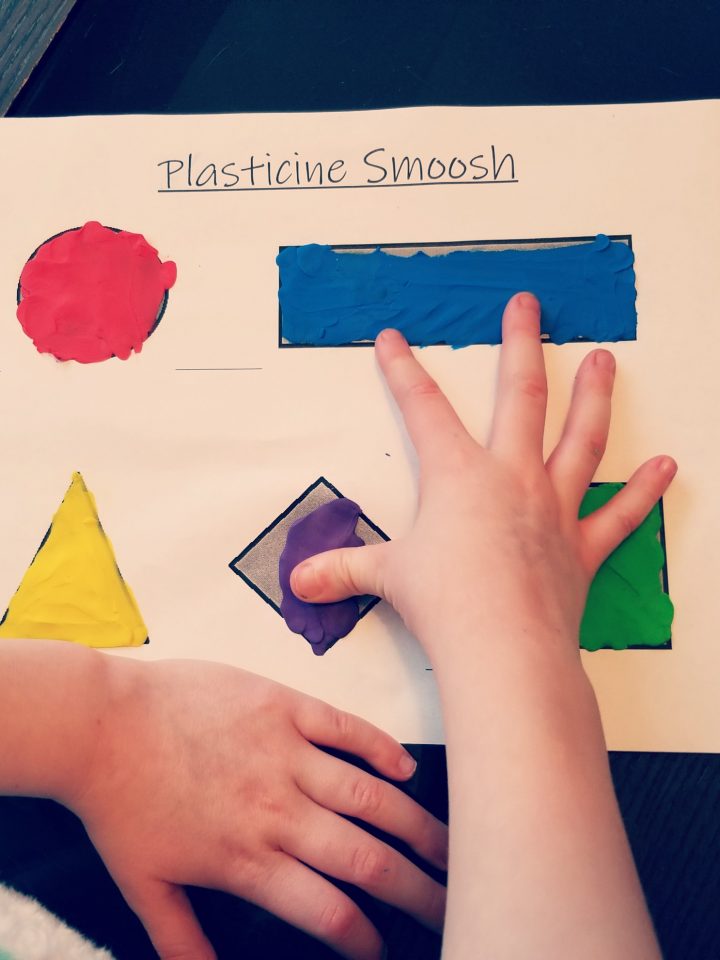
This was a great structured activity and was really successful! We have been studying shapes in math so I created this “Plasticine Smoosh” sheet.
(Free “Plasticine Smoosh” printable, link at bottom.)
I put some different coloured plasticine out for kids and they were each given the sheet.
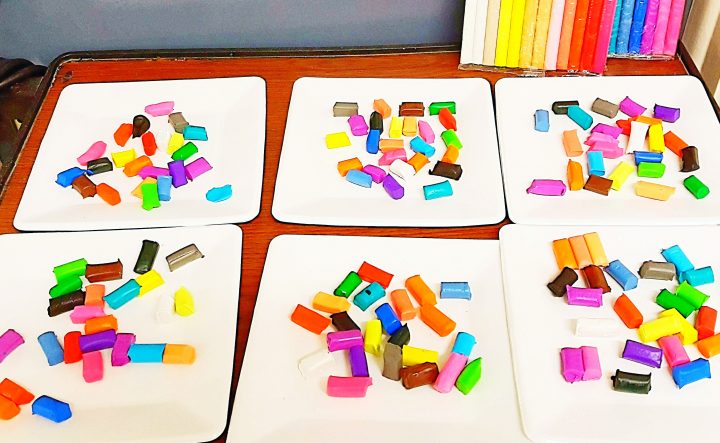
First, I modeled this technique by using one finger and smearing/dragging the plasticine to fill the shape.
Kindergarten activities like this are great for fine motor skills. This activity also served as a math review and lead into tomorrow’s activity!
Day 4 – Plasticine Art
A variety of colours of plasticine is ideal for this art project, but even if you only have red, blue and yellow, colour mixing is always an option.
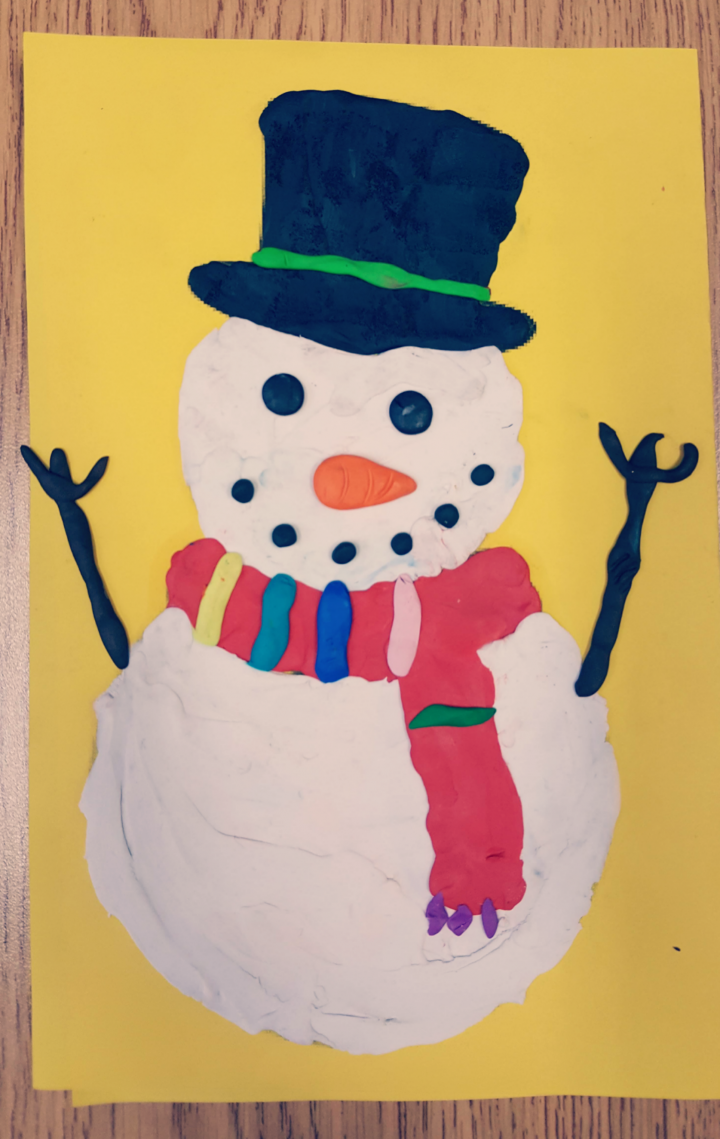
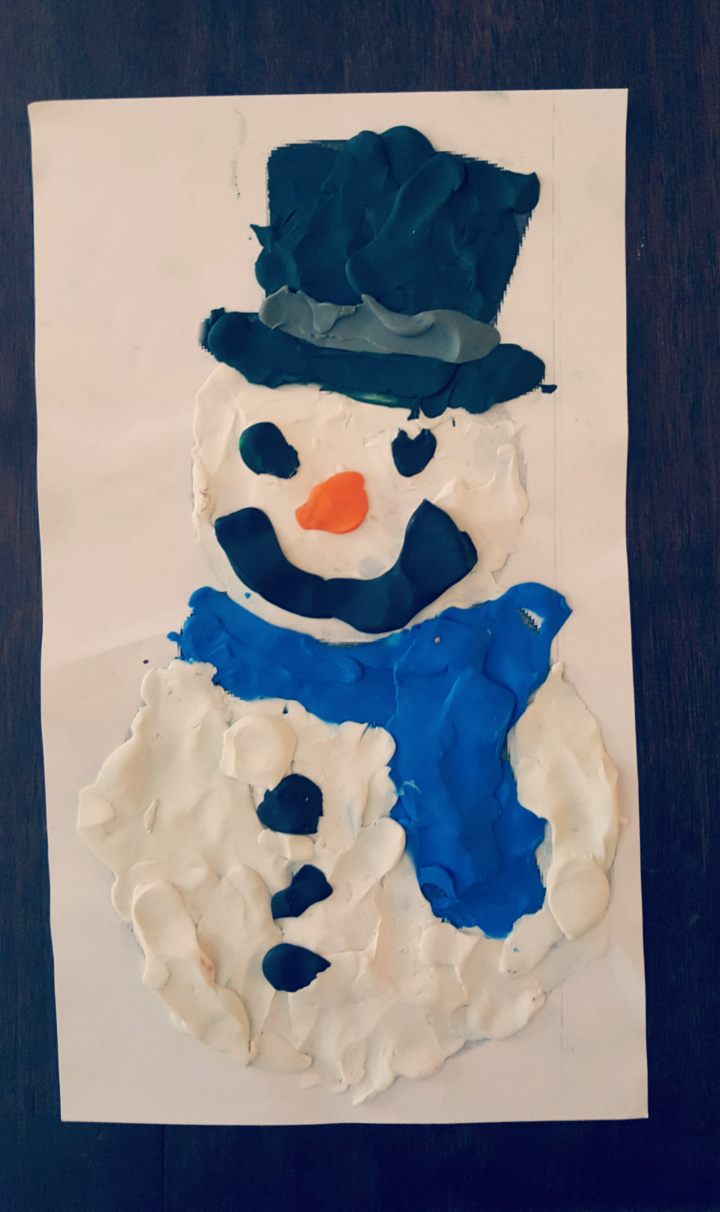
Children selected one picture that they liked from a variety of printed off pictures (clipart). I printed a bunch of pictures before hand and let children choose their favourite.
Giving children choice worked well because they were really determined and engaged because they had selected the picture them self and each picture was unique.
Children then used the smearing technique that we worked on yesterday to create their picture.
We talked about doing the background first, but students were given freedom to create how ever they wanted.
In older grades, you could focus on creating from the background to the foreground and even mixing to get different shades.
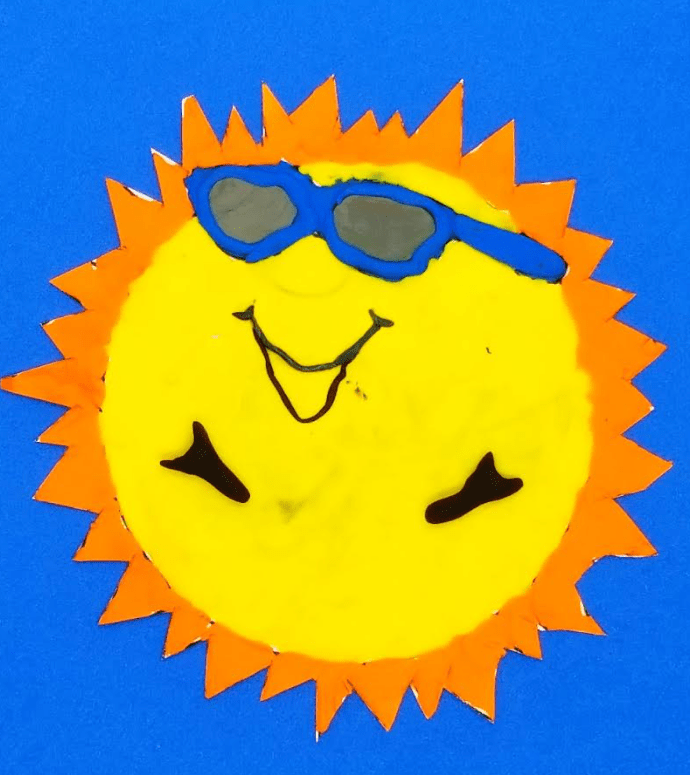
I had a class that was working on a superhero inquiry in their classroom, so I offered lots of superhero pictures for children to choose from.
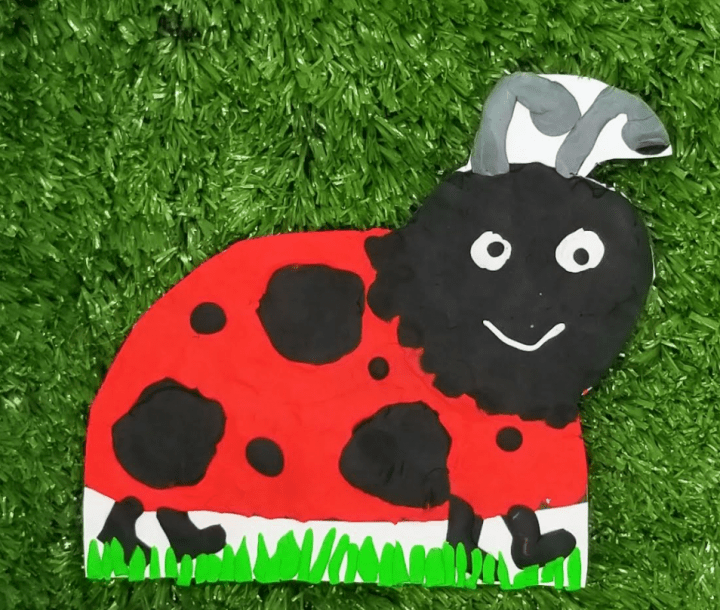
Their pictures were beautiful! I was so happy with how well they turned out. Having the image underneath as a guide really helped them create a picture they were proud of.
This activity would also work well as a gift for students to take home for a special holiday (ie. a flower for Mother’s Day).
Day 5 – Plasticine Science
This activity could be done on an earlier day in the mini unit; however to be honest, it was not part of my initial plan, but it was a fun way to end our unit.
I had so many students fascinated by the plasticine and water from day 2 that they all wanted to know if plasticine floats or sinks.
So, I decided to add a science experiment into our mini unit!
To start, I had children predict if they thought the plasticine would float if I dropped it in water. Then, I dropped my cube into the water. It sunk.
I handed out the plasticine cubes and asked children to create something that would float.
This was a great challenge for children. I stayed at a table with a large bucket of water and when children felt they had created something that would float, they came to the water and tested their ‘boat’.
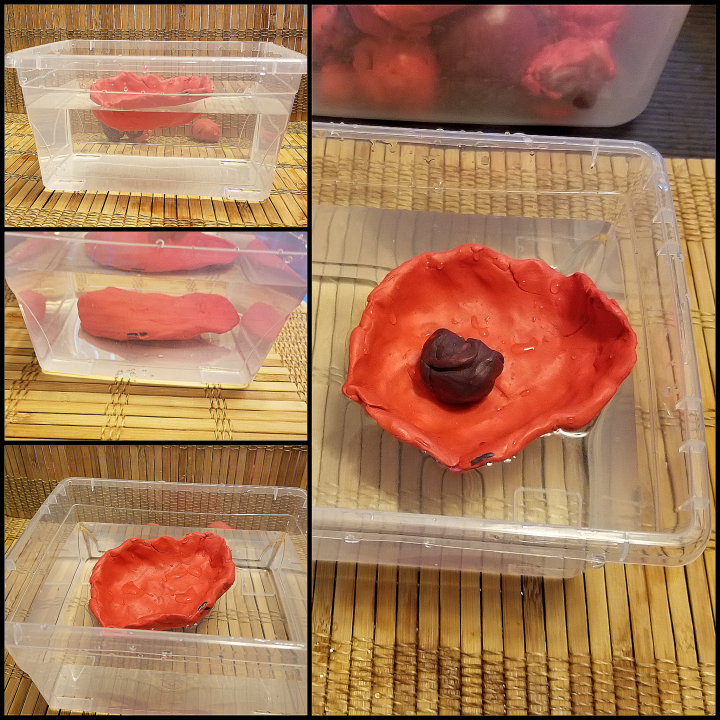
Many students created a completely flat boat. They noticed that it took longer to sink, but it still did not float.
Some children tried to trap water inside the plasticine and make a ball. I loved this idea because it showed that they understood that air would help something float.
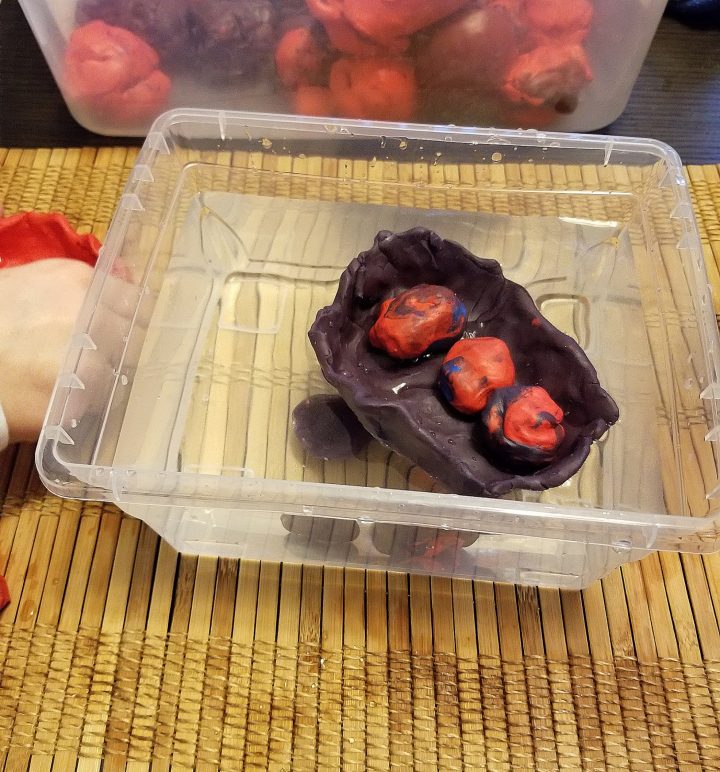
After much trial and error, children began to make bowl shaped creations, which floated!
To extend this activity further, many children wanted to test the strength of their boat. They rolled plasticine into balls and placed it onto their boat until it sunk. 7 balls was our winner!
I loved this hands-on unit and children learned so much! They also had a lot of fun working with this new art material.
Each day ran smoothly and their final art pieces exceeded my expectations! Although I used it for kindergarten activities, you can easily use each of the activities at home with kids of different ages.
The Plasticine Smoosh printable page is available by clicking, and subscribing below.
For your convenience, this post contains affiliate links. As an Amazon Associate I earn from qualifying purchases and I may earn a small commission at no cost to you.




Leave a Reply