This post may contain affiliate links.
With spring just around the corner, I am excited to do some new spring STEM activities at home, and at school with my students! Today I’m sharing an exciting science activity that I have done in many ways, many times during the year. Each time, it seems like the first time for my students because they always love it and it ends up being the highlight of our day.
If you have not done a STEM activity before, STEM stands for, Science Technology Engineering and Technology. STEM activities are a great way to increase children’s experience with each of these strands of science.
By exposing children to STEM activities, you are helping them learn about the world around them and teaching them about these important professions and types of science.
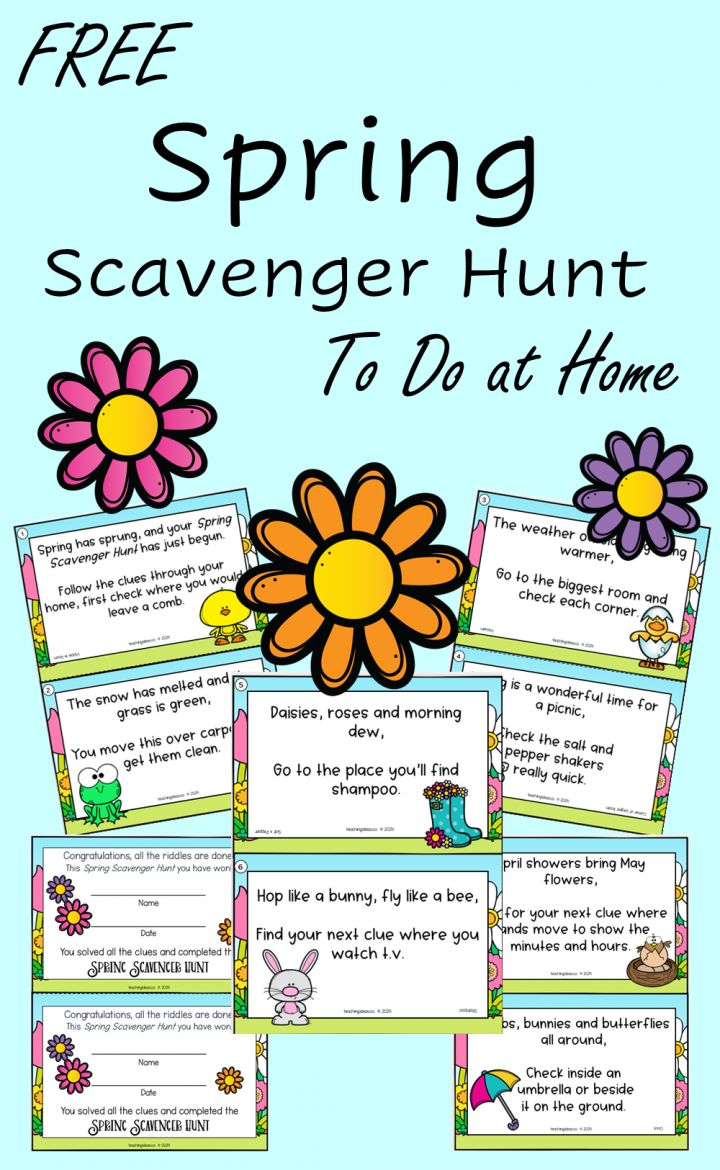
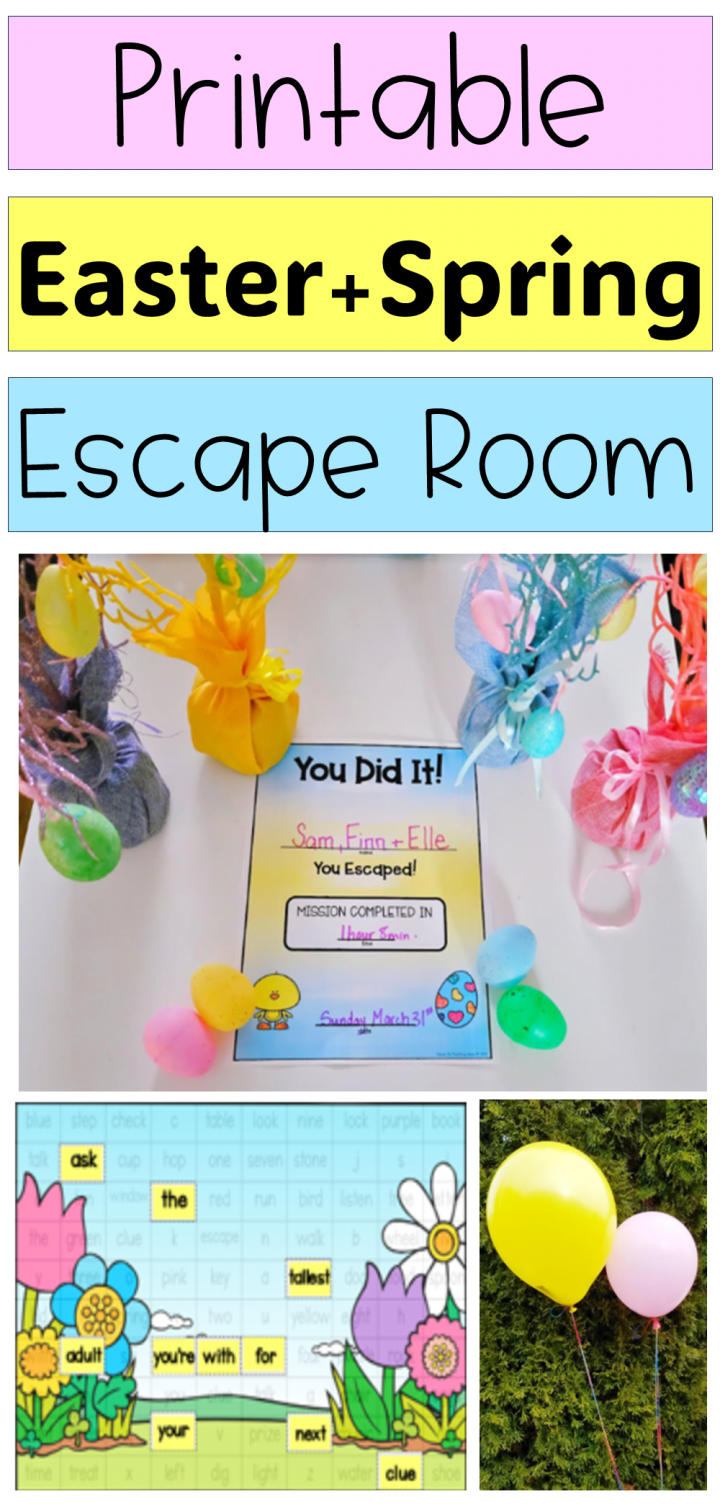
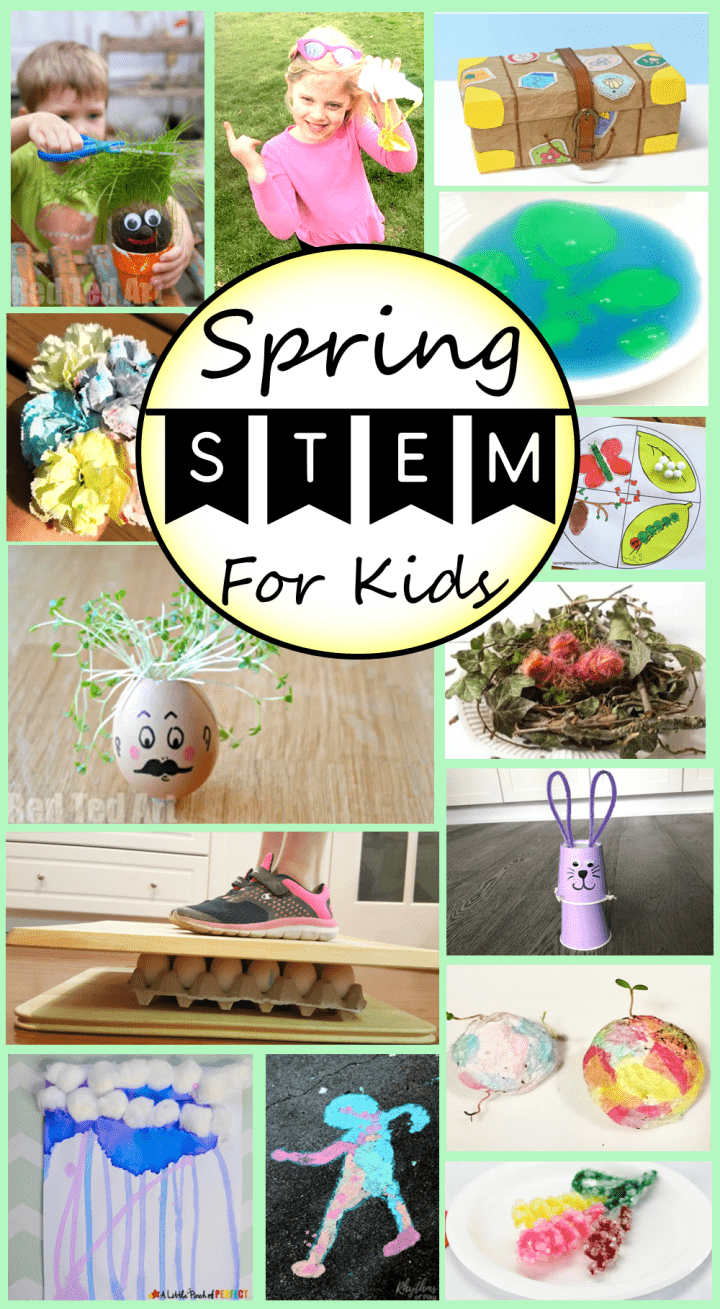
This spring STEM activity is simple to create and will keep children busy, engaged, and learning as they do the experiment. If you love this idea and are looking for more spring themed STEM activities for kids, check out this huge collection of Spring STEM. Or try encouraging problem solving in a different way with a printable spring escape room game.
Materials for Your Spring STEM
Since I work with young kids, and like to do hands-on experiments, I always make sure that the ingredients are safe for kids to use.
As with all science experiments, make sure to supervise children while they are doing the experiment.
The ingredients for this spring STEM are simple and you probably already have them at home. All you need is:
- Baking Soda
- White Vinegar
- Food Coloring
- Sparkles (Optional)
- Hidden Treasure (Colorful beads, plastic flowers etc.)
- Silicone Flower Muffin Mold (If you don’t have one, you can use cupcake liners)
- Recipe (Download at the bottom of this post)
Children love to do science experiments, especially when they ‘explode’. This spring STEM experiment is easy to prepare and will impress kids of all ages!
Preparing Your Spring STEM
There is a little bit of prep involved in creating the pucks for this spring STEM science experiment. However, it is simple and fairly fast. Even children will love helping prepare the materials. Use the recipe to make creating even easier.

Start by mixing baking soda with water. Mix roughly 4 cups of baking soda and 1 1/2 cups of water in a bowl.
Add water to the baking soda and stir. The consistency should be like cupcake batter. You need enough water so that the baking soda is mixed in and all wet and you should be able to stir the mix.

If you add too much water, don’t worry, it will still work, but it will take longer to dry.
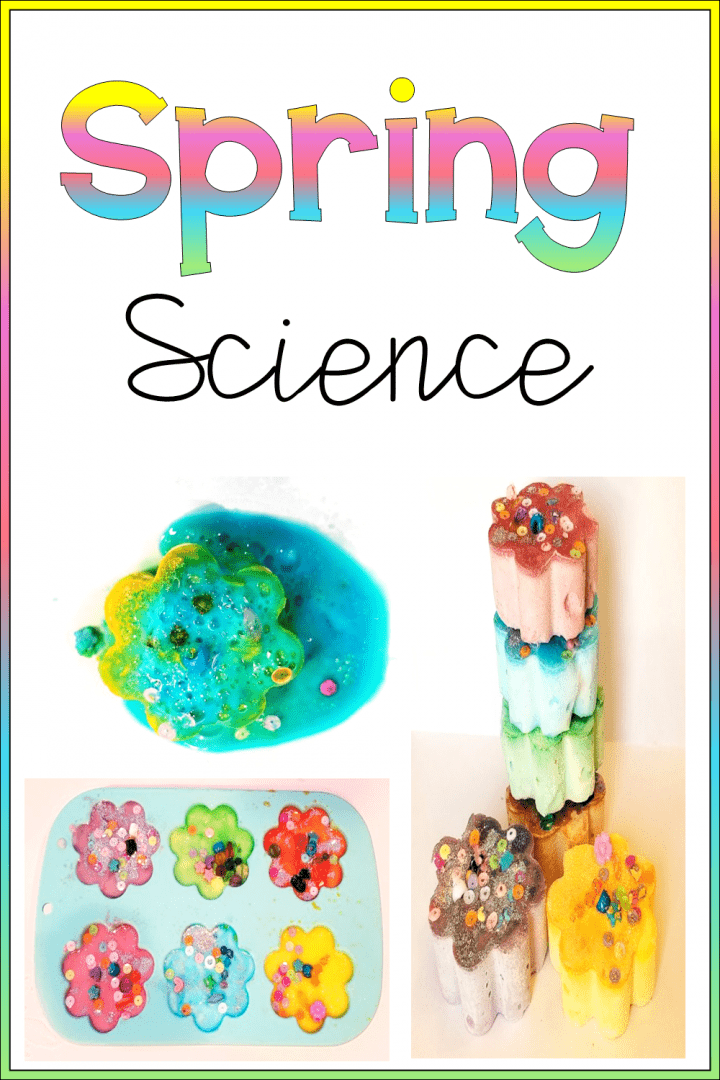
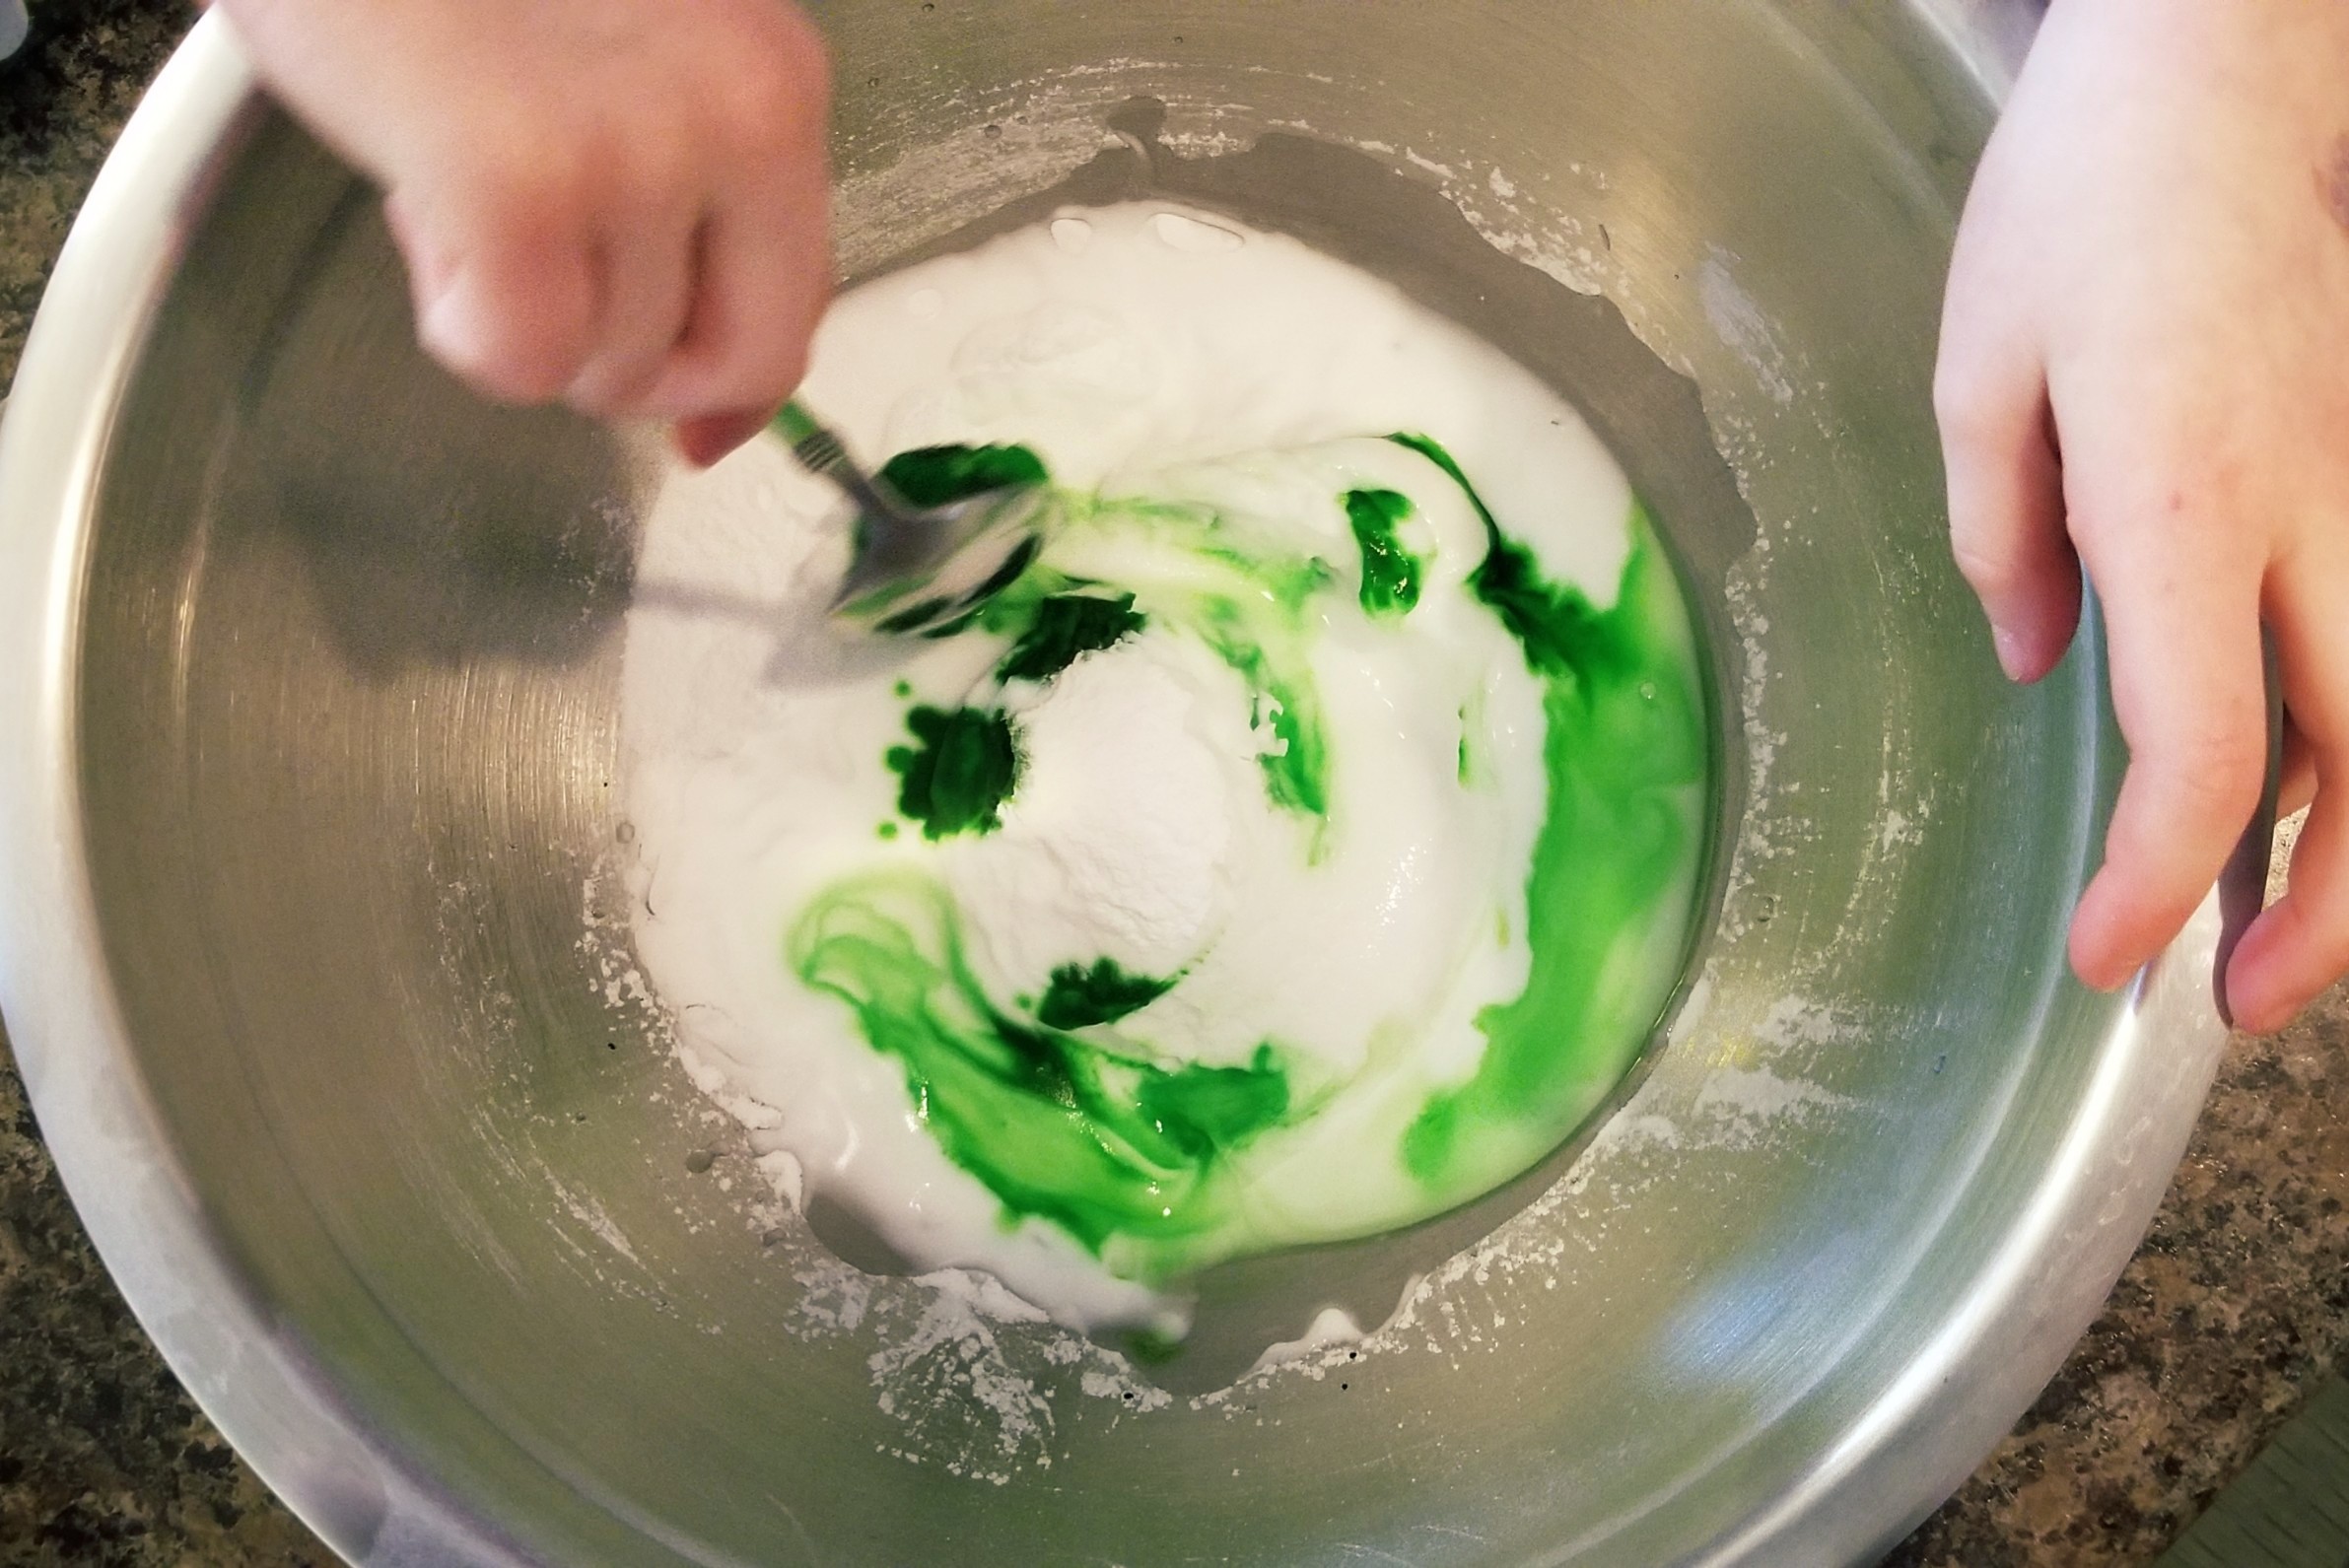
Once the mix is ready, you can add food coloring. I used a variety of spring colors in my baking soda and water mixture so I mixed in the food coloring in several small bowls. One for each color.
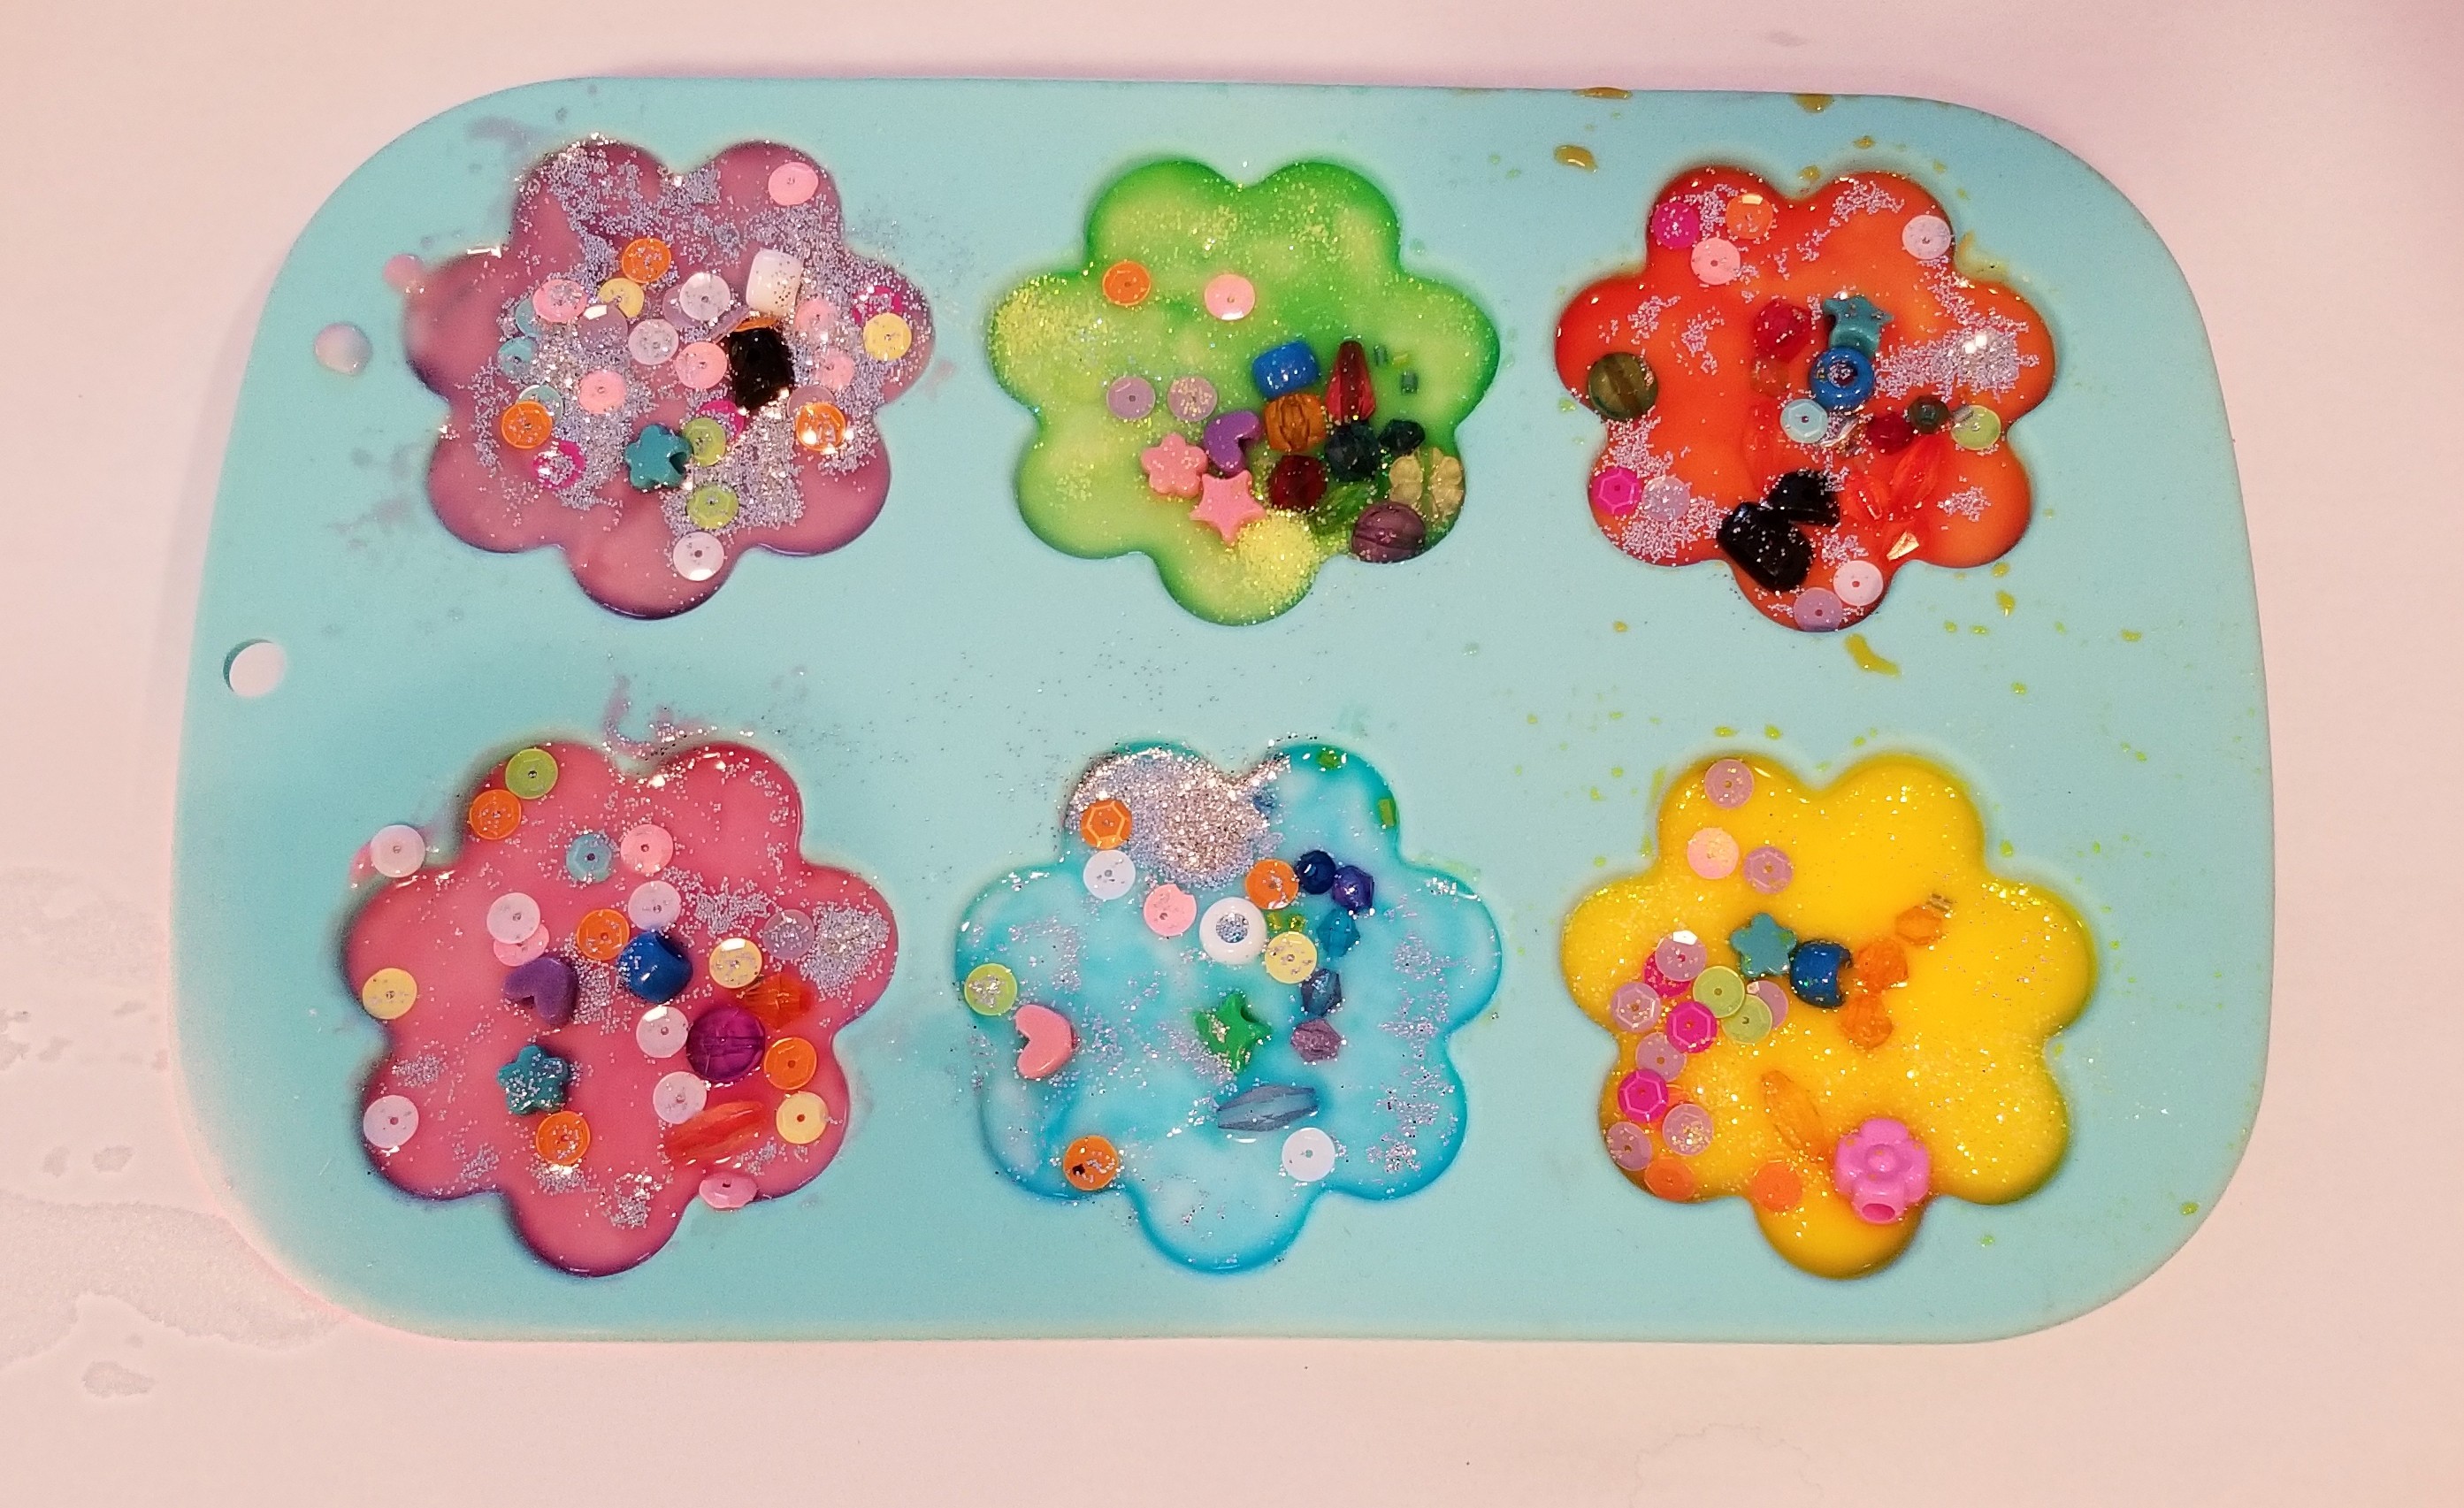
Before adding the mixture to the silicone molds, you can place a small treasure inside of the mold. I used colorful beads and gems.
You can put anything in it that won’t get destroyed by the water and later the vinegar. Small plastic items work best.
Make sure whatever you choose to put into the silicone mold is safe for the children you are doing the experiment with.
I found silicone molds shaped like flowers, which was perfect for my spring STEM theme, but you can use whatever you have on hand.
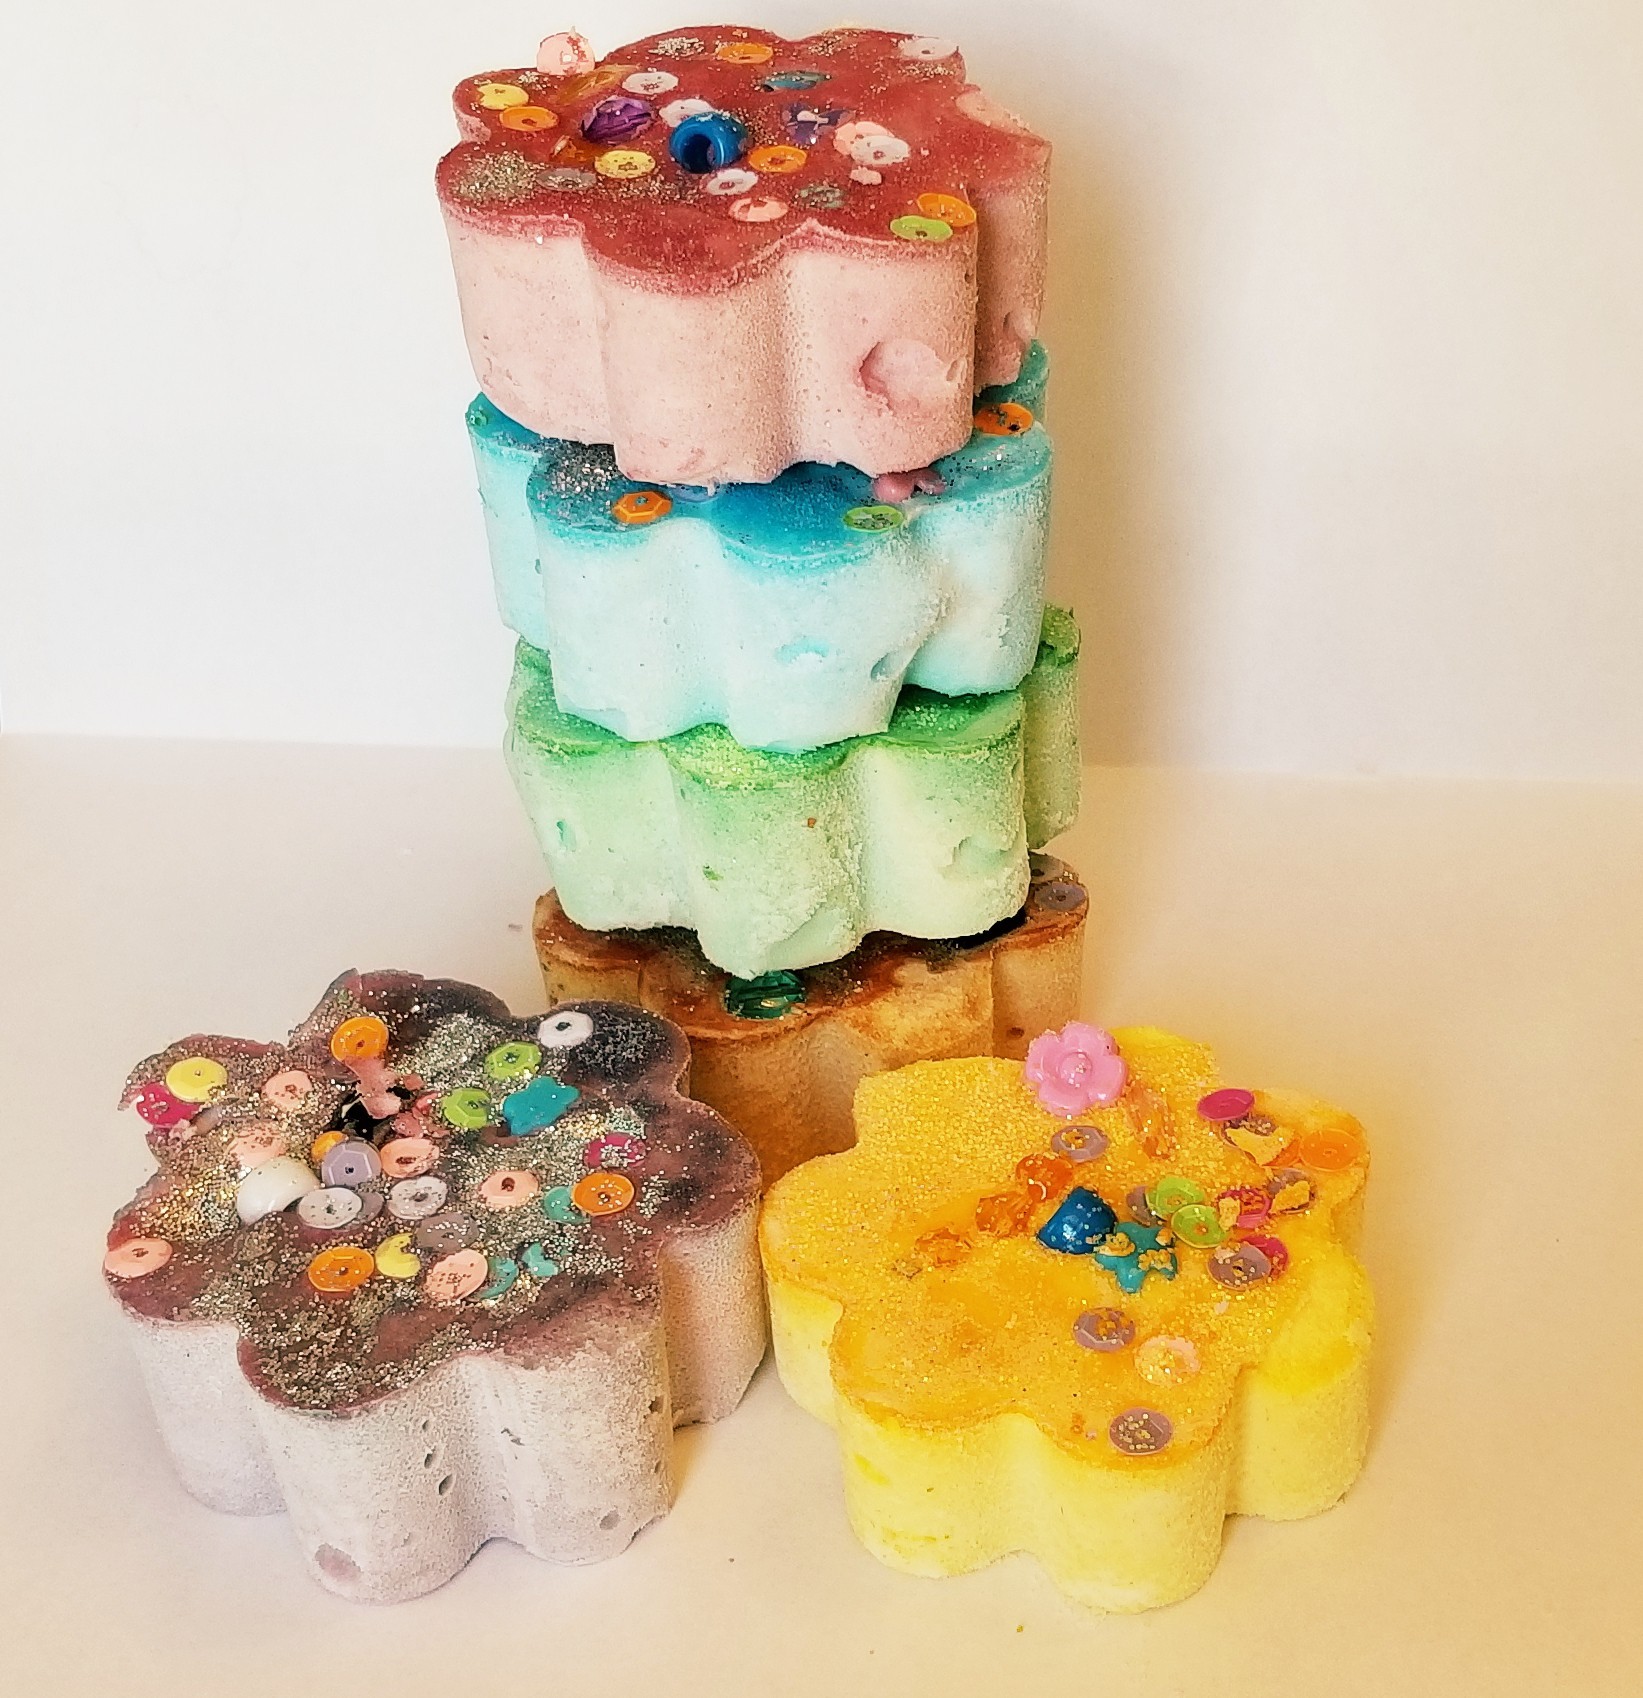
Then, scoop out the baking soda mixture into each flower mold. I topped each mold off with another few colorful beads and some sparkles.
Depending how much water you use to make your pucks, they will take at least overnight to dry. When there is no water on the top and the pucks don’t feel cool to the touch, they should pop out easily from the mold and you are ready for your science experiment.
I used this idea for a Shamrock Science experiment and the baking soda pucks are made the same way. A free printable of instructions of measured ingredients are available to subscribers. More information can be found: Exciting Shamrock Science Experiment.
The Spring STEM Experiment
Once the pucks are dry, you are ready to begin!
I started by giving each child a puck. They took a minute to inspect it and predict what they thought was going to happen when the put some vinegar on it.
I gave children magnifying glasses to inspect their spring baking soda puck closer. Children love using magnifying glasses because it makes them feel like real scientists – or so my students always tell me.
Next, I gave everyone a small bowl of vinegar and an eye dropper. We have special eye droppers for science for kids that my students love. (Link below to eye droppers)
Children used the eye droppers to pick up some vinegar. They dropped one drop of vinegar onto the baking soda puck and then watched and listened to what was happening.
The fizzing, or ‘explosion’ as my students called it, is a chemical reaction that occurs when the vinegar touches the baking soda. The two materials react to each other and cause fizzing.
The vinegar breaks away at the baking soda. In doing so, it reveals the hidden treasures inside.
You can then add several more drops as the vinegar breaks apart the baking soda. It is very exciting when the fizzy bubbles clear and kids begin to see all of the beads inside.
In more scientific terms, the baking soda is a base and the vinegar is an acid. When an acid and a base are mixed, a chemical reaction occurs. In this case, we can see the reaction with the fizzing.
Encourage children to also listen to the sound the reaction makes.
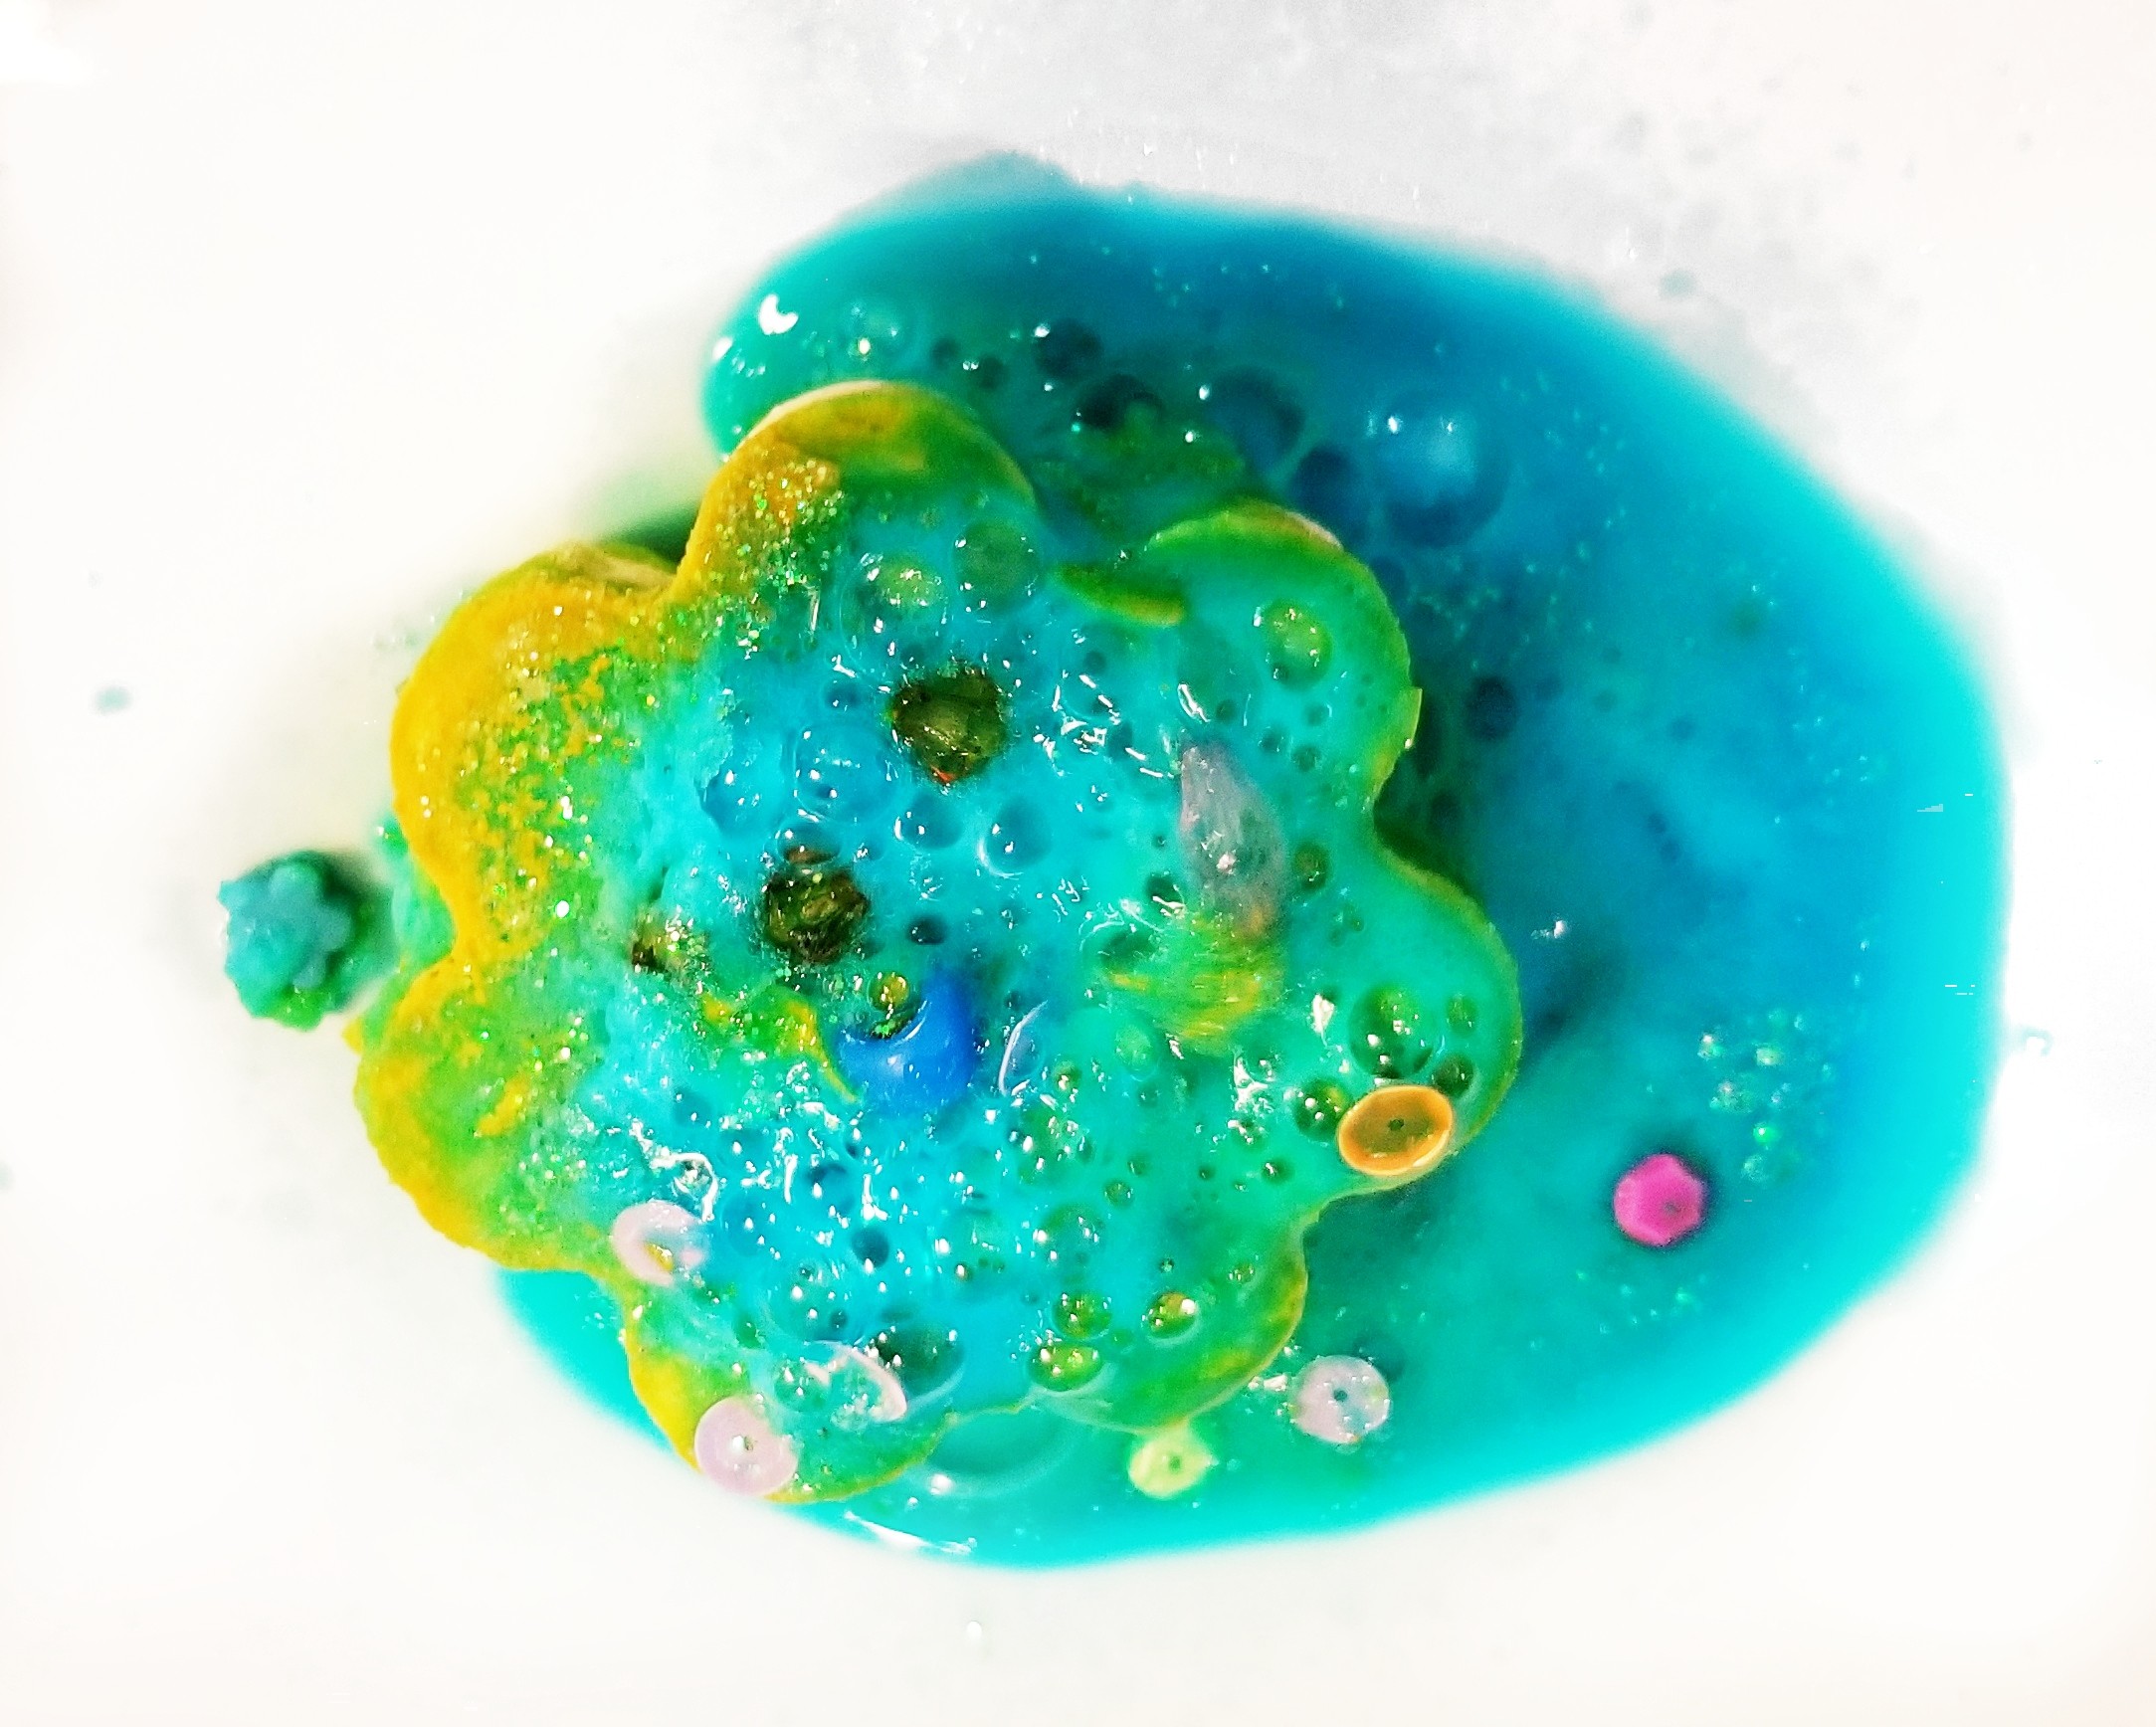
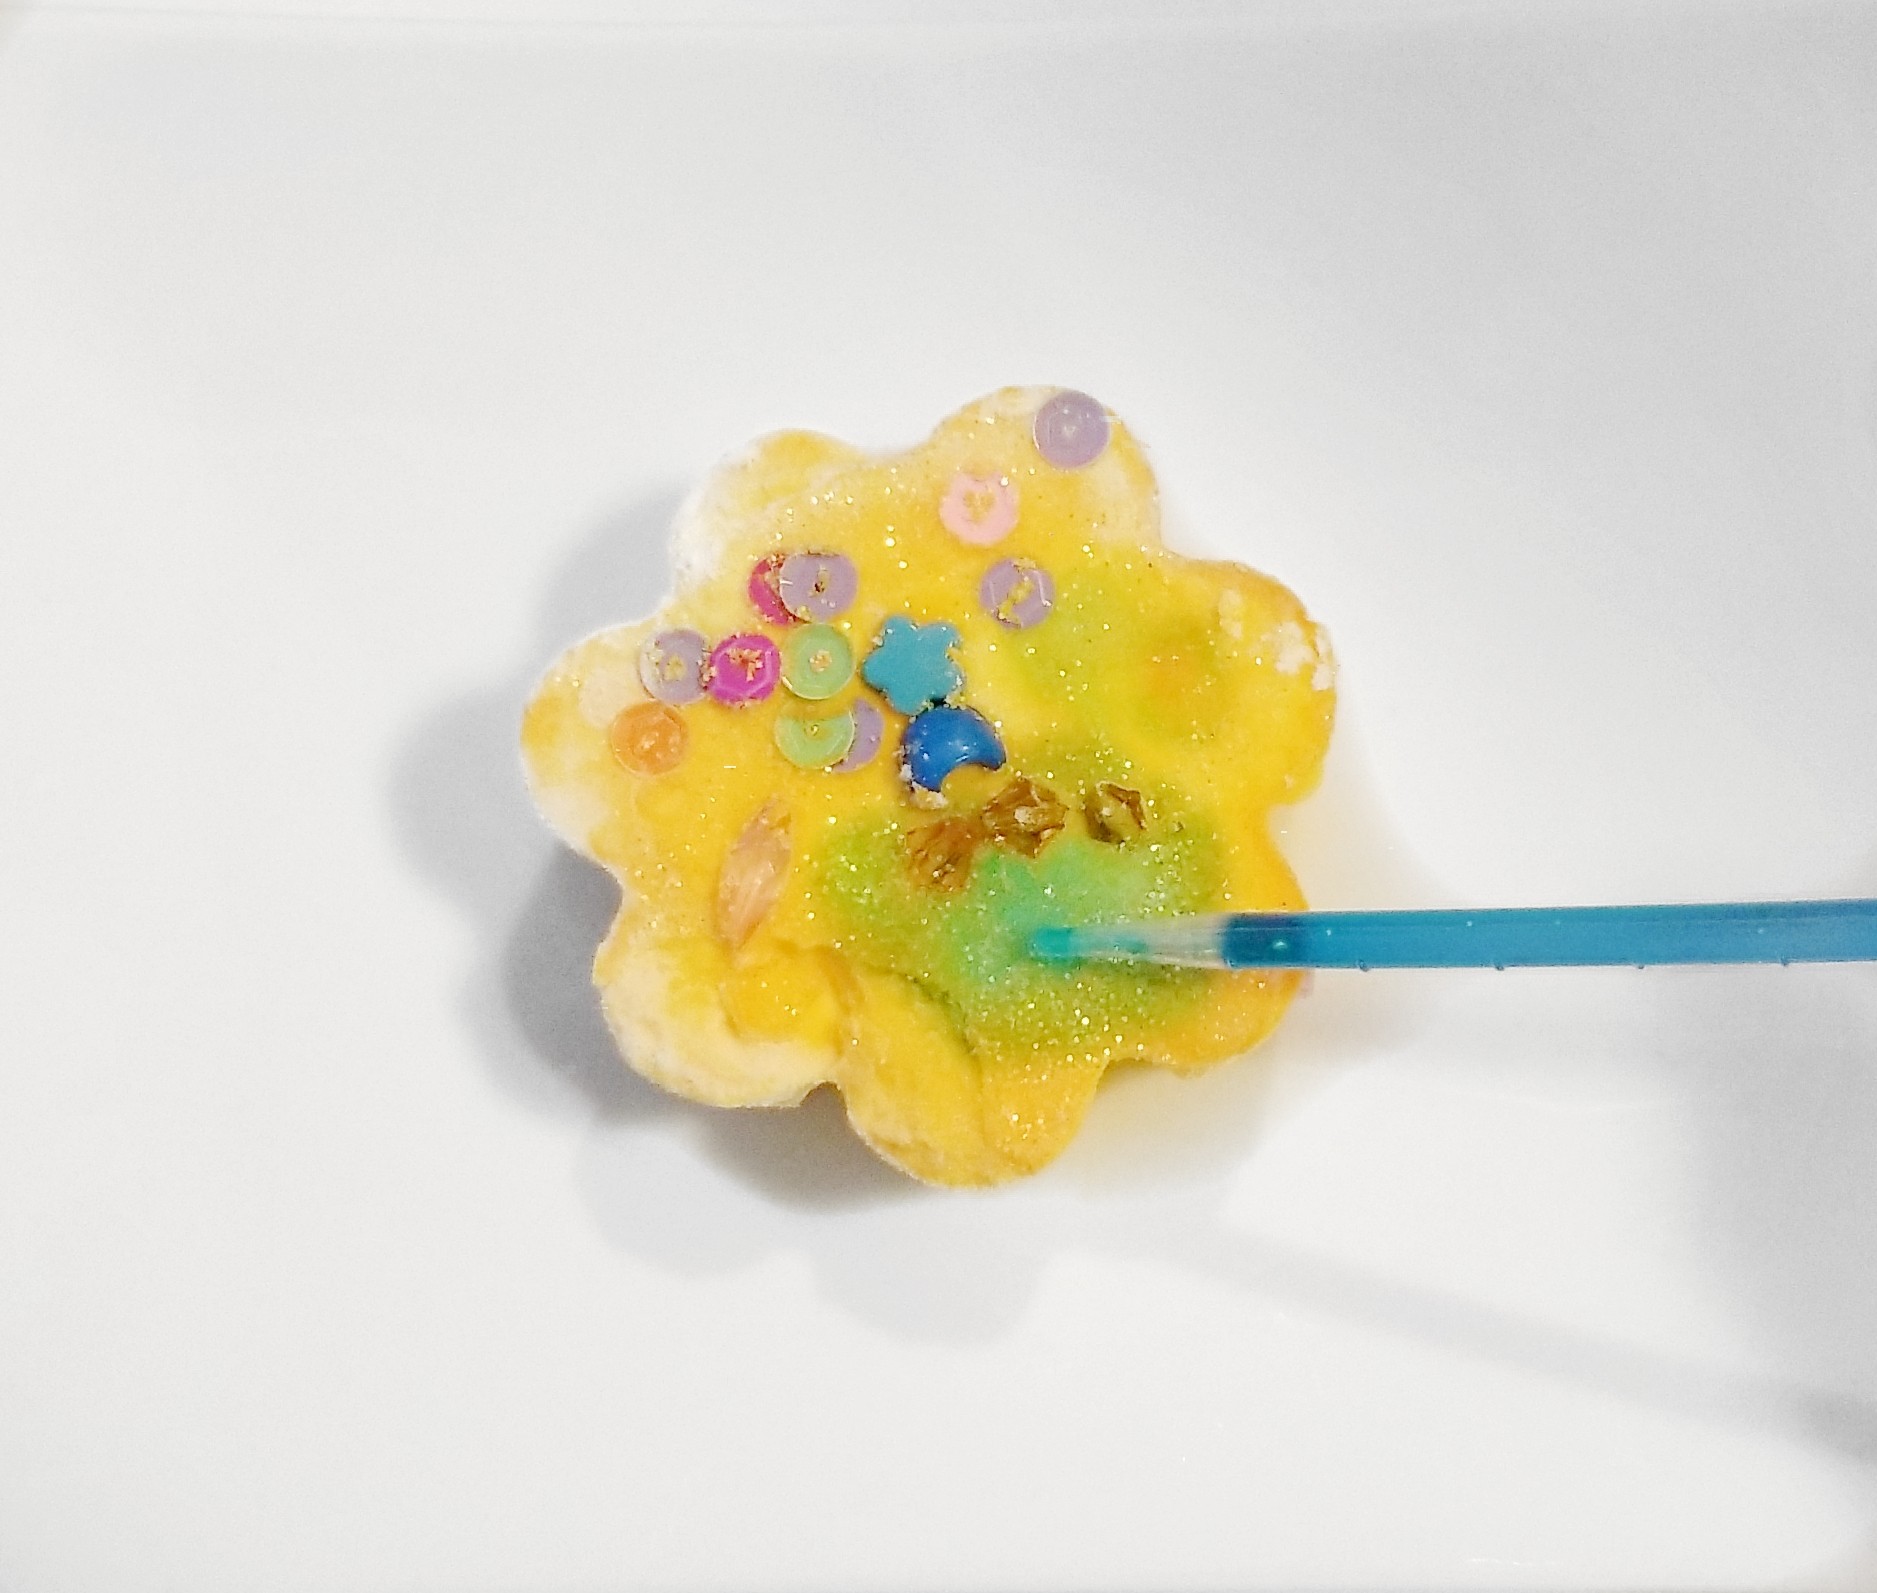
To extend this activity, I like to add food coloring to the vinegar. In this case, I added blue so that when the vinegar is dripped onto the yellow baking soda puck it creates green.
By adding color to the vinegar, you are adding another sensory experience for children. When the colored vinegar mixes with the colored baking soda puck, the colors mix and may create a new color.
This color mixing is another simple, and great way to add another element to this spring STEM activity and it teaches a bit of art.
This spring STEM is full of learning experiences and hands-on fun!
Join Hands-On Teaching Ideas
Join Hands-On Teaching Ideas to gain access to my Free Resource Library filled with lots of printable learning resources, from a choice board full of STEM activities for kids to escape room games, you can download anything that interests you for your classroom or home.
Click the grey box below and access the Spring STEM recipe for the fizzing pucks. Subscribe through Grow. Subscribing this way will also unlock the other freebies on this site.

More Hands-On Teaching Ideas
If you are looking for more engaging, simple learning activities for kids to do at home, or school, take a peek at some of my favourite, and most popular blog posts below.
From science and art to outdoor activities and escape rooms.