Are you interested in making your own escape room, but not sure where to start? You’ve come to the right place! Once you have a few escape room ideas for puzzles, it is easy to put the room together. Over the years I have collected lots of escape room puzzles and below I share nine creative DIY escape room ideas for kids to help get you started!
When you prepare an escape room, I suggest starting with at least 5 puzzles. The more puzzles you add, the longer and more challenging the escape room will be. Once you have puzzles, simply connect them together to lead players from one puzzle to the next.
Whenever I create an escape room for kids, there are always one or two clues that end up being the highlight. The ones that my kids talk about even after the escape room is done.
The escape room ideas below are a collection of those puzzles. Puzzles to add to your escape room that have an extra wow factor.
The escape room ideas below are some of my favorite and most exciting puzzles. Including any one of the following puzzles will add an extra level of excitement to your escape room for kids.
The materials for these escape room ideas range from free, household materials to unique materials that will make your escape room even more special and engaging.
The escape room puzzles below are not connected together to complete an escape room, but they could be used together to create an amazing room! Ideas for how each puzzle can be set up and used is included.
DIY Escape Room Puzzle #1
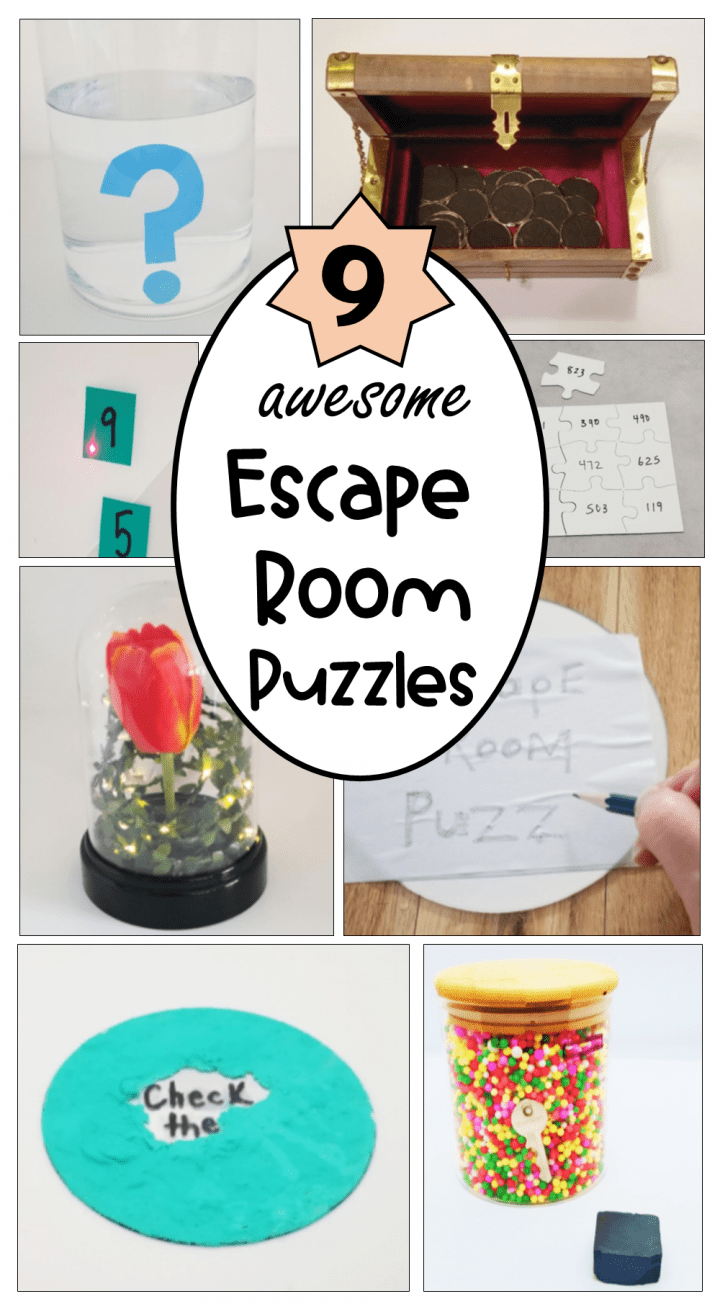
This is my new favorite clue to use for escape rooms! It is heat sensitive vinyl paper. You can get different colored pages. I used one that starts as translucent and turns blue when it gets cold.
For the escape room, you can attach the vinyl paper to a cup, container or simply stick it to a flat surface. It does not come off easily, so keep that in mind when sticking it down.
Place a water bottle filled with ice cold water somewhere in the room. On their own, neither the water bottle or vinyl paper look like a clue, but when used together they are almost magical.
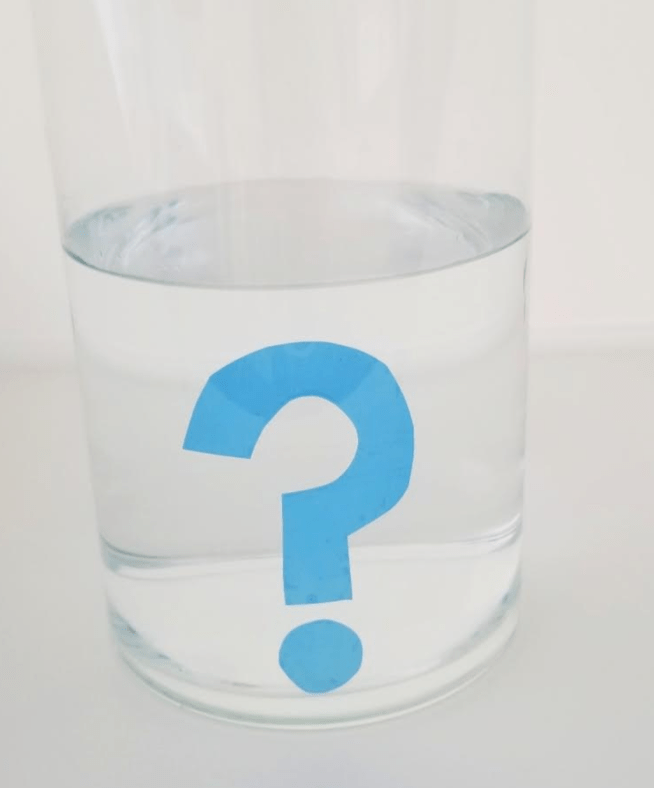
I placed a sheet with sixteen different colors on it in the room. Each color also has a number code. One of the numbers is the code for a lock in the room.
Since the blue color is not apparent on the vinyl paper at first, the colors on the page will not mean anything to players. However, once the water is added and the blue color appears, the number on the blue becomes significant.
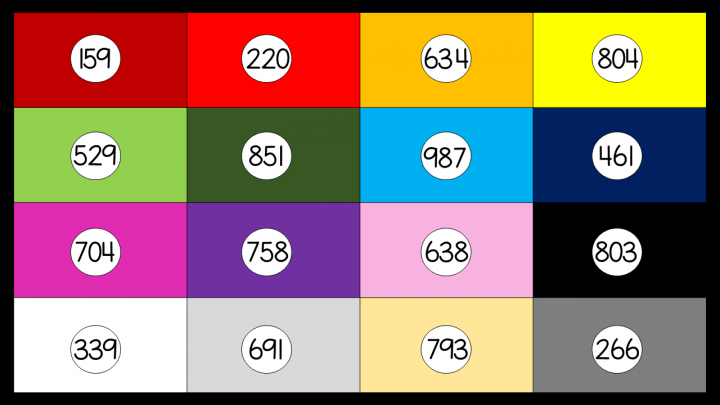
When setting up the escape game, you have a few options for this clue. You can leave a clue that explicitly tells players to add the water to the jar or you can make the room more challenging by requiring players to figure out what to do with the water.
Also, if you want to avoid using water, because it can cause a mess, you can use an ice pack for players to place on the vinyl sheet to cause the color change.
Escape Room Puzzles #2
Invisible ink pens are always a hit with escape rooms for kids. However, I also love when clues don’t cost anything and are easy to create.
All you need for this secret message escape room idea are two sheets of paper, water, a pencil and a hard, flat surface, like a mirror.
Dip one sheet of paper in the water and set it on the hard, flat surface. Set the second sheet of paper on top of the wet sheet. Print your message using pencil and then peal the top sheet off.
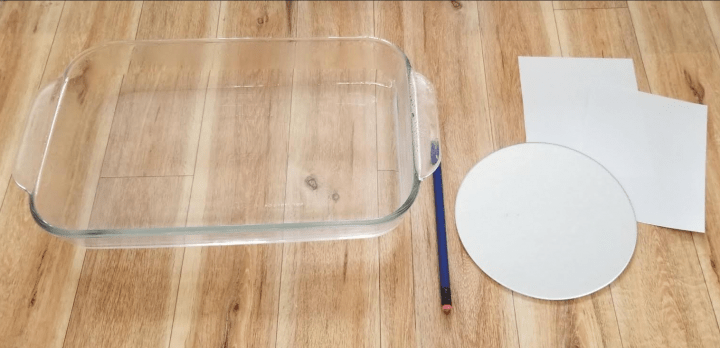
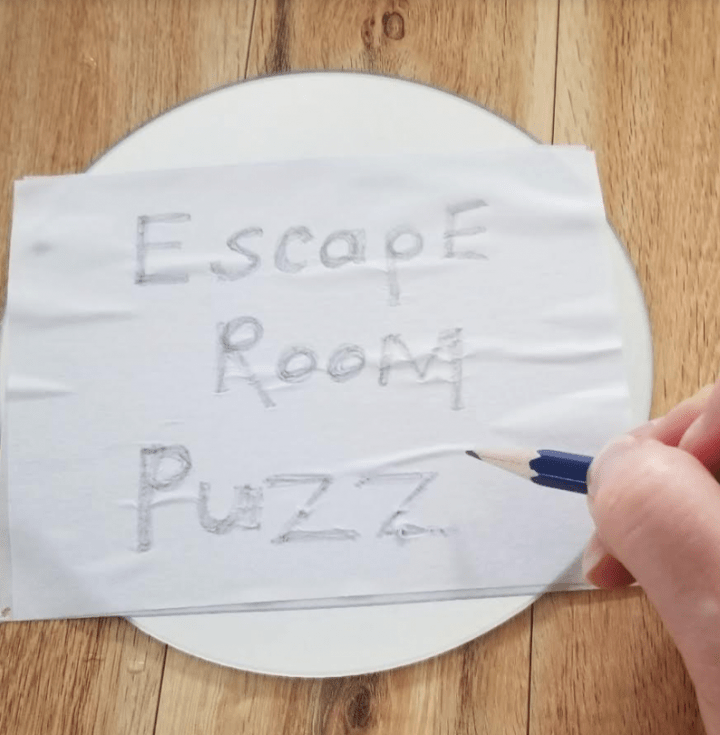
Let the bottom sheet dry. Once dry, the message will not be visible.
To use this clue in your escape room, you will need a dish of water in the room. Players will need to put the sheet in the water for the clue to be revealed.
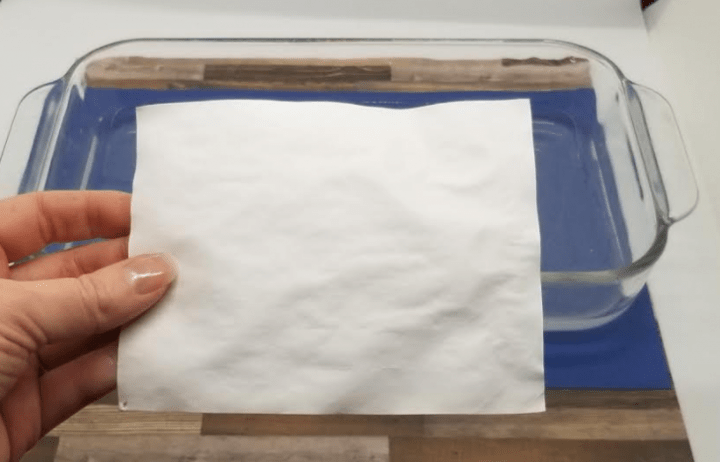
This is such an easy and interesting clue to make and use!
The only thing to keep in mind with this puzzle is that it does require water, which can get messy. However, as long as players are supervised, then you can make sure the water doesn’t get spilled.
Puzzles for Kids #3
The third DIY escape room idea involves a classic clue – a puzzle. Puzzles are often used in escape room games, but this puzzle has a bit of a twist. Players of all ages can be challenged by this clue.
If you have young, or inexperienced players for your DIY escape room, you can simply have all of the puzzle pieces together and give them to players to put together.
However, for an extra challenge, you can hide the individual pieces around the room so players have to find all of the pieces before putting the puzzle together.
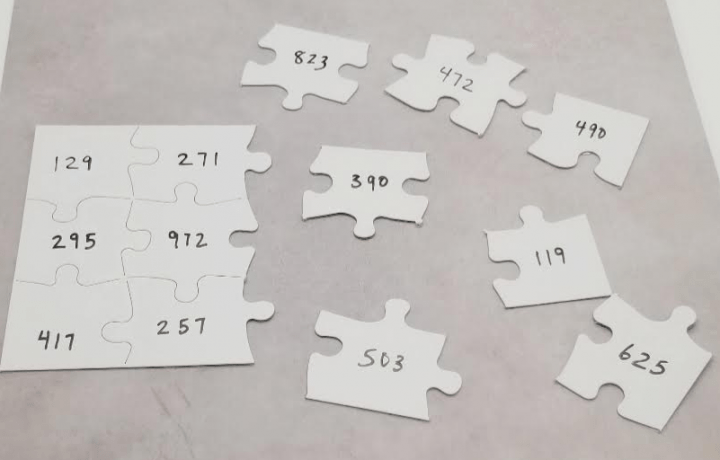
Puzzles can each include a picture to show players where the next clue is, or the pieces can contain numbers for a lock. Whatever you are using your puzzle for, it will be a great addition to your room.
This puzzle clue is a unique however, because although it requires players to put it together to solve, it is actually the piece that does not belong in the puzzle that is the clue.
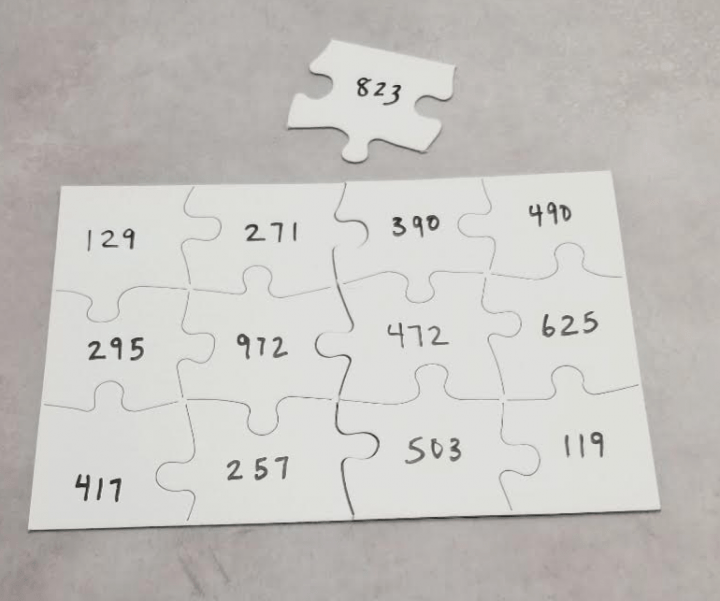
In this example, I used two identical puzzles. I used all of the pieces from one puzzle and then one piece from the other puzzle to make the clue.
To use this clue to open a lock, print a three digit number on each puzzle piece. Print the correct number lock number on the extra piece. When the puzzle is all put together the extra piece will stand out as being different, and important.
If you are not using number locks, you can simply print words for the location of the next clue on each puzzle piece. Print the actual location on the extra piece.
DIY Escape Room #4
A treasure box and treasure is another classic escape room idea. This idea adds an exciting twist that kids will love.
Using a collection of coins, or other material, paint one of the coins with glow in the dark paint. When the coins are all together, they all look the same. The paint is not visible on the one coin.
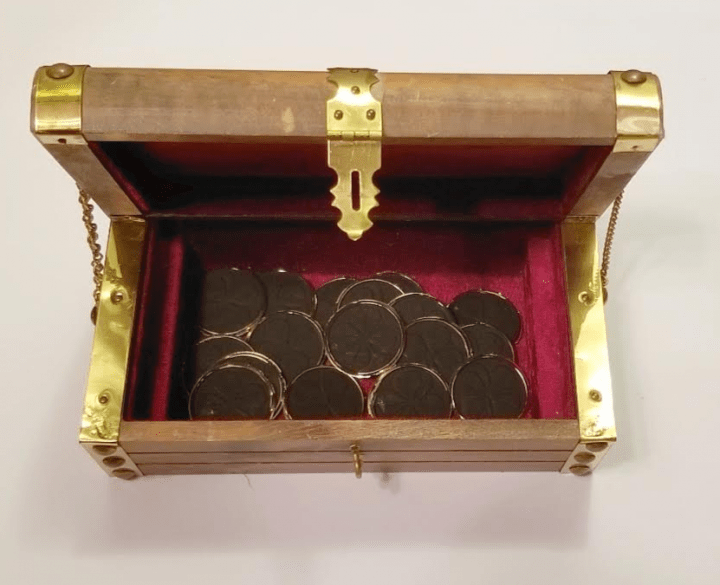
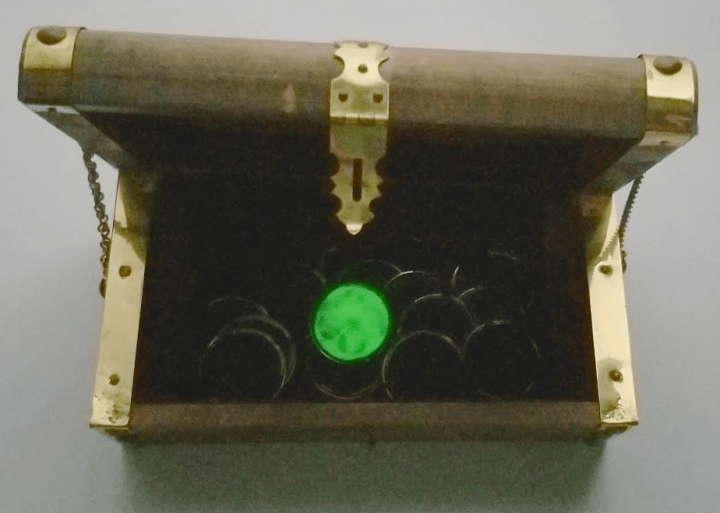
Lead players to turn off the lights. Once it is dark, they will find one of the coins glowing. This will tell players that there is something special about that coin in particular.
You can print a number or clue on this one coin using super small printing. Or you can print numbers on all of the coins, which is meaningless, until the glowing one is found.
Depending on the type of glow in the dark paint you use, most of the paints require light in order for the coin to glow.
I tried to lock the coins in the treasure chest for players to open and find the coins, but the glow paint did not glow as strong as I would have liked because it had been in darkness. So I had to keep the box open. Keep this in mind if you use this clue.
DIY Escape Room Ideas #5
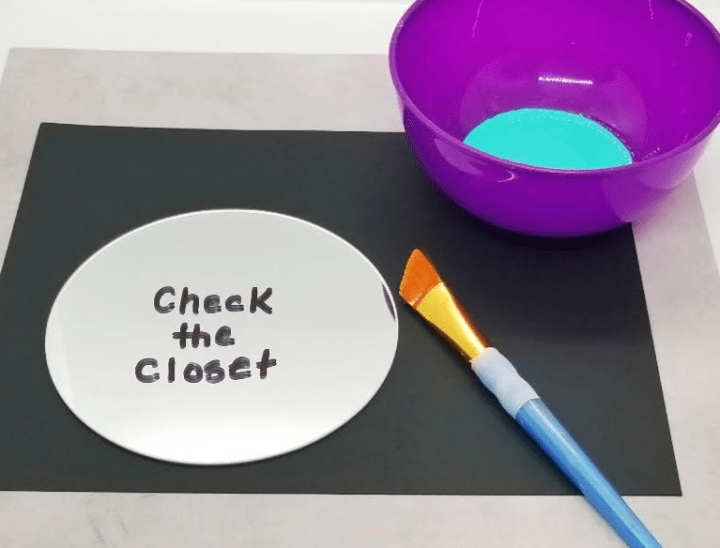
For the next escape room clue, you need a mirror or hard surface, aluminum foil, marker, shaving cream, paint and white glue.
On the hard surface, using permanent marker, print the clue. Cover the words with a thin cut out of aluminum foil or plastic wrap.
Next, mix white glue, shaving cream and paint together and put a thick layer on the mirror and over the aluminum foil and covering the written clue.
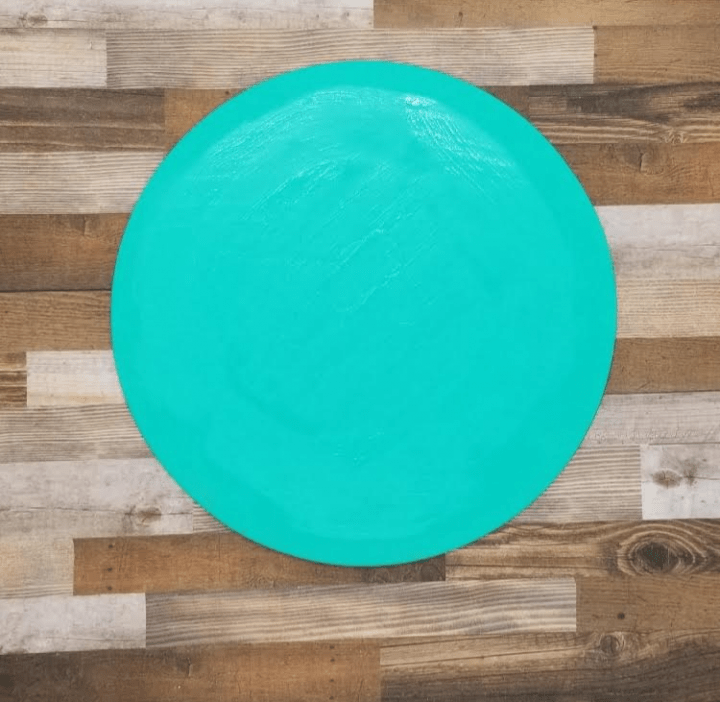
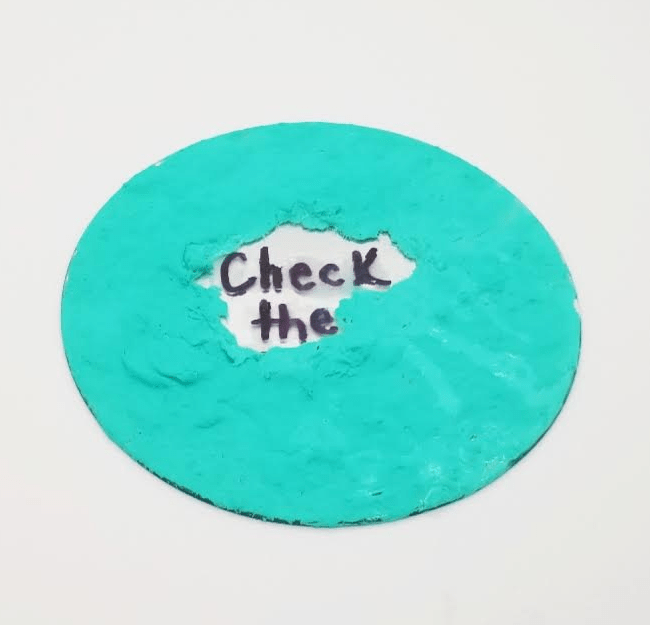
Let it dry overnight. The puzzle simply looks like a slightly textured flat surface, even when inspected, it does not appear to be a clue. However, when players scratch the glue mixture off, the clue is revealed.
Depending on the surface you use for the clue, you may not need the aluminum foil. However, I found that the glue/shaving cream mixture stuck to the mirror more then I hoped which made it difficult to scratch off and get the clue.
The aluminum foil, however, doesn’t stick so it peals right off to reveal the clue.
DIY Escape Room #6
I love this clue! I used a similar clue in an escape room for kids awhile ago and my kids loved it. For this clue, you will need, a clear plastic container with a lid, a key, a magnet and something to fill the jar with. I used small foam balls.
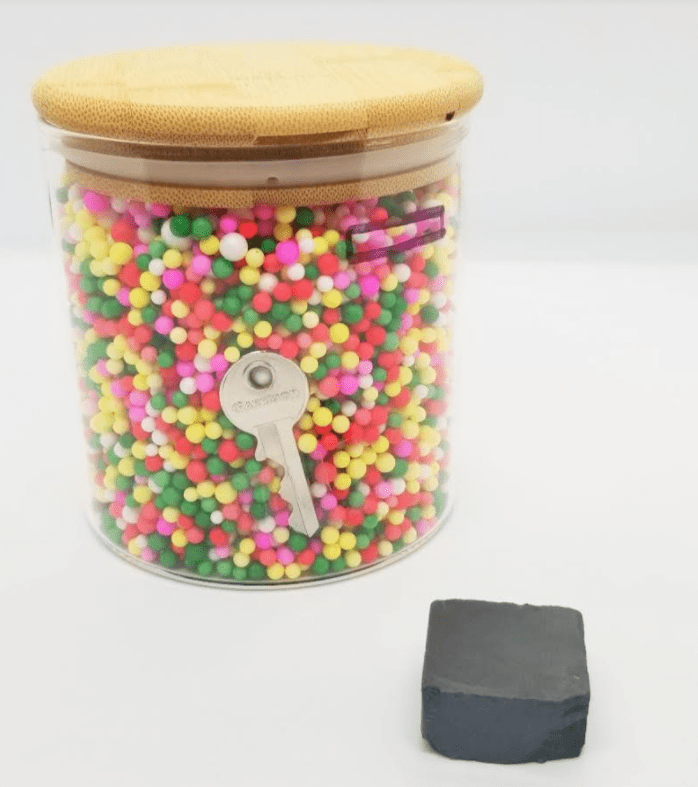
Cut a rectangular slot at the top of the jar. Put the key in the jar, fill it to the top and put the lid on the jar to seal it. It is a good idea to fully seal the jar to avoid players simply taking the lid off and taking out the key. Hot glue works best.
Once sealed, players will need to find a magnet in the room. The magnet can be used to attract the key to the outside of the container. Using the magnet, players drag the key to the top opening and slide it out.
DIY Escape Game for Kids Puzzle #7
The next clue includes a recording device. I used this clue recently in a room and my kids haven’t stopped playing with it since. I am including this clue because it was such an exciting part of the escape room and it is very easy to include and prepare.
For any clue that you need to give players, this recording button is as easy as recording your voice saying the clue.
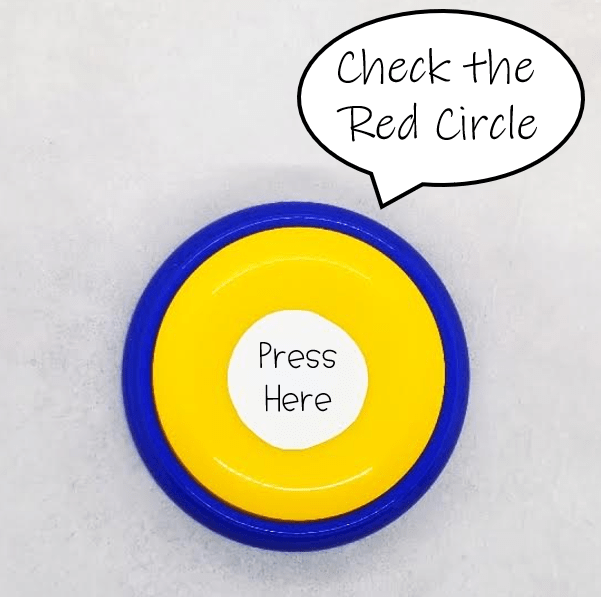
I love the idea of using this recording button to invite players to press as soon as they enter the room to welcome them and give them their first clue. It is also an exciting clue because it brings a new voice into the game and escape room.
Your recorded clue can be a riddle, music or it can even include an unknown voice if you have someone else record for you.
DIY Escape Room Idea #8
A false bottom on a clue is always fun for players to find. Keep it simple by using any ordinary container that has some room at the bottom.
I used a display jar and put some lights and a rose inside. You could add a key or clue with the roses so that players think that they found the clue. However, the real clue is underneath in a false bottom.
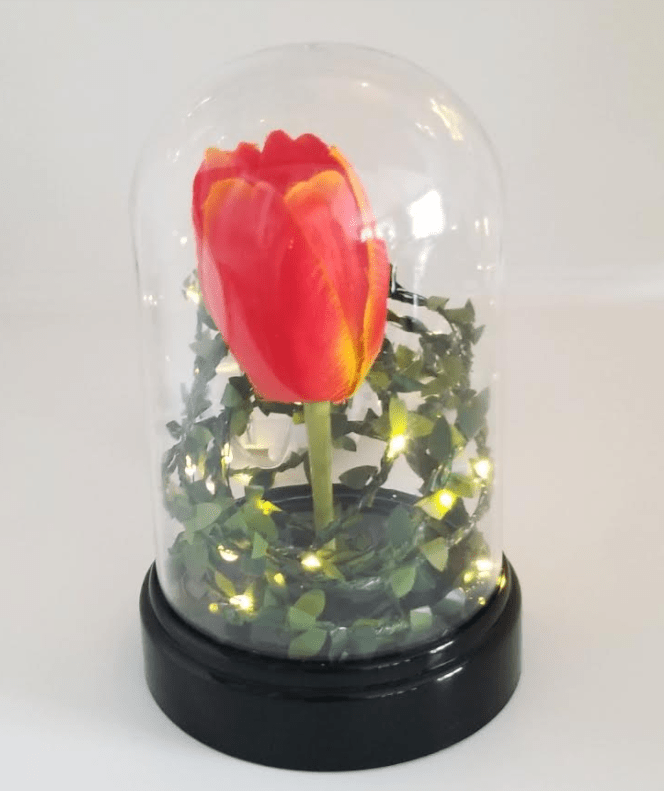
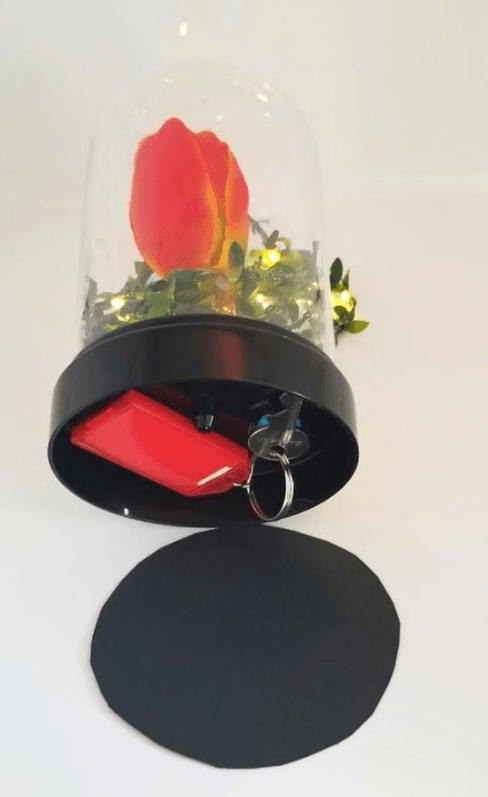
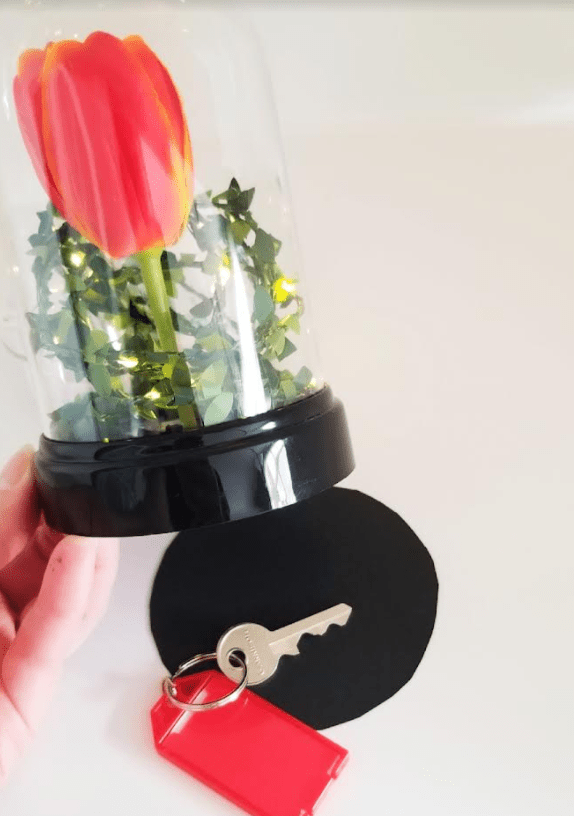
Simply use cardboard or any thick material and cut it to the same size as the bottom. You can place a key or even a rolled up sheet of paper with the next clue on it for players to find. Use hot glue to secure the bottom into place.
Escape Game for Kids Puzzle #9
Lasers are a common clue when you go to an escape room. They can be a lot of fun for kids to use in your DIY escape room. As a teacher, I also love the fact that as kids are experimenting to figure out the clue, they are also learning about light rays!
Make sure to use a laser that is safe for kids. Supervise players while doing the game so that the laser is not used unsafely or shines in anyone’s eyes.
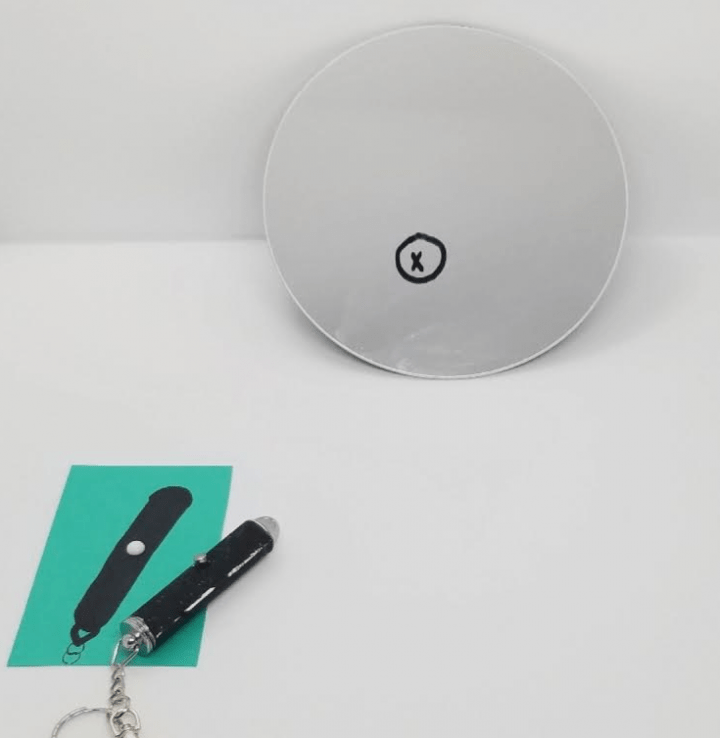
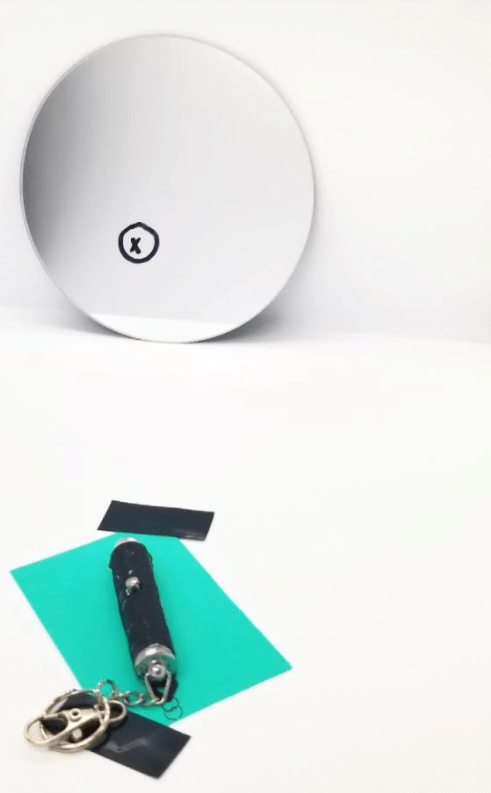
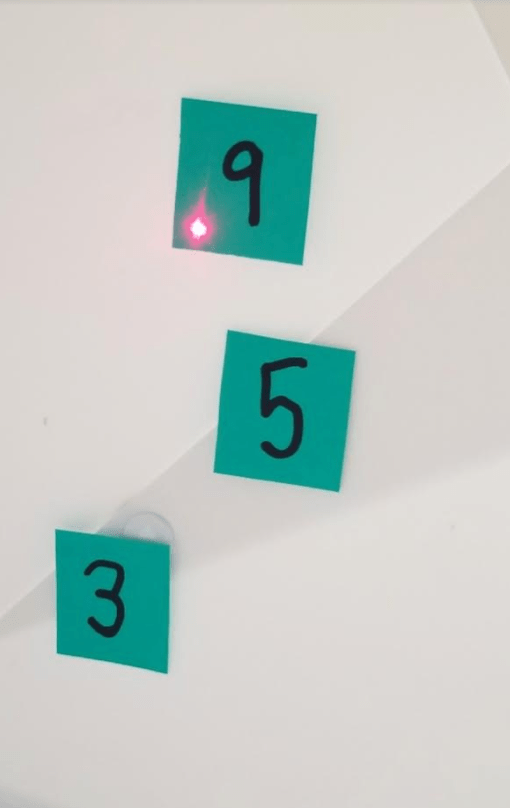
Mark a mirror with an X where the laser needs to be aimed. You will also need a sheet of paper with the laser drawn on it taped down to show players where the laser needs to be set and lined up with the mirror.
Once lined up, shine the laser and it will bounce off the mirror and hit a number on the wall behind. The number(s) or words that the laser lands on tells players the location of their next clue.
This clue takes some precision to set up. Make sure to secure the mirror, and paper with the picture of the laser on it, so that players cannot move it and mess up the clue.
Setting Up Your Game
When looking through these clues, consider which you think players will love and be excited about. Once you have chosen at least 5 puzzles, decide which you want to start with and decide a way to lead from one clue to the next.
Below are 40+ more escape room ideas. Combine a bunch of puzzles together for the ultimate escape room for kids!
You can also download FREE escape room certificates to use as a great way to complete your escape room for Kids. Subscribe below to gain access to my Free Resource Library. The library is filled with resources to download today. From FREE escape room puzzles to educational resources!
More Hands-On Teaching Ideas
If you are looking for more ideas and inspiration for escape rooms, check out the collection below of my most popular and favorite escape rooms.
Make creating your own room easy with free printable clues and puzzles and more DIY escape room puzzles.


Leave a Reply