I love when I have a unit that I need to cover at school, and I know that my students are going to enjoy it. I teach primary grades and our community mapping unit is always one my students enjoy. Although I did this activity in the classroom, you could easily replicate it at home.
Teaching kids about the community they live in is always fun. They can relate to the topics and to their lives. Mapping can be a trickier concept, but there are many ways to make it engaging and fun!
After talking about a few maps and looking at a few examples, I wanted to do a hands-on activity with them in order do some community mapping together on a larger scale.
Community Map for Kids Materials
You don’t need many materials to create this map. If you don’t have the blocks or other materials, you can simply use what you do have on hand.
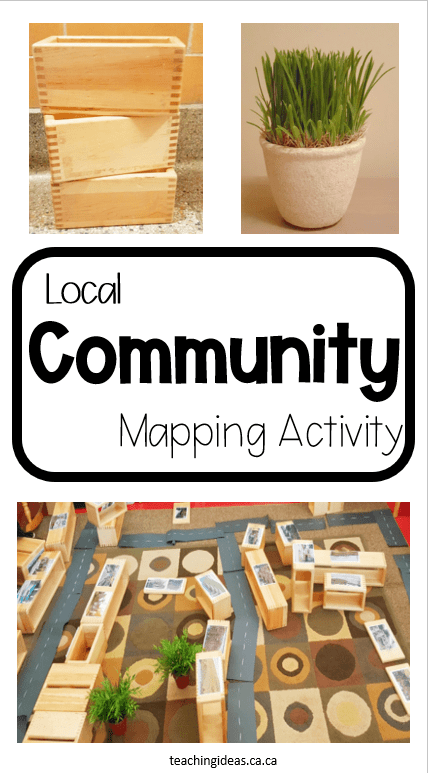
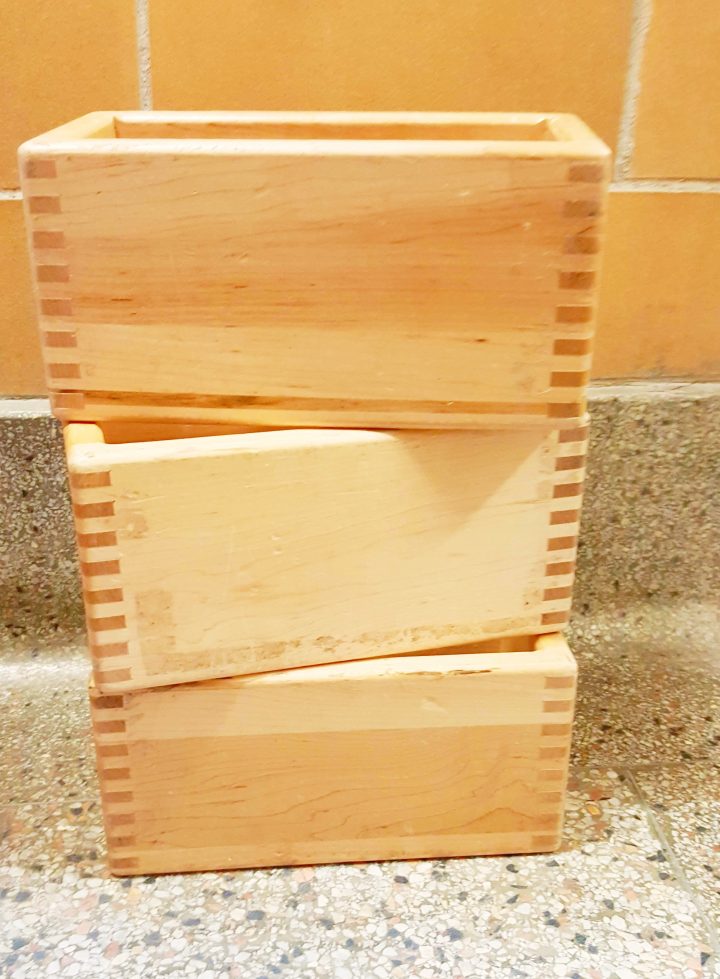
- Large Wooden Building Blocks
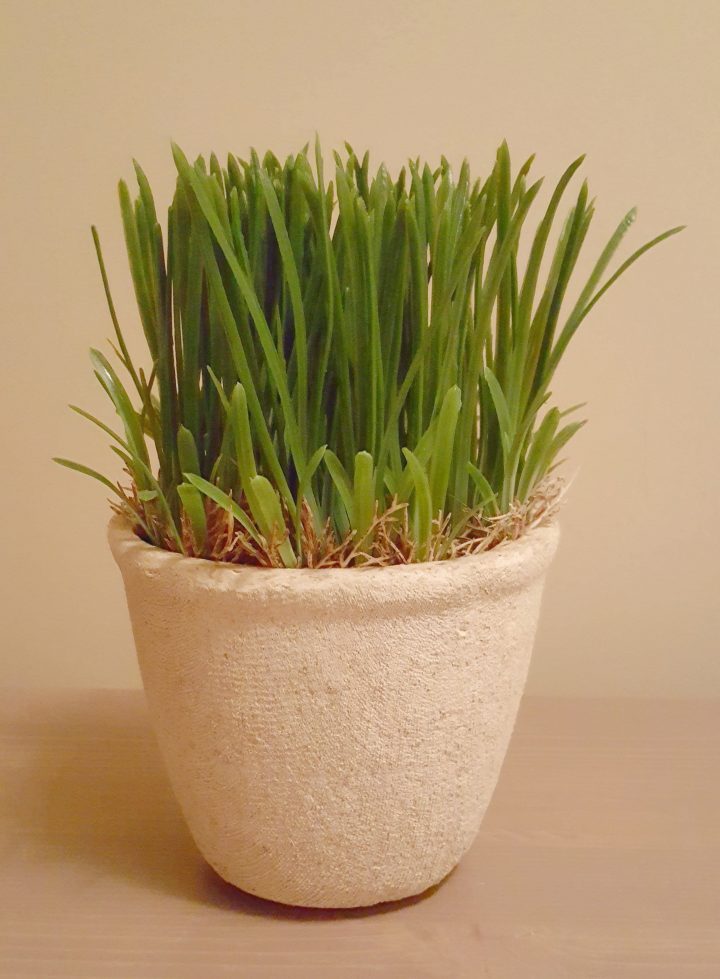
- Small Decorative Plants
- Photos of Local Buildings and Community Gathering Places (such as playgrounds).
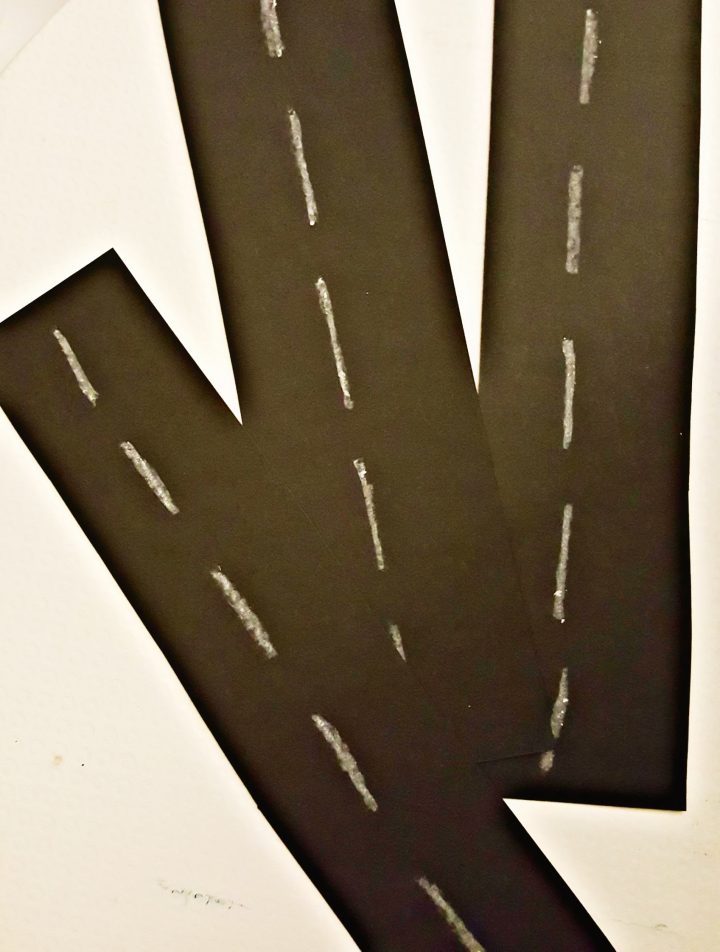
- Black Strips of Paper (and a white crayon or chalk)
- Clear Tape
Prep Work
To prepare, I collected the materials that I needed for our map. I then decided to print one photo of a community landmark for each of my students. Since our map was only of our local community, I selected places that were located fairly close to our school.
In the past, I incorporated taking the photos into our learning. We went on a community walk together and everyone had the chance to take a photo of a community landmark that they were interested in.
If you are able to do this, it is a great way to get the children involved and make it a meaningful process.
However, being able to get out into the community and successfully take photos for everyone can be tricky. This year I simply quickly went around the community, took photos and then printed them.
Once printed, I taped each photo to one of the large wooden building blocks. These blocks are typically used in kindergarten classes.
Luckily, I work with amazing teachers and was able to borrow the blocks from the room and bring them into our classroom for our community mapping activity.
To prepare the roads, I simply cut different sizes of black strips of paper. To add the lines, I quickly used chalk.
If you plan on allowing your students to create and do their own mapping after this group activity, I suggest laminating the roads. They tend no to last too long otherwise.
I had a collection of small decorative plants that we used to represent forested areas or significant trees or wooded areas.
The Map
Before children came into the room, I had cleared everything away from the carpet. I had all of our materials visible at the side of the room. Looking at the materials, I asked children what they thought we were going to be doing today.
Children were able to guess that we were going to be doing some community mapping. They were excited to recognize some of the locations taped to the wooden blocks.
I started by laying all of the wooden blocks out around the carpet. This created a lot of great discussions as children talked about the locations and things that they had personally experienced at them, such as the playground or library.
I then handed out one wooden block to each student. I tried to give children a location that they were familiar with in order to help as we mapped out the locations.
We started with the school. The student with the picture of the school started our map and placed the school on the carpet.
We then laid down a black strip of paper for a road piece and talked about what other places we would see as we walked away from the school.
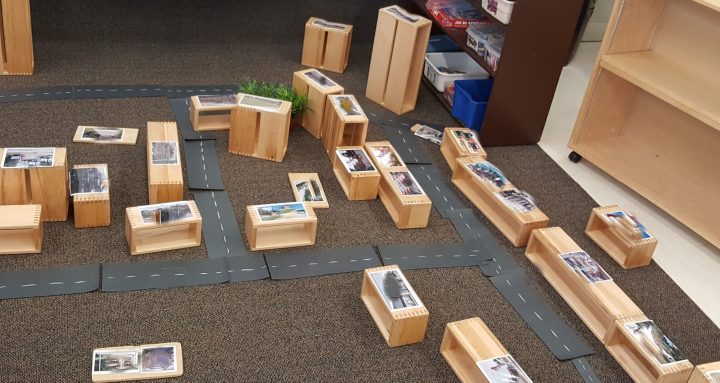
One by one, we worked together and placed all of the blocks with photos. We basically did a community walk in our heads, and through discussion, as we pictured what we saw when we walked or drove through our community.
Community Mapping Discussion
We recreated our local community in our classroom. Children were really engaged as we created our community map for kids on the carpet. There were lots of conversations about where each of the locations should go.
Children talked about the fact that they had to cross the road to get over to the library. So, we knew that we had to add a road in certain places.
They also talked about their experiences, and that they, for example, would sometimes get a hot chocolate at the coffee shop after playing at the park beside it.
All of these conversations helped us create our map. It also encouraged the children to visualize their community. Although I hadn’t planned for this community mapping activity to take the whole class period, because of all of the great discussion, it did!
Extension Activity
Perhaps my students favorite part of our community mapping was giving them the opportunity to each walk through their mini neighborhood. Once all of our blocks had been placed and our community had been mapped, one by one they took a walk.
Once our map was complete, we also talked about directions, north, south, east and west. I asked children if they were at the library, for example, what direction would they have to walk to get to the school?
I think having a large 3D map in front of them helped them with their directions.
We even ended up sharing our blocks with another class so that they could also do some community mapping as well.
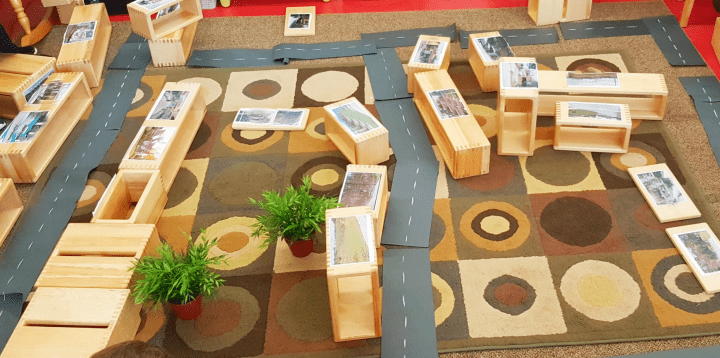
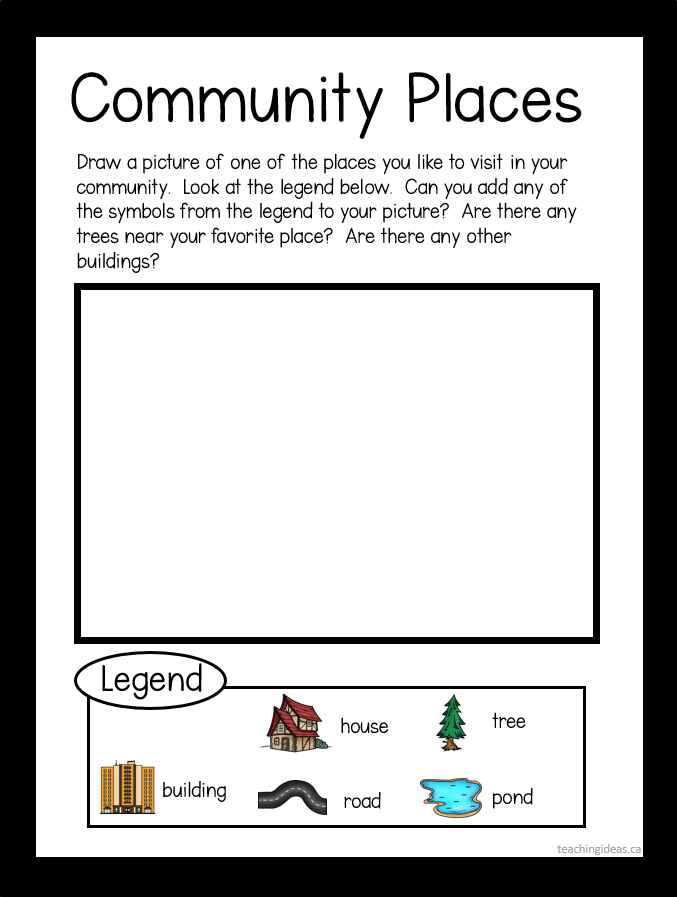
To extend our hands-on community mapping activity, I had children create a map of a community location.
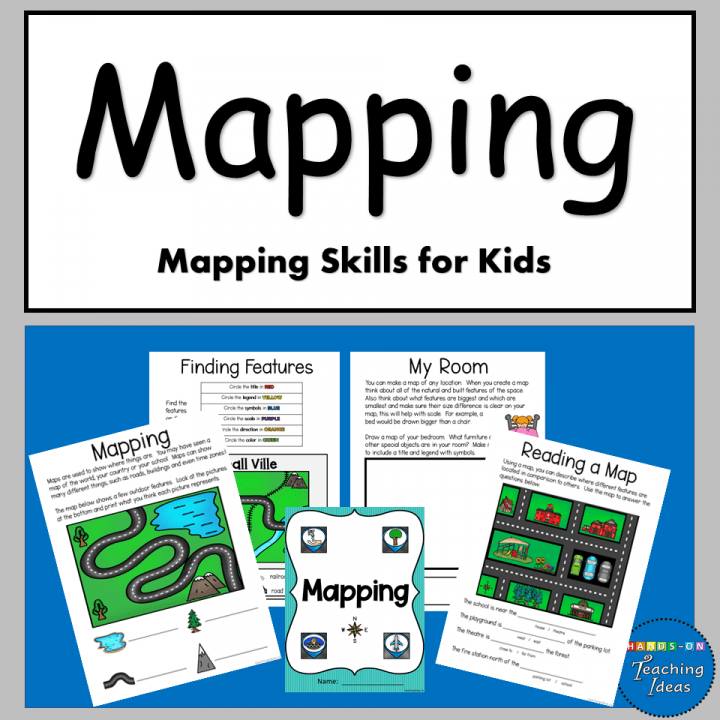
Having the blocks out in front of them to look at to create their map helped them visualize. I created a mapping booklet that I use during this unit that my students always enjoy. (Mapping booklet available through Hands-On Teaching Ideas. Link at bottom).
I like to keep the blocks and other materials in our classroom during our community mapping unit. Giving students the opportunity to use the blocks and create a map again with a partner or two is a valuable learning experience.
This is one of my favorite community mapping activity that I will continue to do each year.
First Grade Social Studies Full Curriculum
Make planning your social studies program easy with this Grade One social studies package. This bundle includes, Our Changing Roles and Responsibilities, Mapping, Community Helpers and Local Community unit. Click image below to view the product.
More Hands-On Teaching Ideas
If you are looking for more creative learning activities, for home or school, below is a collection of my favourite and most popular activities.

Leave a Reply