This post may contain affiliate links.
My kids love to paint. They could paint for hours on end. Whether it is finger painting, watercolors or stamping balloons with paint, they love it. The other day my kids were asking about how paint is made. It gave me a great idea to create some homemade paint together.
There are so many different way to create paint, but we decided to head outside into nature to create ours. Homemade paint is not as perfect as paint that you would purchase in the store, however, the fact that it is homemade makes it special and a great learning experience for kids.
Half of the fun with homemade paint is the process of making it. Kids will love being involved and creating their own paint. It also gives kids a bit of an idea of how paint is created – especially historically.
Homemade Paint Materials
Since we decided to use materials from nature for our homemade paint, we started by going on a hike. If you choose to create your paint in the same way, you will need:
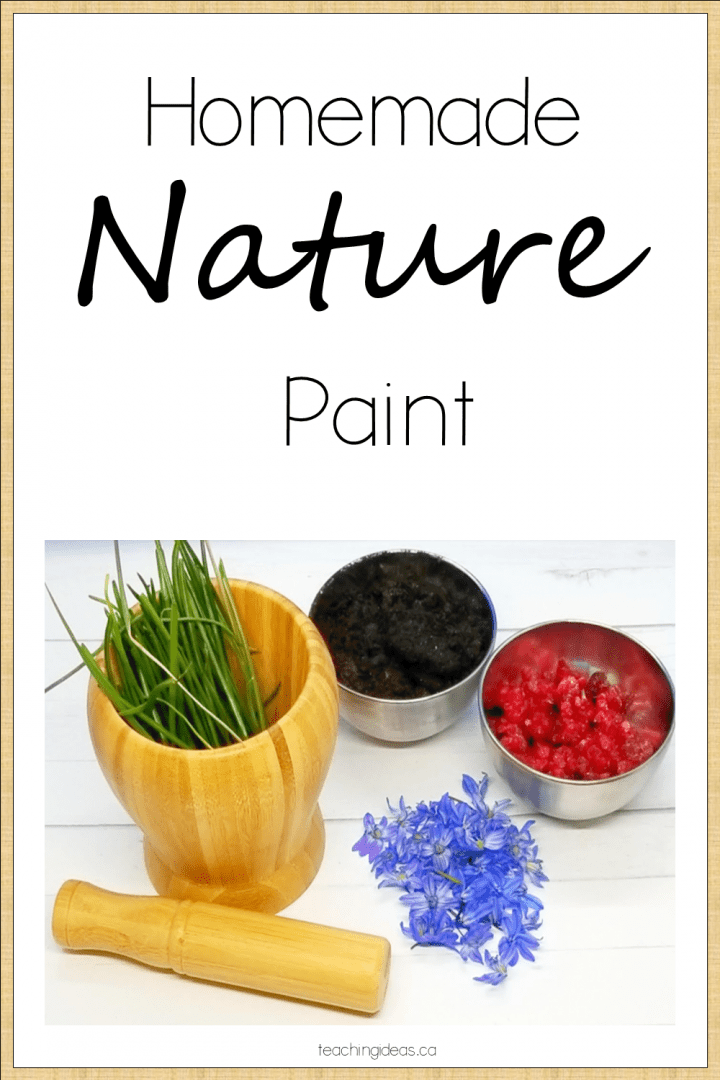
- Mortar and Pestle
- Strainer
- Small Bowls
- A Variety of Colorful Items from Nature (Berries, Grass, Leaves, Flowers, Dirt etc.)
- Paint Brushes
- Flour
- Glycerin
If you are selecting your paint materials from nature, make sure that children are selecting materials that are safe. i.e. avoid berries and things that you are unfamiliar with (or could possibly be poisonous).
Alternatively, you can create homemade paint with materials from around the house with things like beets for red paint, turmeric spice for yellow and even spinach for green. It is fun to experiment and try out different materials.
As we went on our hike, my kids selected different things that they found and placed them in bags until we got home.
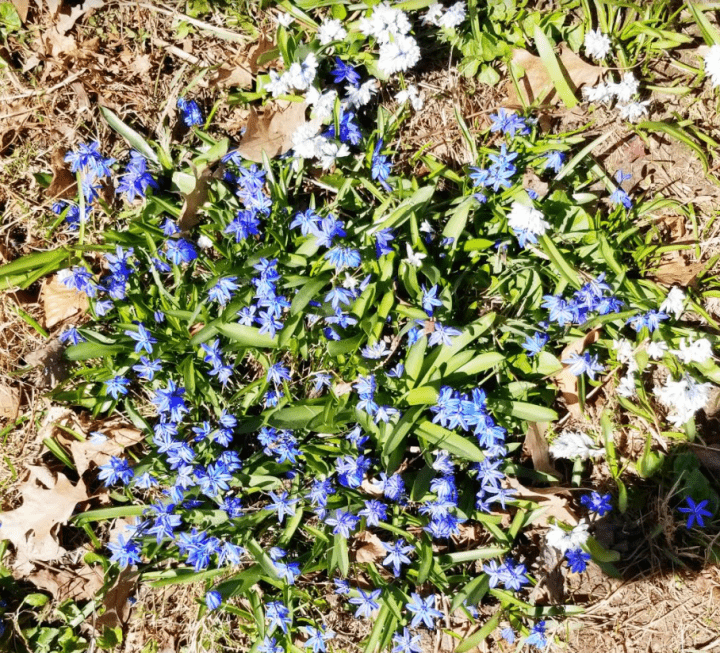
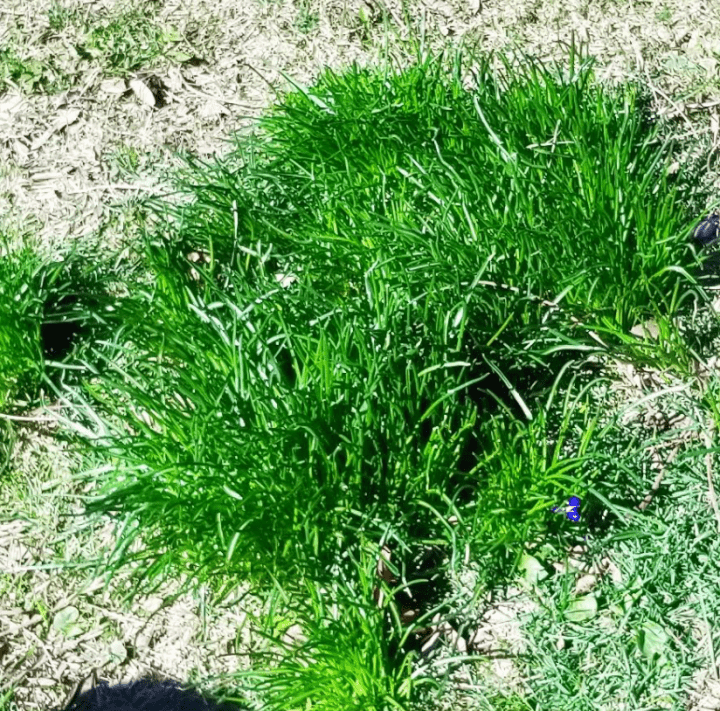
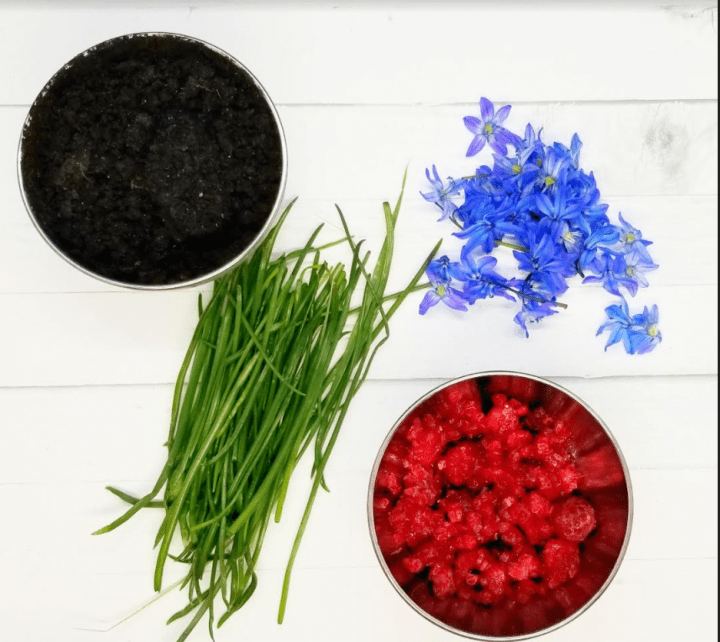
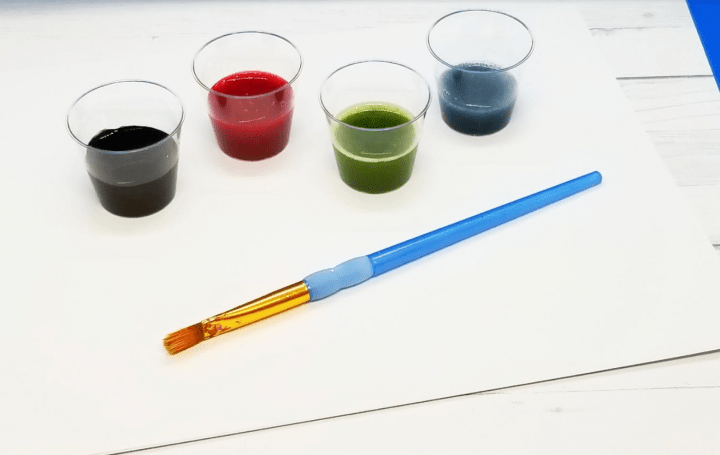
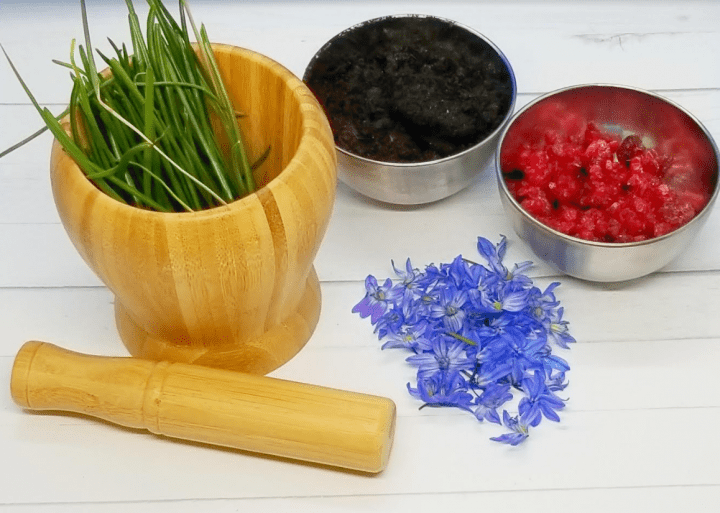
We ended up using, dirt (brown/black), grass (green), purple flowers (purple/blue) and berries (red).
Collecting Nature Items for Your Paint
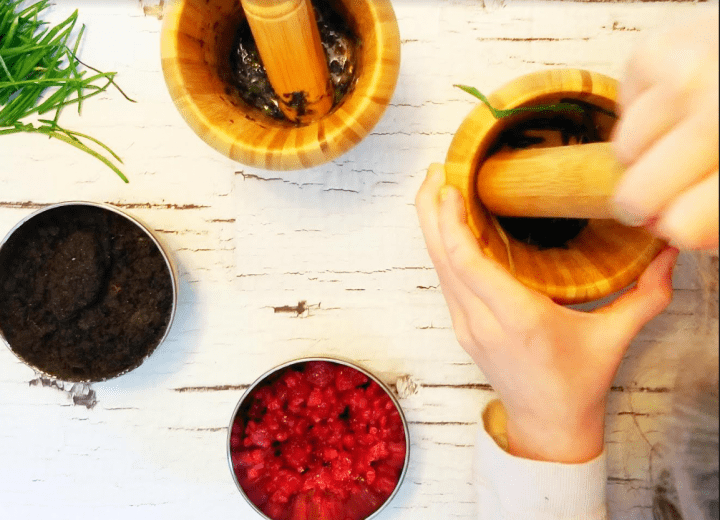
Start by putting your first material from nature into a mortar and pestle. Next, start grinding the material so that there are no clumps (dirt) or so that some of the ‘juice’ or color from the item starts to come out.
The berries were easy to get lots of color from. The grass took more work. You will end up with some liquid in the mortar and pestle. With the grass we ended up adding a few leaves to get even more color as we grinded it down. You can add a little bit of water, or glycerin to help mix as you grind.
When I did this activity at school with my class, I used clear corn syrup or flax seed oil to help mix. Any of these will help add to the liquid consistency. The corn syrup works well and is easy to come by, but is very sticky.
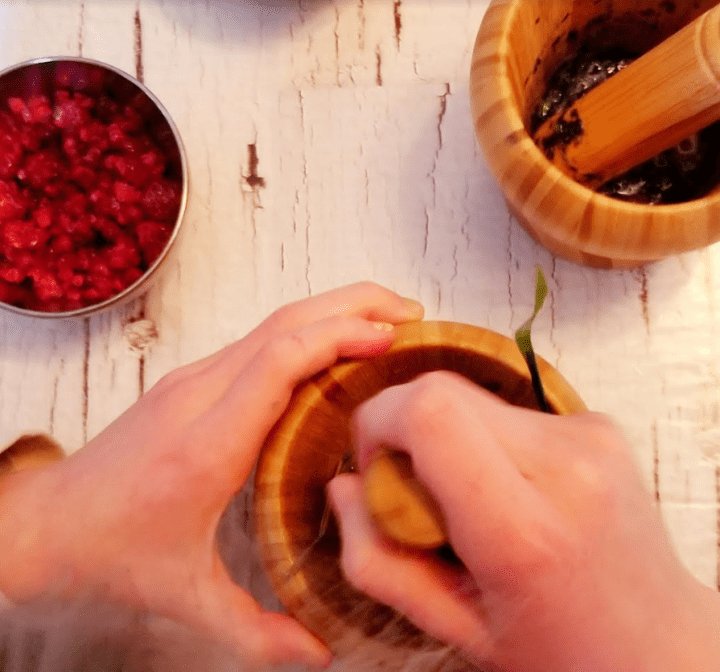
This is a great opportunity for kids to try and grind down their materials from nature. I used wooden mortar and pestles because they are not as heavy as the stone ones and are better for kids.
Encourage children to talk about what they notice as they grind down the different materials. Are some easier than others? What colors do you see? Where are the colors coming from?
Making Your Homemade Paint from Nature
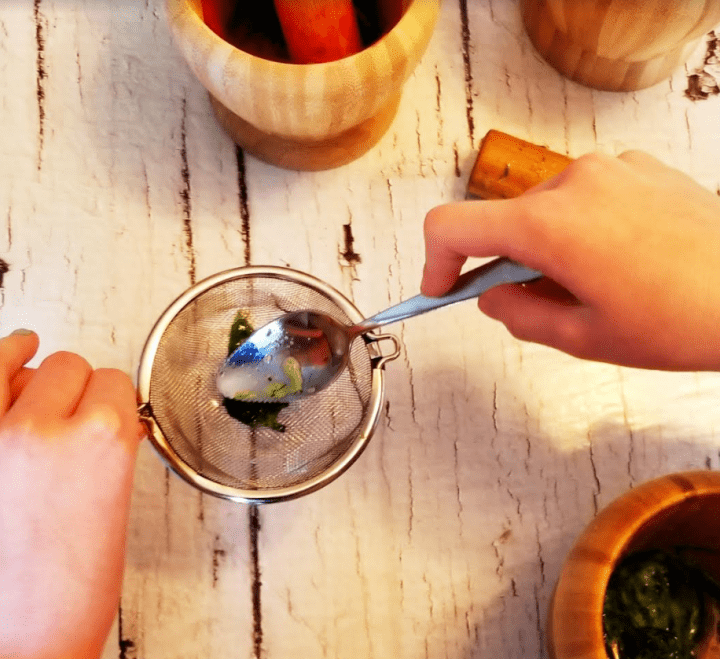
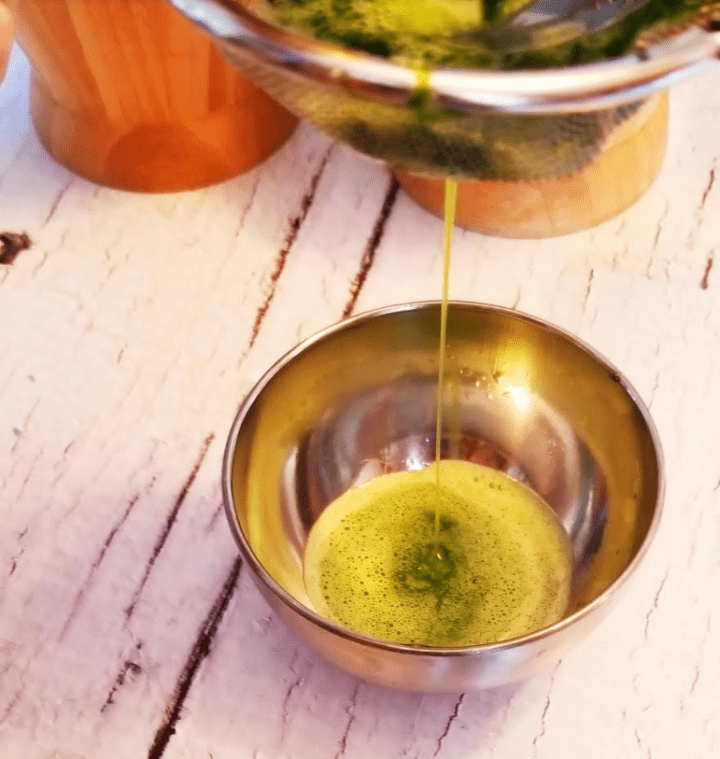
Once you have mashed each of materials with the mortar and pestle, you will use a small strainer and pour your ‘juice’ mixture in. Use the pestle to help push the mixture/liquid through the strainer.
You will end up with some concentrated colored liquid for each material.
If the liquid is really thick, you can add a bit of water or glycerin. Once you have pushed the liquid through you will have the color for each of your paints.
You can always experiment with different materials to make different colors. Some may work better than others, but it is a lot of fun to try out different things.
You may find that some of the paints are a bit runny. If this is the case, you can add a bit of flour to the paint to make them thicker.
Try adding a small amount of flour to begin with and then add more if you want to thicken your paint even more.
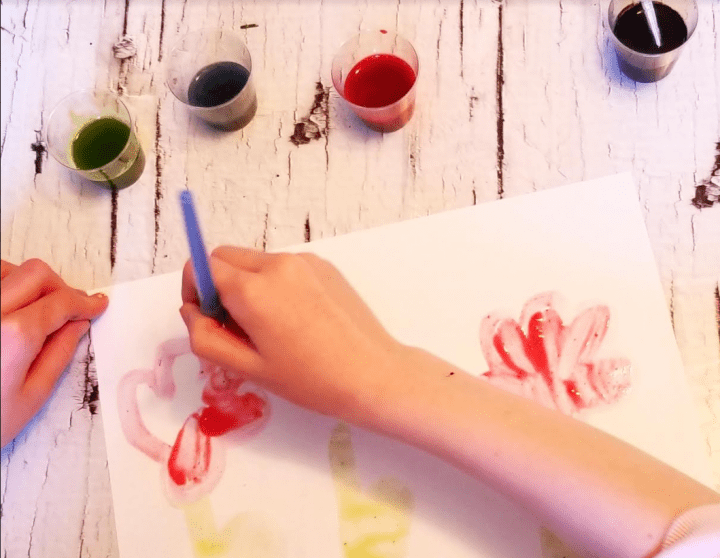
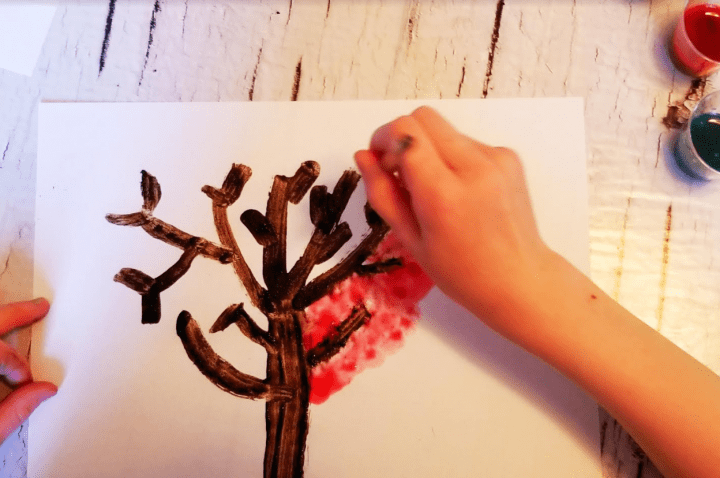
Kids will love painting and creating pictures with paint that they made themselves. They may even have more ideas for more paint colors that they want to try out. This is a great opportunity for kids to create and explore.
My kids and I loved using materials from nature to create our paints and it made for a great day full of a hike, experimenting by creating the paints and then a great art session as we created beautiful pictures.
If you find that the colors are not bright enough you can always try adding a few materials together, such as grass and some leaves or even spinach.
Kids will love using their homemade paint and it gives them a basic understanding of how paint is made.
Homemade Paint Extension Activity
This is a really simple activity that you can do at home, or in a classroom. Challenge children to try to create paints for all of the colors of the rainbow. Brainstorm what they think would work for each color and then try it out.
It is interesting to try different everyday materials to see the different colors you can get.
If you are creating the paint with younger children you can use food, such as raspberries and spinach and simply add a bit of plain yogurt to thicken the colors. This way you are using materials that kids are familiar with already.
More Hands-On Teaching Ideas
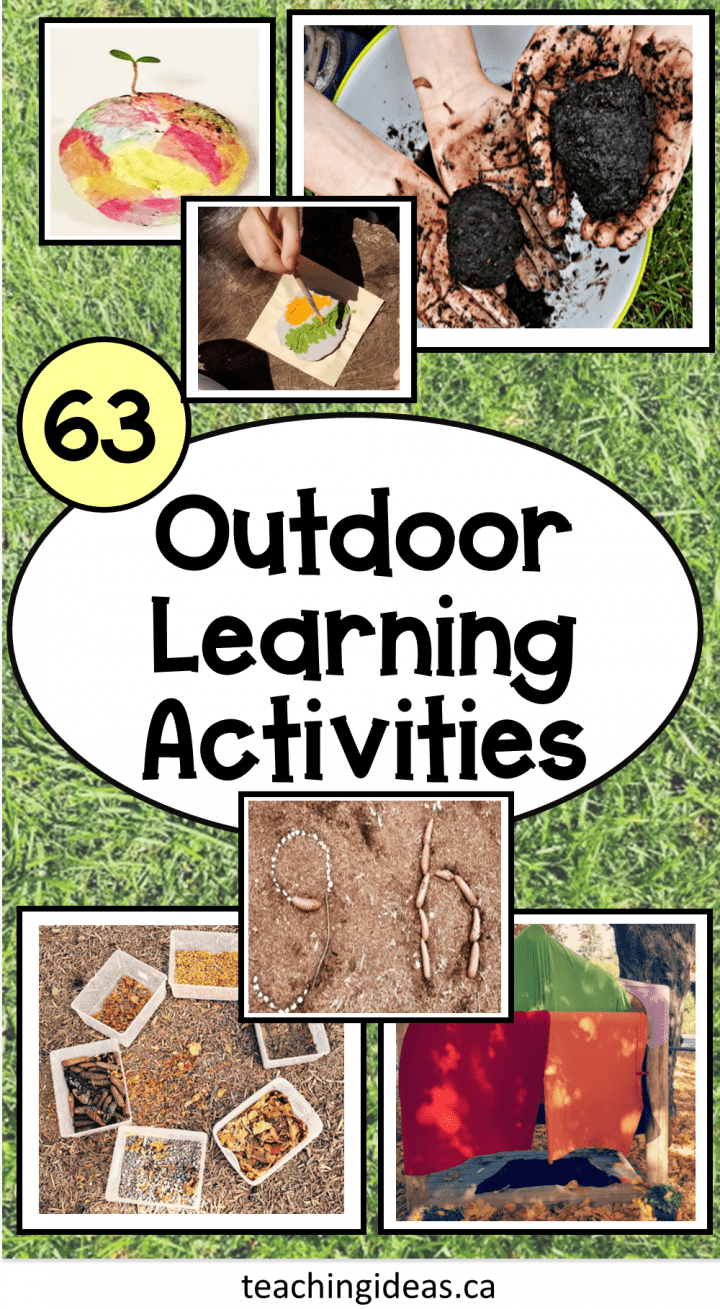
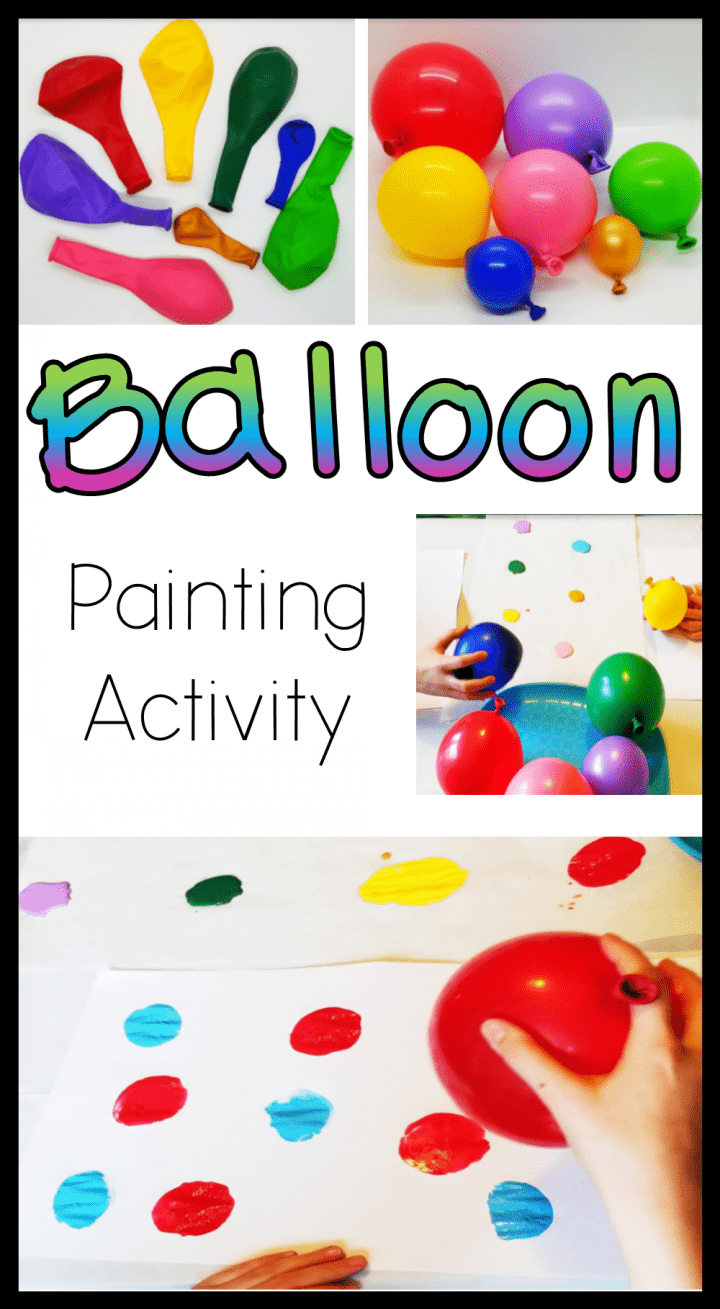
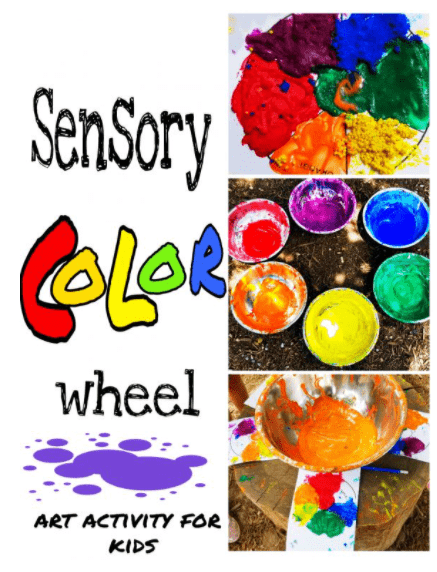
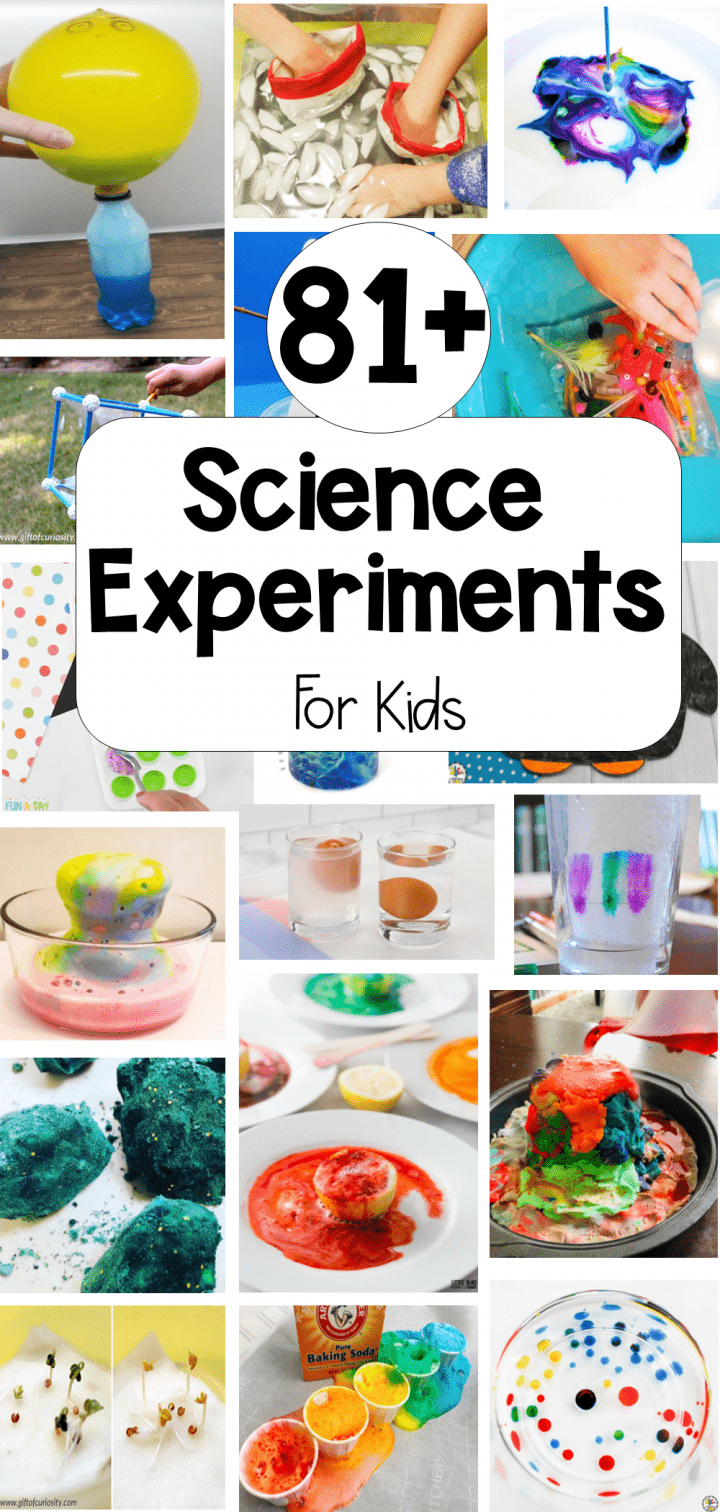
If you are looking for more activities and ideas to do in the classroom, or at home with kids, below are some of my favourite and most popular learning activities.
From a collection of outdoor learning activities and balloon painting to escape rooms and science experiments, there are lots of things to keep kids busy and learning. Click image for activity description.