This post may contain affiliate links.
I really enjoy doing simple science experiments with kids. They learn so much from the experiments and it gets them excited about science as they learn about the world around them. This experiment is wonderful in the spring and summer, but provides a great hands-on learning opportunity anytime of year.
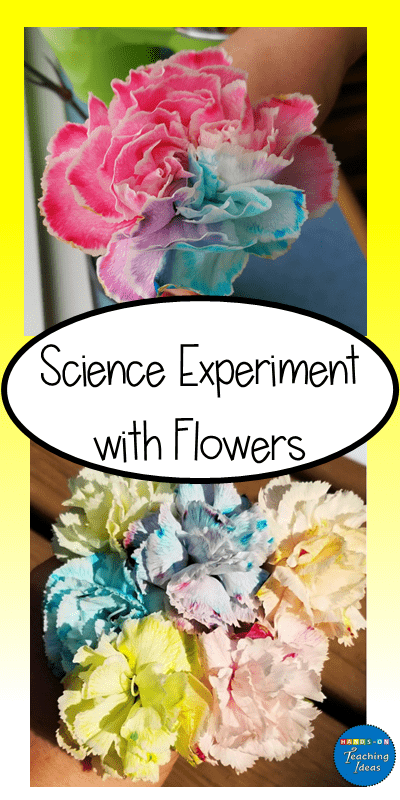
This Color Changing Flower experiment is one that I have done many times over the years, both at home and in my classroom. I love doing the experiment for several reasons.
First children always love it! It helps them learn about how plants ‘drink’ water with a very clear visual representation.
Secondly, it is beautiful! I love having the flowers that we created on display in the room because they are unlike any flower you buy at the store. If the experiment sparks an interest in flowers and how they grow, check out another STEM science activity that also uses flowers to extend the activity and learning further.
This experiment was created after a child asked how water gets into a tree. Simple question, but I wanted to do an experiment that they could easily see with their own eyes how it happens.
They knew that leaves don’t ‘drink’ the rain, but wondered how the water got into the leaves and tree. I decided to try this simple science experiment with them to help explain.
Spring is a great time for science experiments and other hands on crafts and activities. If you’re looking for more spring and flower themed activities, check out a Paper Tulip Craft.
Simple Science Experiments Materials
The materials that you need for this experiment are fairly simple.
- Food Coloring (Red, Blue and Yellow are Ideal to Use)
- Cups to Hold the Flowers
- White Flowers
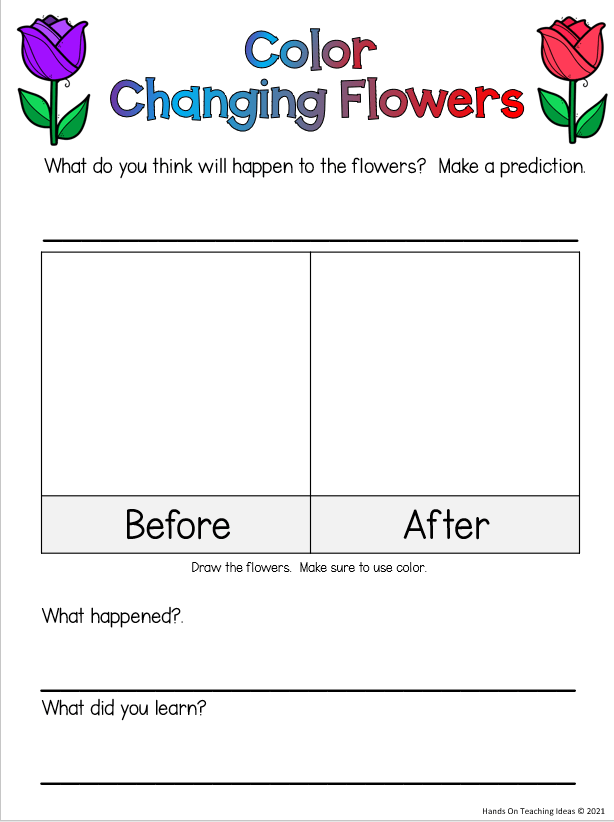
If you are doing this experiment with children, a great way to start is by asking them what they think will happen when you place the flower into water. Most children know and understand that the flower needs the water to stay alive.
I had children print what they thought was going to happen and draw a picture of our flower at the beginning. (Link to Free printable below).
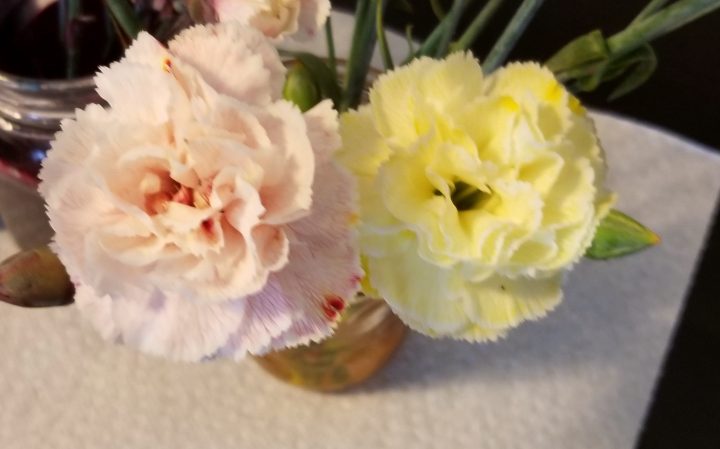
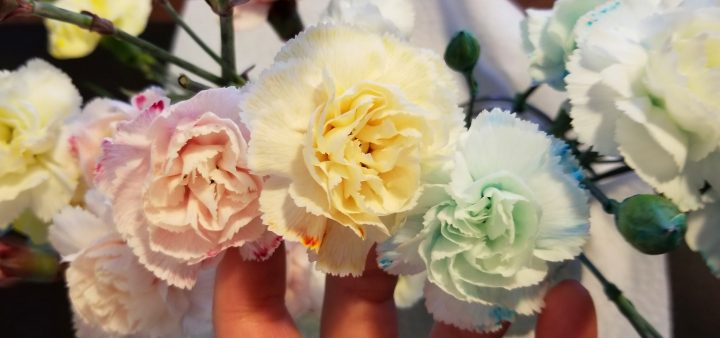
Put several drops of food coloring into the water and then put the flowers in. The more food coloring you add the deeper and more vibrant the color that will show up on your flowers.
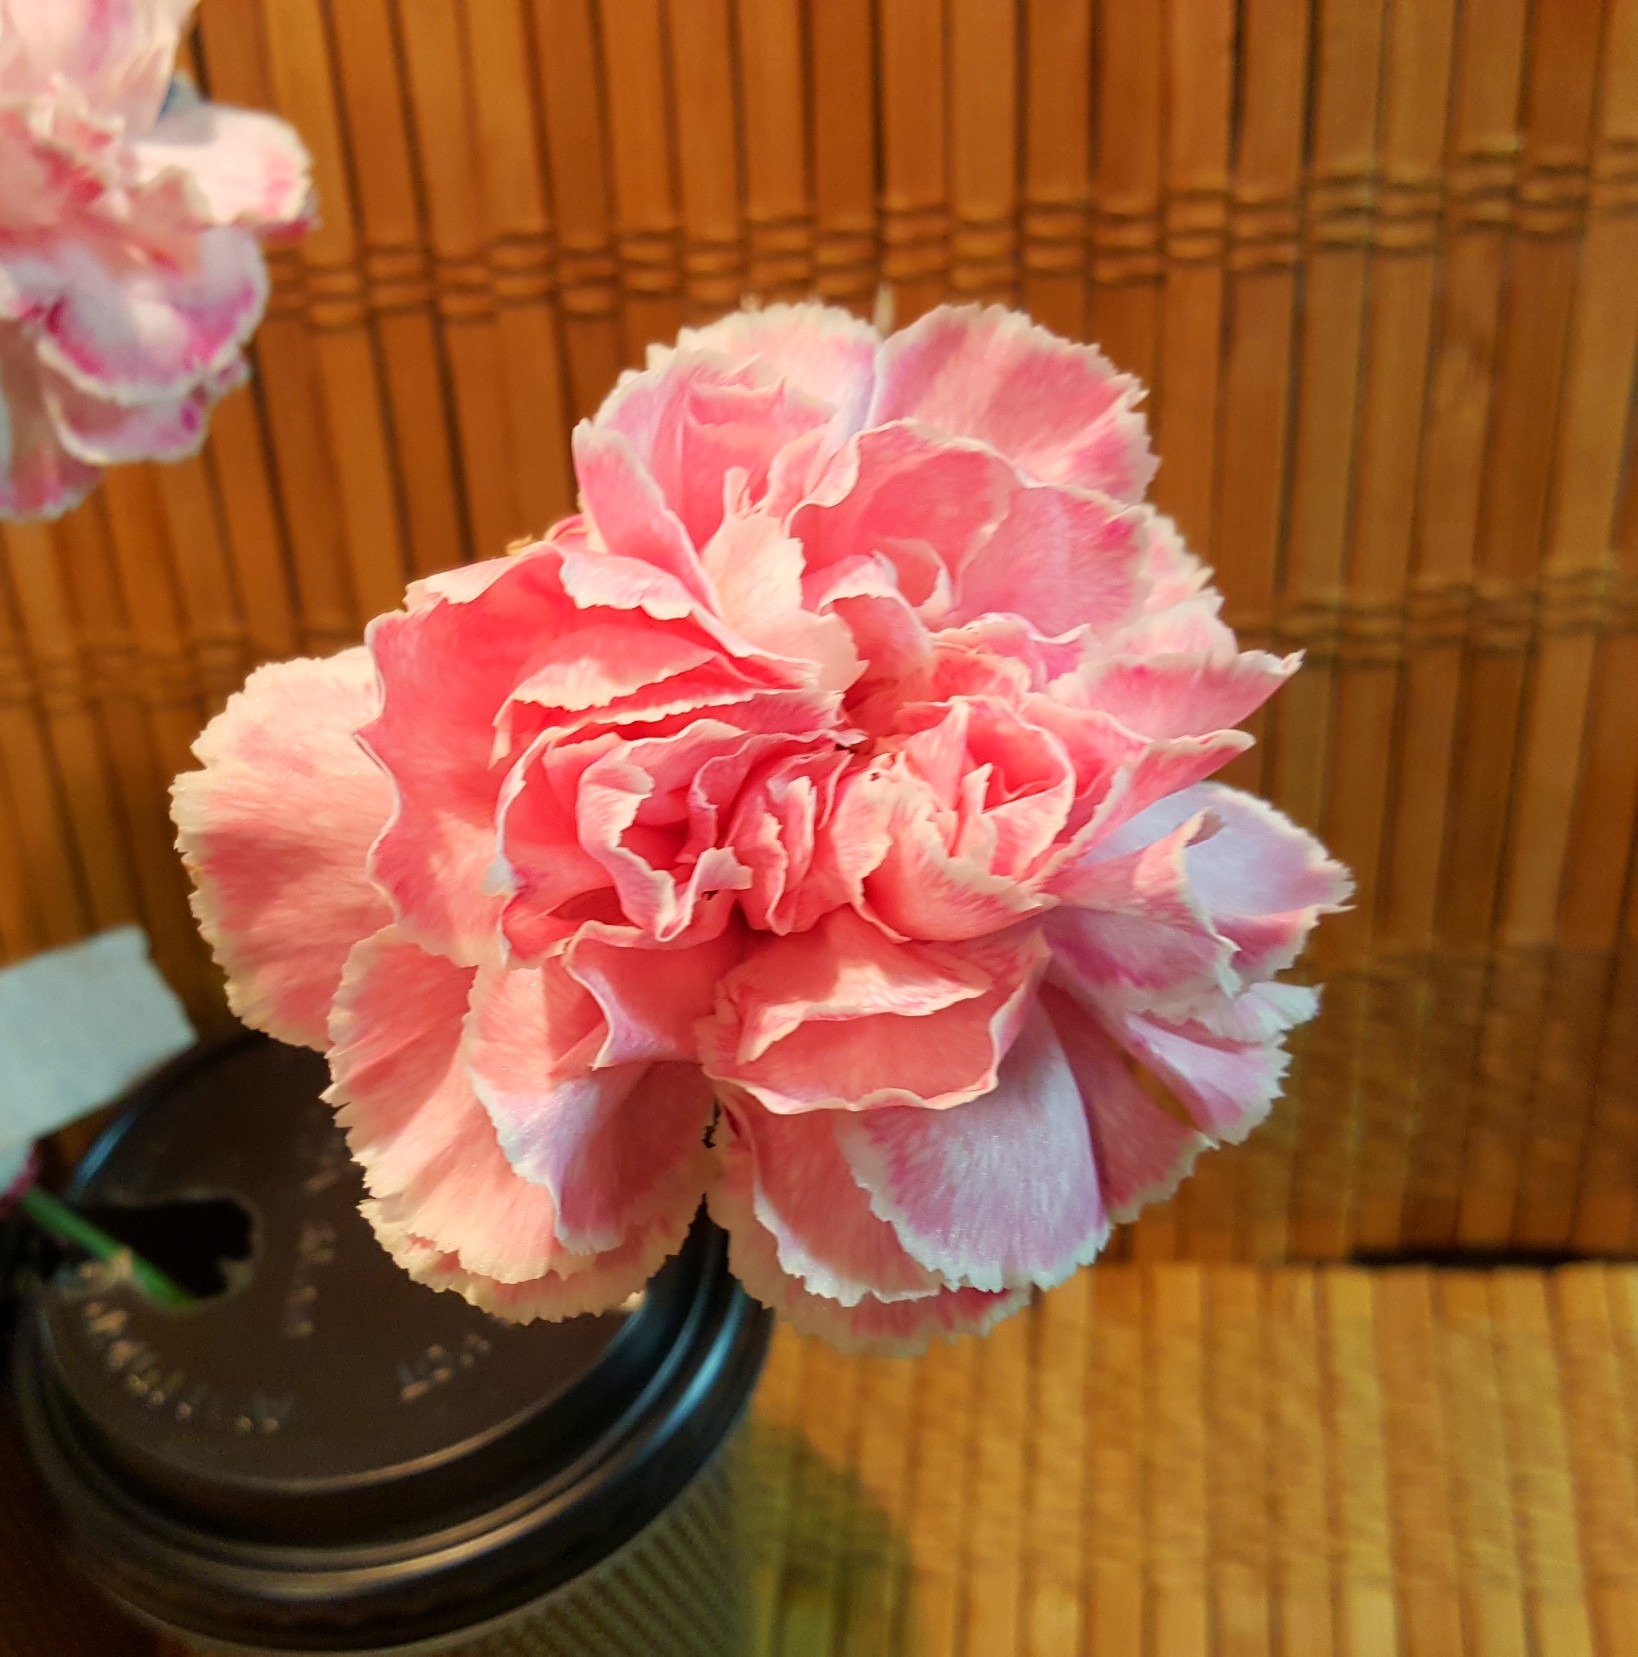
To start, I used white flowers. I have had the most success with carnations. The more coloring you add, the more vibrant the color will be.
You can use 2-3 cups, or more.
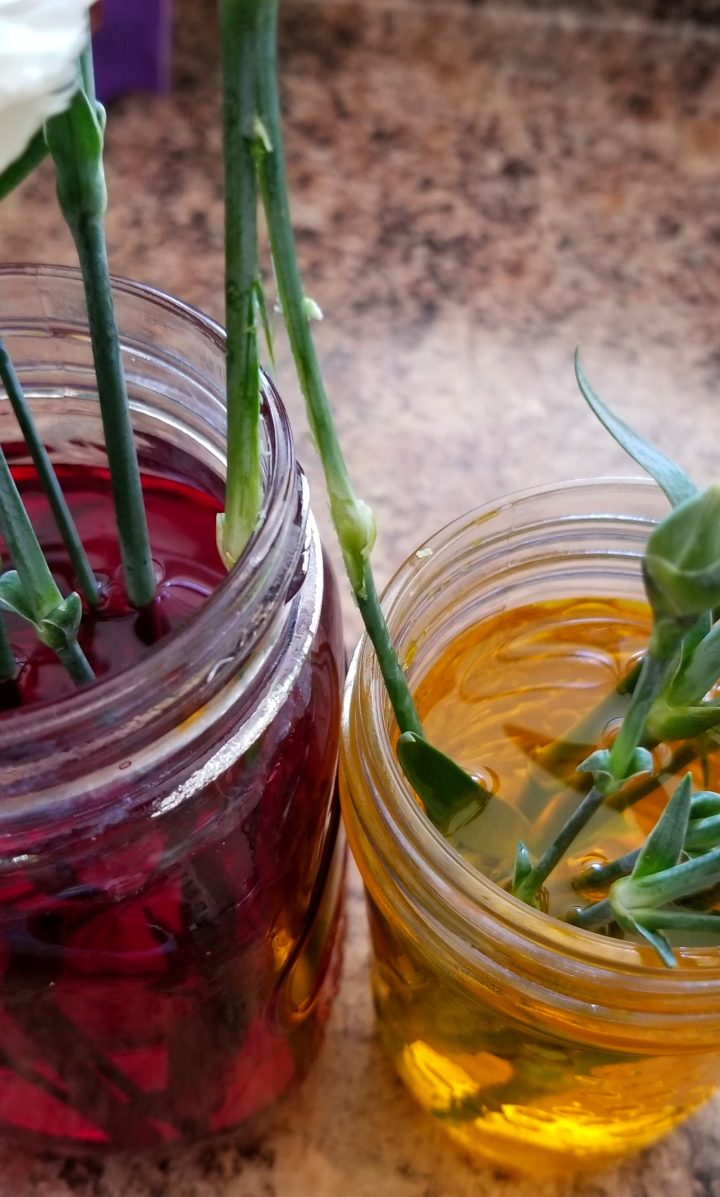
In one of the cups, I added blue coloring. In the other, I added red and yellow in the last one. I then put the carnations into the cups.
When I did this experiment in the classroom I used cups with lids just in case they were knocked over. It helped avoid a huge mess! At home, mason jars worked perfectly.

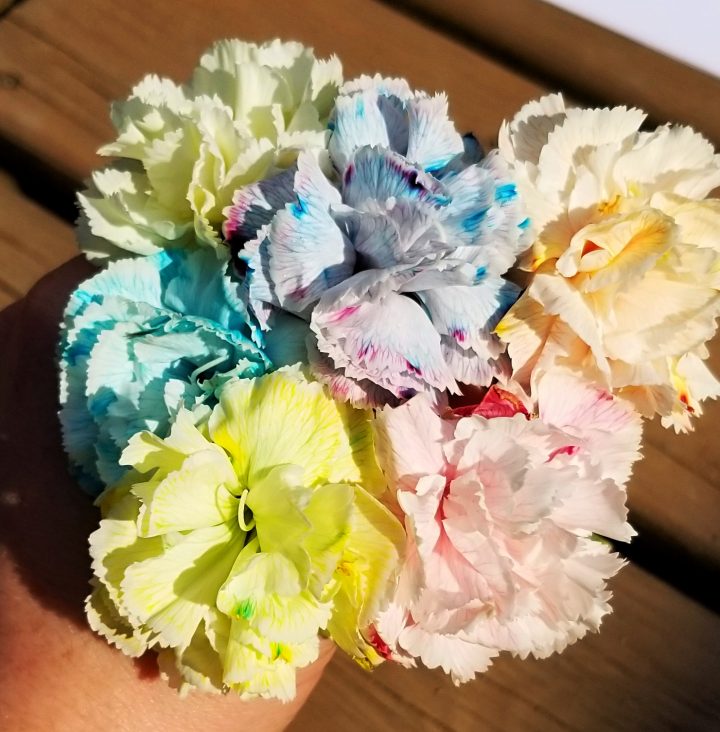
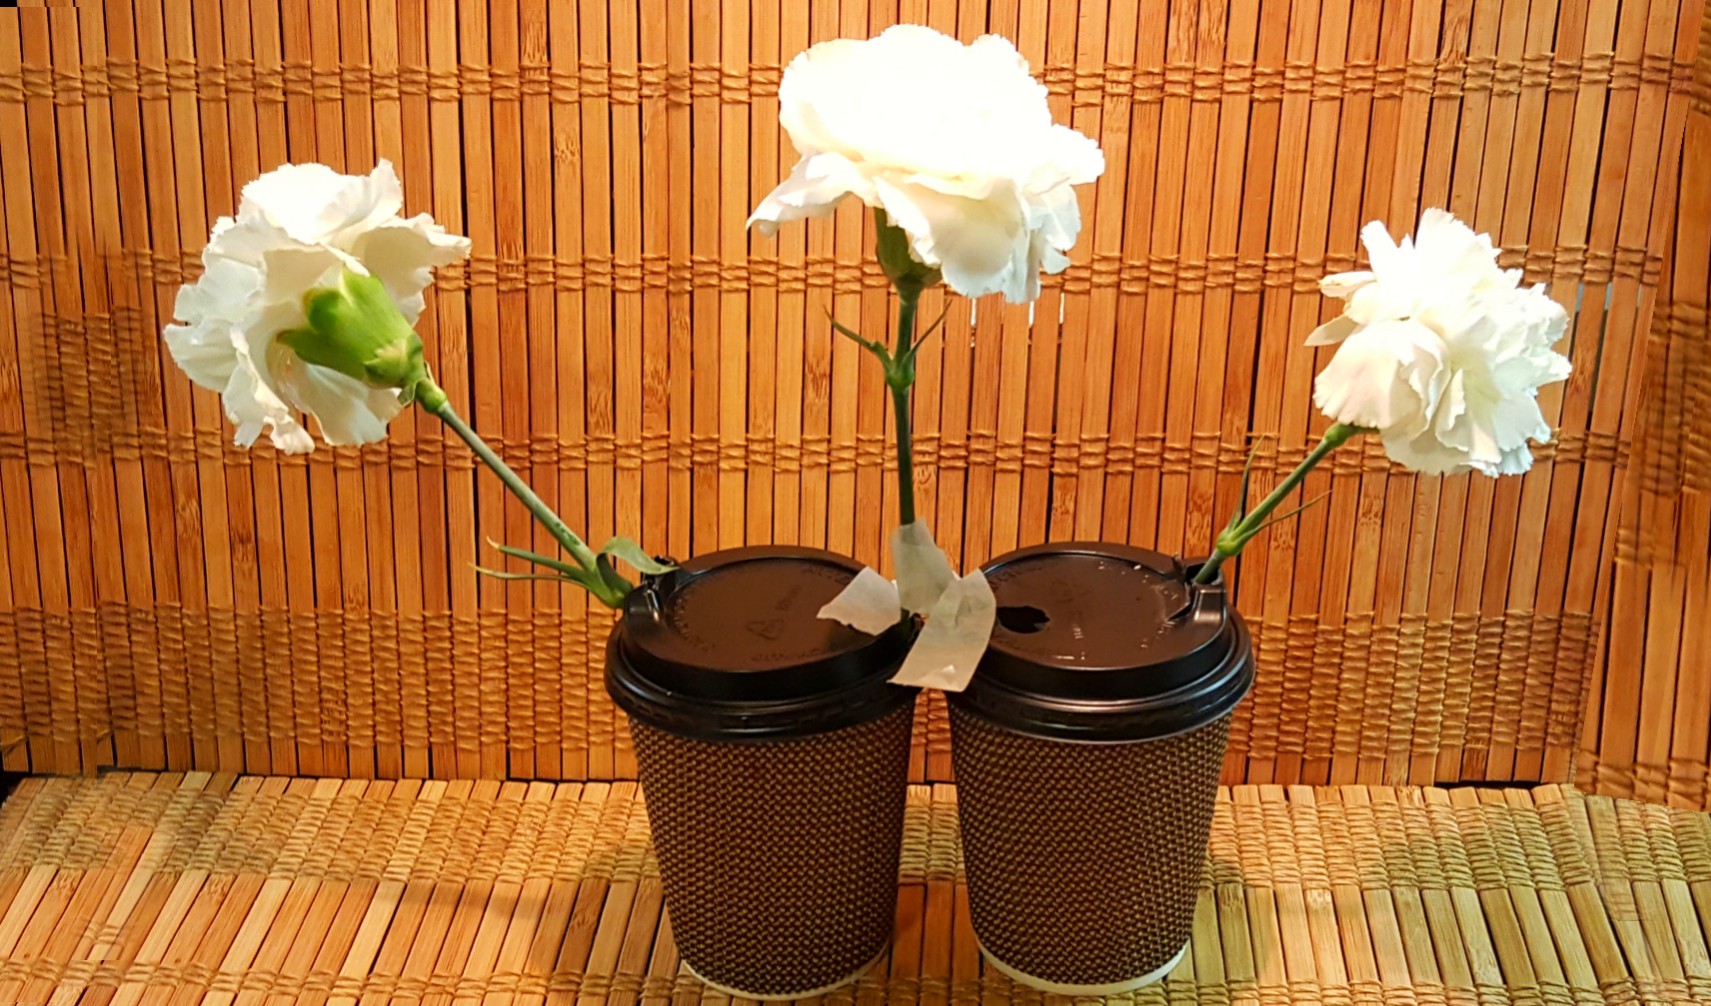
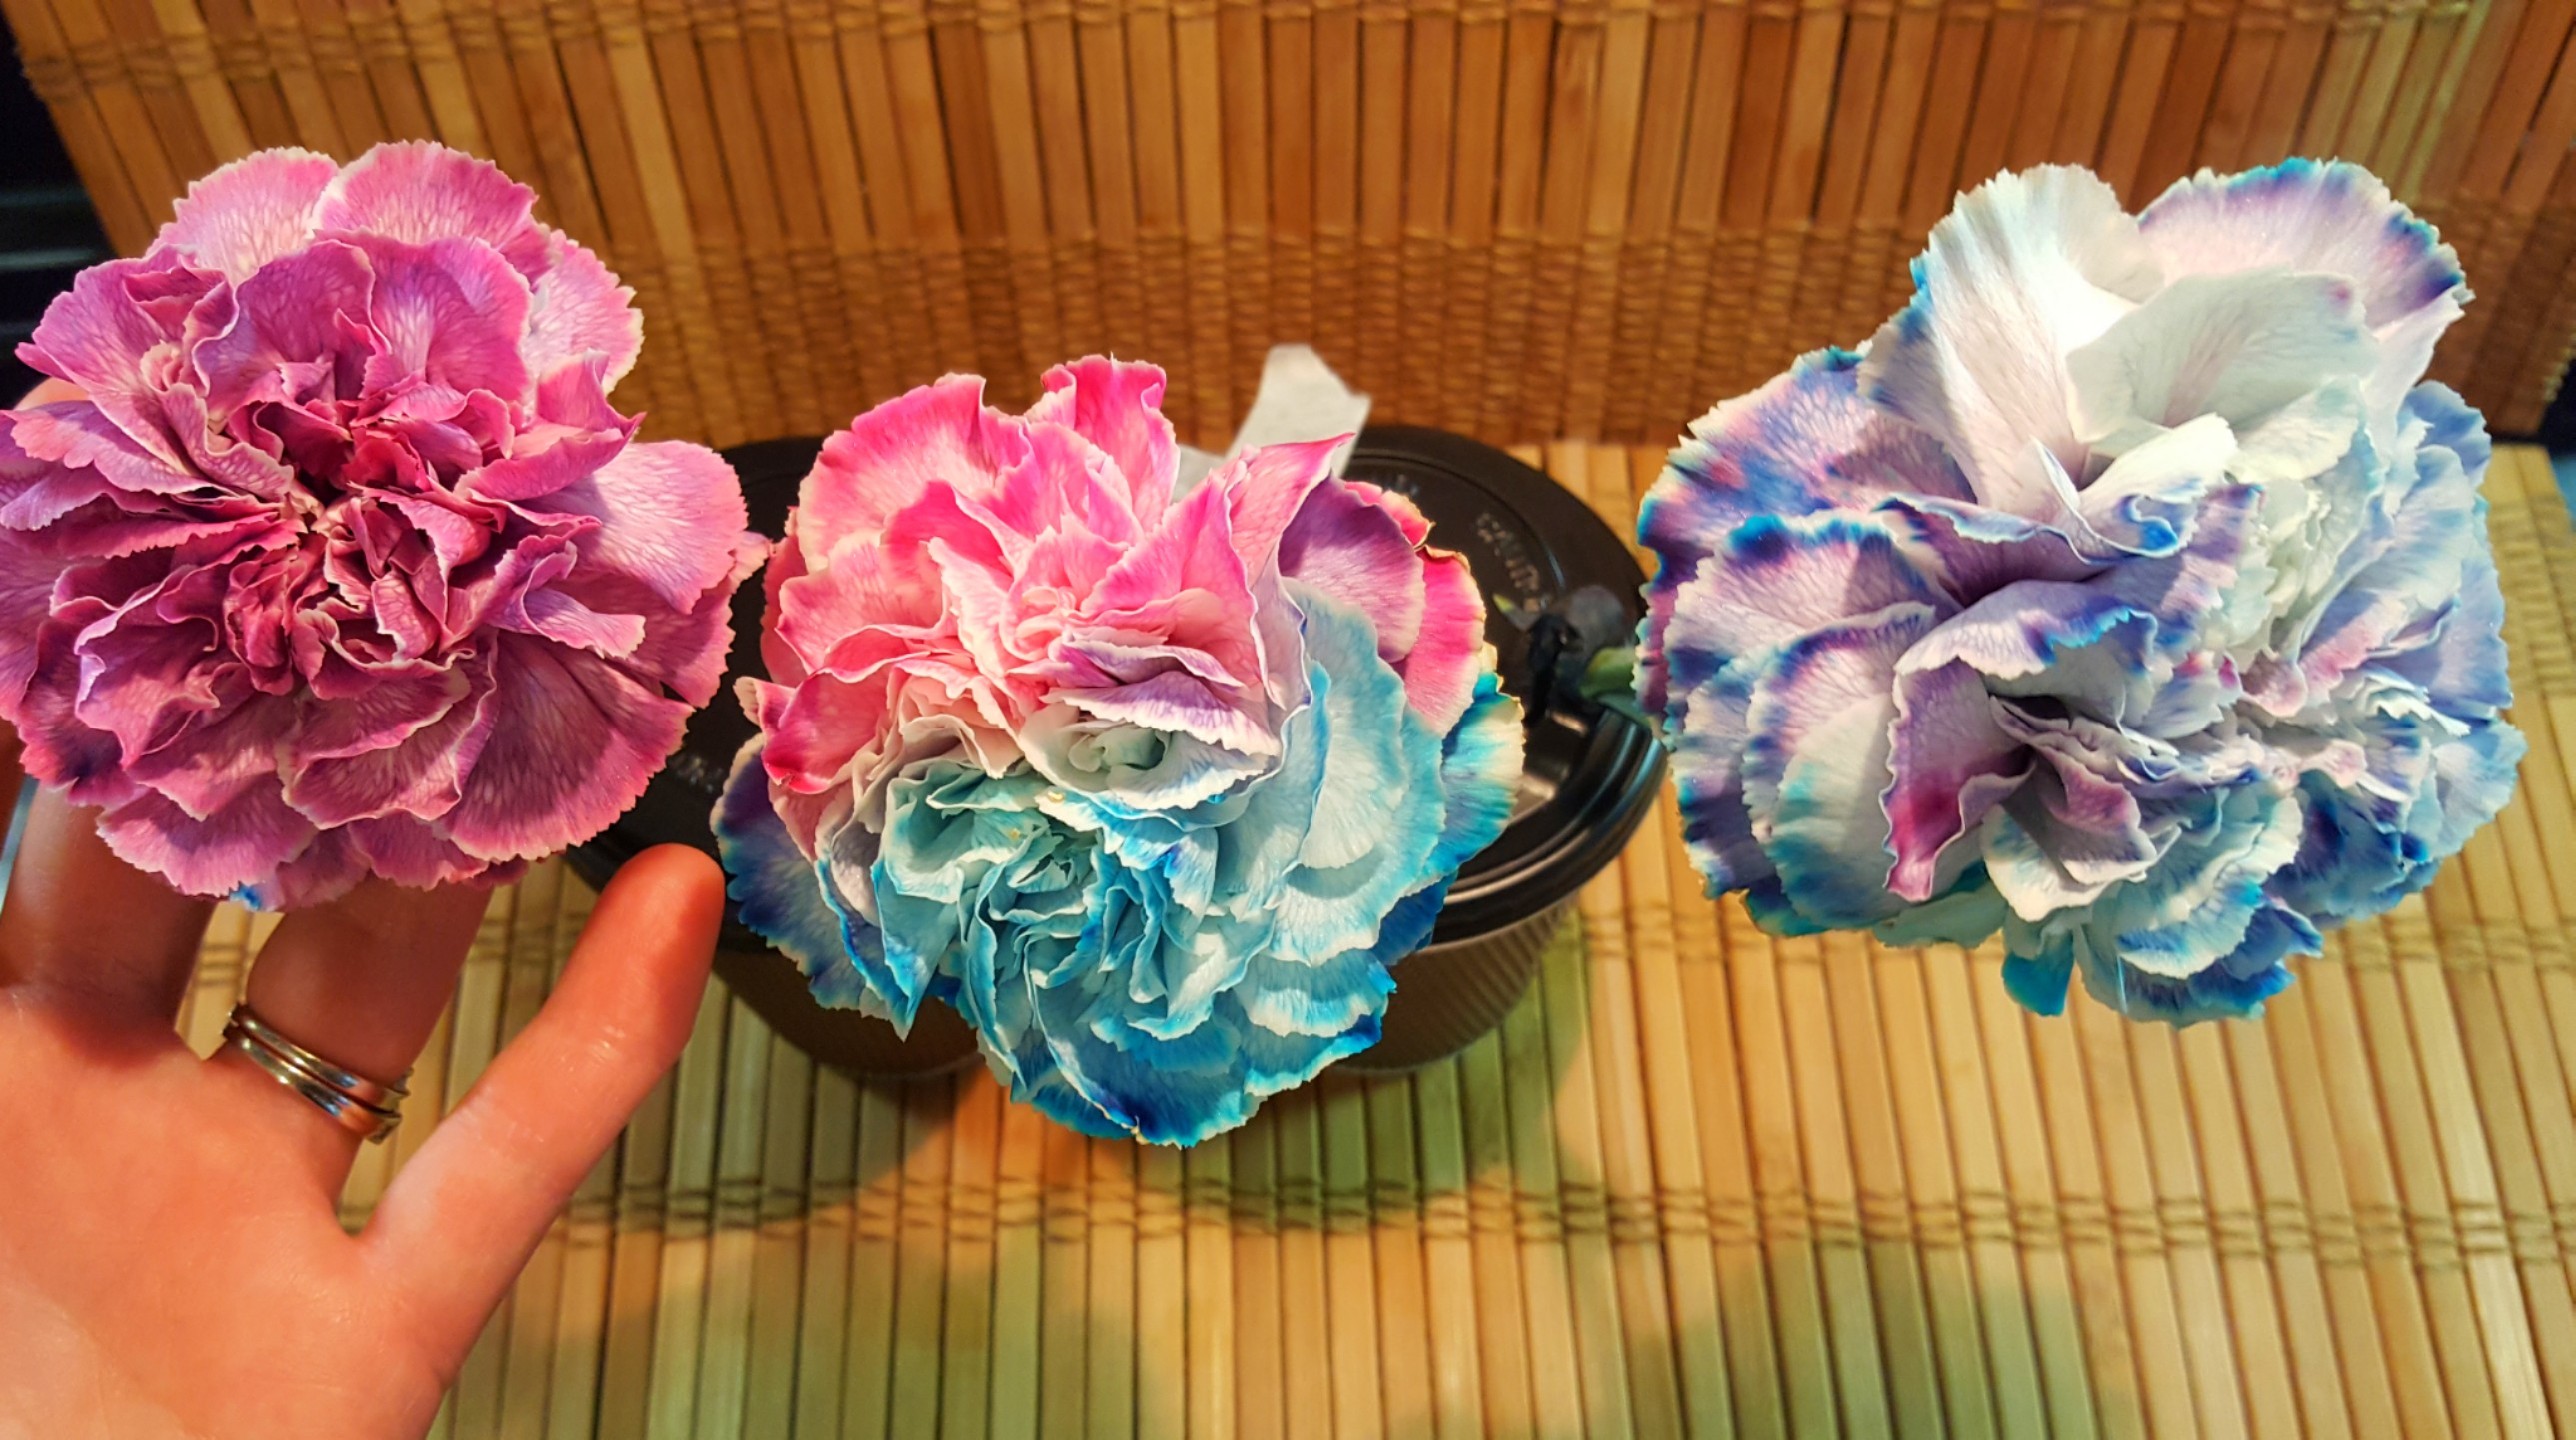
Simply adding the flowers to the water will create beautifully colored flowers. When I did the experiment, I also wondered what would happen if a flower stem was split and put into two jars.
To find out, with a few of the flowers, I cut the bottom of the stem in half and put each end of the stem into a different color. You can secure the flowers with a bit of tape.

Predicting the Results
It is always fun to have kids predict what they think is going to happen. With me, some kids thought that the stem would change color, others thought that the coloring would kill the flower.
This experiment is not immediate. You will have to wait a little while before the colors come through strong on the flowers.
This is a great chance for children to learn that science sometimes takes time. The great thing is, if children keep checking on their flowers and observing them throughout the day, they will notice a light bit of color come through fairly fast.
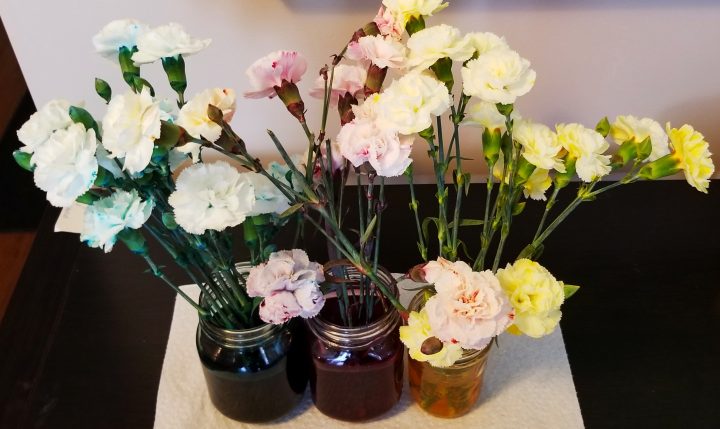
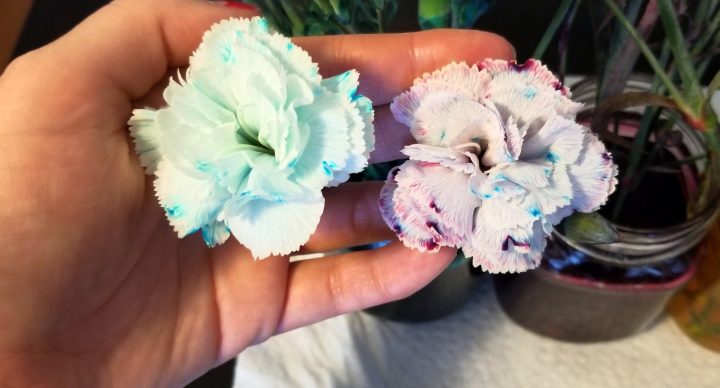
In a very short period of time, we began to notice that the flowers were beginning to change! In less than an hour, we could already see some pink and blue.
By the next morning, everyone was excited to see the results!
All of the flowers had clearly changed color. The longer we left them the darker the colors became.
I like that with this simple science experiment, children had to wait for the final results – which is like real scientists and science experiments.
By the next morning, the flowers looked beautiful!
Simple Science Experiments Results
The result for the flower that we split the stem was AMAZING! I couldn’t believe how beautiful these flowers turned out.
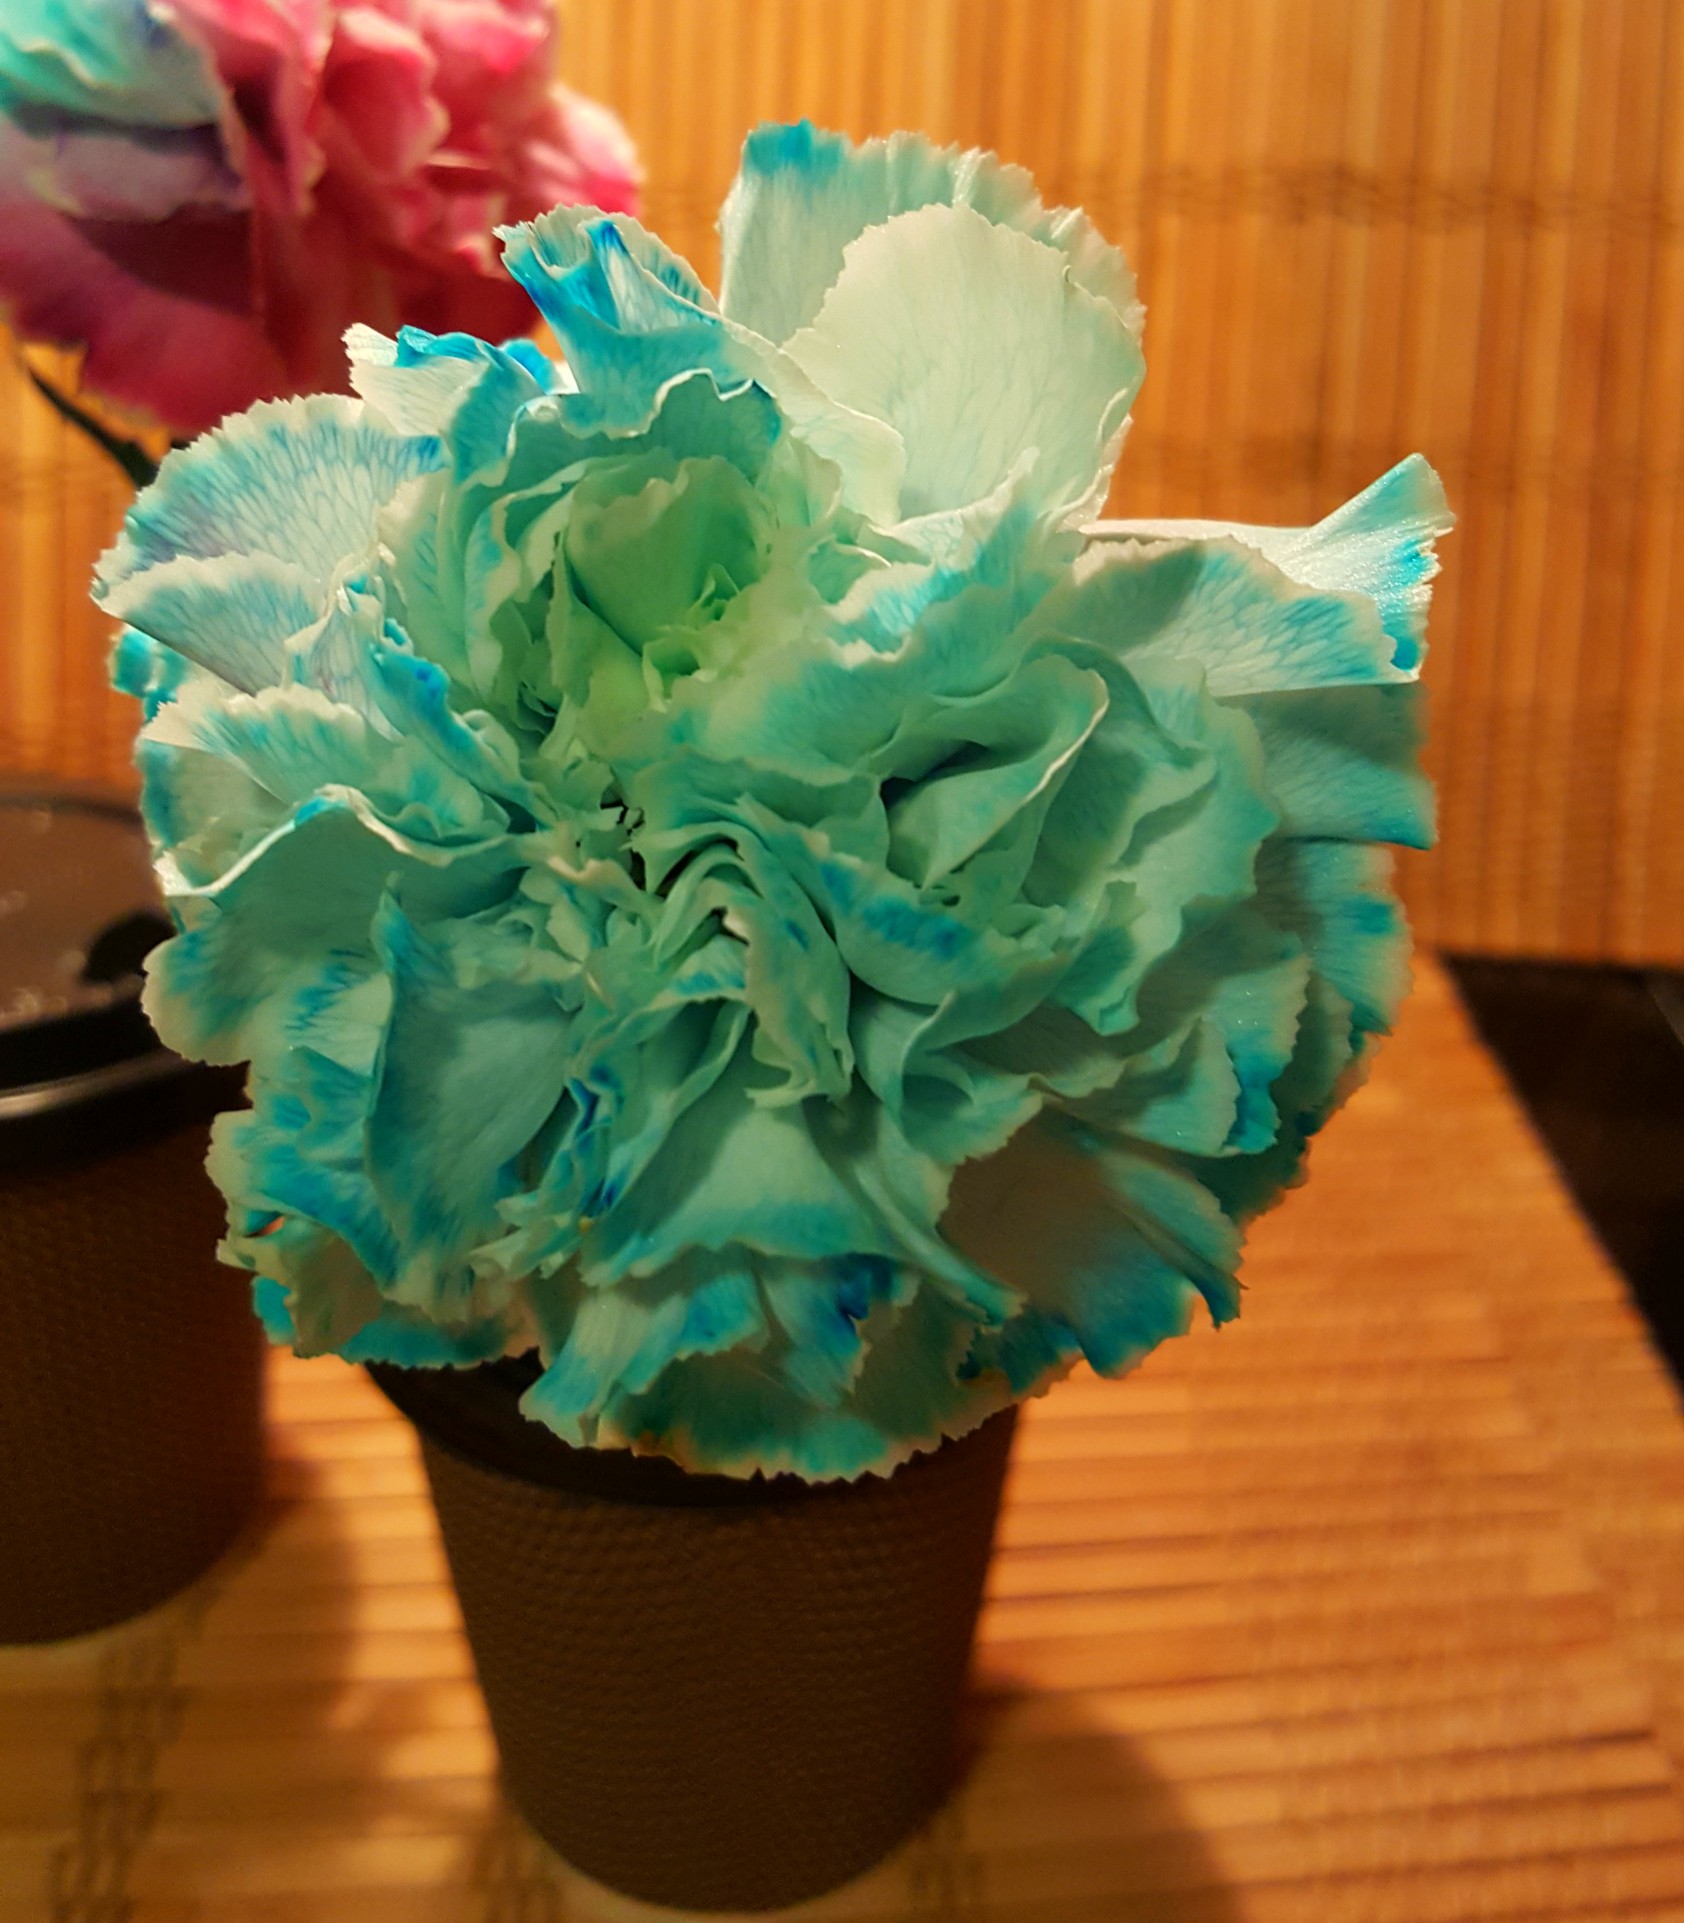
The result for the flower that was split between both of the colors was my favorite. Many of us predicted that the flower would turn purple, but we were surprised to see half of the flower turn pink, and the other half blue with a little mix of purple in the middle.
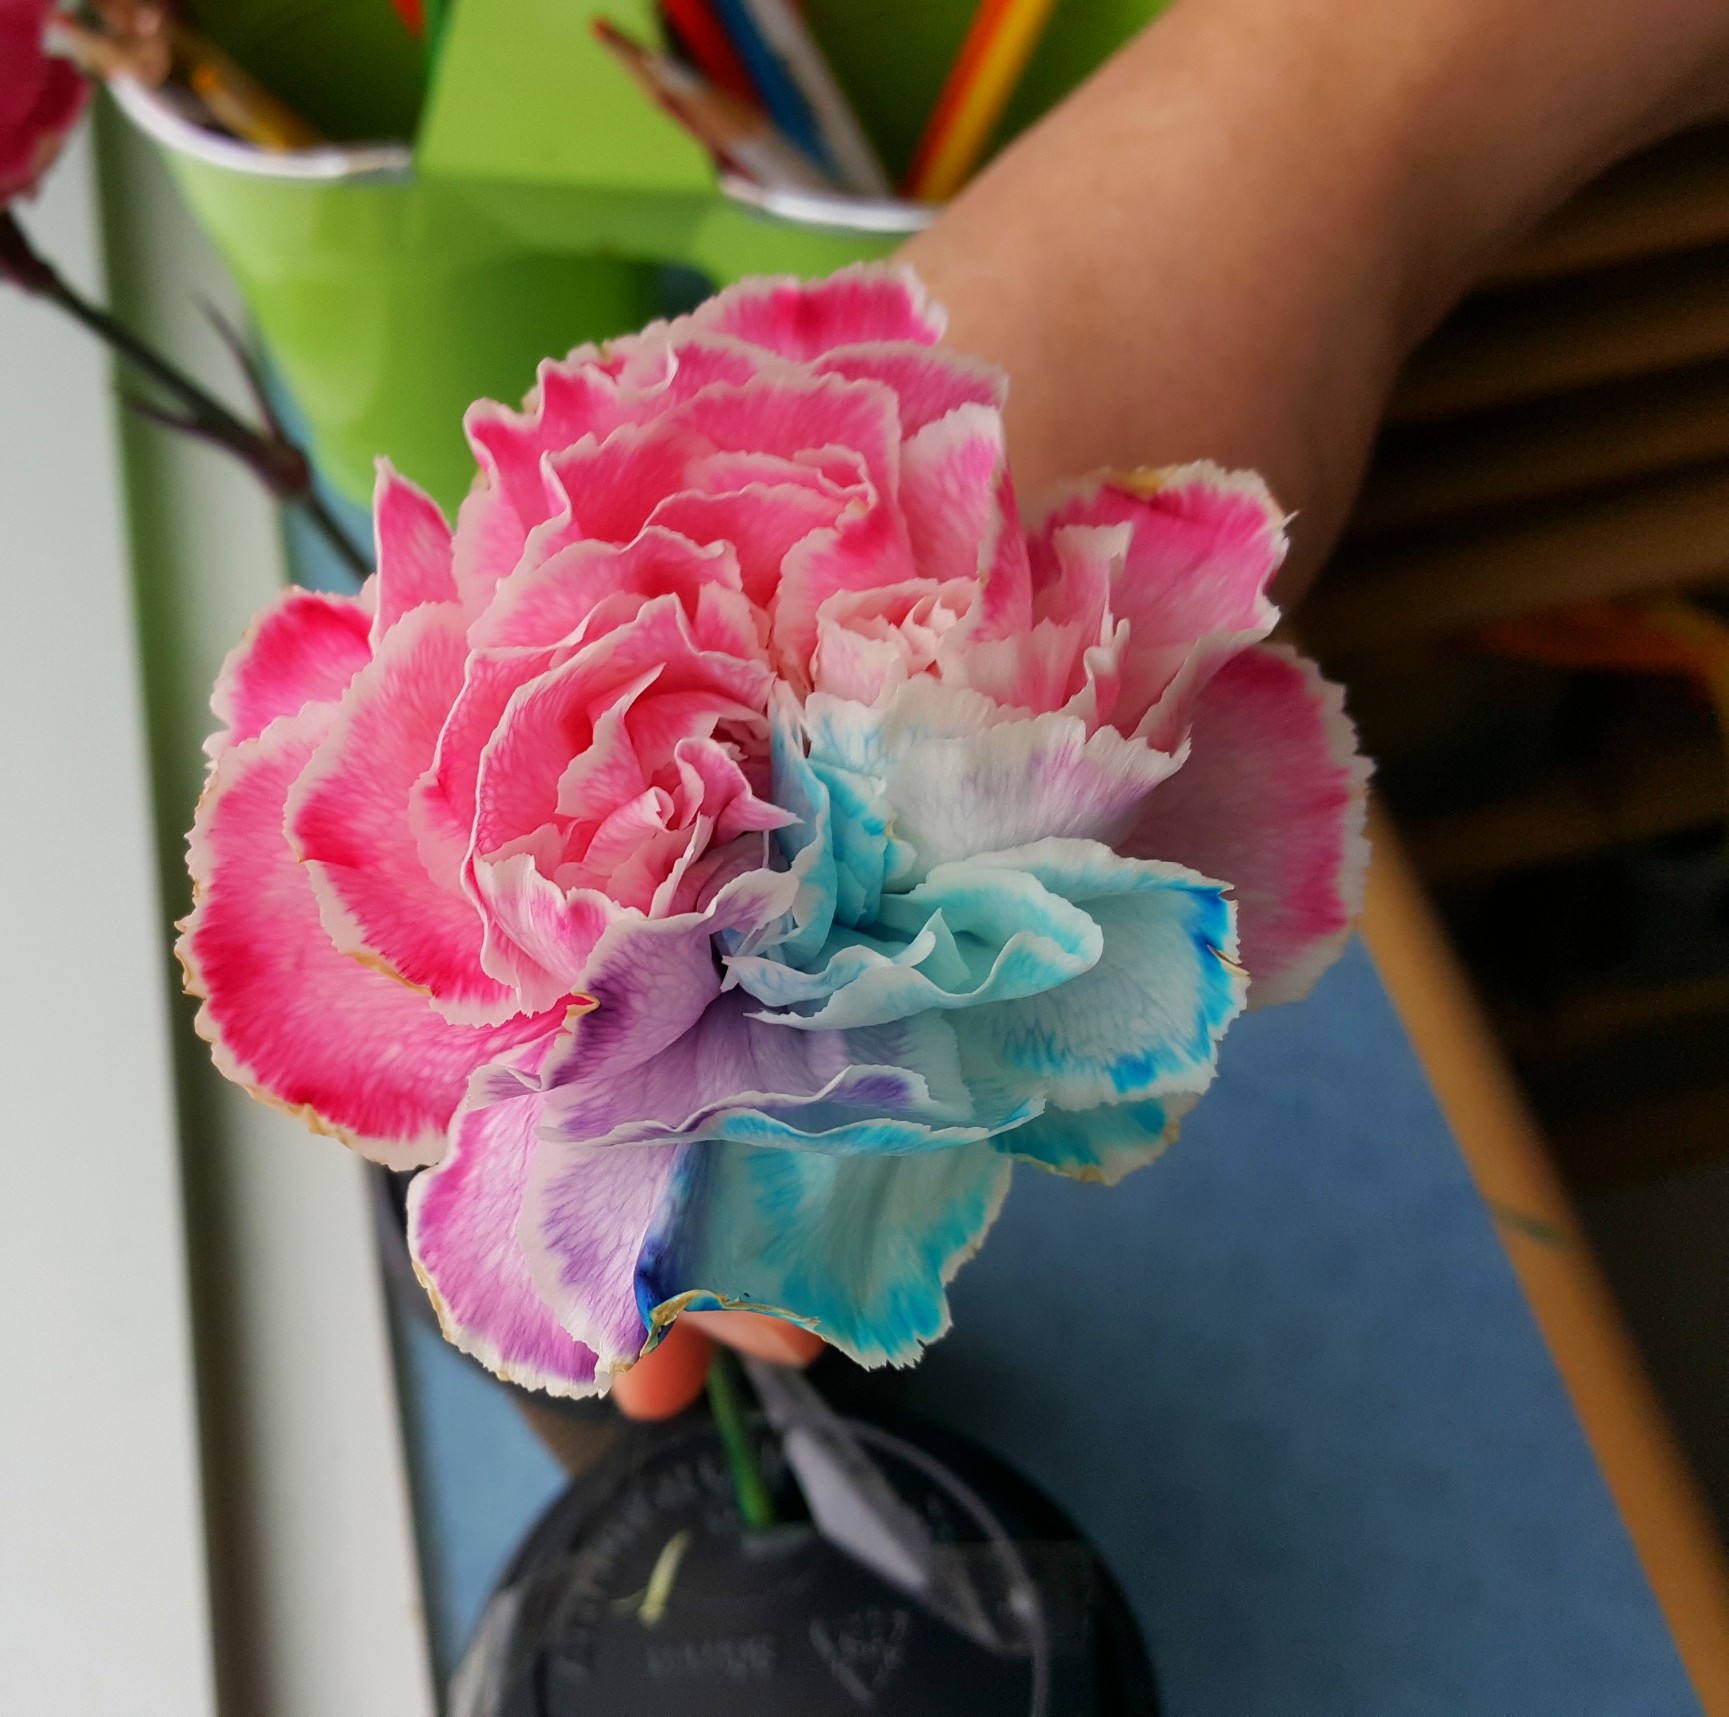
There were a few petals that were a beautiful mix and we saw some purple, but there was a very clear separation of the blue and red.
This is perfect for children to see and understand that each flower was ‘drinking’ the colored water from the cup its stem was in.

Extension Ideas
Although we had finished our experiment, there was one more thing that some children wondered.
What would happen if we switched the blue flower and put it into the cup with the red food coloring? Would the coloring still be split down the middle like the other flower or would it become just one color?
We tried it and left it over night. Again, our results, were beautiful! The red flower turned a bit maroon when put into the blue water. The blue flower began to show more purple in the petals.
I love the rainbow of colors that we ended up!
You could also try splitting the stem into 3, or maybe 4 and putting each part of the stem into a different color of water. Imagine the colors!
Simple science experiments create lots of conversation and interest in science and plants! Children learned about how water and in this case, colored water, travels up a stem.
As an extension to this activity, children filled out the following sheet. They drew one, or all of the flowers and then what they looked like after one night.
Free printable worksheet available below. Click the grey box and subscribe through Grow. Subscribing this way also unlock all of the other freebies on this site. Once you subscribe, the changing flowers resource will download right away.

More Hands-On Teaching Ideas
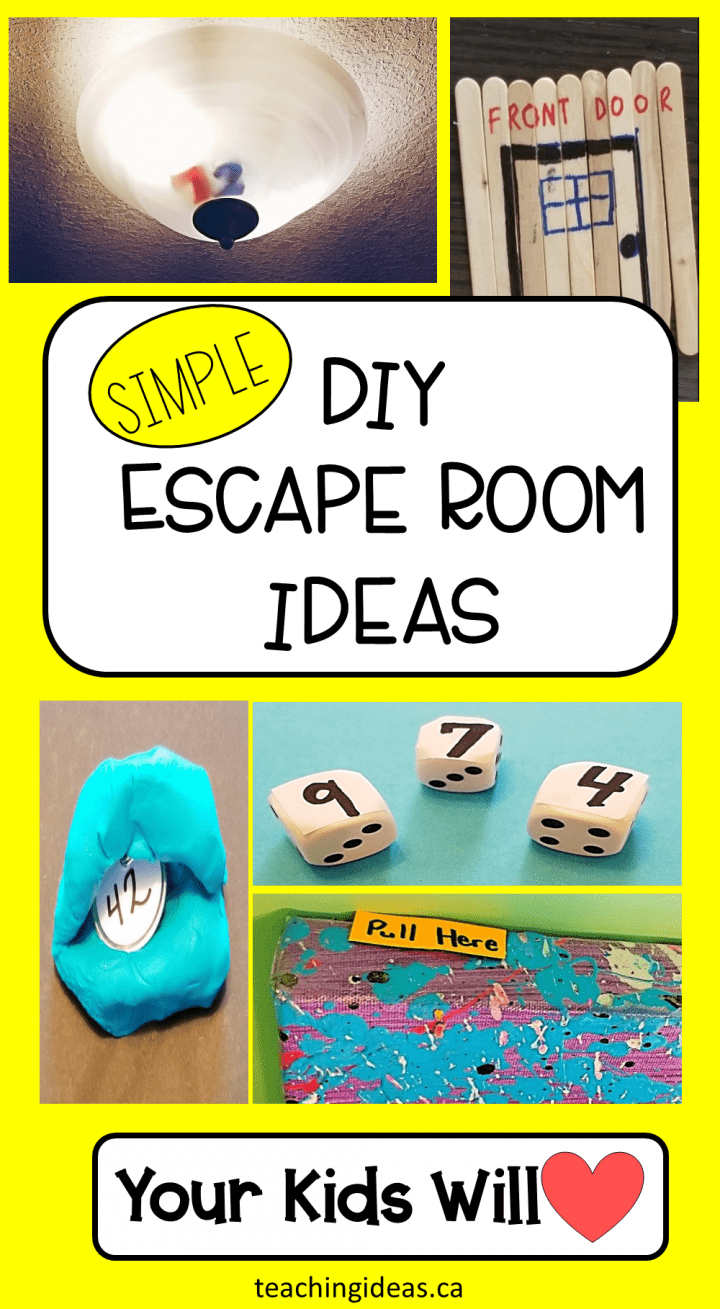
If you are looking for more hands-on learning activities that kids will love, take a look at the collection below of my favourite, and most popular activities. From science experiments and crafts to escape rooms that you can create at home, there is lots to do!