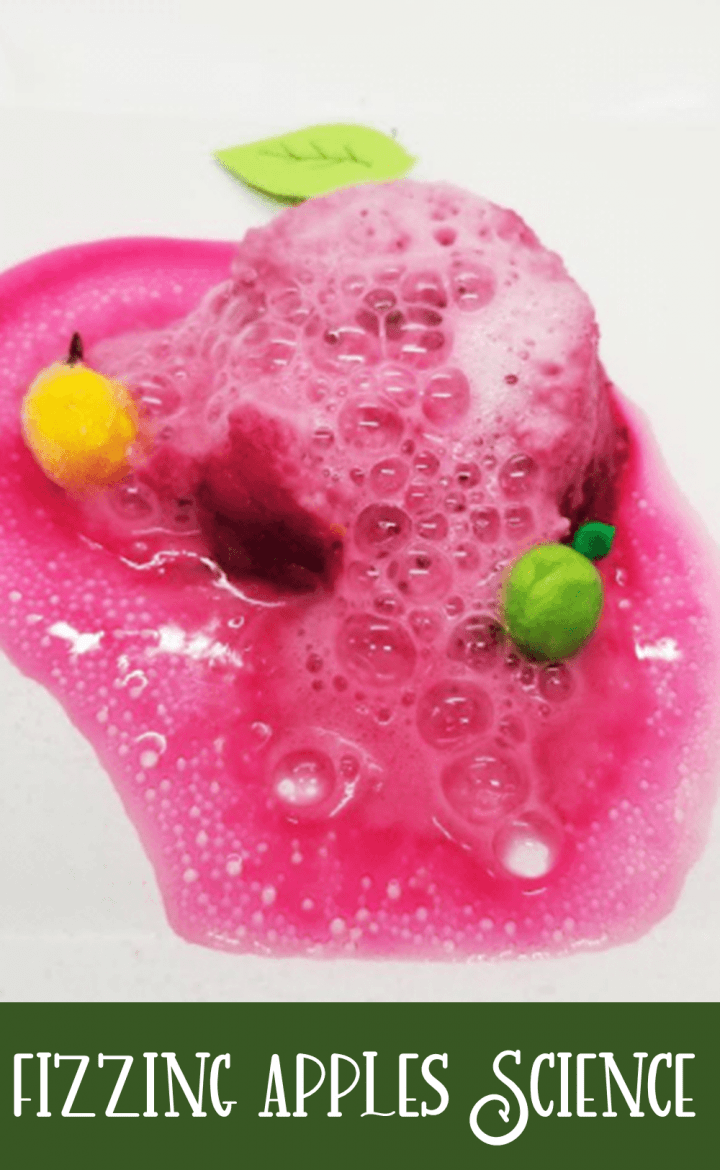
I love fall! The colorful leaves, the cooler weather, hay rides and apple picking are all on my list of my favorite things. I also love being able to celebrate the season with my kids and my students at school. To kick our science unit off this year, I wanted to start with something I knew the kids would love. This Simple Fizzing Apple Science Experiment was perfect!
Kids love to see things ‘explode’ or at least create a reaction that they can see. Preparing science experiments that are hands-on and exciting is a great way to get them excited about science and learning.
This fizzing apple science experiment is easy to prepare and only requires a few, simple materials. I have done this experiment with children as young as preschool and kindergarten, up to kids in the intermediate grades. They love it, because it’s fun!
I created fizzing apples, however, you can use the same idea for various seasons or celebrations, such as Valentine’s day, winter, or even St. Patrick’s day.
This experiment uses materials that are commonly found in home and are food based, however, all science experiments should be done with adult supervision.
This experiment is an easy way to bring fall into your classroom or home. Add the activity to your science program and kindergarten or preschool apple science activities.
Fizzing Apple Science Experiment Materials
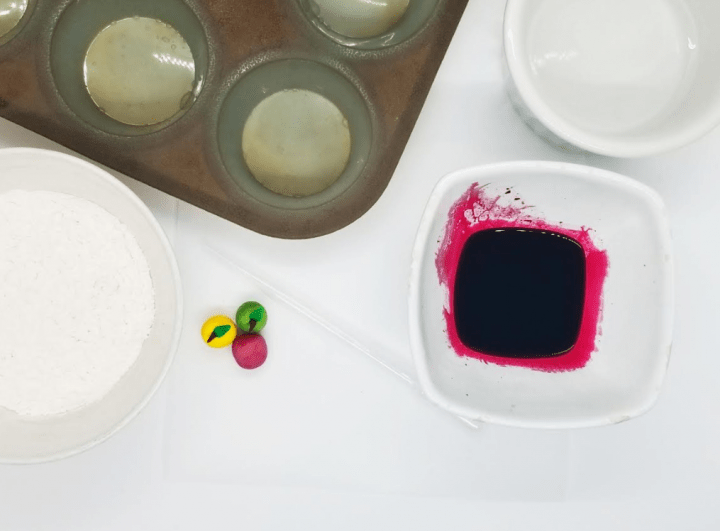
You don’t need a lot for this fizzing apple science experiment. You will need:
- Baking Soda
- Water
- Food Coloring
- Silicone Baking Tray or cupcake liners
- White Vinegar
- Eye Droppers (optional)
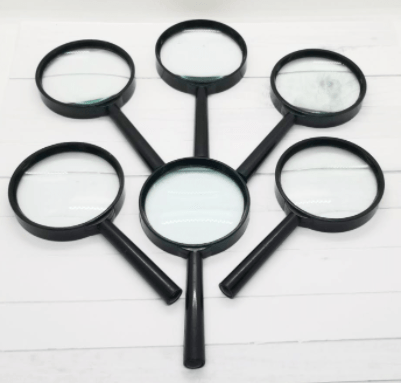
- Magnifying Glasses (optional)
- Small Gems/Treasures (optional)
There are links at the bottom of this post for all of the products you need for this science experiment.
You don’t have to use eye droppers or magnifying glasses, however, they add a lot to the science experiment to make kids feel like real scientists.
Fizzing Apple Science Experiment Steps
Mix the baking soda and water together in a bowl. You will need to mix roughly 1 cup of baking soda and 1/4-1/3 cup of water. The consistency should be so that you can just stir a spoon through the mixture.
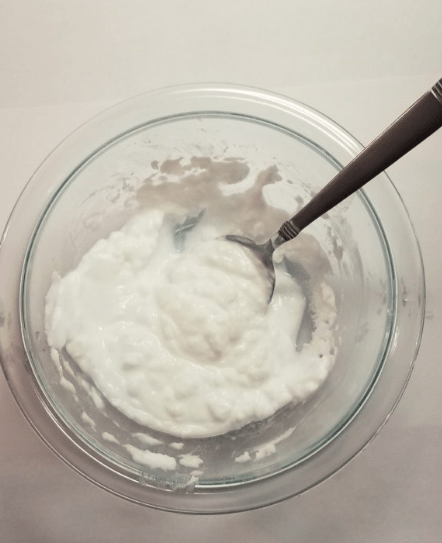
If you add too much water, it will simply take longer to dry. If you don’t add enough water it will be crunchy and not settle into the silicone tray properly.
Mix food coloring into the baking soda mixture. Add as much or as little as you want. I used red, green and yellow for different colored apples, but you can choose any color(s) you want.
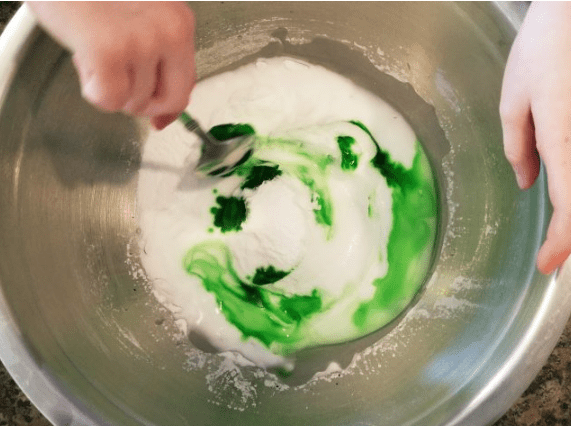
Next, spoon the mixture into the trays. Fill each section about half full. You can make the baking soda pucks bigger if you want, half full was enough for the group I was making them for.
If you don’t have a silicone tray, you can use cupcake liners and fill each one in the same way.
Classroom Apple Science Experiment
For reference, if you are creating these for a classroom, I used one 2kg box of baking soda to create 35 baking soda pucks. They are each about 1-2 centimeters deep and the size of cupcakes.
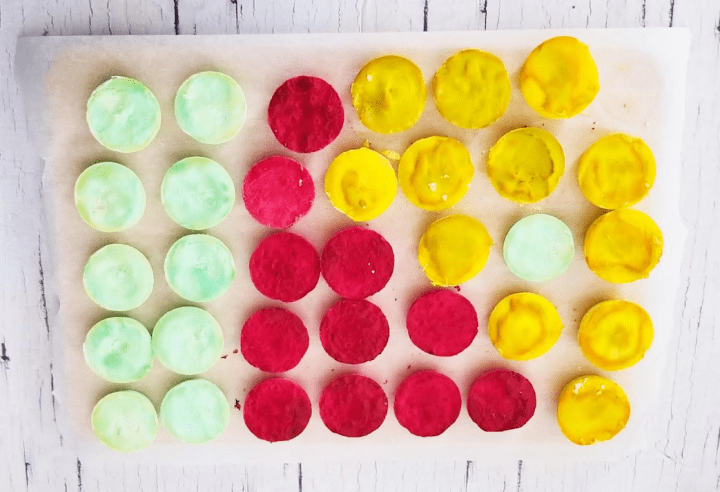
I like to add a small gem into each baking soda mixture for kids to find. Again this is optional, but if you have anything, even a small colorful bead, it is really exciting for children to discover the hidden treasure.
I added a few small apple figures for children to find as they did their fizzing apple science experiment.
Once you have filled the trays, leave the trays out for a day to fully dry and become solid. You can also put them in the oven to dry them out. Just avoid if you have gems or beads inside. Safety first!
Once they are dry, and solid, they should pop out of the silicone tray and are ready to use.
Using the Science Tools for Your Experiment
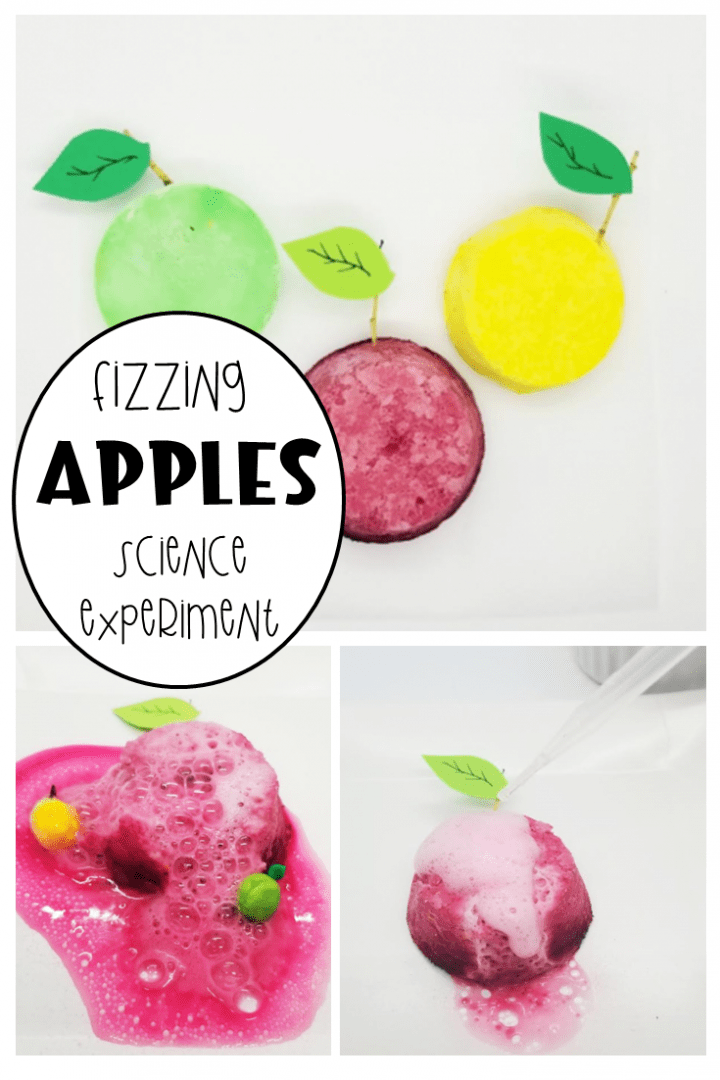
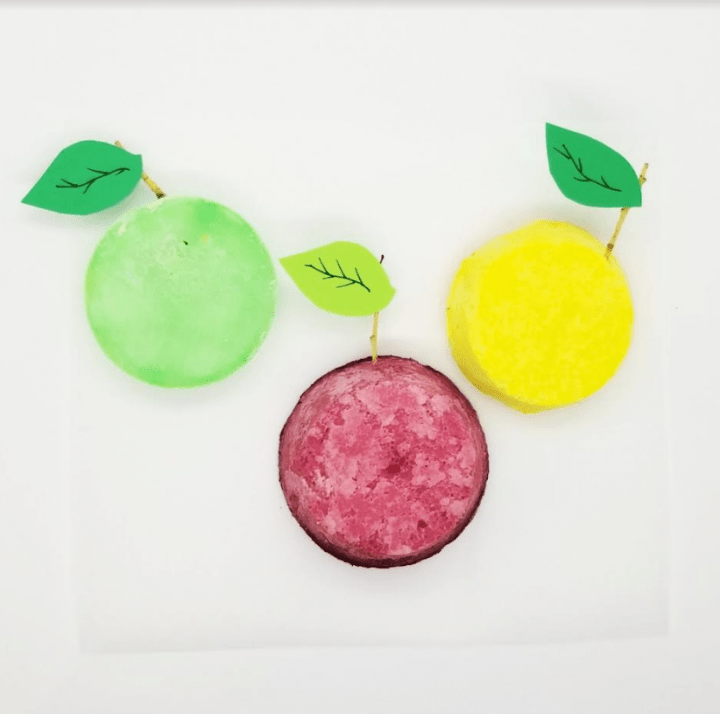
Just for fun I added a twig and hot glued a leaf to the top of each baking soda puck.
I started by giving each child a puck and a magnifying glass. I asked them to look at, smell and gently touch their ‘apple’. Ask them what they notice.
Scientists are observers and they take their time with experiments. This is an easy experiment to learn these skills of scientists.
By looking through the magnifying glasses, children will notice bumps/bubbles throughout the ‘apple’ and may notice inconsistencies in the coloring. This is all great for observation and encouraging children to use their senses.
Once children have had time to observe, give each child an eye dropper. A link to the eye droppers I use can be found at the bottom of this post. Kids love using these over and over again for experiments.
If the children have never used eye droppers before, give them a chance to try them out before they use them on their apple.
Next, give a small cup of white vinegar to each child. I often add a little bit of food coloring to the vinegar to make it more visible in the eye dropper. Sometimes the clear vinegar is difficult to see and more ends up getting dropped than intended.
Have children practice pressing the top of the dropper and releasing it to fill the eye dropper. Next, have them practice pressing so that one drop comes out of the eye dropper.
If they can control the amount coming out, then they are ready to do their fizzing apple science experiment!
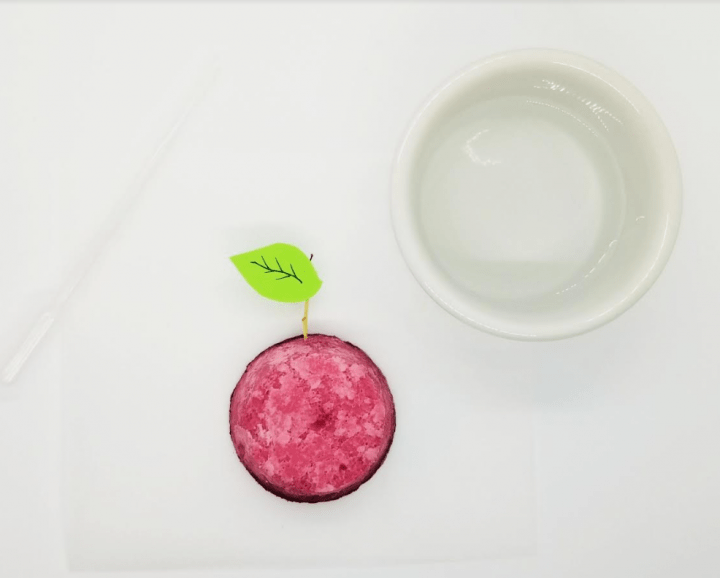
The Fizzing Apple Science Experiment
Once children are ready with the eye droppers, have children predict what they think is going to happen when they add the vinegar to the baking soda apple.
Next, children add one drop of vinegar to the apple. Encourage them to look at what happens with their magnifying glass. A few questions to ask include:
- What happens when the vinegar touches the baking soda?
- Does it make a sound?
- What changes?
- Does it have a smell?
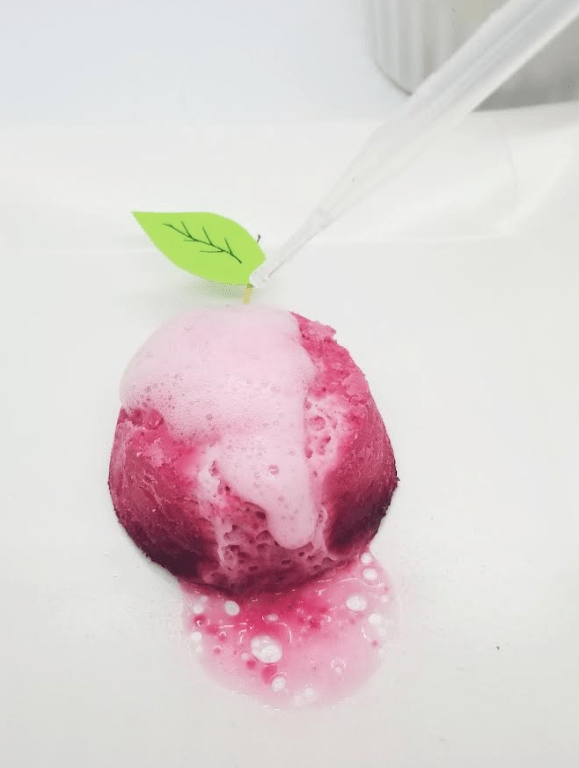
Next, allow children to explore and add more drops of vinegar. They will be very excited about the fizzing sound it makes and the ‘explosion’ that is created.
As children continue with their science experiment, the gems or treasures inside will eventually revel themselves.
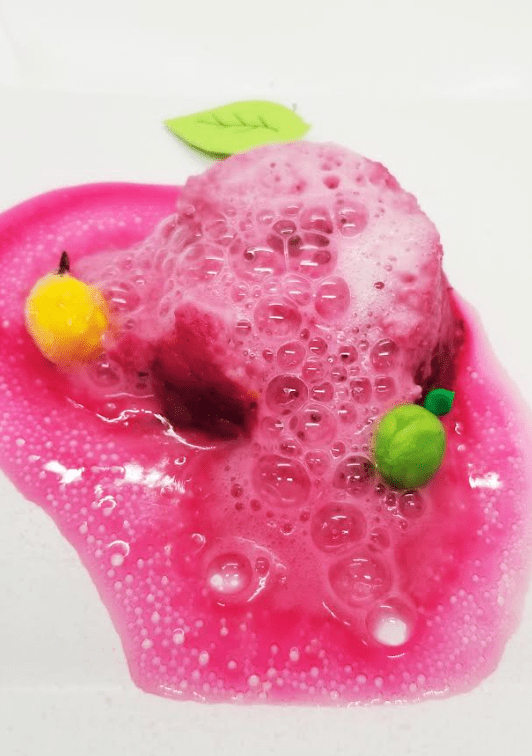
Kids will enjoy simply playing and experimenting with the vinegar and baking soda apple. Give them time to play and break down their whole apple.
Once the vinegar is no longer causing a reaction, then talk to kids about why the reaction stopped. A full scientific explanation for kids is below.
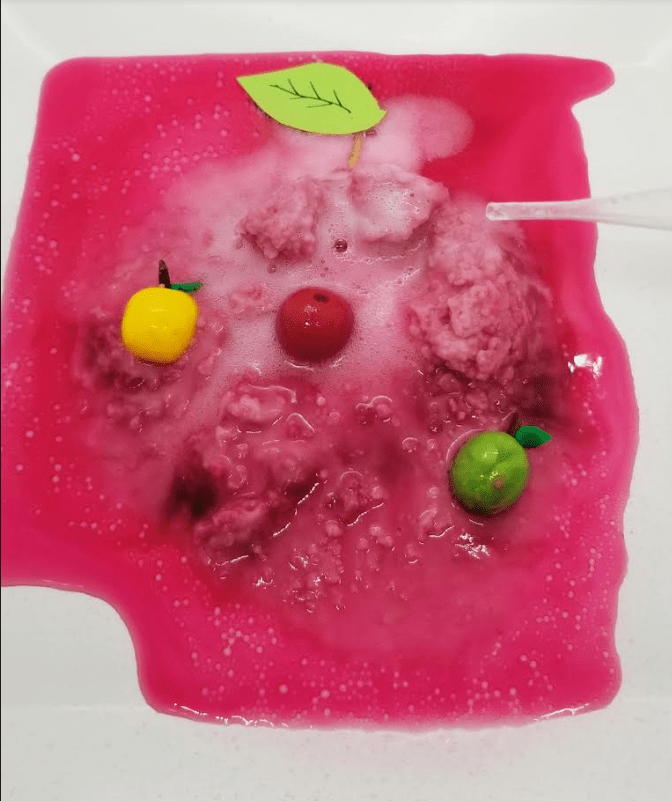
Fizzing Apple Science Experiment Explained
I can see the fizzing, but what is happening? Sometimes we, as adults avoid giving children a full scientific explanation to things because we assume that children will not understand. However, there is a lot of value in explaining to children what they see in front of them with a hands-on experiment.
Children don’t need a complicated explanation, but you’d be surprised how much they understand and it sets a foundation to grow on as they do more experiments over the years.
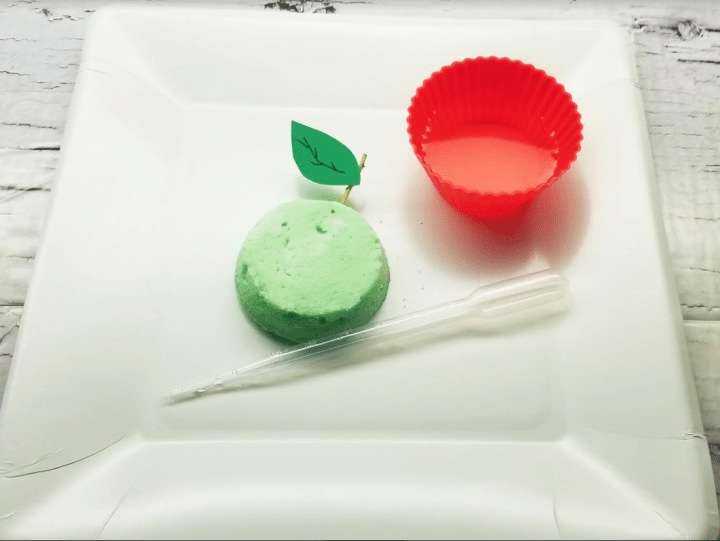
For this experiment, children should understand that there are two main ingredients that are causing the reaction. The baking soda is a base and the vinegar is an acid.
Children may understand the idea of an acid if they have tasted vinegar before. Similar to lemon juice or grapefruit, vinegar is acidic. Baking soda however, is a base, or neutral.
When the two materials are mixed together, they react. We see this chemical reaction because of the bubbles and fizzing. We also see that the baking soda puck looks different after the vinegar is added.
Apple Science Experiment Reaction – The ‘Explosion”
Children will likely view the chemical reaction as an explosion. The big idea is that sometimes when two ingredients are mixed together they create a reaction. Other times, when two things are mixed, such as milk and water, there is no chemical reaction.
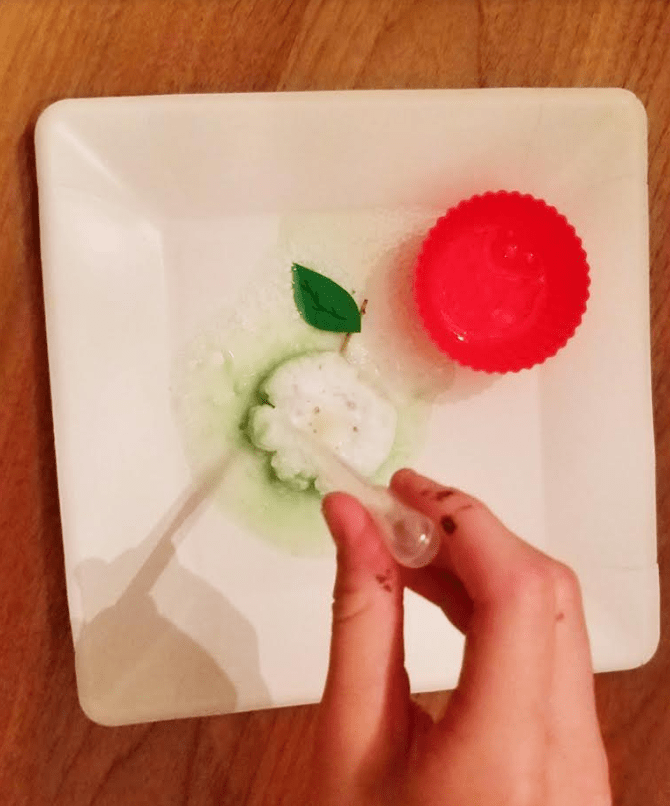
The chemical reaction we see with baking soda and vinegar, is also a great opportunity to talk to kids about safety in science. It is important children understand to never mix two ingredients/liquids together.
Sometimes mixing different things can cause a very dangerous and even toxic reaction.
Remind children that science experiments are something they do with an adult.
I hope you have a wonderful fall and you can include activities, like this one into your child’s learning and exploration.
For your convenience, this post contains affiliate links. As an Amazon Associate I earn from qualifying purchases and I may earn a small commission at no cost to you.
Free STEM Choice Board
Don’t let your science fun end! Subscribe to Hands-On Teaching Ideas today and gain access to my Free Resource Library. Filled with educational resources from worksheets and printable escape room games.
By subscribing you will also be the first to know about my latest posts as well promotions and sales. Join me today!
More Hands-On Teaching Ideas
If you liked the fizzing apple science experiment, then you’ll love the other hands-on activities for fall below.
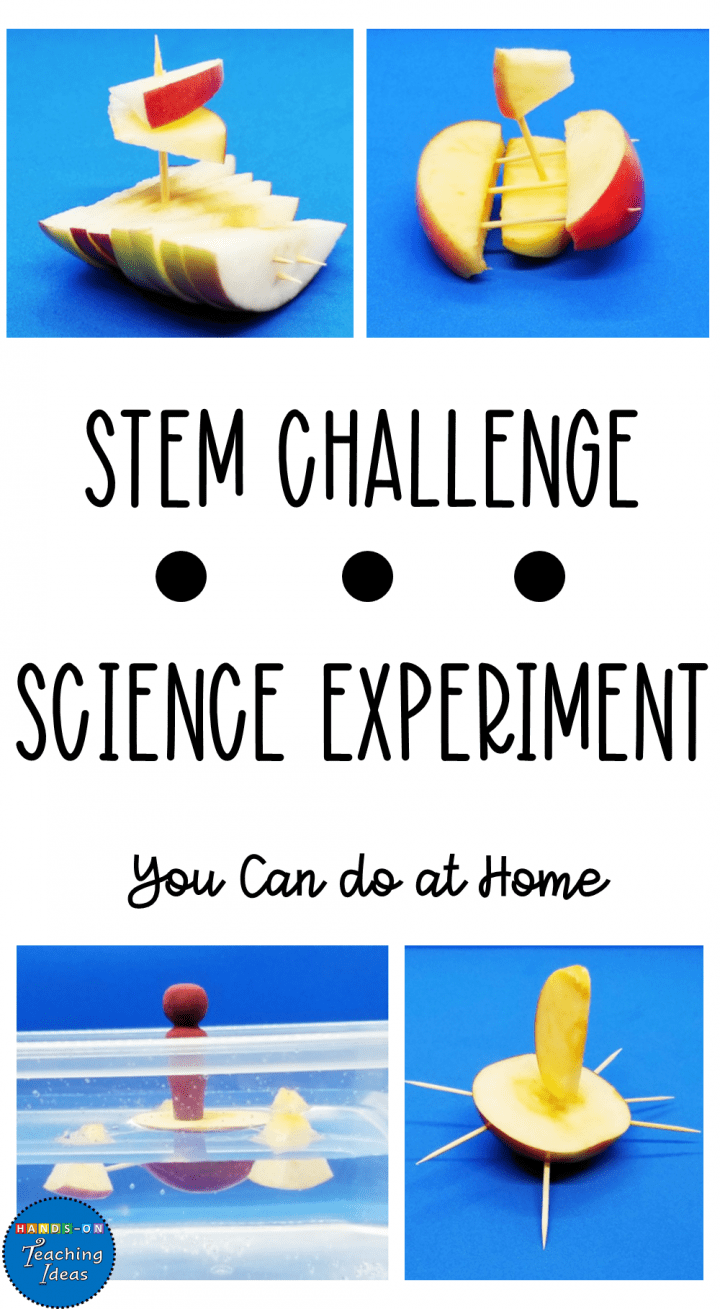
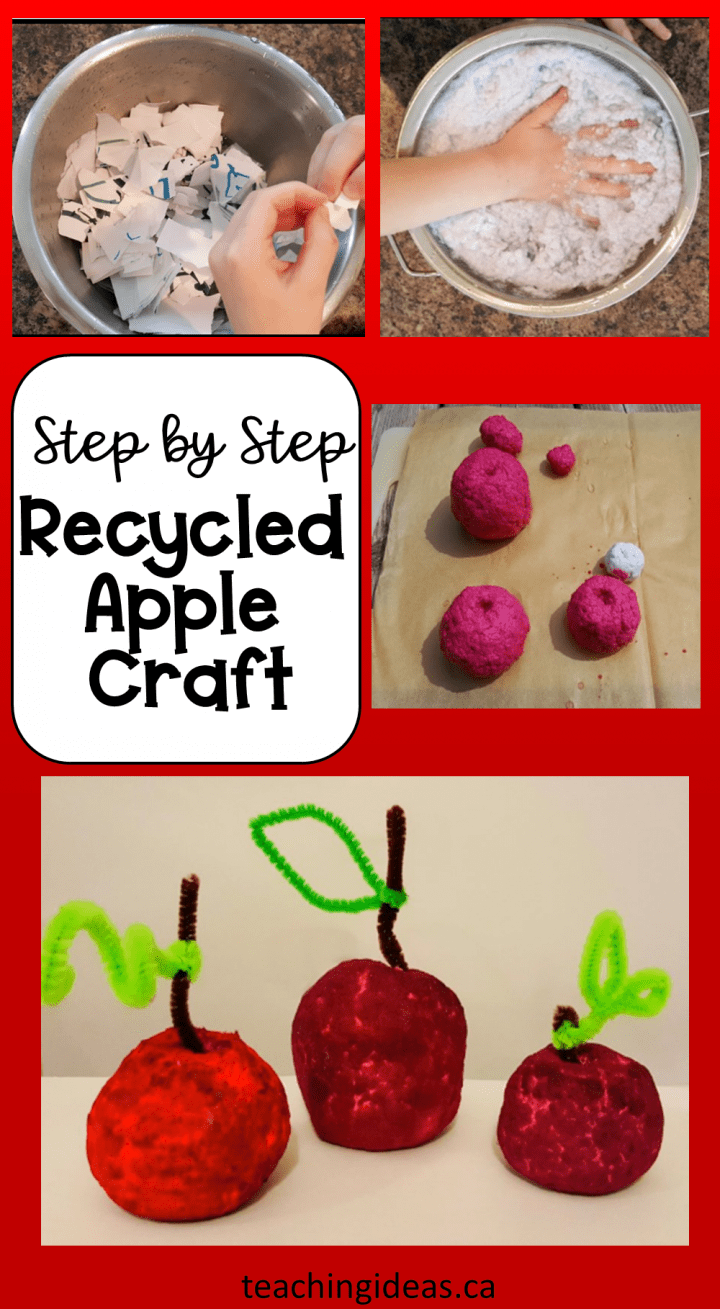
From a STEM apple boat challenge, apple crafts and a huge collection of science experiments there is lots to keep kids busy and learning.


Leave a Reply