My kids love painting. They enjoy most arts and crafts that we do, but painting always tends to be a favorite. We had some mason jars around the house, that we reused to create our latest craft. I am so happy with how they turned out that I’ve started brainstorming even more painted mason jar craft ideas for us to do in the future.
This completed mason jar craft can be used as a vase, an art supply storage container or even adorable containers to hold utensils for a barbeque.
The other great thing about these mason jar crafts is that you can paint any picture or image that you want. Therefore, you can paint and use them for any occasion or season. You can even keep it simple and make simple designs instead of pictures. It’s up to you!
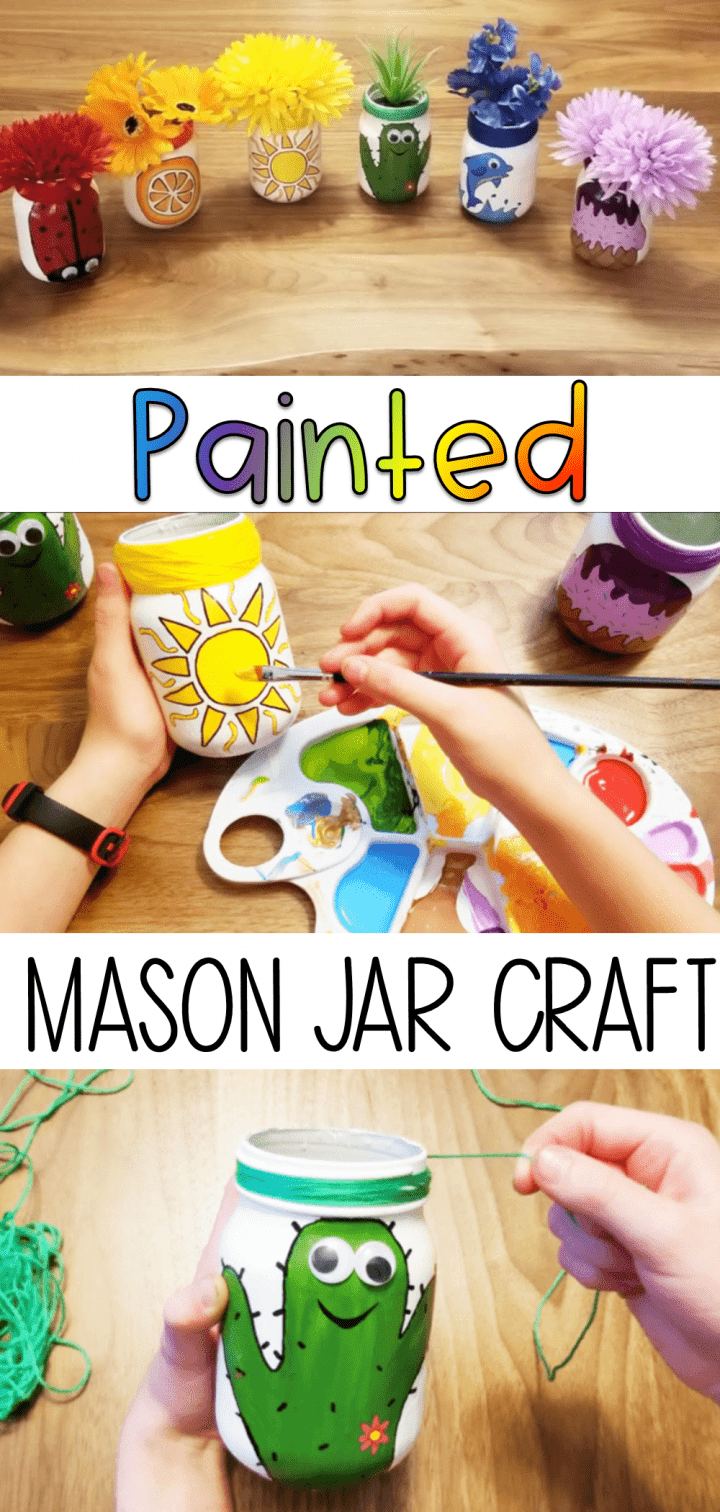
I created these rainbow painted mason jars to use throughout the summer. They are bright, colorful and filled with summery pictures. I created six jars to fit my rainbow theme, but also because I love placing the jars all around when entertaining. They are an adorable conversation piece and my kids were really proud of what they helped create.
The great thing about using mason jars is that they are not very expensive. You can get them from a dollar store, along with the other materials, and they are all fairly inexpensive. You can create adorable crafts with kids to use around the house or even give the painted mason jars as a gift.
Mason Jar Craft Materials
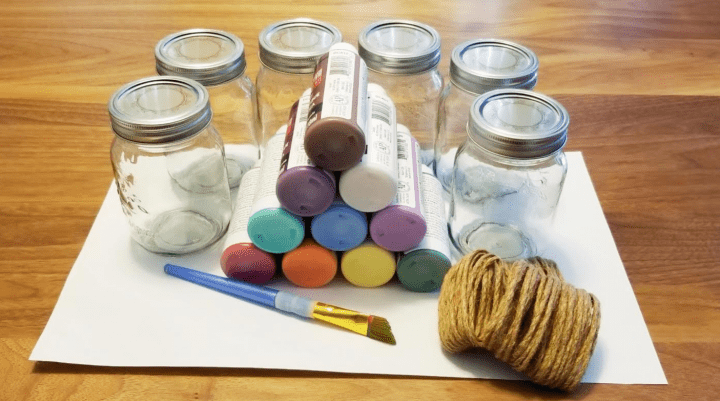
You don’t need a lot of materials for this craft. You will need:
- Paint
- Mason Jars
- Different Colored Ribbon or String (Optional)
- Hot Glue (Optional)
- Matte or Gloss Mod Podge (Optional)
- Black Permanent Marker (Optional)
If you want to wrap string/ribbon around the top of the mason jar for a more finished look, you will need the string and hot glue. However, this is not essential.
If you have young children creating the mason jar craft, they can create independently at the beginning by painting the jars white. When you do the pictures, children can draw and paint on their own or you can trace the outline of the picture on each mason jar with pencil and then they can paint it in. There are lots of options to keep kids involved and creating.
Preparing Your Jar
Depending on your materials, sometimes the paint can chip off of the mason jar. There are a few things you can do to avoid this. Before starting, an adult can:
- Wipe the mason jar down with isopropyl alcohol. This will remove any oily fingerprints and any other film on the jar.
- Once you have applied one layer of paint, spray the jar with a clear matte spray sealer. This will put a layer between your first and second layer of paint and help prevent the second layer from pealing up the first layer when you paint.
- You can spray a layer of the spray sealer when you are completely done as well to help protect your work from chips and water.
You have a few options for the base coat of white paint. The best options I have found are:
- Flat Primer Spray Paint
- Acrylic Paint
- Chalk paint
I used acrylic, but I did have to do a few base layers of the white before it was completely covered. I used acrylic paint for all of the pictures on my jars.
Creating Your Mason Jar Craft
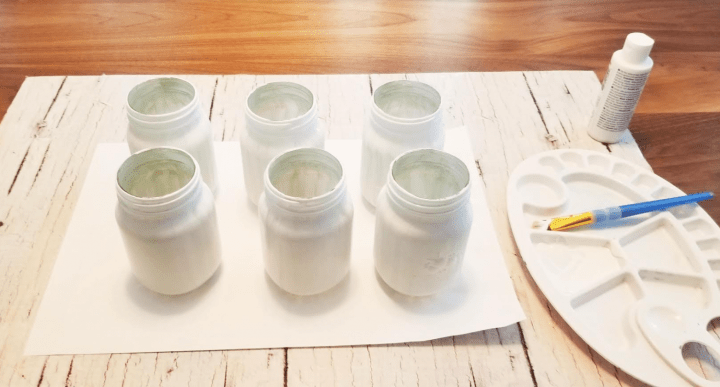
Start by cleaning your mason jar. Next, paint a layer of white paint on the jar. Typically one layer will leave a few streaks, so painting a few layers should give you a solid white base. You can spray a layer of clear matte sealer on your first coat of paint to keep it from chipping or pealing when you paint your second.
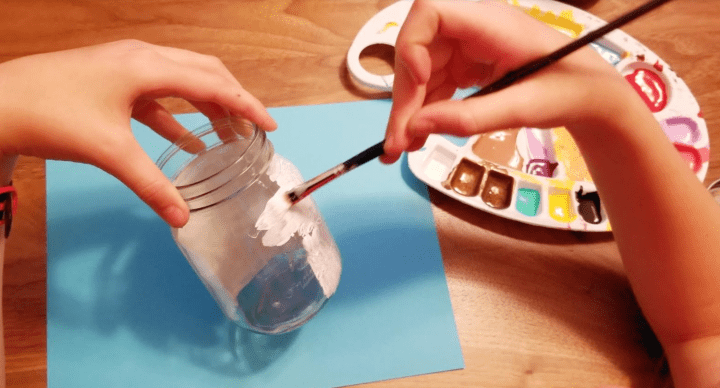
Paint each of your jars with the white paint and cover the entire jar.
Painted Mason Jar Craft
This is the fun part! Choose any images that you want to include on your jars. If you painted several jars, it is a great idea to choose pictures that are related to each other in some way. In the example, we used images that were somewhat related to summer – a ladybug, orange, sun, cactus, dolphin and ice cream.
You can choose any combination of pictures that you like. If children are painting the images, they can choose any picture that they know how to draw and want to put on their jar.
For the dolphin jar, I traced out the outline of a dolphin for my daughter to then paint. Acrylic paint works well because it is thick and covers any pencil lines you may use to draw the pictures.
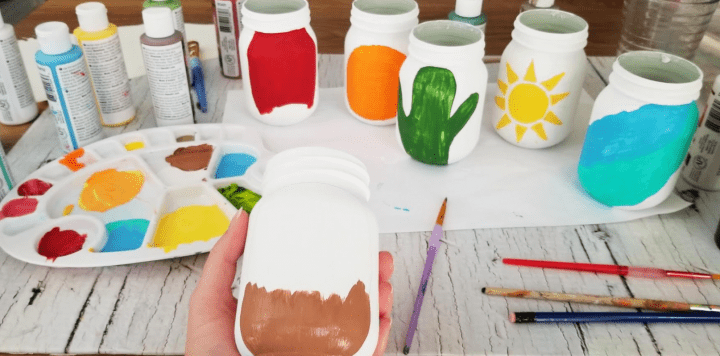
Once you have all of the basic pictures done on your mason jars, let them fully dry. Once dry, you are ready to start adding details. The details make a big difference to making your mason jars look complete.
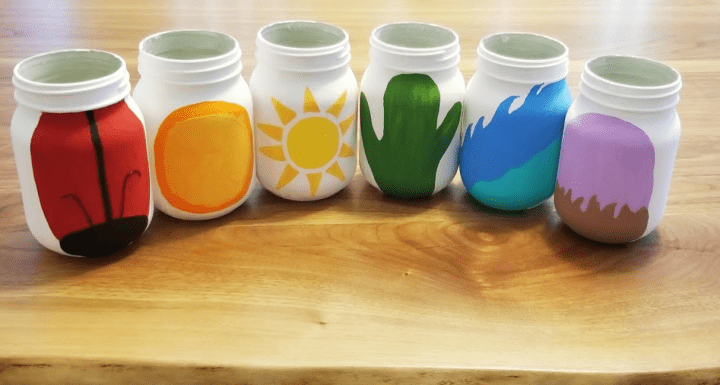
Mason Jar Extra Details
Once the pictures are painted, next, use the black permanent marker to outline each image. This was easy for my kids to do to give the pictures a completed look. The marker is also a great way to add small details on each jar.
If you don’t like the look of the black outline, it is not necessary to add. I simply find it an easy way to cover any imperfect lines from the paint.
Once you are done with the permanent marker, add a layer of Mod Podge. I used gloss finish so it appears a bit shiny, but you can also use the matte finish that covers the jar but without the shine.
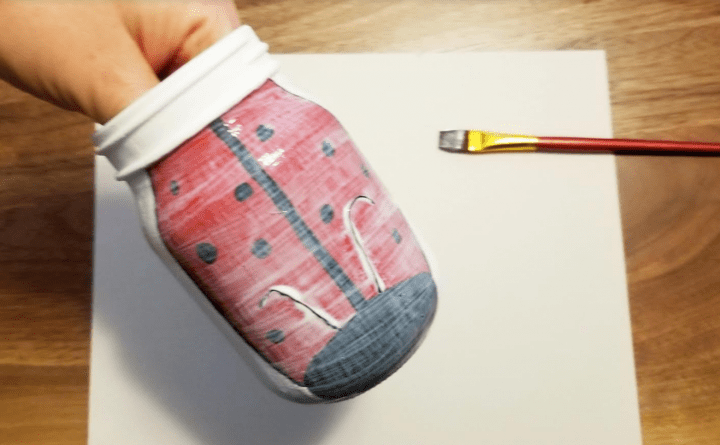
When adding details, you can also add a few other special details such as puffy paint for any details you want raised off of the jar.
I also used googly eyes on some of the characters on the jars. The 3D details add a fun, special feature on your mason jars.
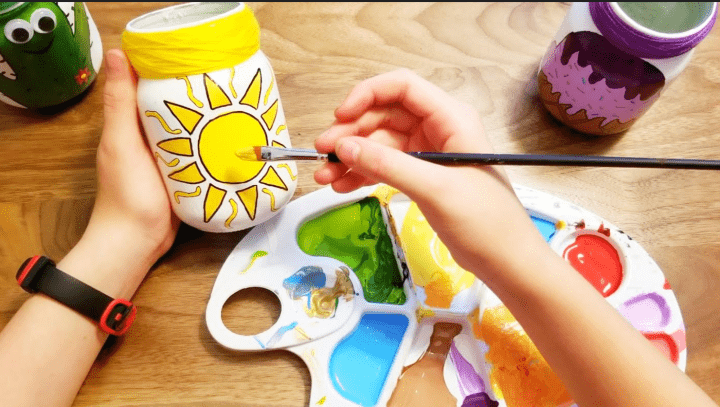
Use the the paint to cover up any imperfections. If you are using the jars as a vase for flowers, once dry, they will need a final spray coating of sealer. This will protect the paint from any water that may get on the vase.
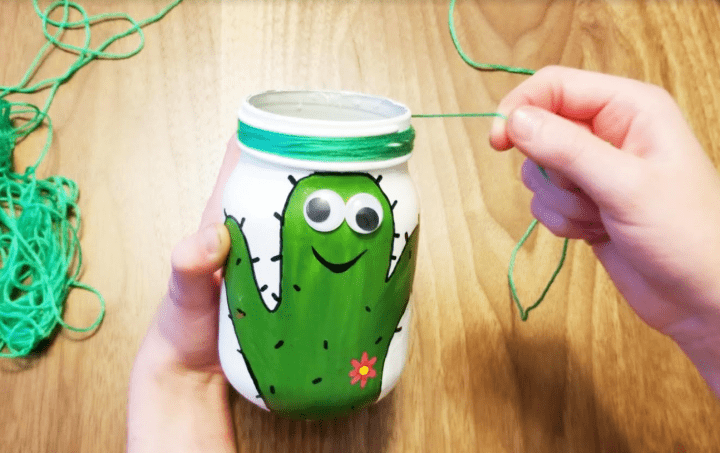
Painted Mason Jar Ribbon Top
Finally, the last touch. My kids loved this final addition. Along the top of your painted mason jar craft, wrap string or ribbon around to cover the top. You can choose any color or material that you feel fits the pictures on your mason jar.
I love the look of the rainbow colors on my mason jar craft and they have a fun summer vibe to them.
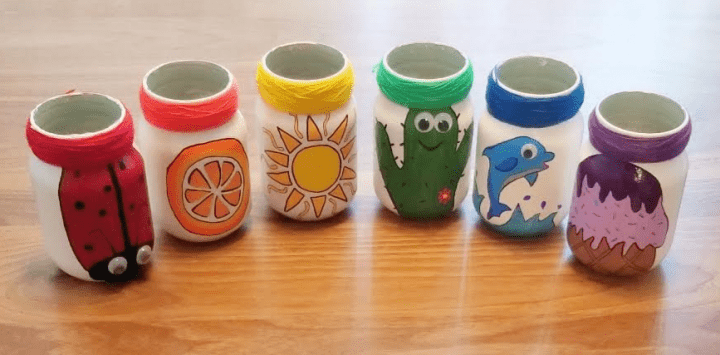
Fill your jars with flowers or anything else you want to store in these adorable containers. They are fun to place all around the house and are a simply DIY project.
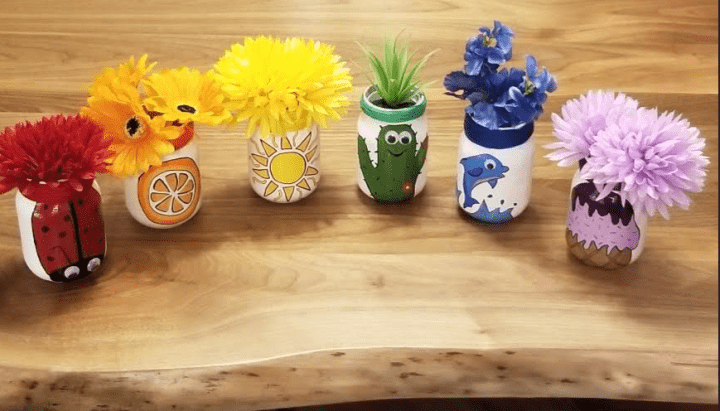
My kids love seeing their painted mason jars around the house. The mason jars crafts also make beautiful gifts. A few gift ideas are:
- A Mother’s Day vase with a child’s hand print, filled with flowers the child picked.
- School supply holder painted with the same paint used for a child’s room
- Picnic/BBQ food painted on each jar and filled with BBQ items such as utensils, napkins etc.
- Christmas or holiday images and fill the jars with treats or battery operated lights
This mason jar craft can be created and used for virtually any occasion.
As a teacher, I also love the idea of having children paint and create a mason jar craft for a special occasion that they can then take home and give as a gift. The possibilities are endless!
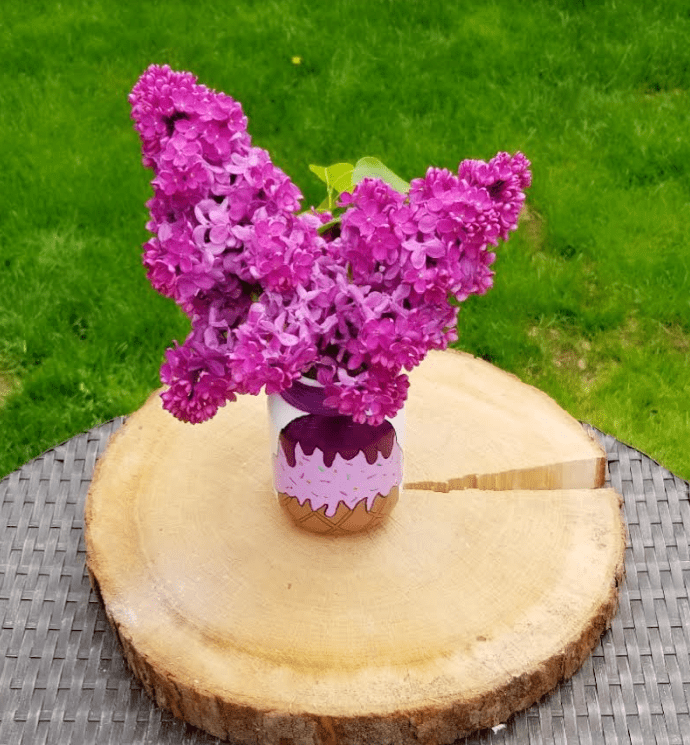
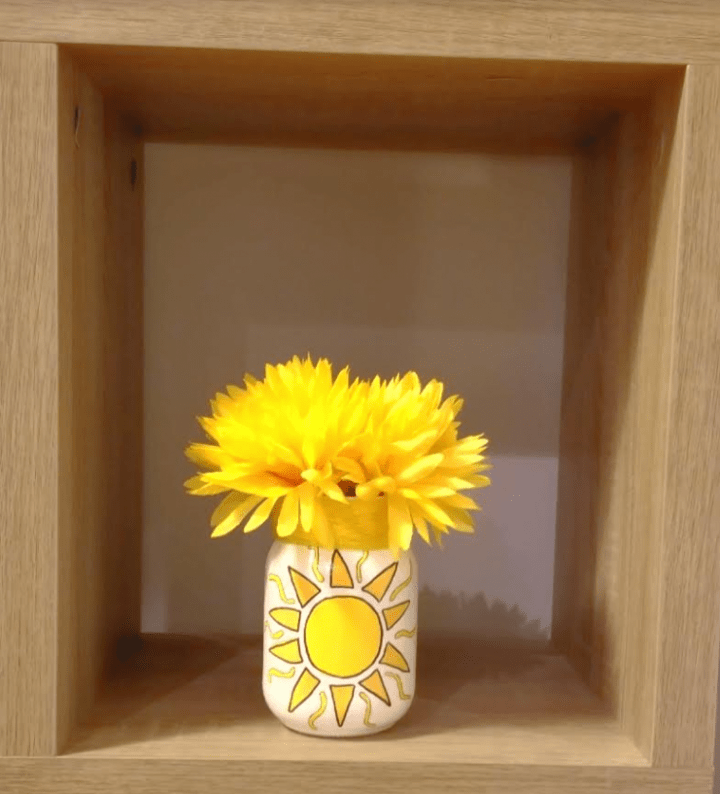
Have some fun creating your jars. Kids will enjoy the opportunity to create something that looks almost professional. I hope this post has inspired you with some ideas for a mason jar craft in your home, or classroom.
Join Hands-On Teaching Ideas
Join Hands-On Teaching Ideas and gain access to the Free Resource Library. By subscribing you will not only be the first to hear about my latest products and promotions, you will gain access to the free library that is constantly growing.
Find any resource that you like and you can download them right away!
More Hands-On Teaching Ideas
If you are looking for more learning activities for home or school, below are some of the most popular and favorite ideas from Hands-On Teaching Ideas.
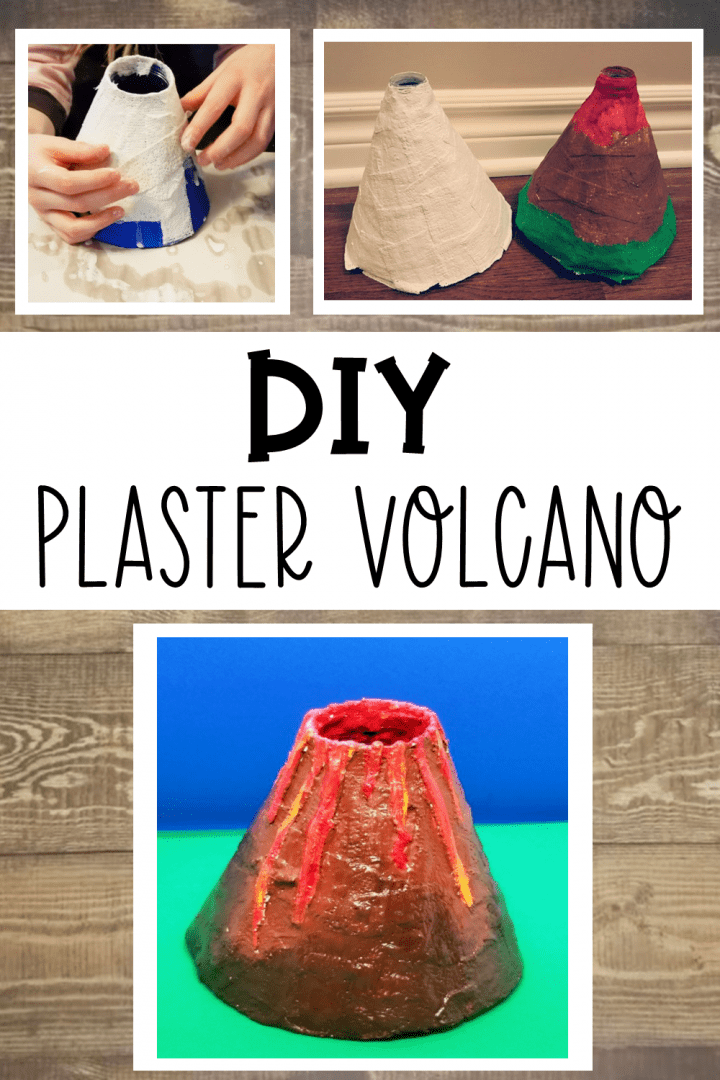
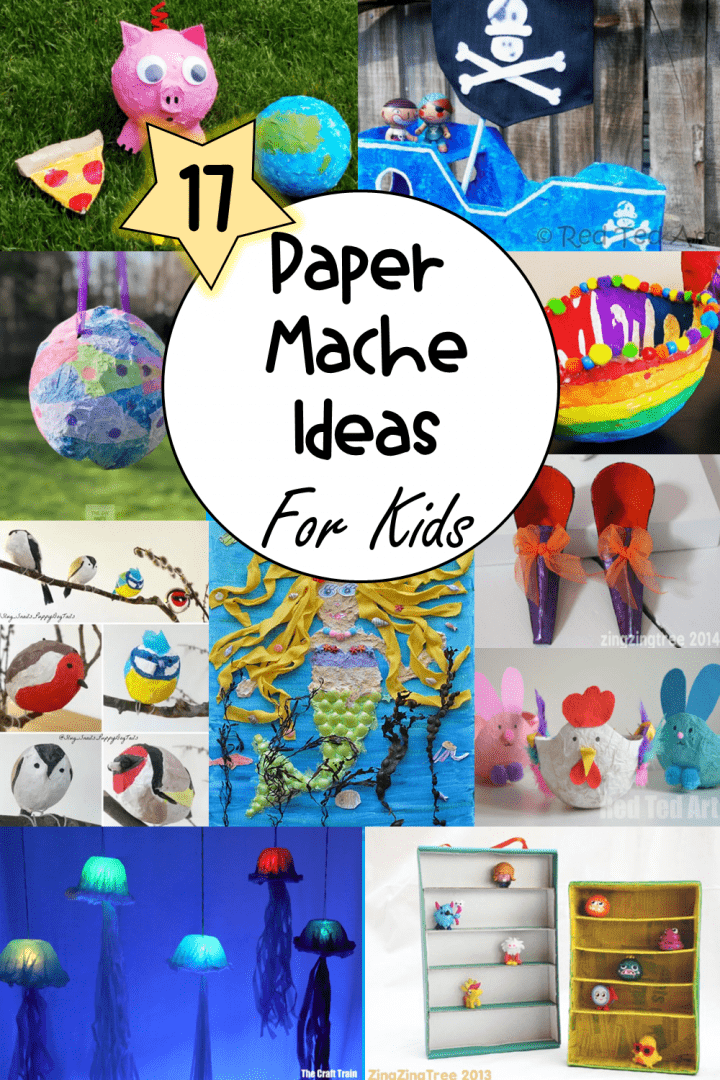
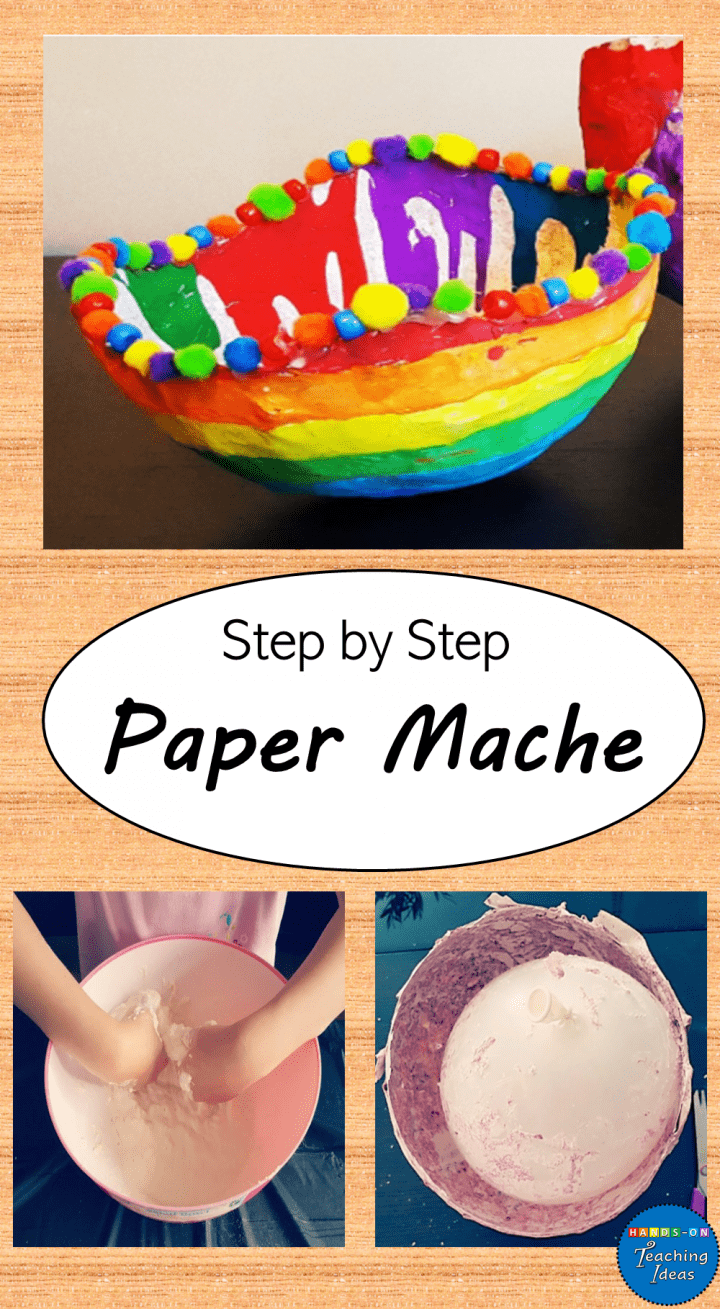
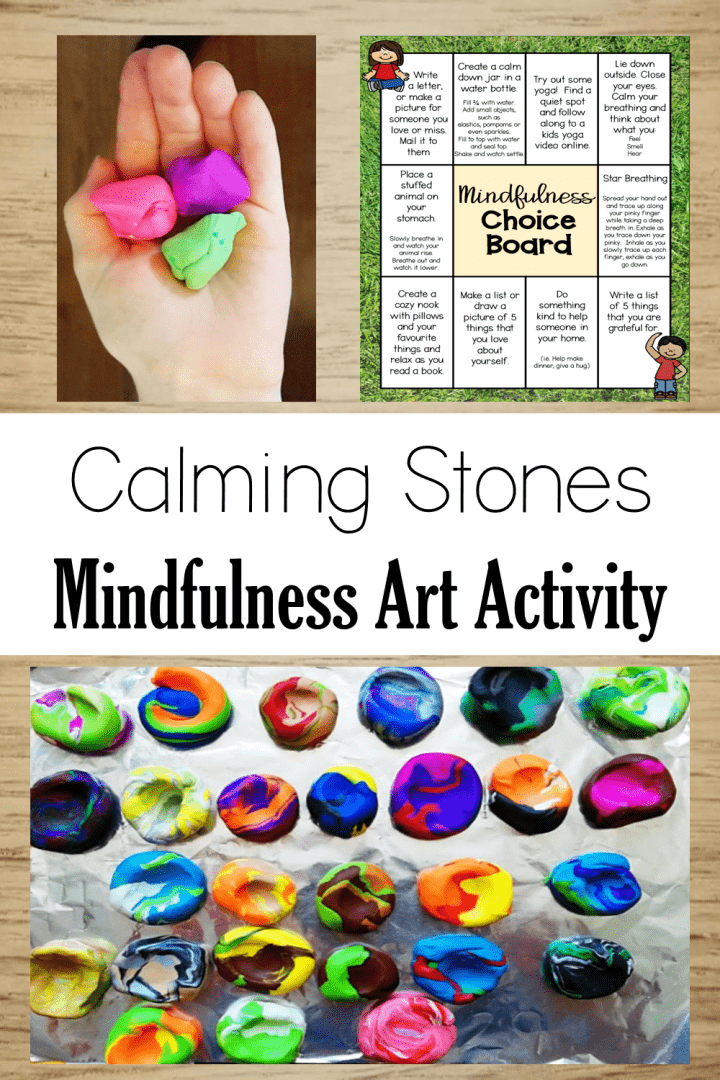
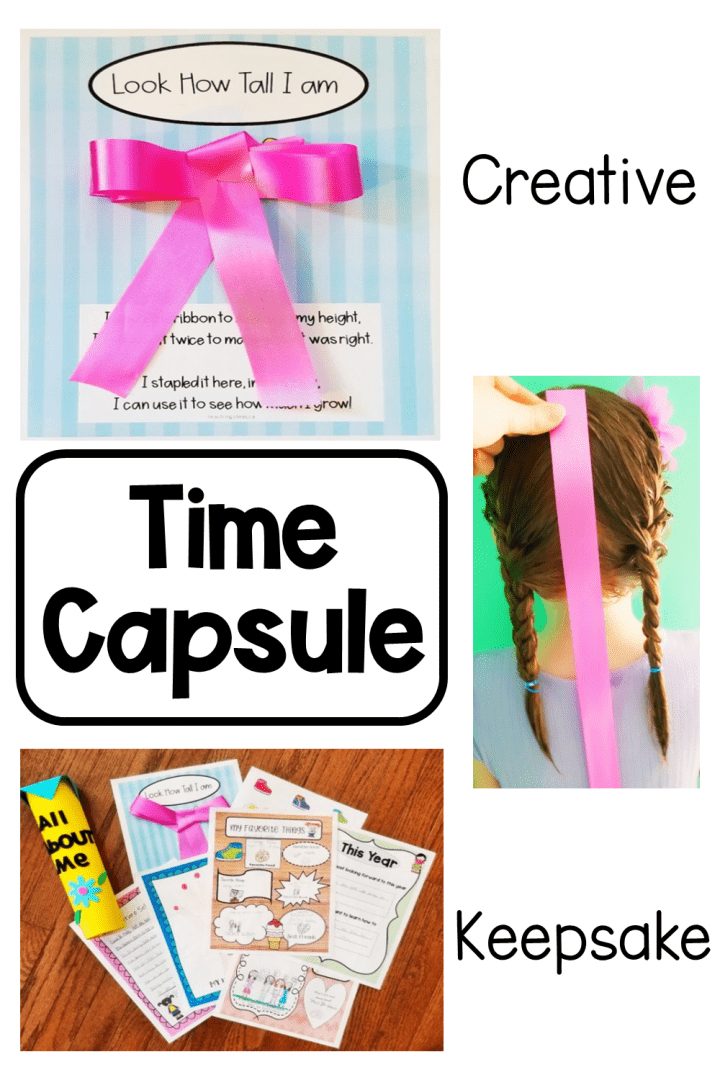
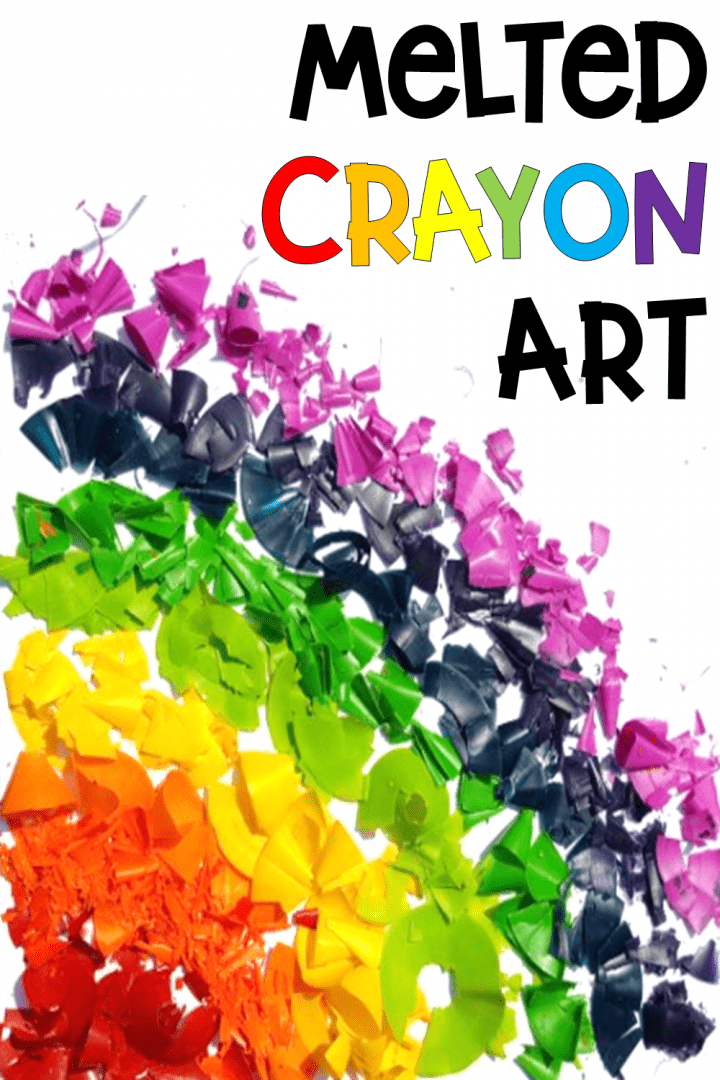
From paper mache art and plaster volcanoes, to mindfulness crafts and melted crayon art, there is lots to keep your kids busy and learning.


Leave a Reply