This post may contain affiliate links.
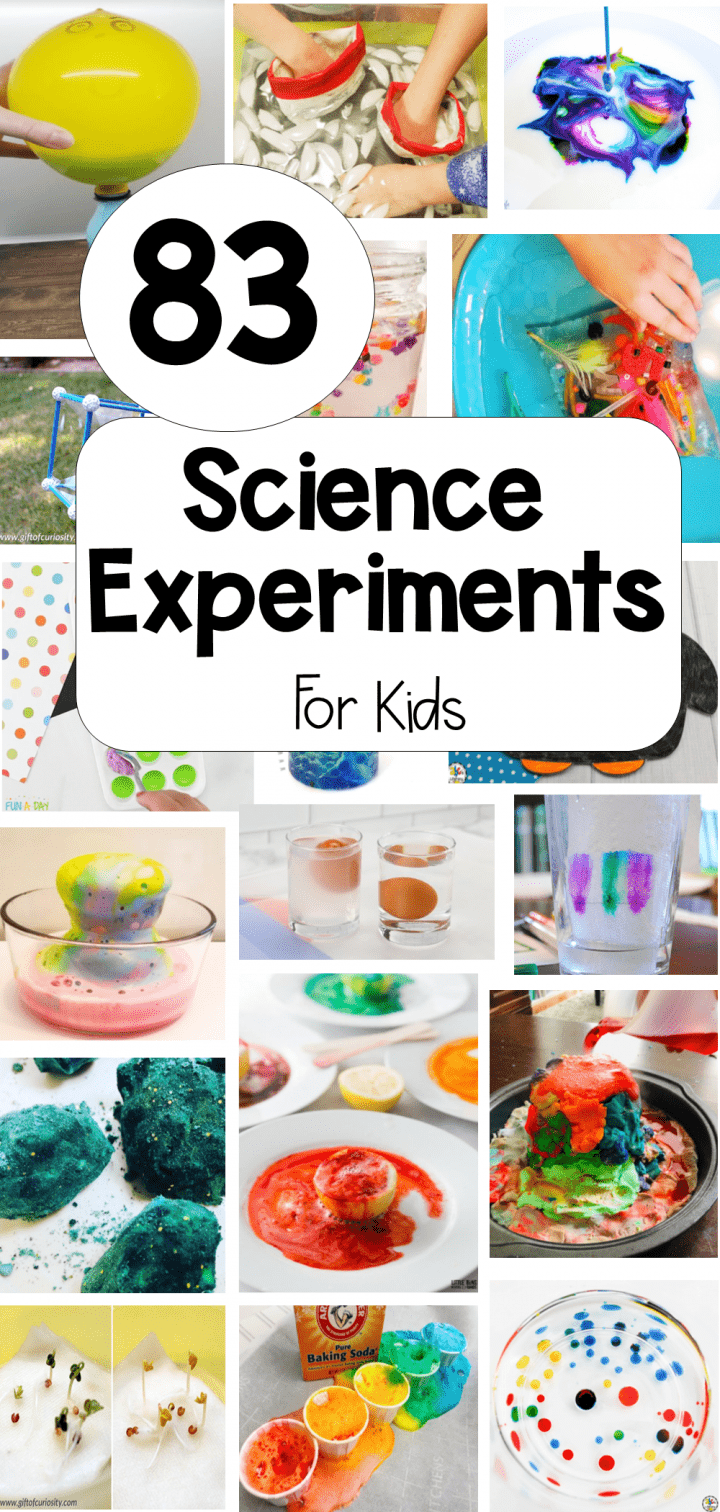
The sun is finally shining and the weather is starting to get hot. I’m excited to spend the summer with my kids and just be outside and see where each day takes us. One thing my kids love doing are science experiments. If you are looking for some new science for kids, the experiments below are a great place to start.
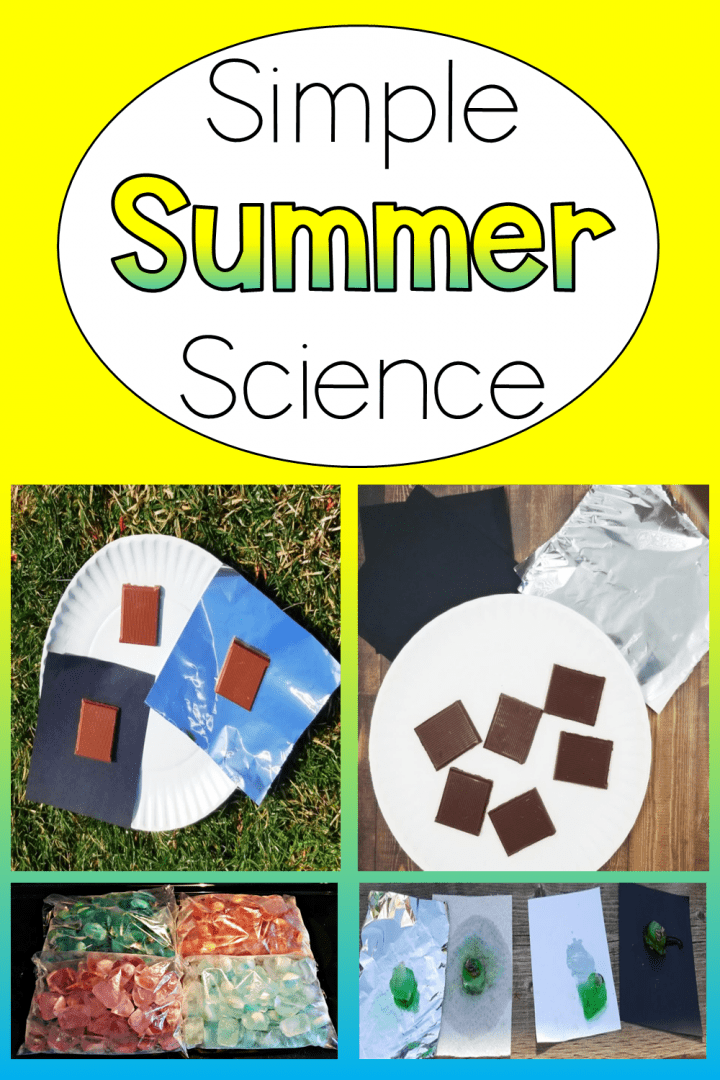
Using the sun to teach kids about science and even sun safety is very simple and requires little to no prep ahead of time. So take your kids, or students outside for these simple summer science experiments.
Kids are fascinated by watching things melt. They often wonder if there are things that cause something to melt faster. Does the color black attract the heat? Would something melt faster if it was on something black? Does being in direct sunlight, versus the shade, make a difference?
I tried two different experiments to test all of these things that my kids were wondering. For the first melting experiment, I used some leftover chocolate we had in the house. It was a great way to get rid it.
If you’re looking for more summer STEM activities, check out a collection of 37 Simple Summer STEM Activities or the popular set of 60 STEM Activities for kids, anytime of year.
Melting Chocolate Materials
This experiment is perfect for a hot day! The materials are easy to gather and the experiment is inexpensive. You will need:
- Paper Plates
- Chocolate Pieces
- Aluminum Foil (Optional)
- Black Paper (Optional)
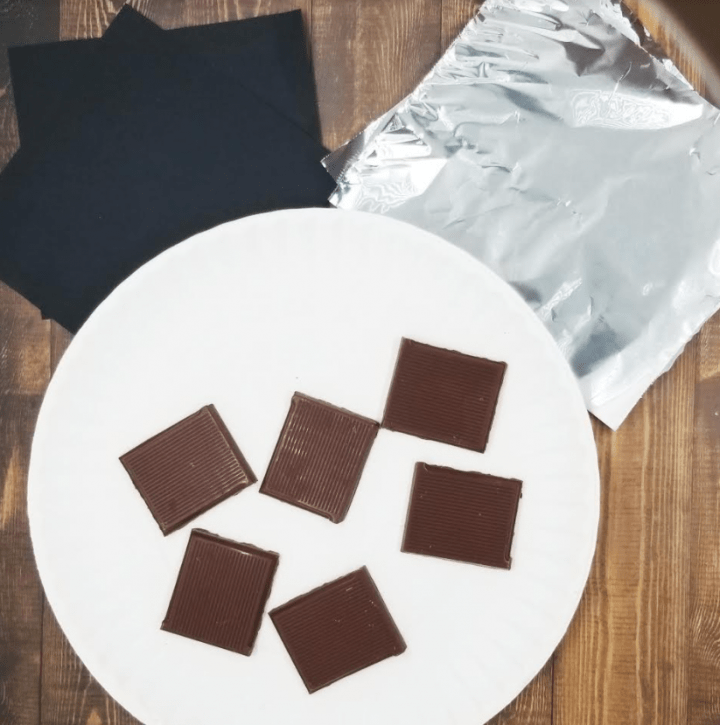
You do not need to use the aluminum foil or the black paper for this experiment. However, it adds another element to the experiment and is easy to include. You can do the experiment without it.
Science for Kids Steps
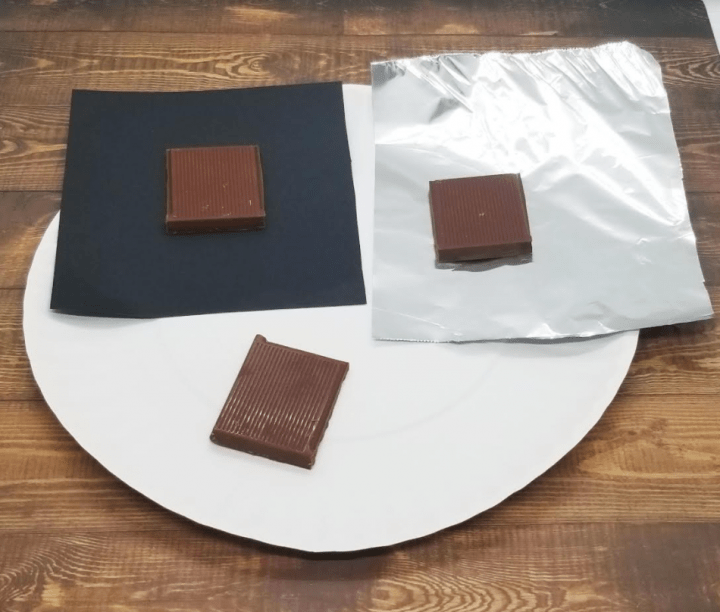
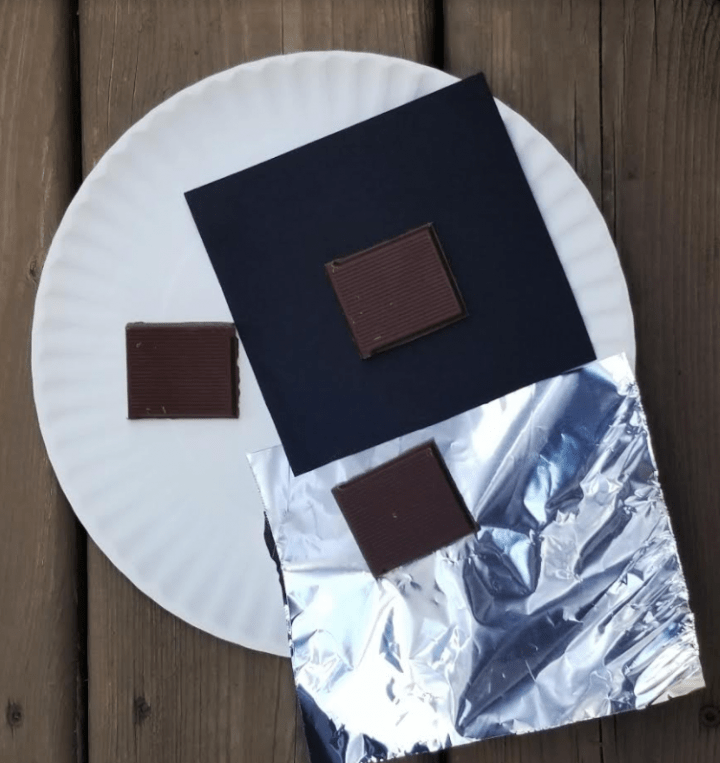
Start by placing a piece of chocolate on the paper plate. If you are using the black paper and the aluminum foil, place a piece of chocolate on each piece and then on the paper plate.
Repeat this so that you have two plates with chocolate on it. Next, place one of the plates in direct sunlight. Place the other plate in the shade.
Encourage children to predict what they think is going to happen with the chocolate. Will the pieces melt? Will they all melt at the same rate? Does it make a difference that some of the chocolate is in direct sunlight?
Depending on how hot the temperature is on the day you do this experiment, keep checking on your chocolate every few minutes. What do you find?
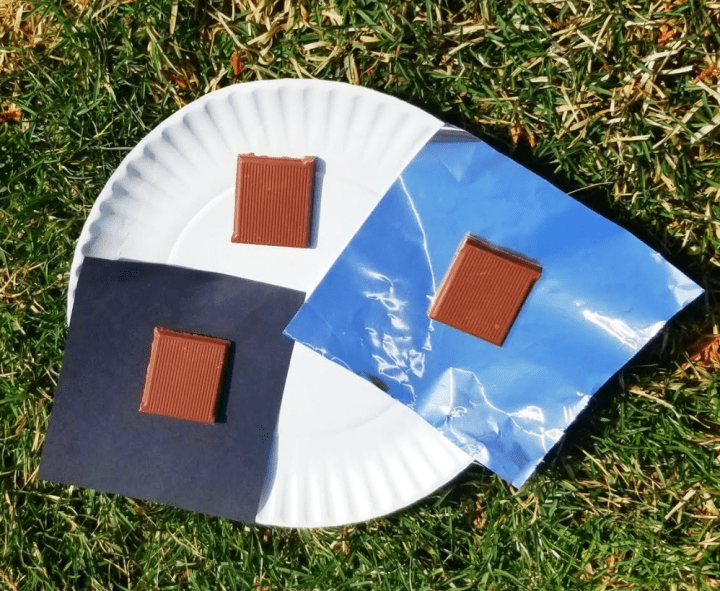
Since I used square chocolates, we didn’t even realize how melted the ones in the sun were until after they had started melting. They largely kept their shape, but completely melted through – especially on the aluminum foil.
The chocolate in the shade, did not change at all. It kept its shape and remained solid. I was interested in trying the experiment again with a large piece of chocolate. We used a chocolate bunny.
Chocolate Bunny Science for Kids Experiment
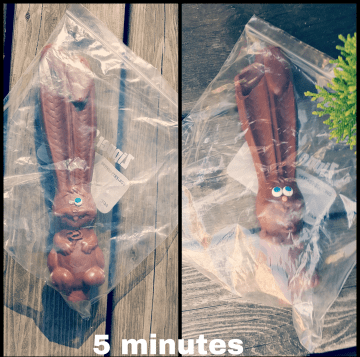
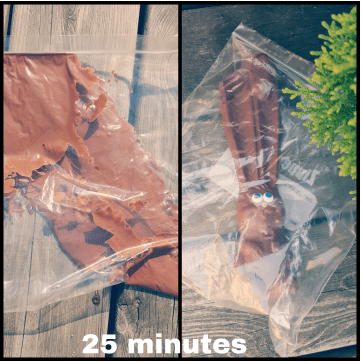
We repeated the experiment with chocolate bunnies which really showed a change as they melted. We started with two chocolate bunnies and put them in clear plastic bags.
The bags are a good idea to contain the mess, and they also give kids the opportunity to touch the chocolate as it melts. I used the bags when I did the experiment at school with a large group of children.
We placed one of the chocolates in direct sunlight and the other in the shade.

Right away my kids noticed that after just 5 minutes that the bunny in the sun was already looking ‘shiny’. We had great discussions about what they observed when we checked on the chocolate and their predictions as to what it would look like in another 10 minutes.
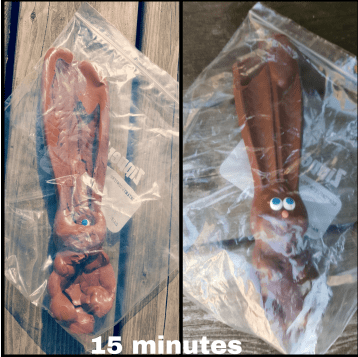
In reality we checked on the bunnies countless times while they were melting, but we made note when 10 minutes had passed.
By 25 minutes our bunny in the sun had completely melted. We talked about changing states of matter (solid to liquid) and even felt the chocolate in the bag. It was hot!!! We had fun constantly checking on our bunnies and watching them melt.
In the end the bunny in the shade ended up taking hours to melt. I was even a bit surprised by how long it took.
This experiment is a great way to show children a little bit about sun safety. Finding shade in the summer when you get hot can help cool you down. Children can see this because of the difference between the melted bunny left in the sun and the bunny from the shade.
Ice Cube Science Experiment
Since my kids loved this experiment so much, we used the same idea and repeated the experiment in a different way.
For this experiment, there is a little bit more prep involved, but it is simple. Instead of using chocolate, you will be using ice cubes.
Simple Summer Science Materials
First, prepare your ice cubes. To each of the ice cubes, I added a small shell. You don’t need to add a shell or any other small treasure, but when I did this with a large group of children, they were so excited to watch their ice cubes melt.
They were keen on getting their hands on the small shell treasure inside. It was a fun way to keep them engaged.
- Ice Cube Trays
- Sparkles
- Food Coloring
- Small Shells (Optional)
- Paper Towel
- Black Paper
- White Paper
- Aluminum Foil
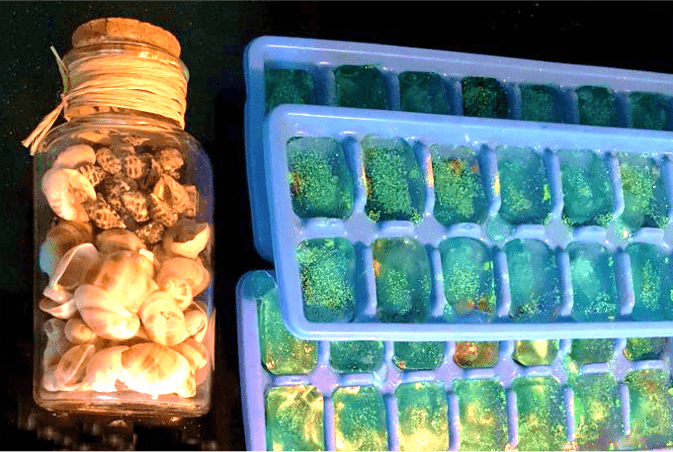
Before freezing, add sparkles, food coloring and a small shell to each ice cube. You can simply use a regular ice cube and the experiment will work.
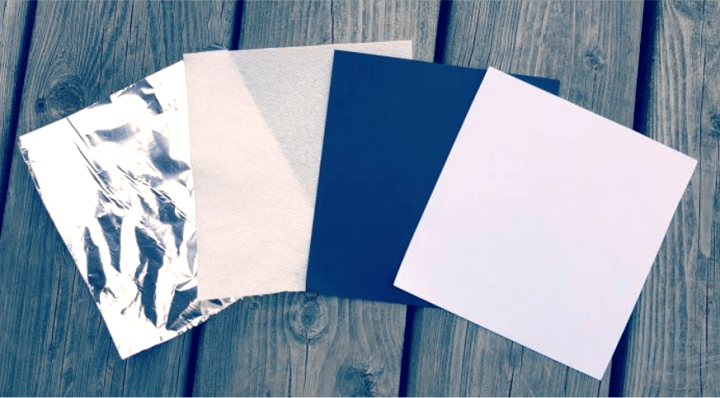
I cut up the black paper, white paper, paper towel and aluminum foil into squares for children to place their ice cubes on.
Melting Ice Cubes Science for Kids
I did the experiment with students at school, but you can easily do it at home. I had children in small groups of 4-5 and had them each choose one material to use for their surface. I used black paper, white paper, paper towel and aluminum foil.
Each group had one piece of each surface and an ice cube to put on each. Before starting, everyone thought of a guess for what they thought was going to happen and shared it with their group members.
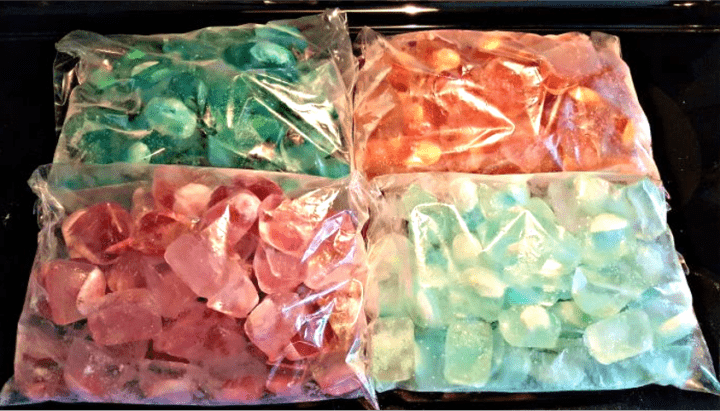
Children then set an ice cube onto each sheet. Within their groups they watched, as the ice slowly melted reveling the treasure.
Everyone was excited to find that the ice cubes melted at different rates and they were even more excited when the ice cubes slowly revealed their shell.
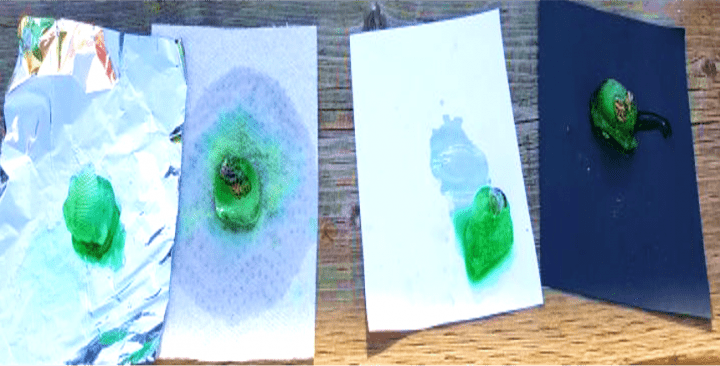
I was really impressed by how long children remained engaged in this activity. For us, the ice cube on the paper towel melted the fastest.
Some kids wanted to try to keep their ice from melting. They created little packages to completely cover the ice cube. It was a great extension of learning.
I will definitely try this science for kids again, maybe with a different special treasure inside!
Join Hands-On Teaching Ideas
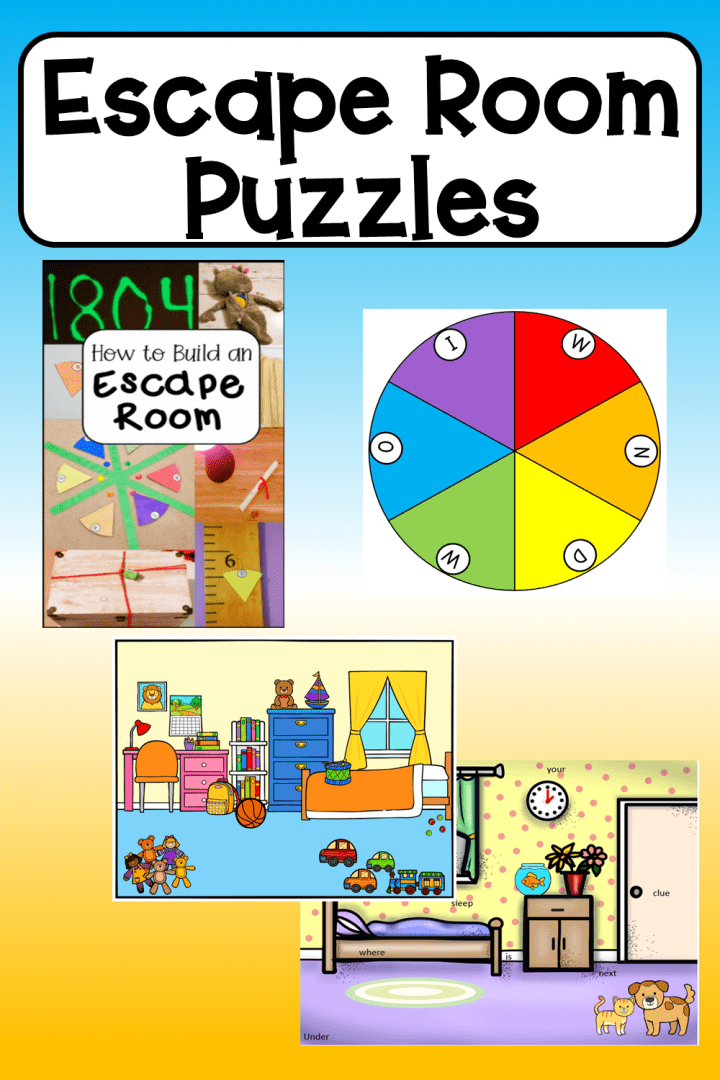
Join Hands-On Teaching Ideas to gain access to my Free Resource Library filled with lots of printable learning resources, from a choice board full of STEAM activities including lots of science for kids to escape room games, you can download anything that interests you for your classroom or home.

More Summer Learning
Continue learning during the summer and avoid the summer slide. One math and one literacy based activity each day for 10 minutes a day keeps kids learning and prepares them for the next school year. Ideal for children in kindergarten going into grade 1.
More Hands-On Teaching Ideas
If you are looking for more activities and ideas to do in the classroom, or at home with kids, below are some of my favourite and most popular learning activities.
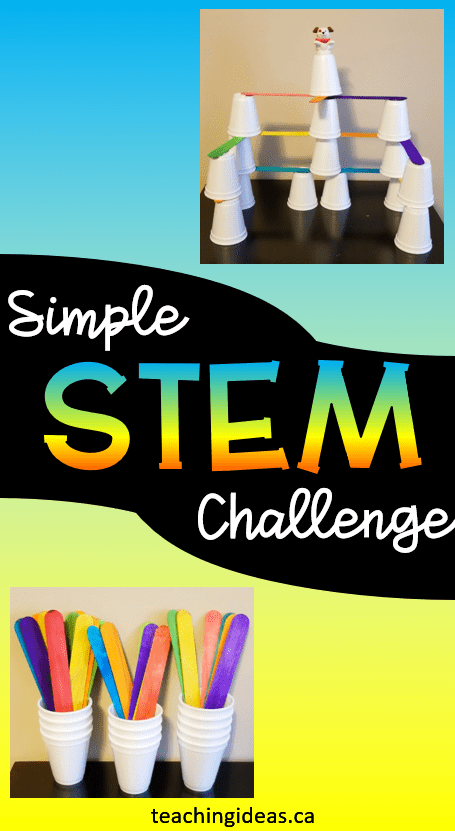
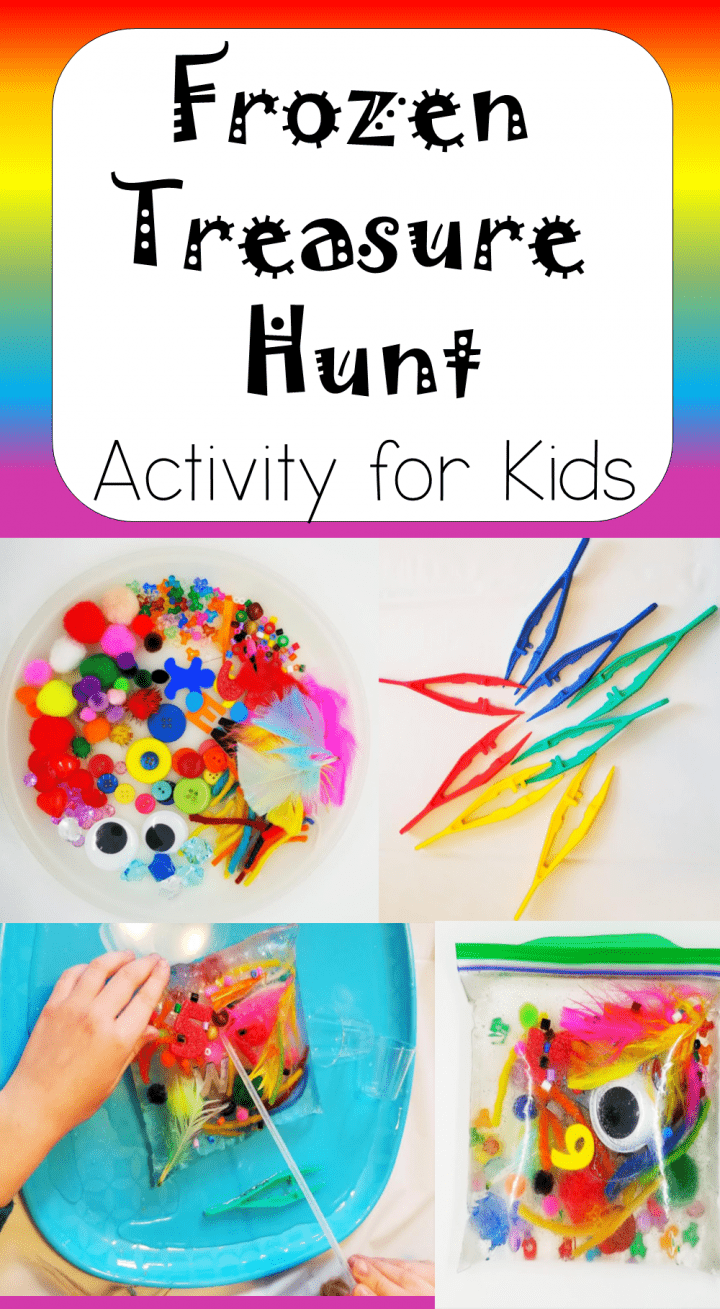
From a collection of more science for kids, and DIY sensory fidget toys to STEM challenges and escape rooms, there are lots of things to keep kids busy and learning. Click image for activity description.