I remember playing with felt boards at school when I was a child. There was something exciting about sticking felt characters onto the board and moving them around. As a teacher, I wanted my students to have this experience so I created a DIY felt board for them to use.
I am beginning to get some lessons and activities ready for my students and I am so excited about this DIY felt board that I made with my own kids at home today. They have been playing with it ever since so it may not make it to my classroom right away.
I have a few felt boards that I created. The first board is huge. It allows several children to play with it at once. This board will be used as a centre for math, language and lots of other activities.
Materials
I wanted to keep the board fairly simple to create. The issue that I had was the I needed the board to be fairly light so that it could be moved easily, but still sturdy.
The other challenge was since it was going to be children using it, I did not want any staples or nails in the board. The materials you will need to create a DIY felt board, like mine, are:
- Large Wood Board
- Fabric Glue
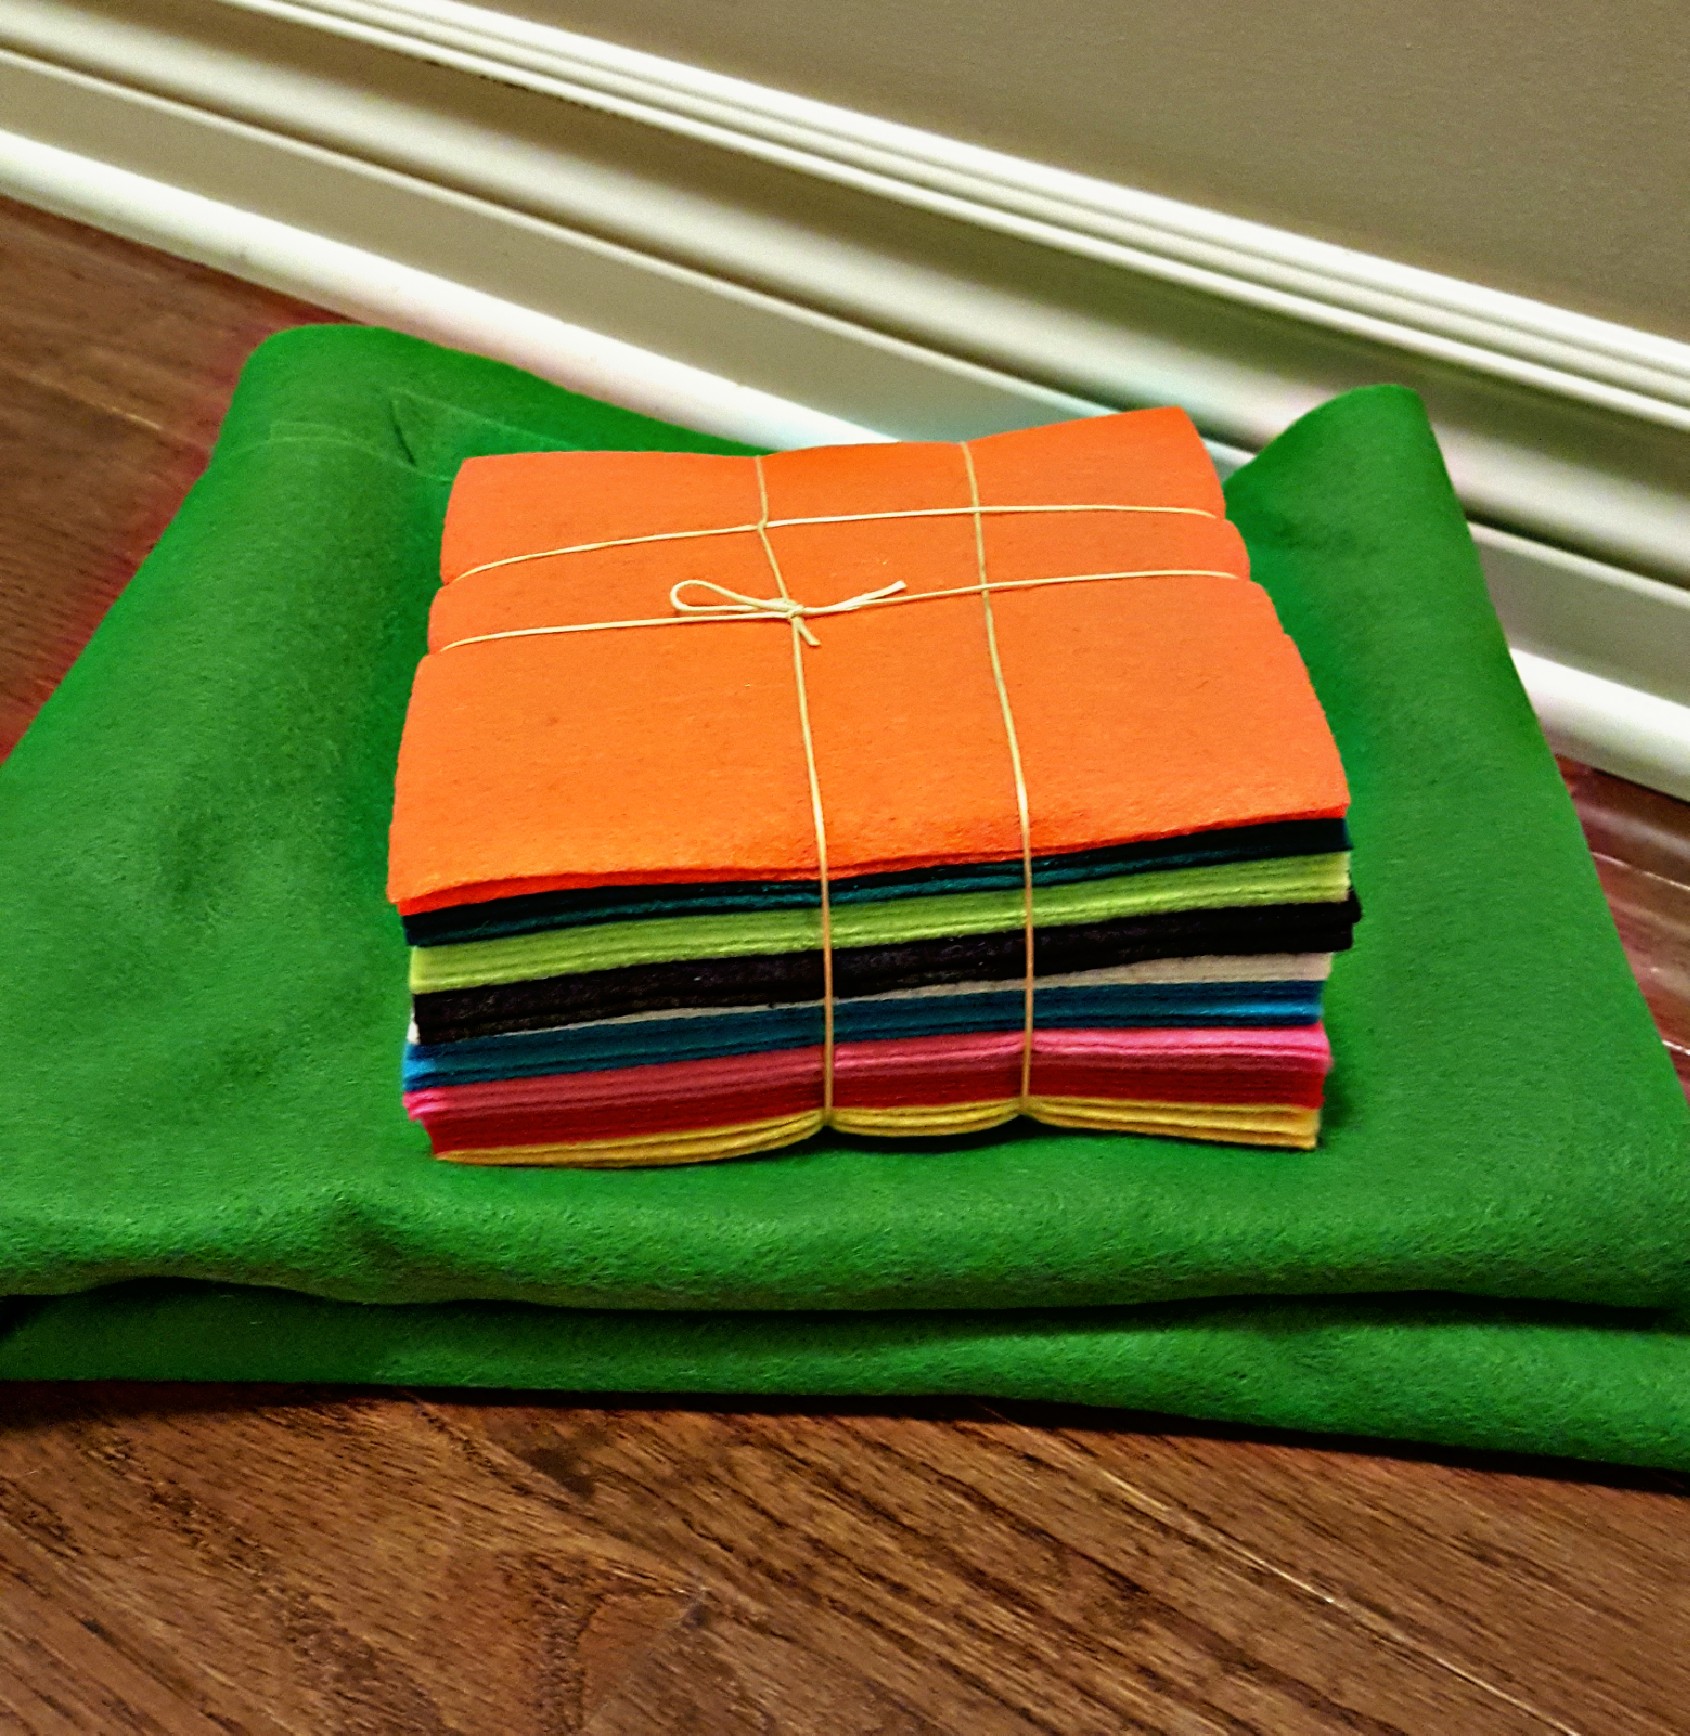
- Felt (Green and Blue)
- Blue Paint (Optional)
Select the size of wood you want your board to be as well as the colour of felt you want for your background. I chose blue to represent the sky.
Constructing Your DIY Felt Board
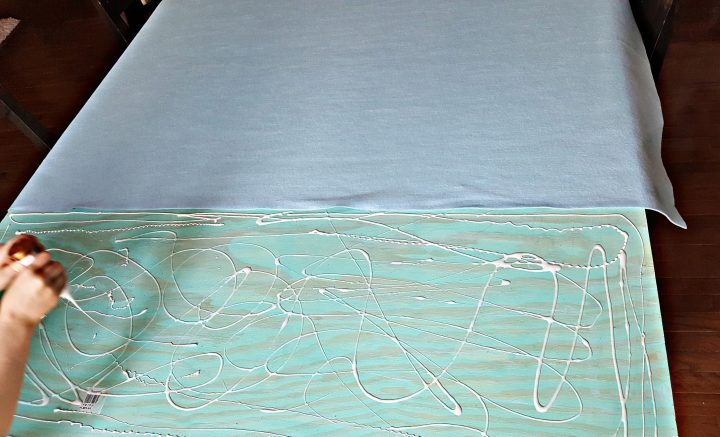
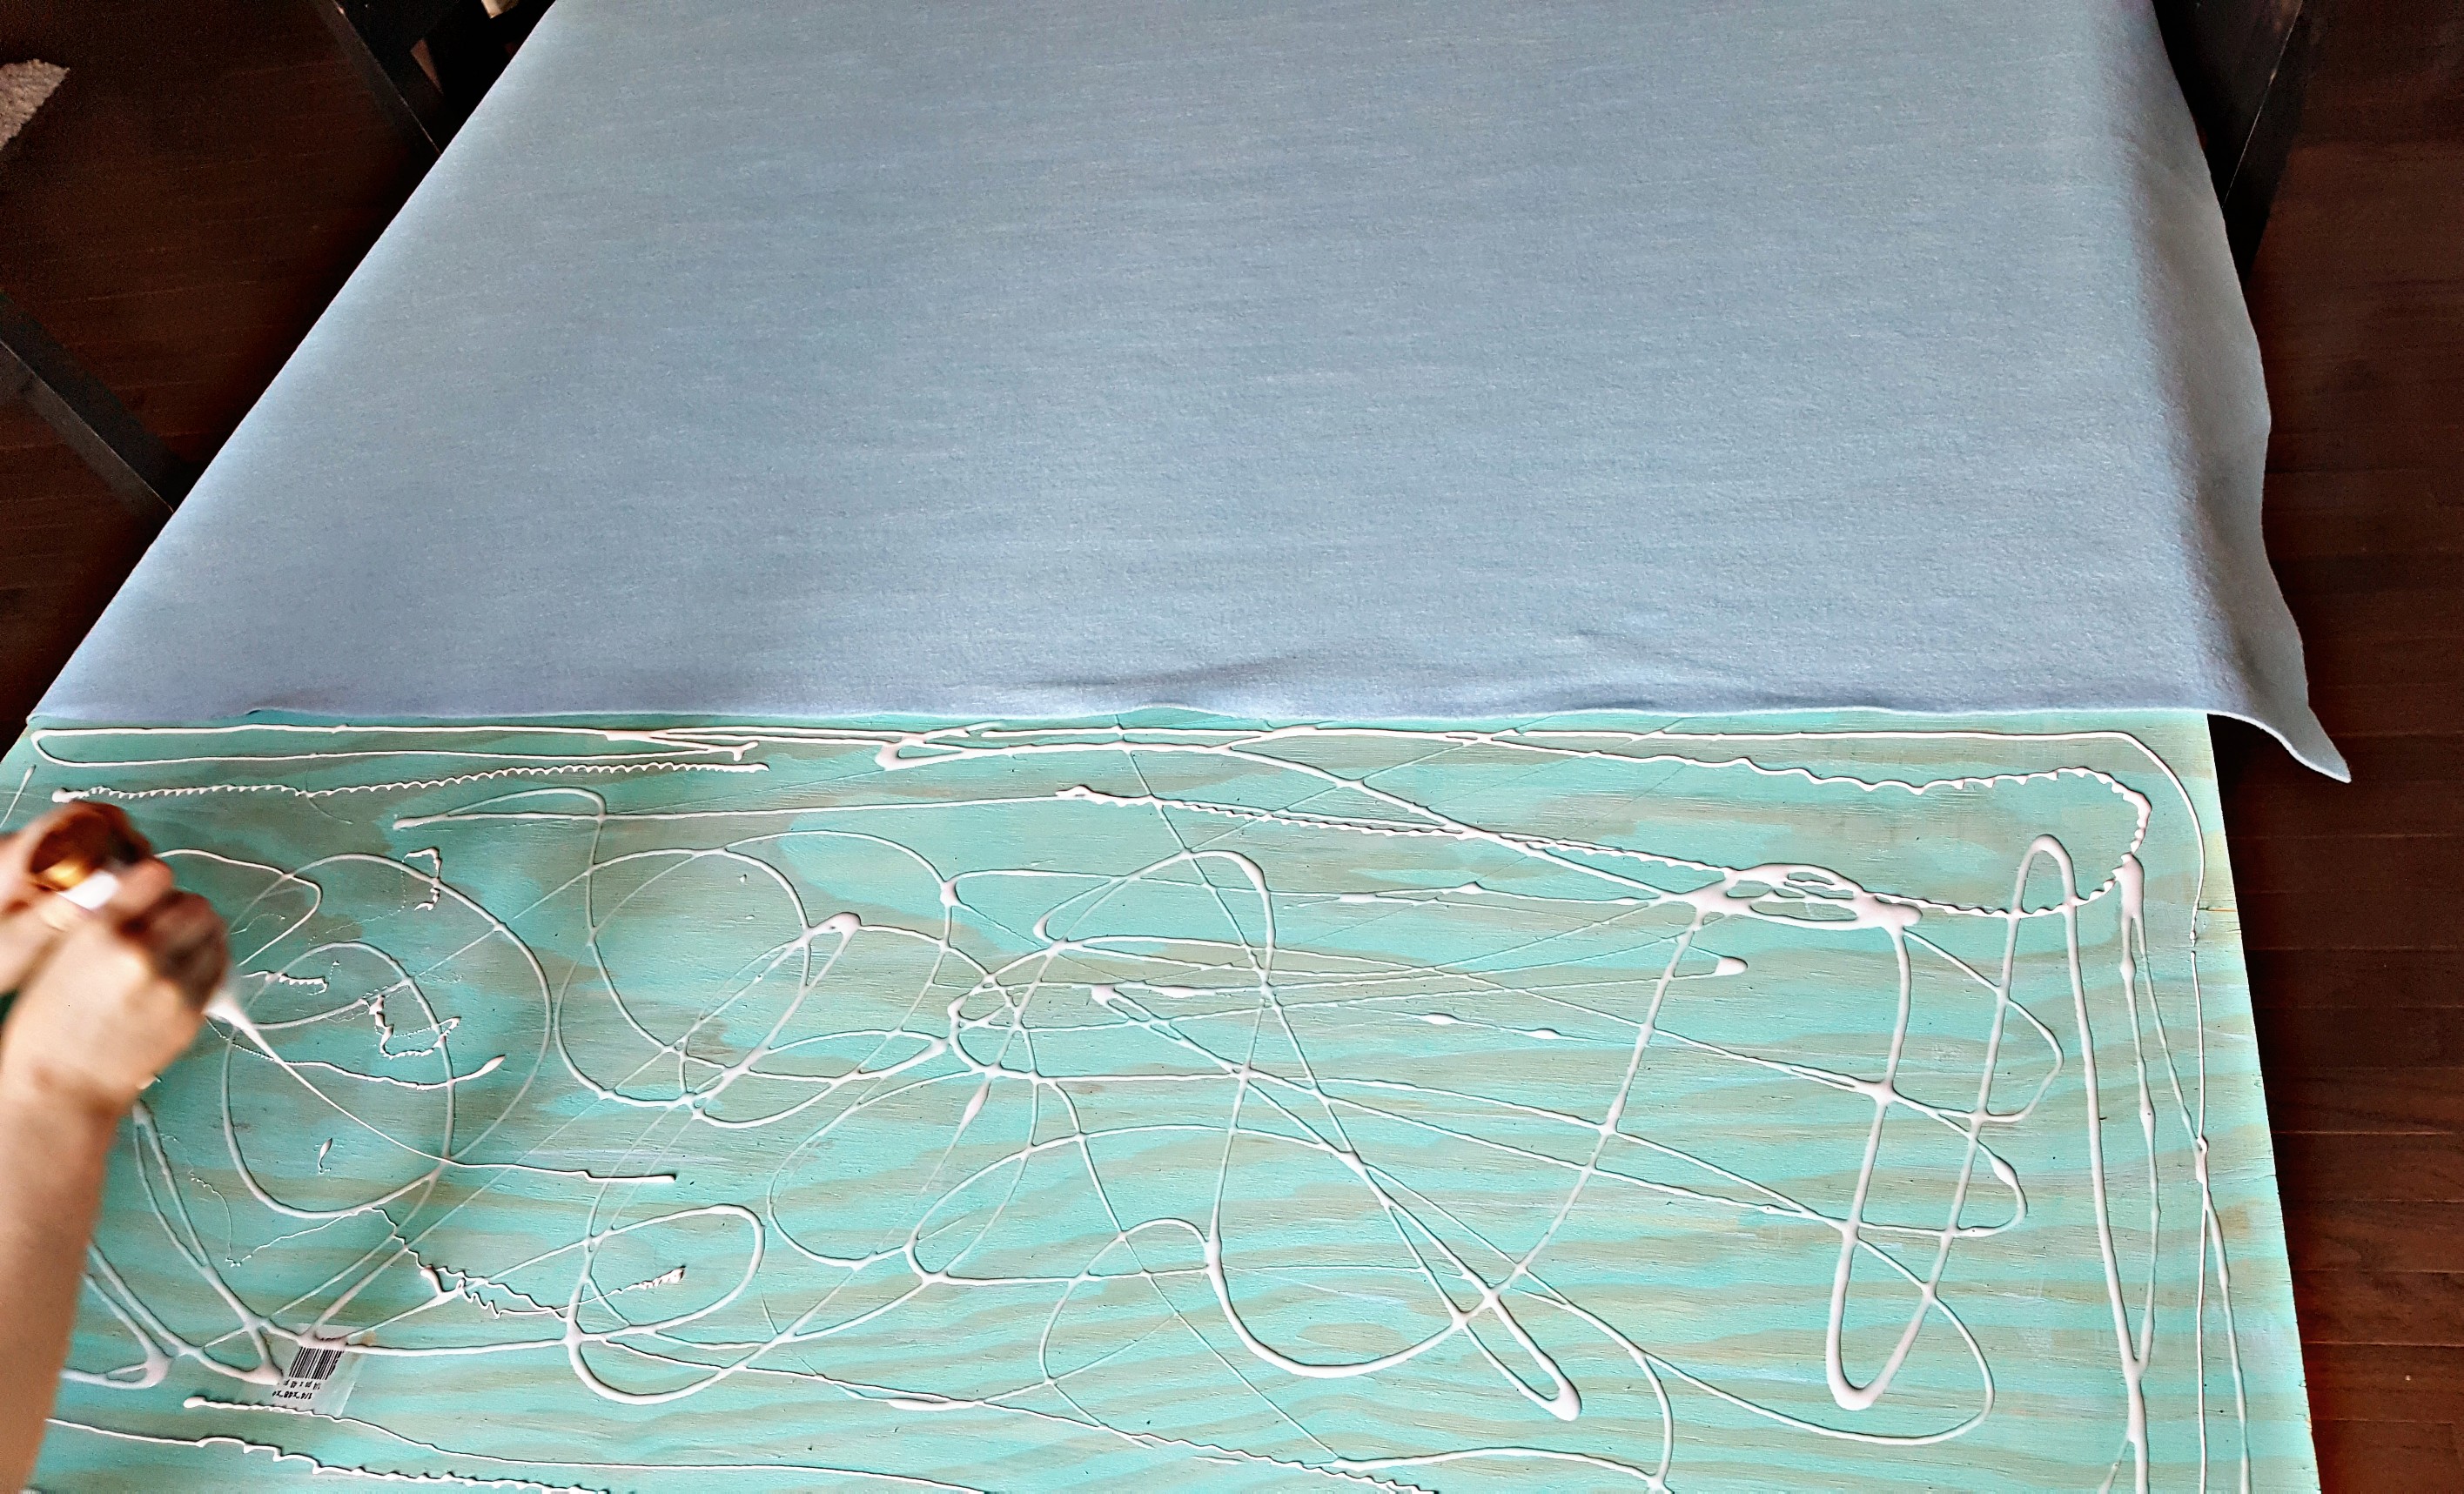
Next, I painted one side of my board blue. You don’t have to paint your board. The wood I used had a lot of imperfections that were dark and showed through the felt, so I painted a layer of blue.
The other good thing about painting a layer of paint is that if the fabric wears down over time, the blue in the background will still show through.
Next, add some tacky glue and carefully lay the felt onto the glue/wood. Since my wooden board was so big, I had to use two separate pieces of felt to cover the board.
Once the board is covered in the blue felt, I then flipped it and pulled it so that there were no creases on the front. I then used hot glue and secured the felt at the back.
If your wood is thick enough, you can staple the felt onto the back. The hot glue secured the felt well, but I added a strip of tape around the outside just to keep everything secure.
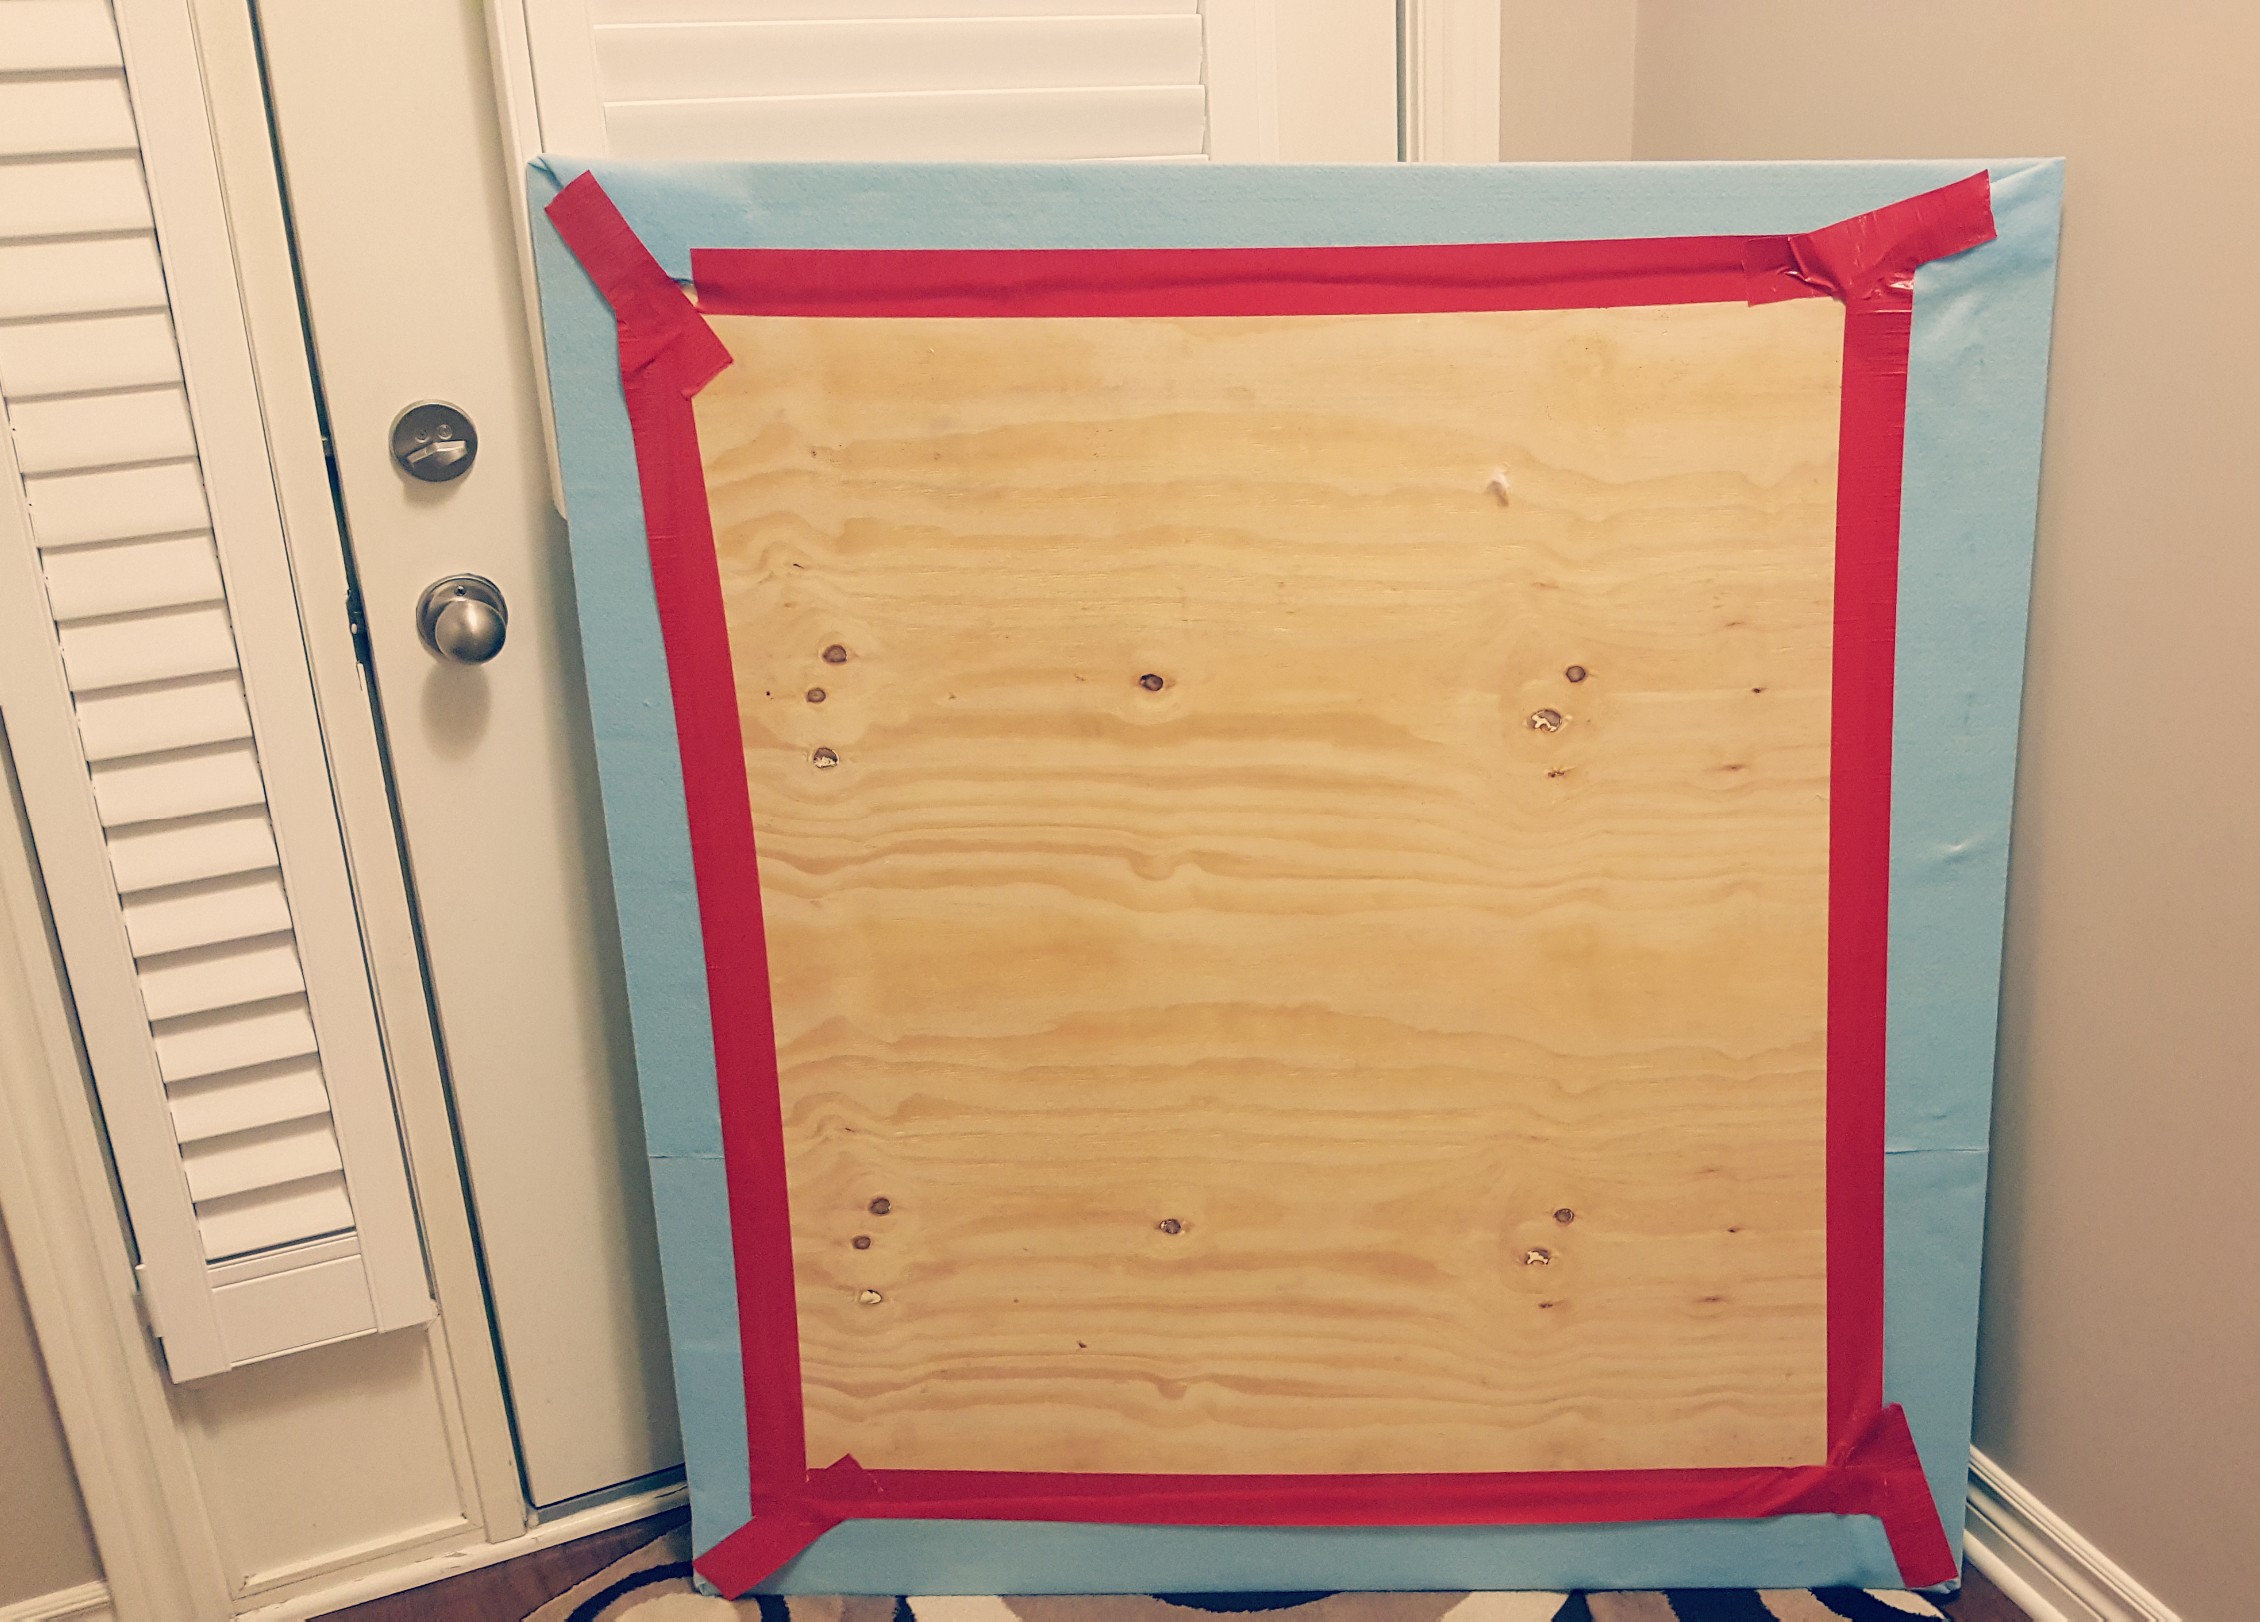
Let the glue on the front and back dry overnight and your DIY felt board is ready to go!
DIY Felt Board Details
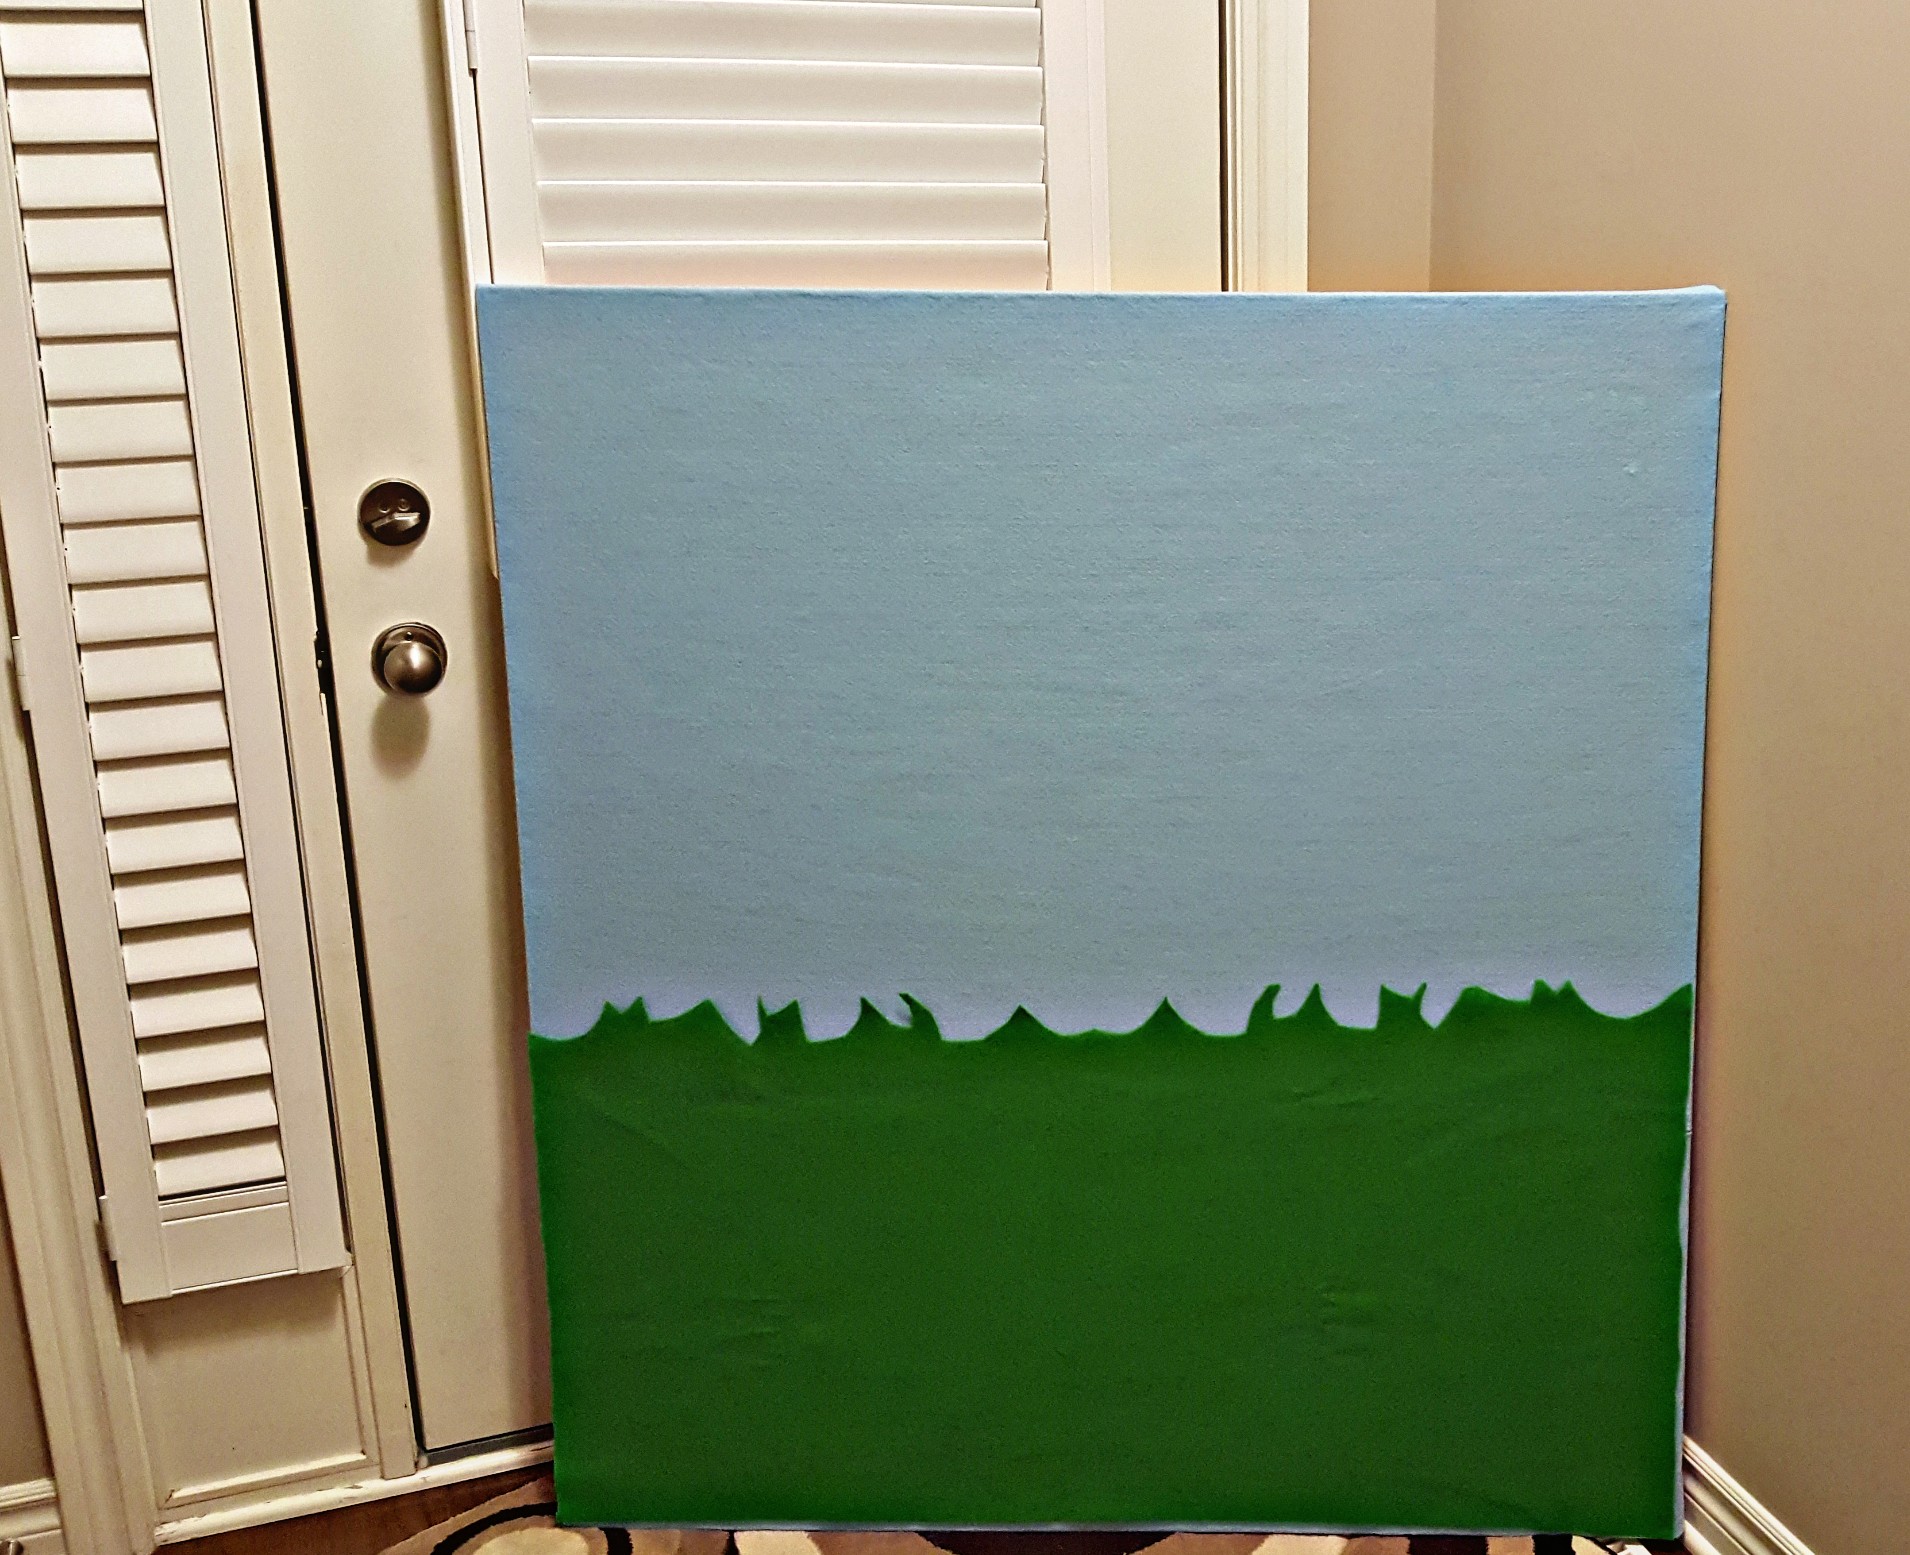
You can leave your board one solid colour and let children create and play. I decided to add a little bit of colour with a green strip of felt that can be added along the bottom. The green strip is intended to look like a grass.
Over time, I will add more pieces of homemade images (clouds, sun, ponds), but am very happy with what we have to start!
I then set out all of my sets of felt characters and pieces. My kids played and created for hours. I love how big the board is.
It allows several kids to play at once as well as many stories to unfold at the same time.
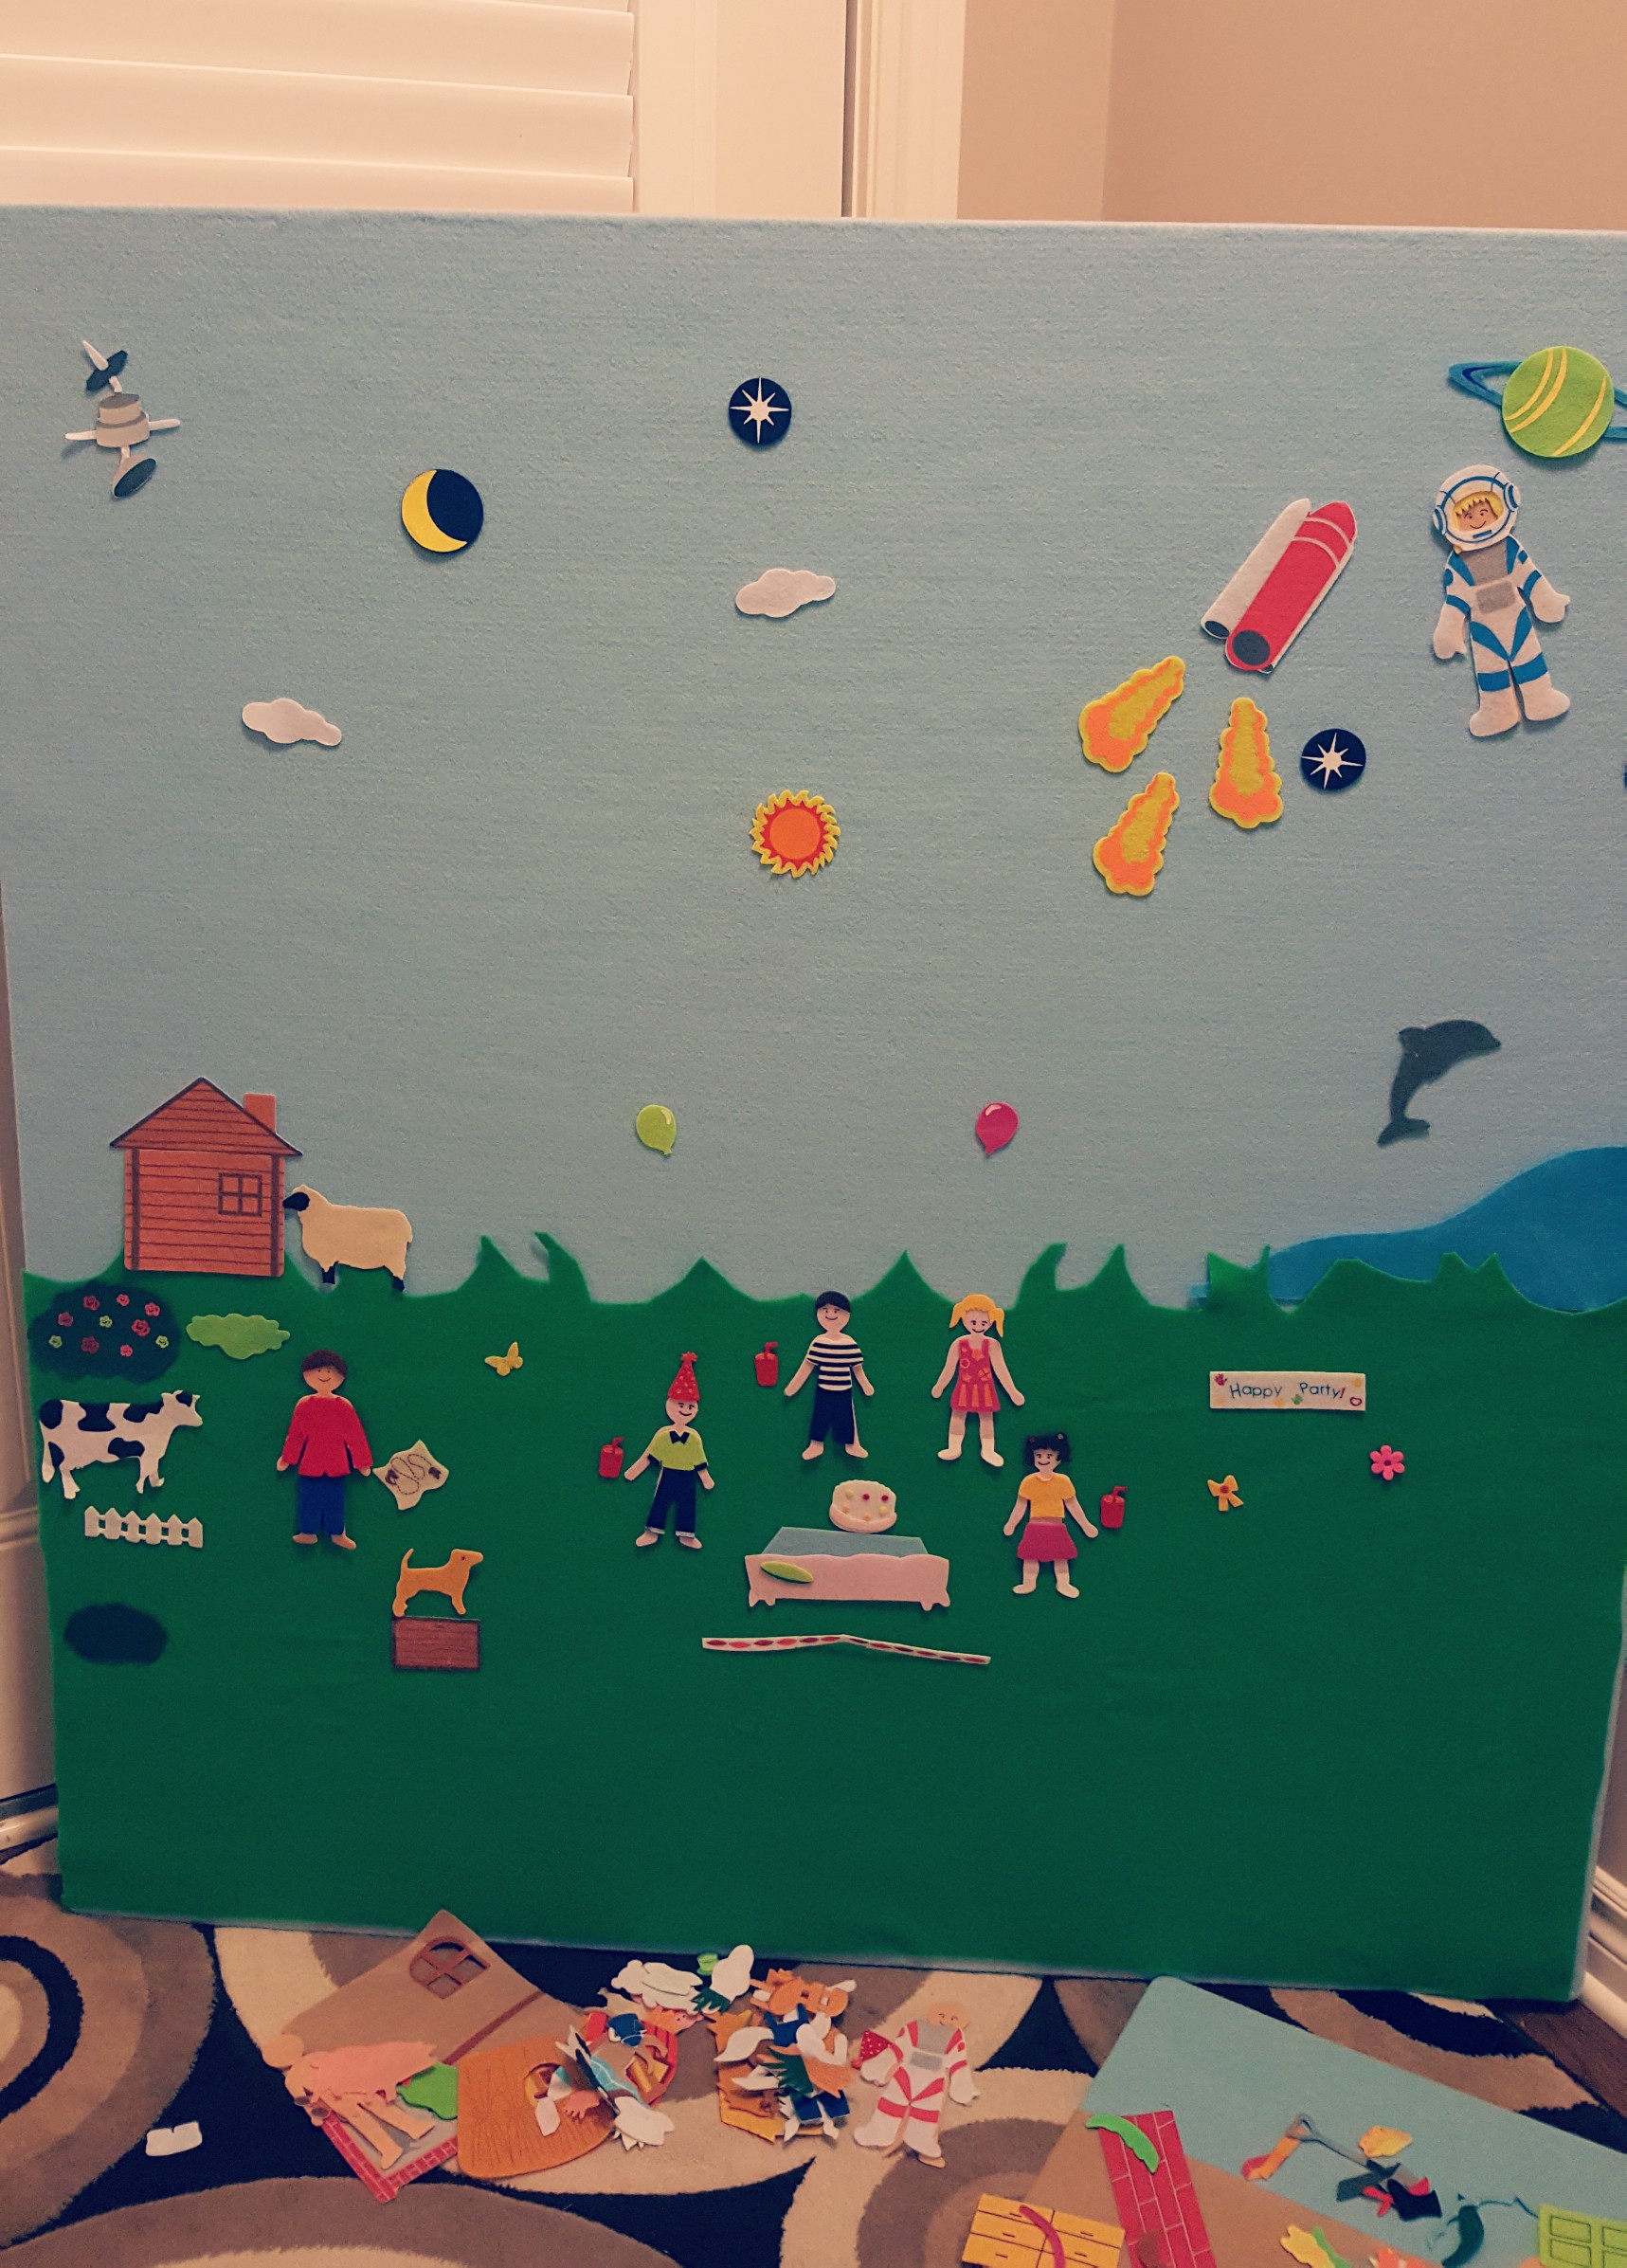
I have so many ideas of what I want to do with this new DIY felt board. I’m excited to see what my kids come up with and what pieces they will create on their own.
I am also looking forward to using the board to present some story plays in the classroom in a whole new way!
Felt Boards for Teaching
If you are looking to create a smaller DIY felt board, you can always use a smaller piece of wood for your backing.
If you are looking to quickly create a DIY felt board, another option that I have used is using old picture frames and creating a felt board from them.
Simply take the glass out of the frame and press your desired colour of fabric into the frame and then secure it with the photo frame backing. Do not put the glass back into the frame.
Make sure that the felt is stretched tight so that there are no wrinkles.
If your picture frame does not have a strong, full back, you can always use a piece of cardboard to help secure the back.
The nice thing about this DIY felt board is that you can frequently change out the colour of the felt. For example, you can use an assortment of colours for fall and then switch them out for whites and blues for winter.
These felt boards are also quick and easy and don’t require you to wait for glue to dry. The are also small for little hands and if you have enough old picture frames then you could have a small felt board for each child.

Extension Ideas
I love these DIY felt boards to use with young children. However, even older children love having the opportunity to use and create with them.
If you are looking to use a felt board with an older child, a great option is to have the children cut and create their own felt pieces to use on the board.
Giving them them added challenge of creating and designing their own pieces will increase their engagement in the activity.
You can even offer puffy paint, string, and even beads to really add details to their felt creations.
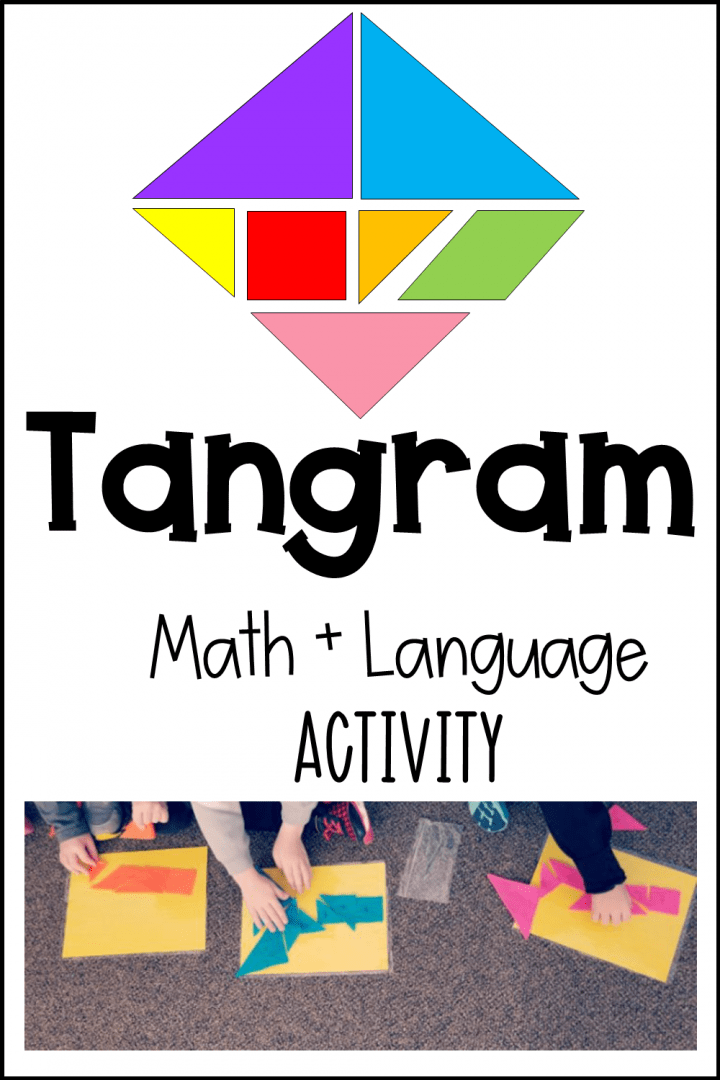
There are so many activities that you can use a felt board for. You can use it for math by giving children a variety of 2d shapes to create pictures with.
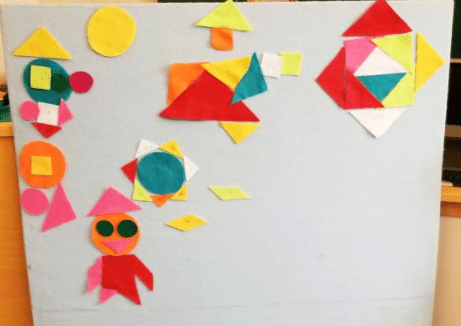
You can make, or buy, characters and props out of felt from a popular story. Children can use the characters and props to retell the story and create their own story as well.
More Hands-On Teaching Ideas
There are lots of educational activities to do with kids. Below is a collection of some of my favourite, and most popular engaging activities for kids at home or school.