This post may contain affiliate links.
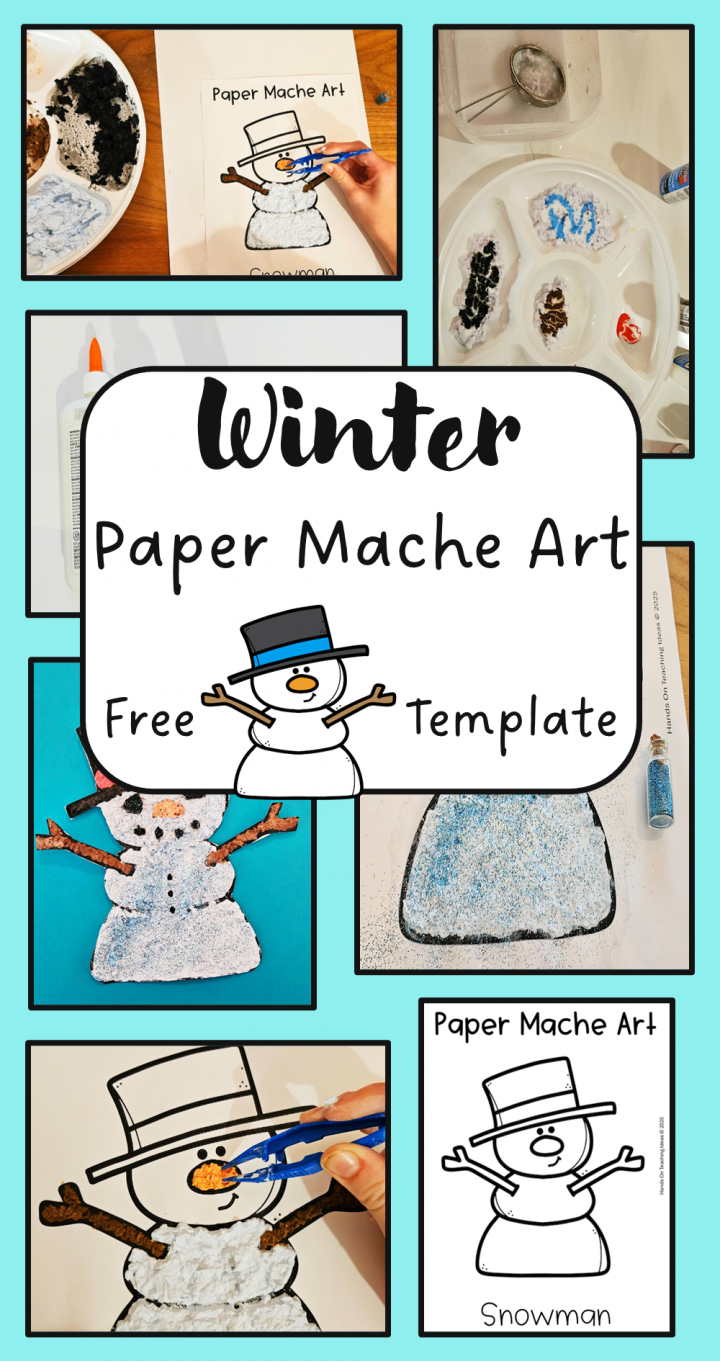
When it’s cold and snowy outside, spend an afternoon inside and create something adorable with this easy winter paper mache idea for kids. This project uses simple materials from around the house and it a great sensory experience as well for kids.
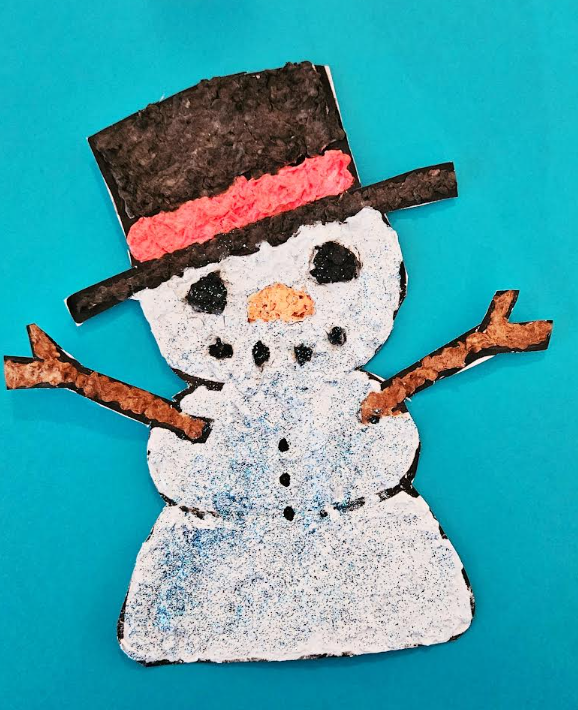
Grab some paper from the recycling bin, or leftover from another project, some glue and some paint and you’re ready for this unique paper mache project. When the paper mache dries, you’ll have an adorable and textured snowman.
Paper mache is a great material to use because it’s inexpensive and it create a strong and hard project that you’ll want to hang onto for years. Use the free snowman template to make creating easier for little hands.
After creating the winter snowman, check out four other designs to use to create more Christmas paper mache art with kids with this collection of 5 Easy Christmas Paper Mache for Kids. For more paper mache art, check out Simple Paper Mache Ideas for Kids with lots of easy project to try anytime of year.
Easy Winter Paper Mache Idea for Kids
Materials
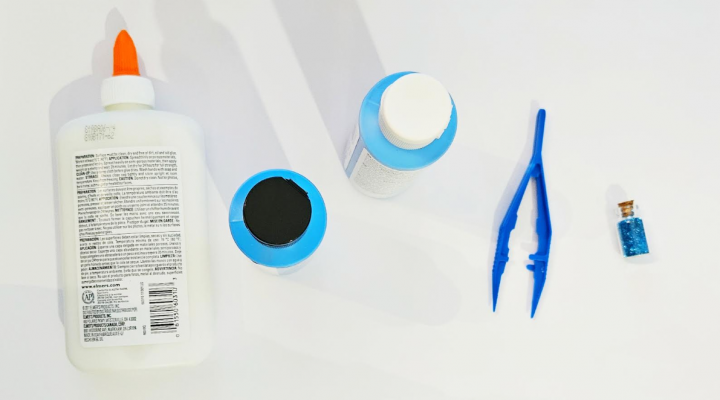
If you have kids at home, or you’re doing this project in the classroom, you may already have many of the materials on hand. For this paper mache idea, you will need:
- Paper (Ideally white)
- Glue
- Water
- A Blender
- Paint
- Strainer
- Sparkles (Optional)
- Tweezers (Optional)
- Free Snowman Image (Download at bottom of post)
How to Make Paper Mache
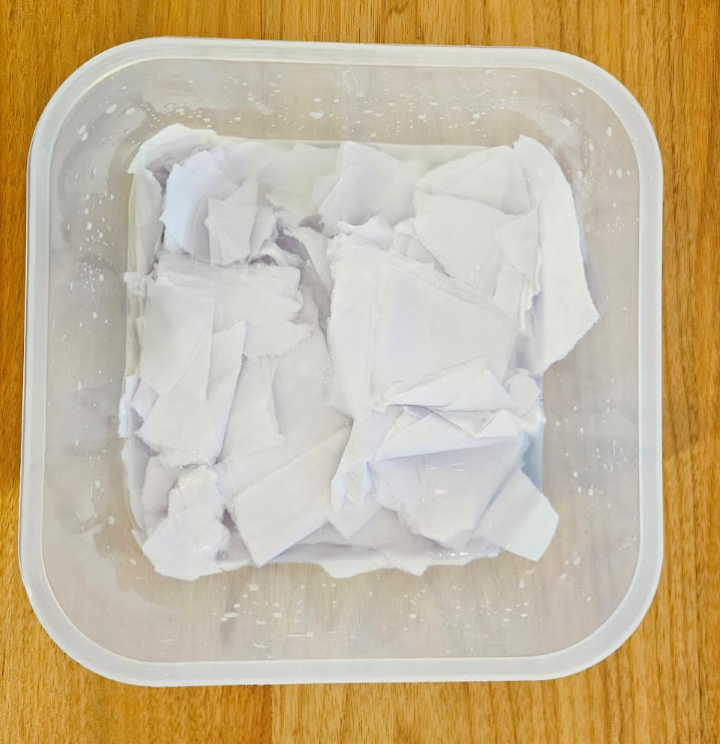
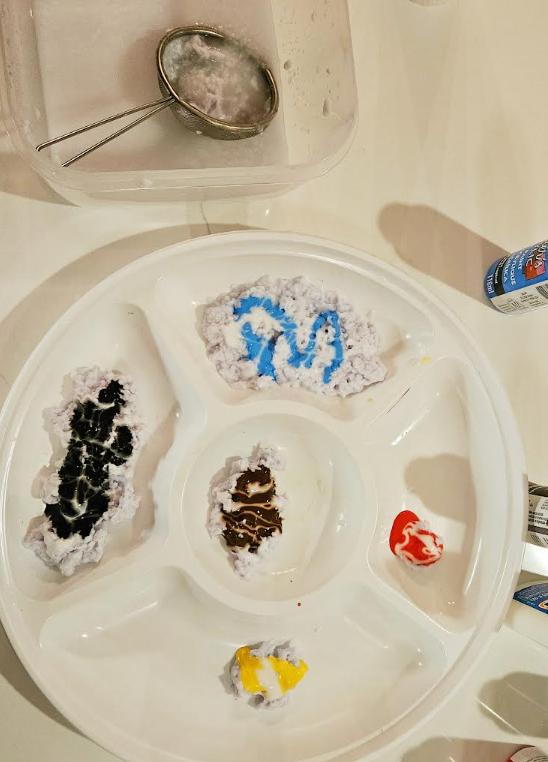
Start by tearing up the paper. Then place it in a container with warm water. Make sure that all of the paper is fully emerged in the water. You can use cool water, but warm water helps to break the paper up faster.
Next, use a blender to break the paper down into a pulp. Add more water as needed if it’s not blending properly. Use a strainer to drain a lot of the water off before starting the craft. Don’t squeeze out all of the water so that the pulp is dry. Make sure that you can still easily stir and mix paint and glue into the paper pulp. It is too wet it will just take longer to dry.
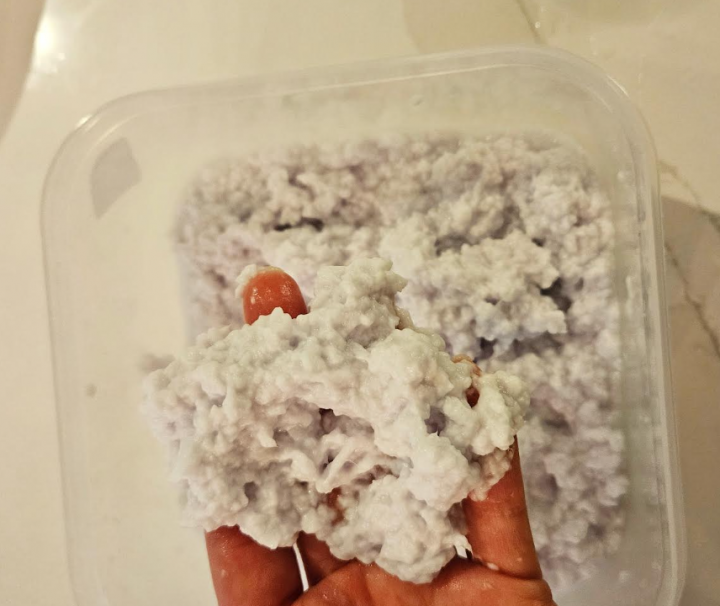
Add a bit of glue to the paper pulp and then add paint. Add as much paint as you want until you get the desired color. Mix thoroughly.
Easy Winter Art Project
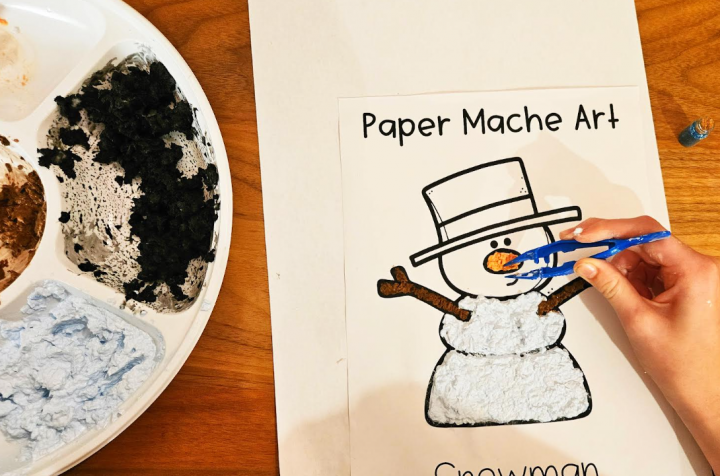
Once you have paper pulp of each color that you want to fill in your snowman with, you’re ready to create. You can create anything you want if you want to get creative. I love using the snowman with children because it keeps them focused. However, you can make your own snowman different from the template.
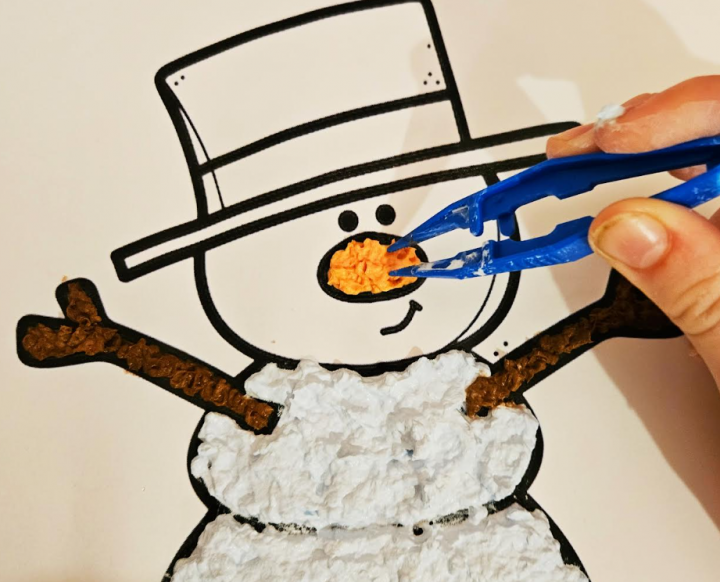
The tweezers are great to use for small spaces on the printable and can help the craft from getting too messy. However, children can also use their hands.
Some parts of the snowman are thin and more challenging to fill with the paper pulp. The tweezers can help fill these parts, but encourage child to also not worry too much about the lines. It’s okay if the pulp goes beyond the lines.
Once you have filled in each of the sections, your snowman is complete.
Paper Mache Extension Idea
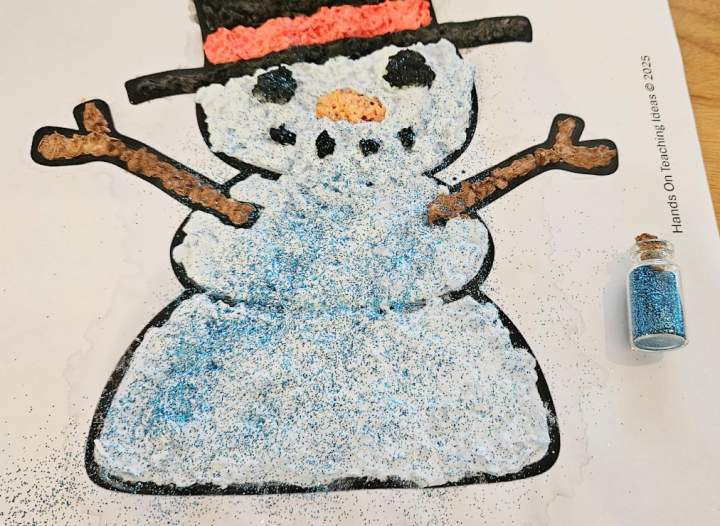
A fun idea to add to your winter paper mache project is some sparkles. When your snowman is still wet, carefully sprinkle the sparkles across the page. The glue and paper pulp will stick to the sparkles and it will dry with the rest of the project. It adds a fun effect to the snowman.
Depending how much water your paper mache had in the pulp it may need longer to dry. I typically leave it overnight or 24 hours for it to fully dry. Once dry, you can cut out the image and glue it to another background.
Using the paper mache in this way creates an interesting textured piece of art. It is strong and can last for years.
Easy Winter Paper Mache Idea for Kids
Download the Templates Here
Grab the snowman template featured above here. Click the box below and subscribe to Hands-On Teaching Ideas through Grow. Once you subscribe this way you will unlock the other freebies on this site and the template will download immediately. Shortly after subscribing you will also receive an email with the latest products, promotions and activity ideas.