As children grow and develop they use their senses to explore and make sense of their world. They use their sense of smell, taste, touch, hearing and seeing throughout the day. Sensory play involves play that uses, and stimulates these senses. The more senses an activity touches on, the better. Sensory play is not only fun for children, but it also provides a great learning experience.
We had family visiting and my kids each wanted to plan an activity to do with their young nieces and nephews. This sensory play activity turned out wonderfully and everyone enjoyed playing with the bags – even the adults.
Sensory activities for can be really simple to create and the play can last for hours. One of the great things about these sensory play ideas is that young children can use it at home, but it can also be set out in a classroom for children to explore and play with.
These sensory play ideas are simple. Fill a clear, sealable bag with something that can move or squish around in the bag. The more colorful and moveable the better.
Sensory activities are fun and a great learning opportunity for children of all ages, especially little ones. For more great hands-on sensory activities visit Mindfulness Jars and DIY Sensory Bottle activity.
For an extra activity idea for young kids to get their hands on try making play dough for children to play with and feel with “The best no-cook playdough recipe you can make with (or without!) a stand mixer!“
*As with any activity for young children, make sure that children are supervised while doing the activity and choose materials that are safe for the children using them.*
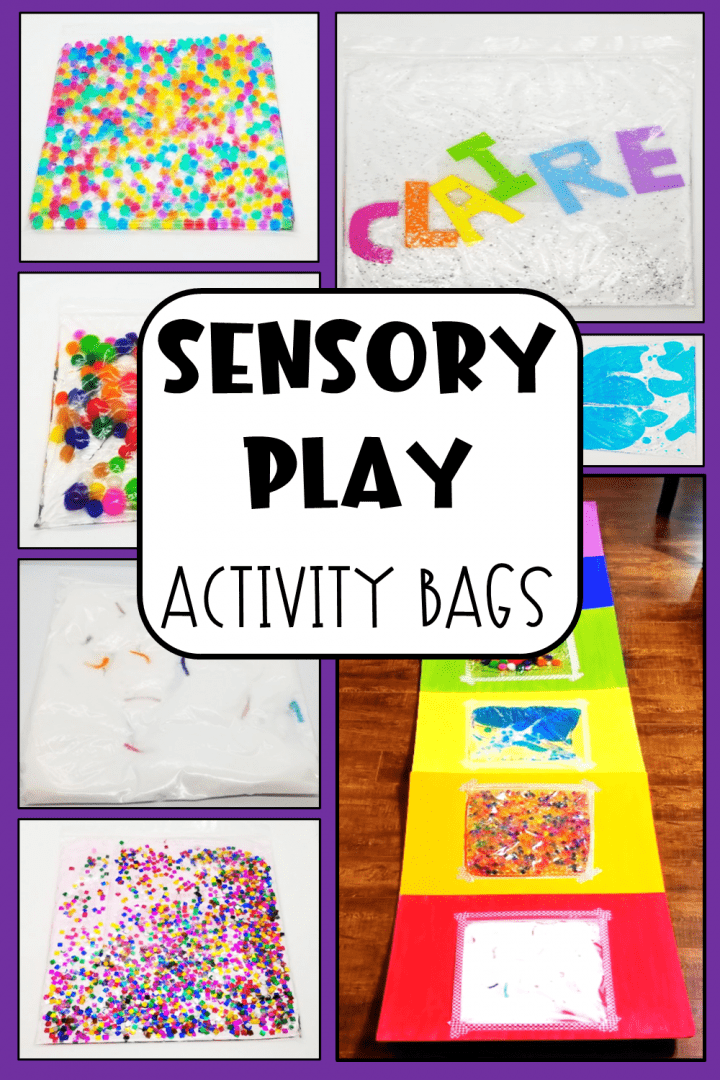
There are lots of benefits to sensory play and activities. For some ideas and things you need to know to get started visit: Benefits of Sensory Play.
Sensory Play Materials
There are several materials that you will need to create these sensory bags. Below are the materials I used; however, I encourage you to use any materials that you have around your house. You can also use materials that your child(ren) have shown an interest in.
- Large Resealable Bags
- Clear Packaging Tape
- Decorative Tape (Optional)
- Shaving Cream
- Yarn
- Sparkles
- Baby Oil
- Paint
- Pompoms
- Water Beads
- Foam Paper
- Presentation Board (Large cardboard sheets – Optional)
- Paint Brushes
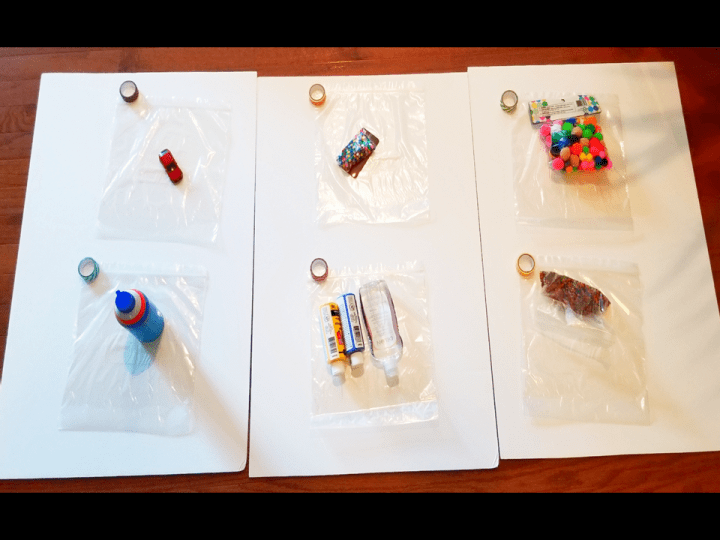
The materials that I used worked fairly well and successfully. The oil and water bag ended up being a little bit messy, but it was a favorite, so I would use it again. However, if you are looking for other ideas, below are some other options to fill your bags with.
Extra Ideas for Bag Fillings
- Hair Gel and Beads
- Sand and a Small Car
- Cooked Pasta, such as spaghetti
- Grass
- Slime
- PlayDough
- Foam Cut Outs and Water
- Flowers and Gel
- Peas and Water
Steps to Create Your Sensory Play Boards
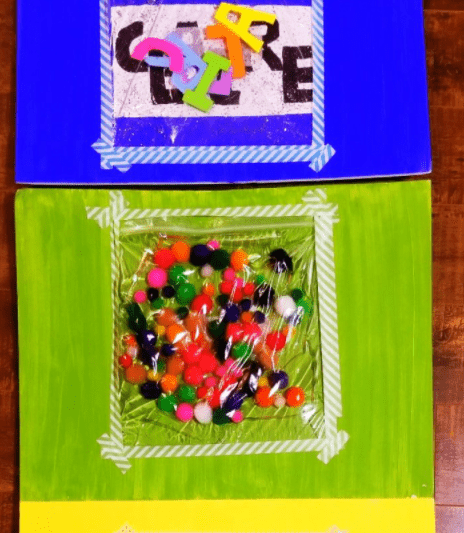
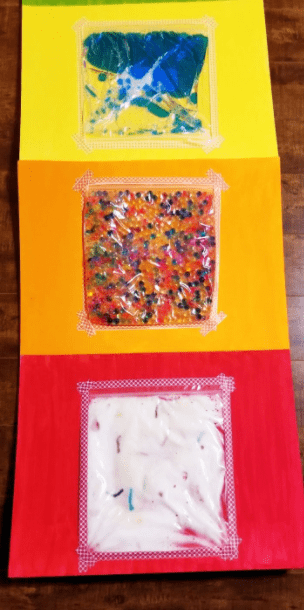
We used large presentation boards to attach our sensory bags to for two reasons. One, I like having the bags secure and organized. Secondly, I also wanted the bags to be flat so that the kids could easily walk on them by creating a path. You don’t have to attach your bags to presentation board, but it can help simply keeping the bags from ending up around the room.
We placed two bags onto each presentation board. Measure how many bags will fit on your board to start.
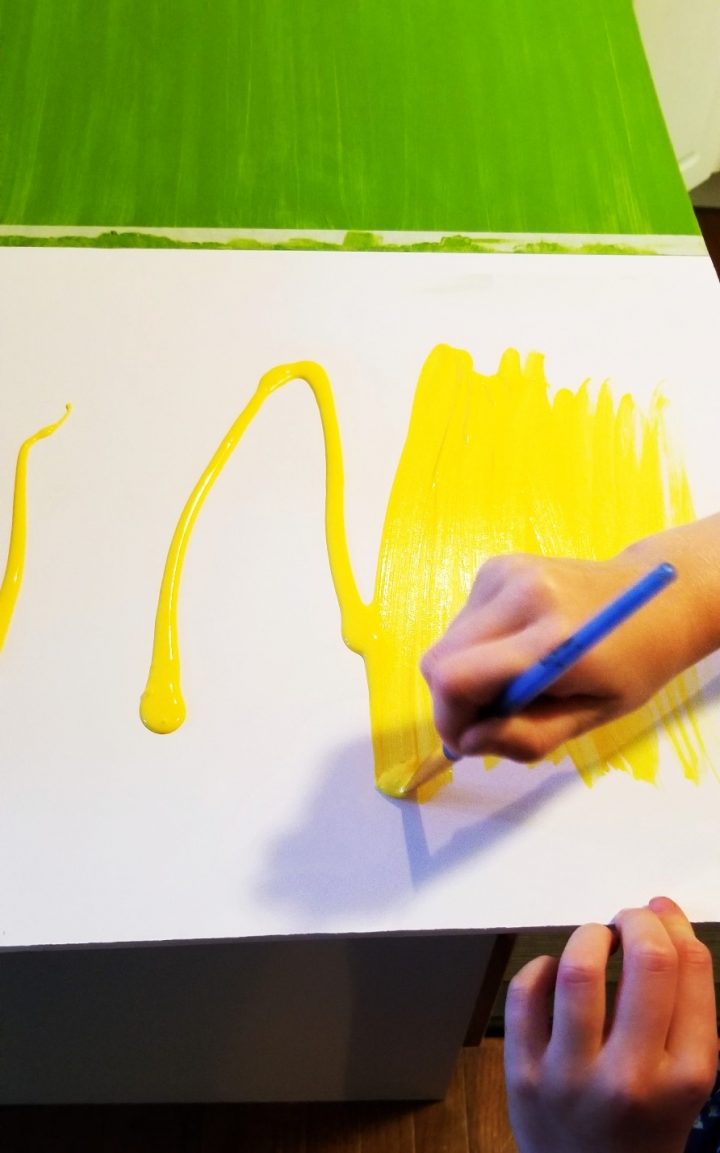
Next, start painting the presentation boards. We painted our boards in rainbow color.
Sensory Play Bags
Next, fill your bags. I suggest using good quality and strong bags with a zipper seal top. If you are worried about the bags popping, you can always try putting one bag inside the other for double protection
You don’t need to add a lot of oil, water, or cream to the bags for them to work. Adding too much can cause them to pop. Start by adding a little bit at a time and then adding more to it as needed.
Name Bag Sensory Play
To one bag, I added water and sparkles. I then cut the letters for the name “Claire” out of foam paper and added them to the water and sparkles. I later added a sheet under the bag with the letters drawn out for how they should be properly placed when moving them around in the bag.
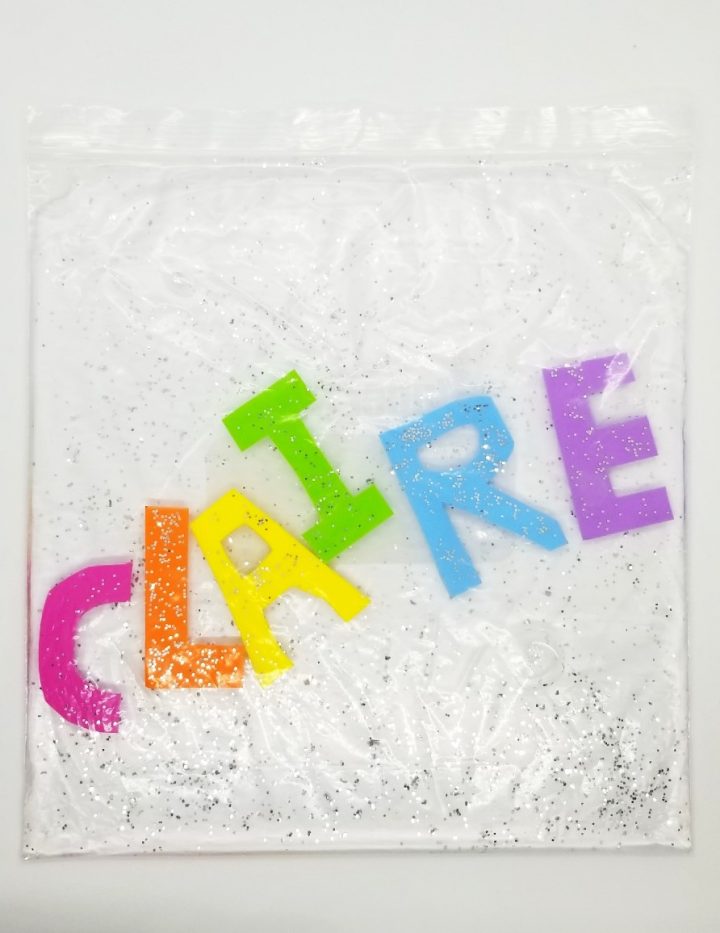
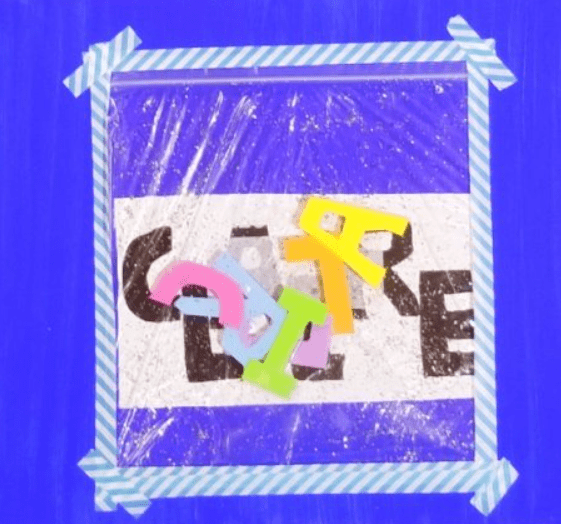
This sensory bag is great for children learning their name and helps with letter recognition.
Using foam sheets you can cut out just about anything or any shape to then place in the bag. If you are working on number recognition, you could add numbers. You could add shapes, words or pictures drawn on the foam.
Sensory Play with Sparkles
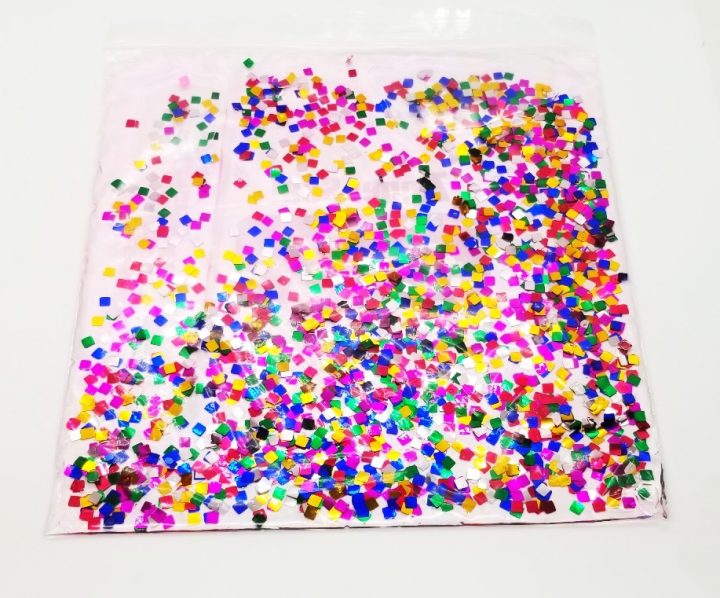
We filled our next bag with large sparkles and water. This was a fun sensory bag to play with and watch as the sparkles moved around as they were touched.
Oil and Water Play
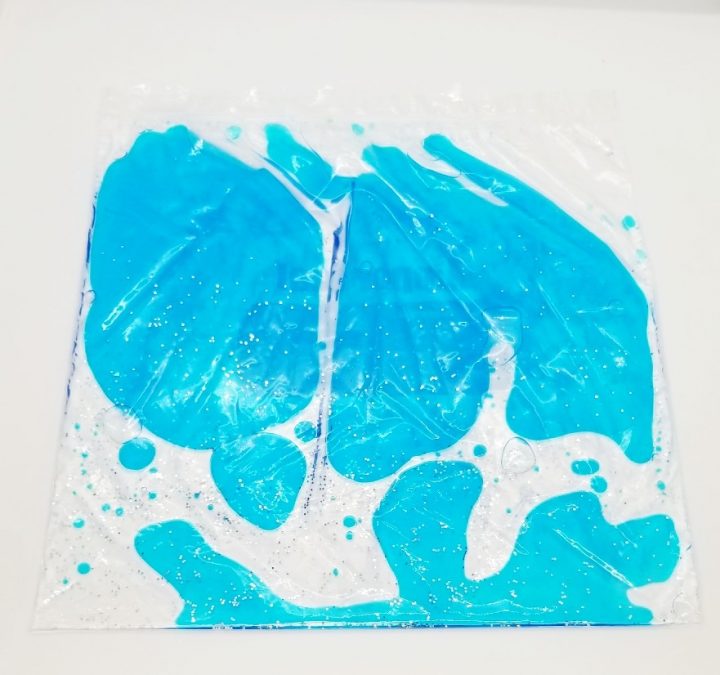
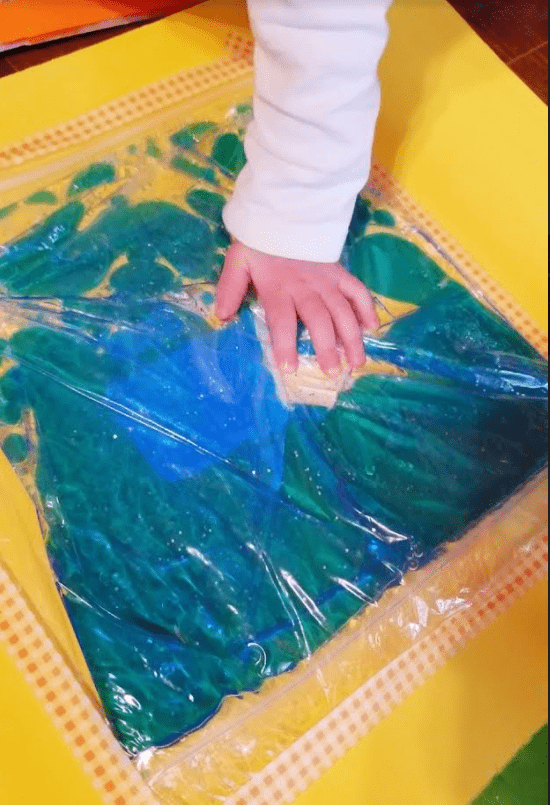
Our third bag is oil and water. We added water with a bit of paint and then baby oil. The kids loved squishing this bag around and trying to mix the two liquids. This opened a great discussion about the properties different materials and liquids and the fact that not all of them will mix.
Our next three bags, were filled with even more colorful, fun materials.
Pompom Sensory Activity Idea
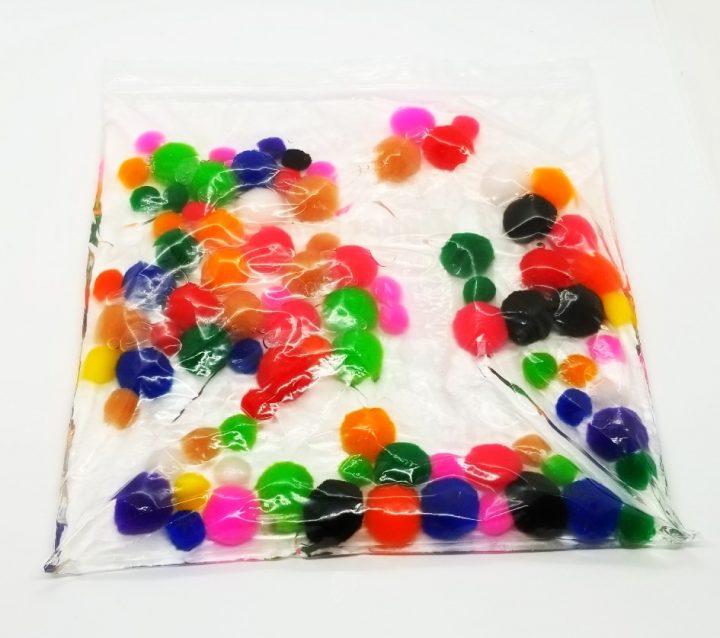
One of the bags we filled with pompoms and water. This bag was really interesting to move and feel. The kids liked this bag I think because the pompoms are a familiar material, but they look and move differently in the water and in the bag.
Sensory Play with Shaving Cream
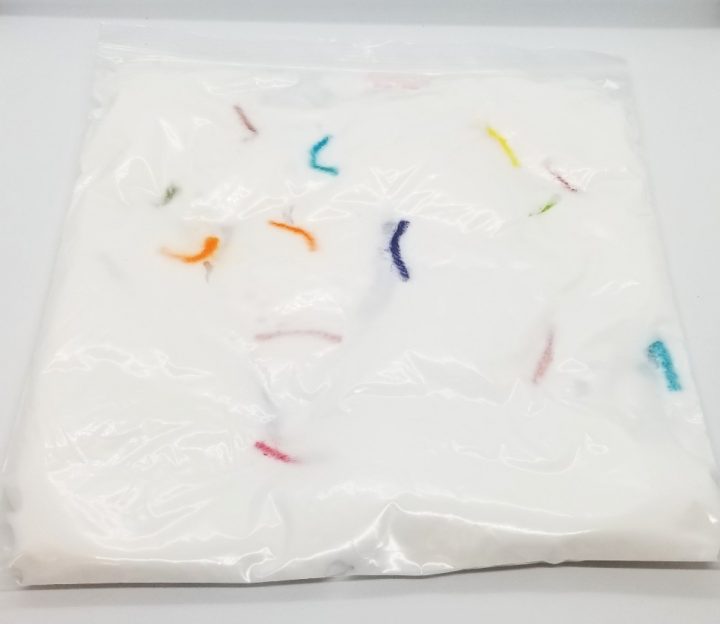
Our fifth bag is filled with shaving cream and small pieces of yarn. The shaving cream has an interesting and airy like texture. The kids liked trying to find the colorful yarn inside.
The shaving cream also added an extra sensory experience because the children could smell the shaving cream immediately. They had fun trying to find which bag the smell was coming from.
Sensory Play with Water Beads
Our final sensory play bag was filled with water beads. I bought a bunch of water beads years ago to use in my classroom and they are always a hit! We added a bunch to our sensory bag and then added water.
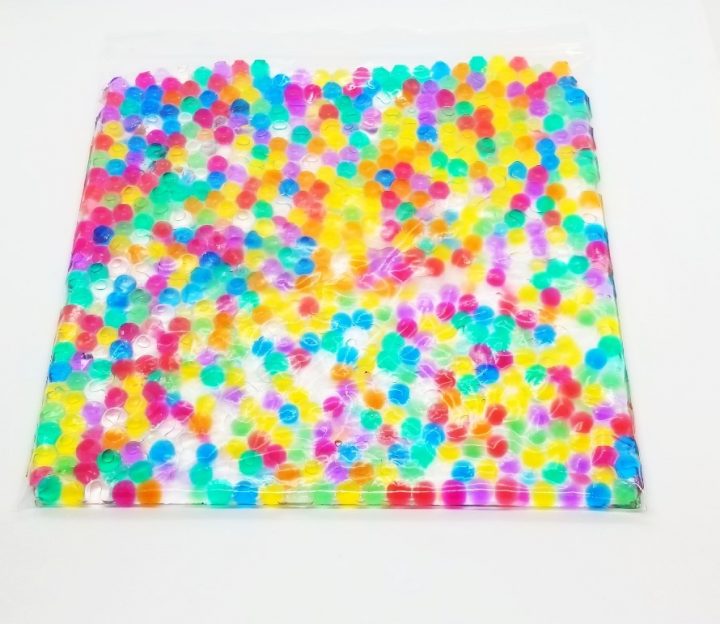
These water beads have a really interesting texture to them. If you have never used them before, they are great for different types of sensory play.
Sensory Play Activity
Once all of your sensory bags are done, make sure that they are properly sealed.
We attached the bags to the presentation boards. I initially used regular tape, but the bags did not stick well and started to come away from the board.
I strongly suggest using clear, thick packing tape, or duct tape around the edges of the bags to secure them. This also helps add another layer around the zip top to keep it closed.
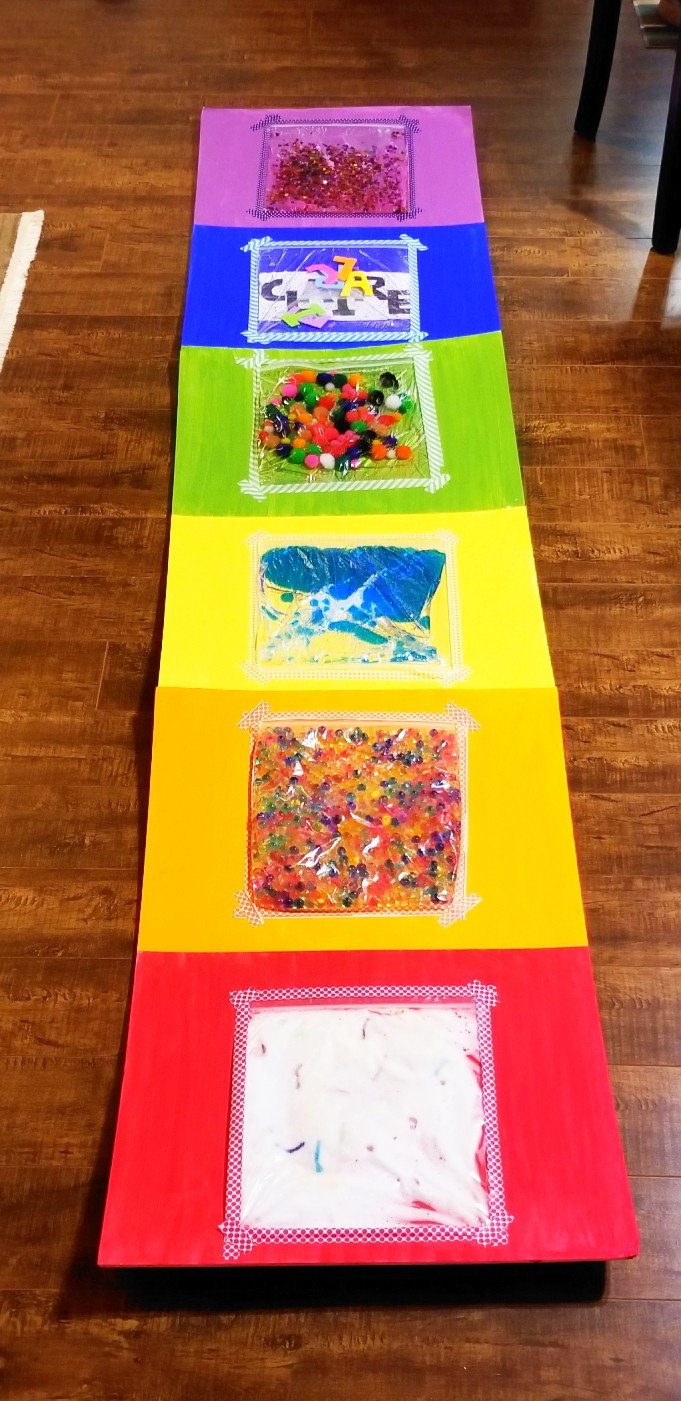
When I do sensory activities I try to include as many of the senses as possible. These sensory play activities use the sense of touch, sight and smell. I wanted to add another level to our sensory play by adding to their sense of touch.
Instead of only using their sense of touch in their hands and fingers, the kids all took their shoes and socks off and walked on the sensory bags.
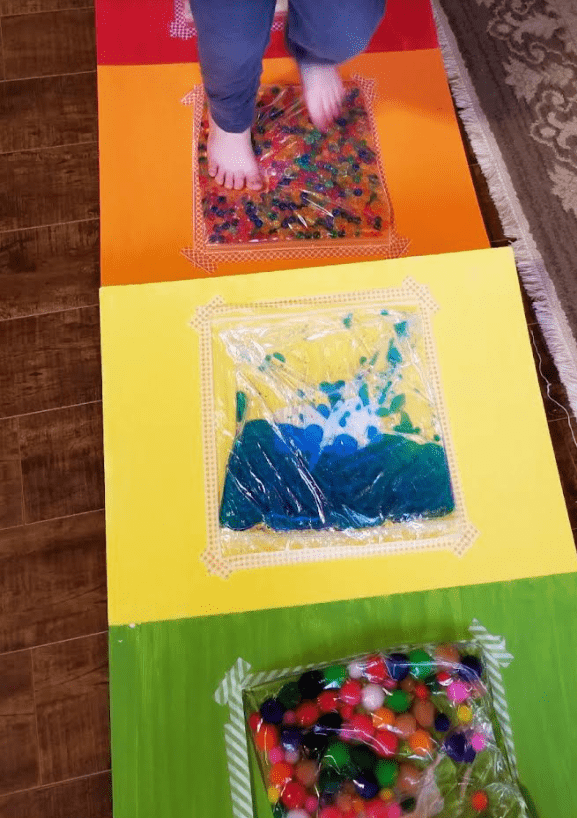
The kids loved playing, feeling and walking on the sensory bags. It was really interesting listening as they described what they felt and how they noticed the differences between the bags.
Sensory Play Extension Ideas
Although we used our sensory bags at home, I could easily take them to the classroom. Setting out the bags for children to feel and describe what they feel would be a great, hands-on learning activity.
You could change the items that you place in the bags based on the season, or a holiday you are celebrating. For example, for fall, you could fill the bags with leaves, dried corn and even pumpkin guts and seeds.
For your convenience, this post contains affiliate links. As an Amazon Associate I earn from qualifying purchases and I may earn a small commission at no cost to you.
More Hands-On Teaching Ideas
There are lots of great, and easy, hands-on learning activities that you can do with kids at home or in the classroom. Below are a collection of my favorite, and most popular activities. From DIY escape rooms and more sensory ideas to building challenges and printable activities, there is lots to keep kids busy and learning.


Leave a Reply