This post may contain affiliate links.
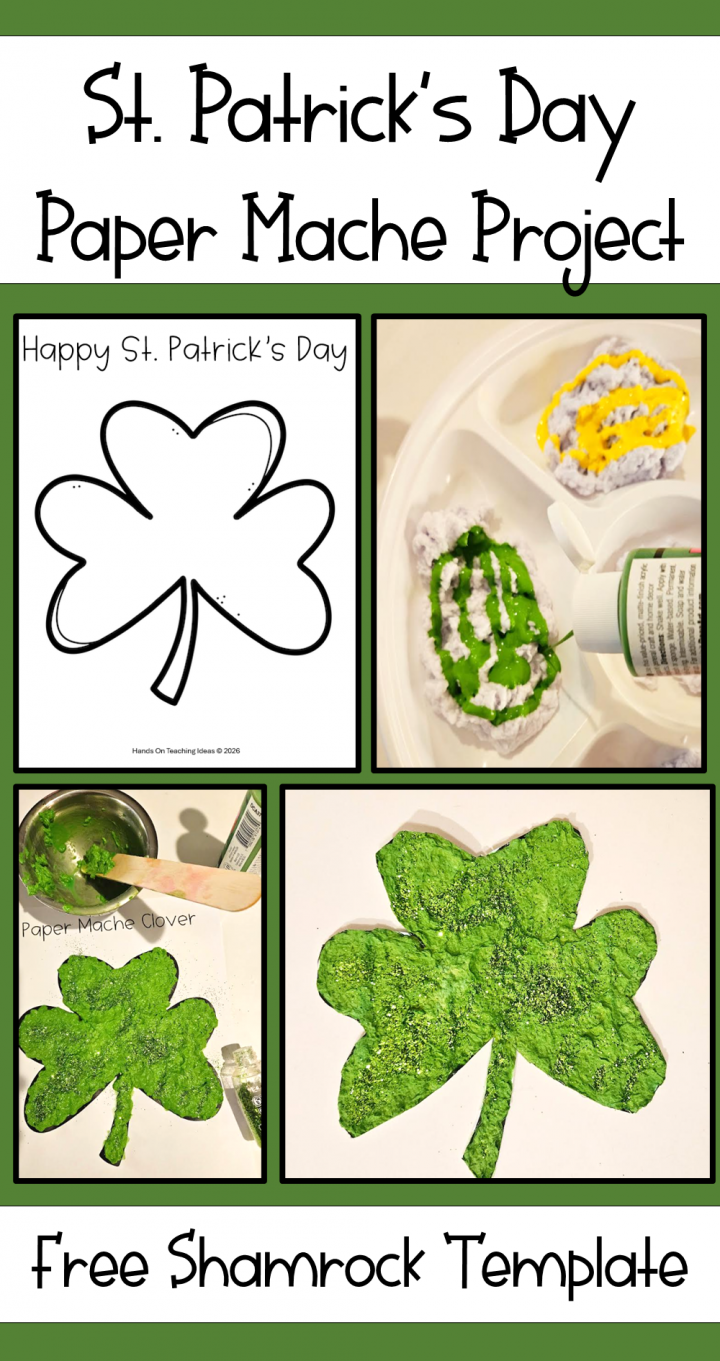
Whether you’re looking for an activity for St. Patrick’s Day or just something March themed, this Free St. Patrick’s Day Paper Mache Activity is simple, inexpensive and creates a beautiful piece of art. If you haven’t worked with paper mache before, this is an easy project to start with. It’s great for kids and even large groups.
I used paper mache in my kindergarten classroom a few years ago and my students loved it! It’s such a classic activity and one that I even remember doing as a child. You only need a few simple materials to make this paper mache and I’ve included a free template to make creating your shamrock even easier.
This project is messy. Children are going to get paper mache on their hands, and maybe even their arms, but it all washes off and is definitely worth it. I’ve even given you a few ideas below how to keep the messy to a minimum and make the most out of this activity.
If you’re still looking for more ideas for St. Patrick’s Day, check out these other popular ideas from Hands-On teaching Ideas:
- Free St. Patrick’s Day Scavenger Hunt
- St. Patrick’s Day Escape Room (Free Puzzles)
- 27 St. Patrick’s Day STEAM
Free St. Patrick’s Day Paper Mache Activity
Materials
The materials for this art project are mainly things you likely already have on hand. You will need:
- Paper (Computer paper, art paper or even paper towel)
- Water
- Bowls
- Blender/Hand Mixer
- Strainer
- Glue
- Paint
- Tweezers (Optional)
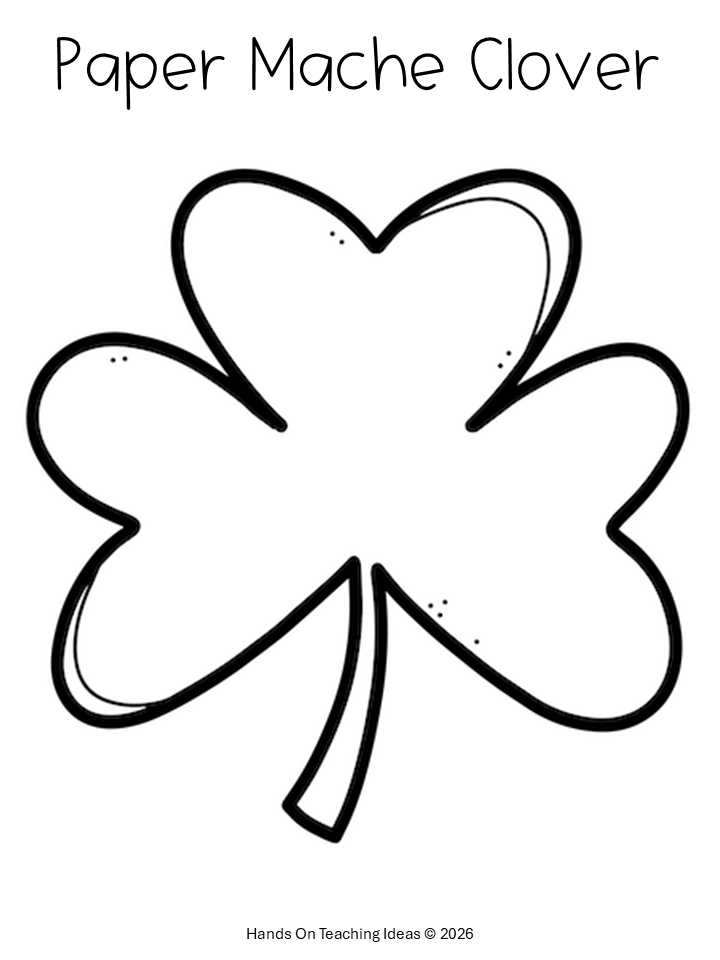
- Shamrock Template (Available for free at the end of this post)
- Glitter (Optional)
White paper is ideal to use, but you can use any color and add white paint. You can also save the step of adding paint by using green paper instead of computer paper or paper towel (or any white paper).
How to Make Paper Mache
Start by ripping the paper up. Approximately 5 sheets of paper will make one cup of paper mache. Let the paper soak in warm water and then use a hand mixer to blend the paper and break it down.

If you have time, the paper pulp is really interesting to feel with your hands. Once blended, let children move their hand through the paper pulp and feel. It’s a great sensory opportunity for kids.
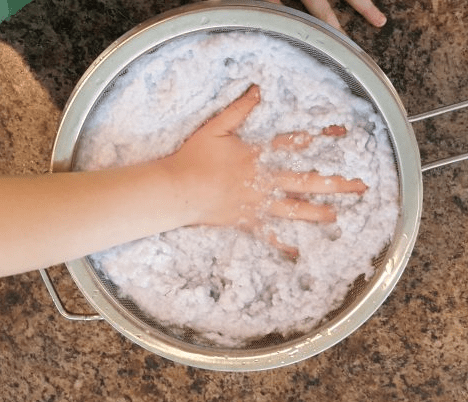
Once all pages have been blended, strain some of the water out. If you don’t have a strainer, you can do this step by hand. Squeeze much of the water out of the paper pulp. You don’t want the paper to be dry, but you don’t want it dripping wet. Make sure that it is wet enough that you can properly mix in paint and glue.
Once the paper pulp has been strained, mix in some white glue. Add about 1/4 cup for every cup of paper pulp. The glue will help the paper mache stick together and also adds to the textured result when dry.
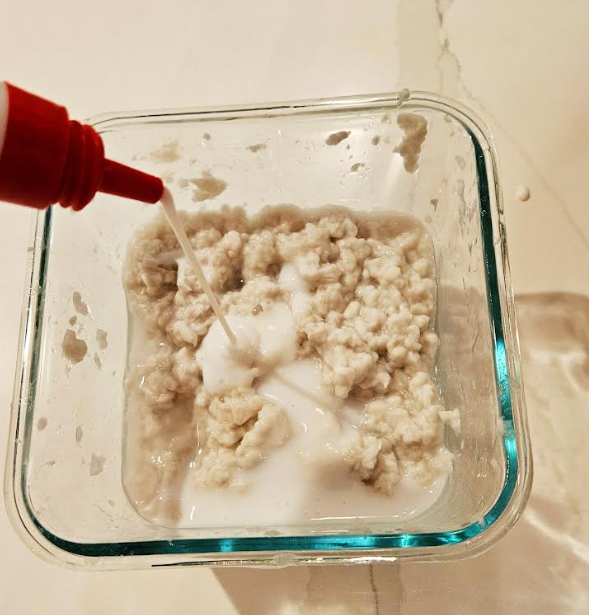
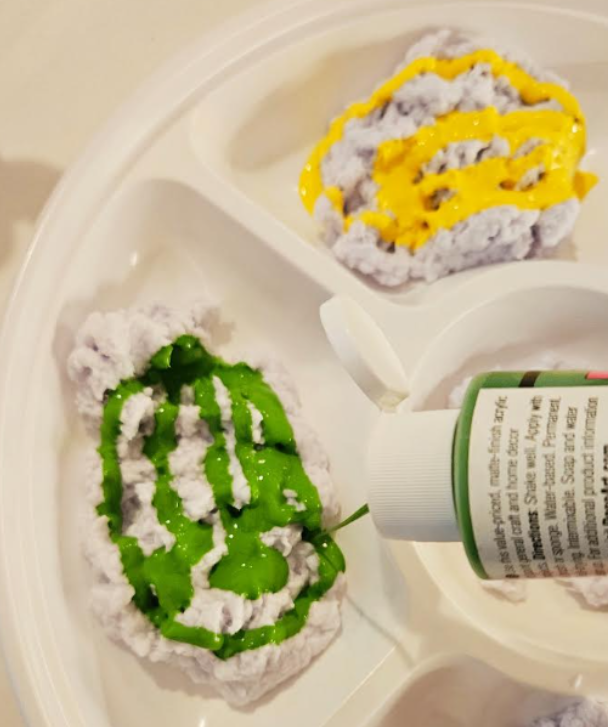
Once the glue has been mixed in, you can separate the pulp into as many piles of different colors you want to make. Mix paint into the paper pulp/glue mixture and mix thoroughly. Your paper mache is ready!
Sensory Art Project for Kids
Once your paper mache is ready and you have printed the shamrock template, you can start creating your image. I used only one shade of green and a little bit of yellow, but you can use any color or colors of paper mache to make your shamrock.
I have found that some children don’t like getting their hands messy with the paper mache. If you have a child that does not like this type of sensory activity, you can offer them a popsicle stick to place the paper mache onto the template or tweezers. This is a great option for children so that they can still do the activity. If you want to keep the mess to a minimum, you can offer these tools to all children as they create. It is fun to fill the shamrock with your fingers though as well.
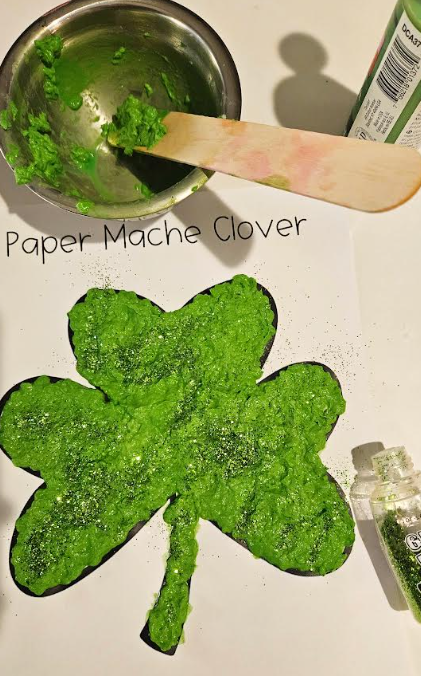
Once your shamrock has been filled, you can sprinkle glitter on top. The glue in the paper mache will make it stick and dry onto the shamrock. Once you’re done let the shamrock dry overnight. If you had a lot of water left in the paper mache, it may take longer than over night. Let dry until it is hard.
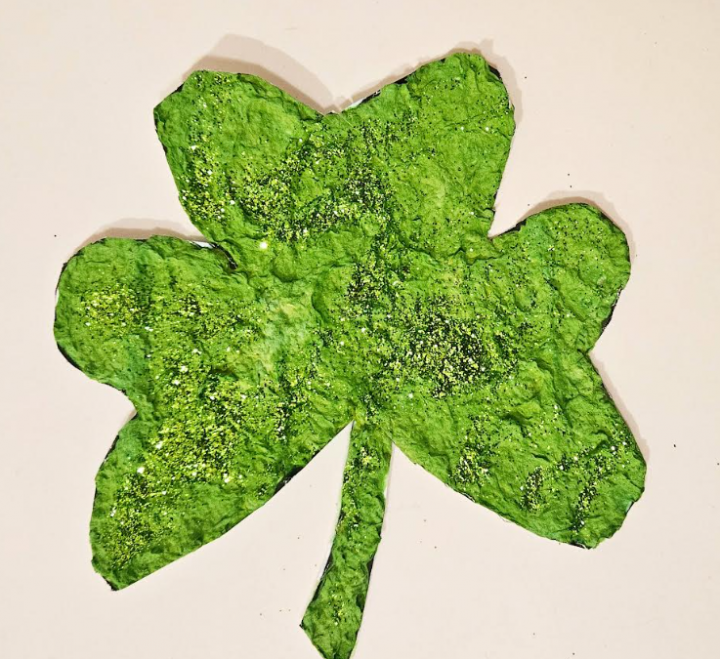
After it is hard, you can add some extra details such as paint or you can cut out the shamrock and glue it to another background, such as paper.

If you haven’t worked with paper mache before, the template is an easy way to help guide children to create an actual shape. You can however, simply use a blank sheet of paper and design any image you want. Take a peek through this site to find other templates and paper mache ideas that you can use the paper mache for, or any leftover mache.
Download the Free St. Patrick’s Day Paper Mache Activity
Grab your copy of the St. Patrick’s Day shamrock. It is free to download for subscribers and free to subscribe. Click the box below and subscribe through Grow. Once you have subscribed, the resource will download right away and you can print as many copies as you need.
By subscribing this way, through Grow, you will also unlock all of the other freebies on this site. Shortly after subscribing, you will receive an email with the latest products, promotions and activity ideas from Hands-On Teaching Ideas. In the email you will also find a link to the Free Resource Library which is filled with over 150 free resources for you do choose from and download.