This post may contain affiliate links.
It’s the most wonderful time of the year. One of my favorite ways to start celebrating for Christmas is by setting up the Christmas tree. My kids love adding their decorations that they have made over the years and I love sitting and watching the lights once it is all set up. Add a hands-on art project to your festivities with this recycled paper mache Christmas tree craft.
There are lots of arts and craft projects to choose from for every holiday and season. I love finding simple and inexpensive ideas that I can do at home with my own kids as well as my students at school. The possibilities are endless with paper mache, but be ready for a little mess.
I wanted to find a project that I could do with a large group of young children. This recycled paper mache Christmas tree was perfect! The printable image of the tree helps little ones easily create the image without much helps and it uses recycled paper which is always a great option.
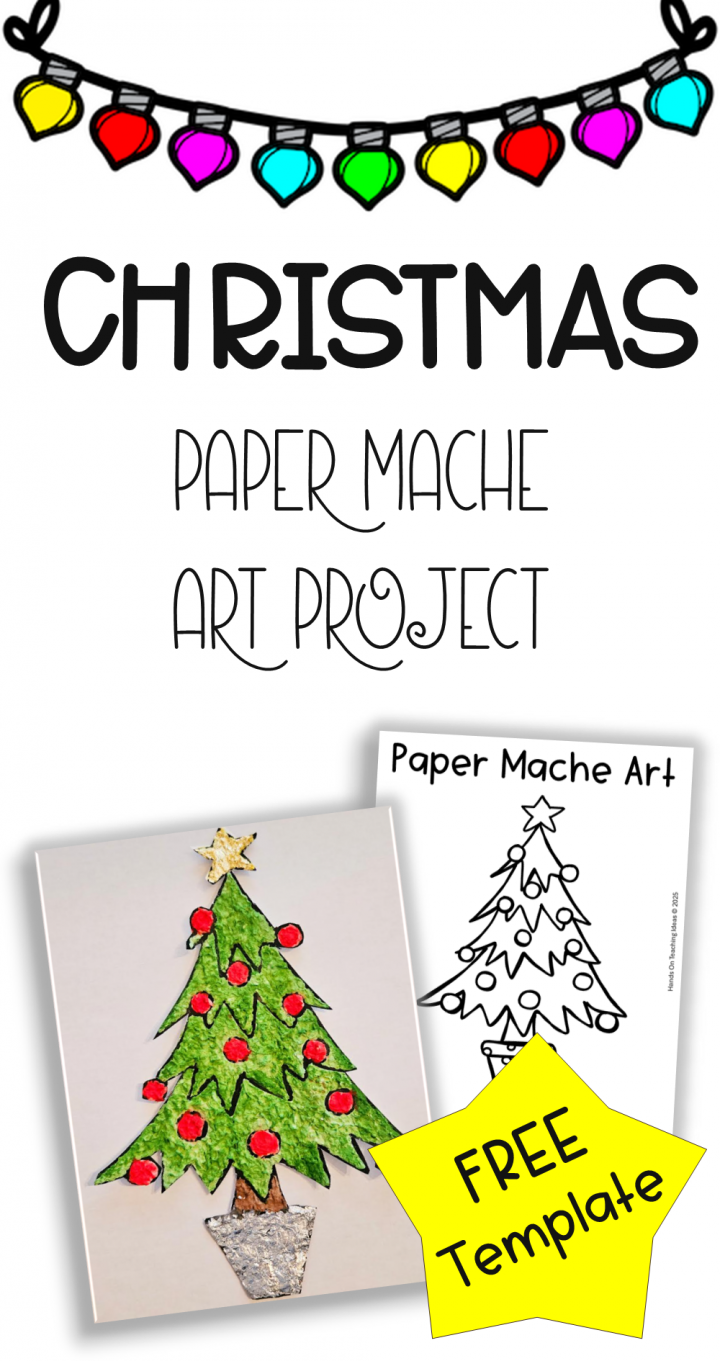
After you create this Christmas tree, check out the collection of 5 Easy Christmas Paper Mache Ideas for Kids for four more free printable templates, like a Santa, stocking, reindeer and snowman.
How to Make Paper Mache
For a more detailed description of how to make paper mache, check out Hands-On Teaching Ideas Simple Paper Mache Ideas for Kids. When making paper mache, you don’t have to be exact and it doesn’t have to be perfect.
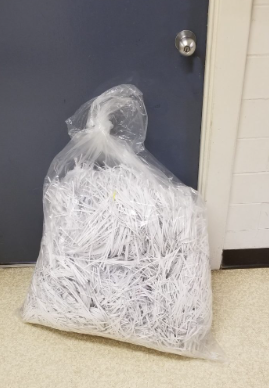
Start by ripping up paper. You can use virtually any kind of paper, from paper towel to recycled paper. If you use colored paper, it will still work but you will likely need to add white paint before creating any other color.
Place your ripped up paper into warm water. Let it soak. The longer you let it soak the easier it will be to blend, but if you don’t have time, just make sure to use lots of water as you blend the paper.
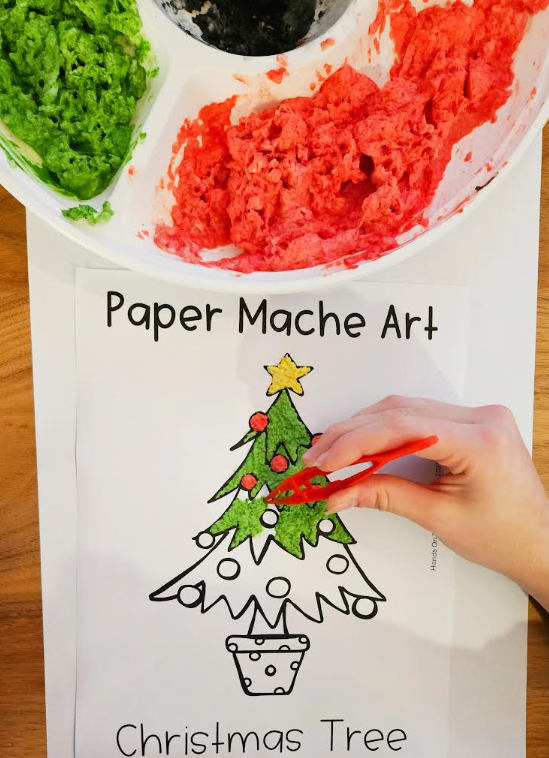
Use a blender to break down the paper into paper pulp. Next, strain some of the water out of the pulp. You don’t want to drain all of the water because it will become to dry to stick down. Make sure that it is still wet enough to add paint to and mix.

Once you’ve removed some of the water, add glue to the mixture and stir. Separate the pulp into as many piles as the number of colors you want to make.

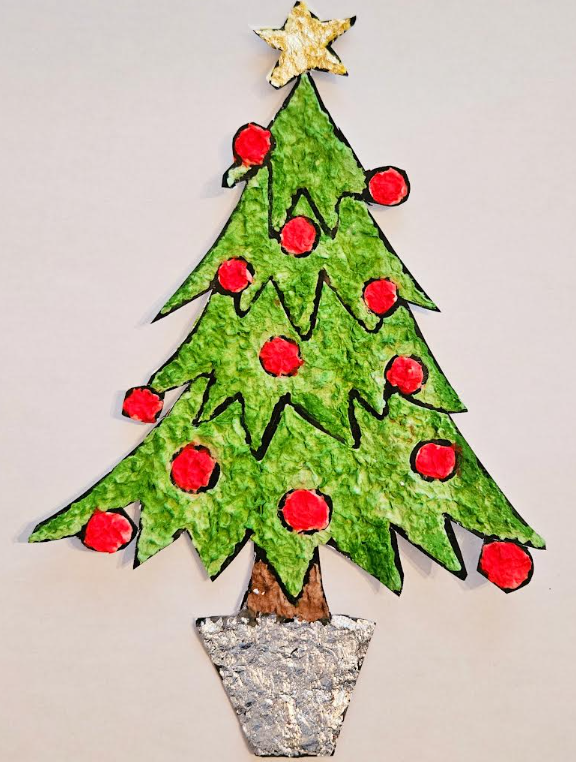
Recycled Paper Mache Christmas Tree
Once your paper pulp is ready, start filling in the sections on the free Christmas tree image. This page is available at the bottom of this post to download for free.
Children can either pick up the pulp and fill the sections with their fingers, or they can use a tweezer to help fill the spaces on the image. Often children like using the tweezers because it is something unique to use, but it also allows for more details, and less mess.
The other benefit with the tweezers is that I often found in my classroom that there are some students who do not want to get their fingers or hands wet or touch the pulp. The tweezers give them another option to still be able to make the project.
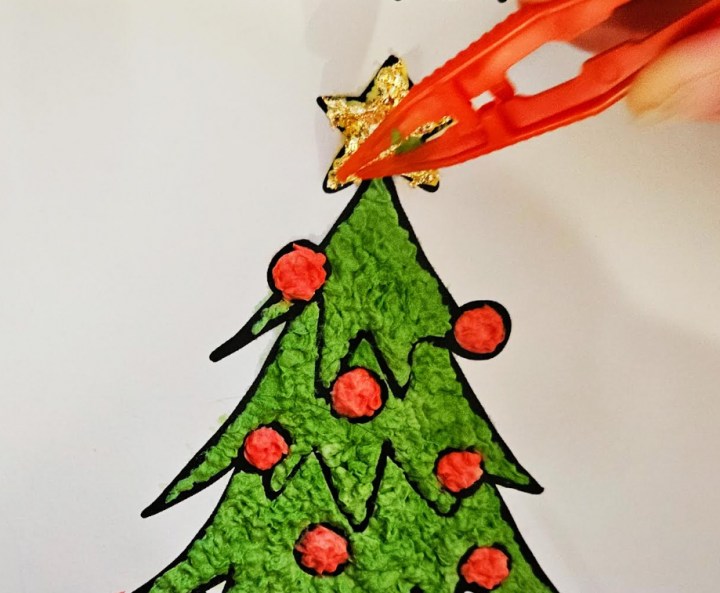
My kids loved adding extra details to their art. Some added gold foil to the start on top. If you add things like this, or even sparkles, make sure to add it when the pulp is still wet. The glue in the pulp will stick and it will all dry together.
Once you have filled in the tree, leave it to dry. Depending on how much water you have in your pulp, it may take up to 24 hours to dry. Once it is dry, you can cut it out and stick it to another background. The paper mache will be hard, and textured.
Recycled Paper Mache Christmas Tree Craft
Download the Template Here
Grab the Christmas tree printable template below. Click the box and subscribe to Hands-On Teaching Ideas through Grow. When you subscribe through Grow you will automatically unlock the other printables on this site.
Shortly after you subscribe you will also receive an emails with the latest products, promotions and activity ideas as well as a link to the Free Resource Library. The library is filled with over a hundred free resources for you to download and use. There is no cost to subscribe and join.