If you are looking for a quick and easy science experiment for kids to try, this rainbow experiment is a great place to start. I love this rainbow experiment and have done it many times over the years.
I have done it a few times over the years with my own kids at home and they loved it! Today I wanted to give my kindergarten students the opportunity to try it out.
Since I did this with a group of children at school, I incorporated some math into our experiment. It is a fun and hands-on way to mix math and science into one activity.
Materials
There are only a few materials you need to be able to do this experiment.
- Skittles
- Masking Tape
- Plate
- Water (warm works best)
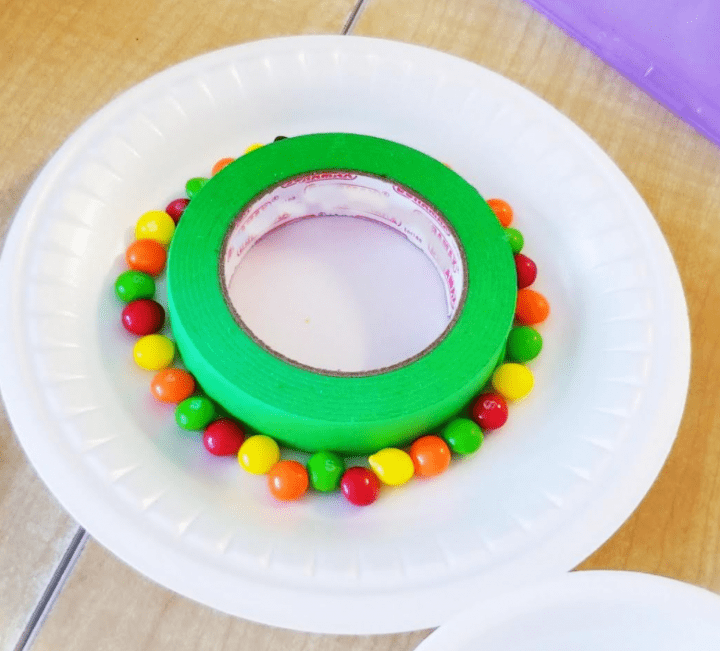
The reason that I used the tape is because I was working with young children. The tape keeps the candies in place and not rolling around. Therefore kids can take their time placing the candies in a pattern and focus on creating their math pattern.
The tape is not necessary to complete the experiment. However, I have found that without it, the candies slide around and can become frustrating for children.
Rainbow Experiment – Math
To start, I gave each child a plate as well as a roll of tape. I then placed a bowl of the candies in the middle of the table for children to choose from. Children set the roll of tape in the middle of their plate.
Since we were handling the candies, I reminded children that the candies were not to be eaten. (I did set some aside so that they could have a taste afterwards.)
We have been studying patterning in math. I decided that this experiment would be an easy way to bring some of the math into our experiment.
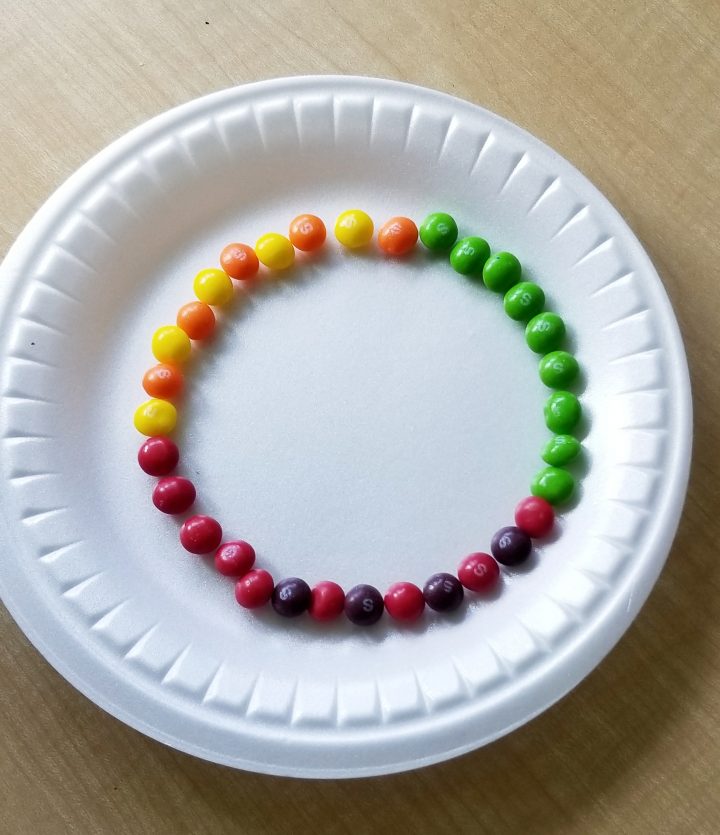
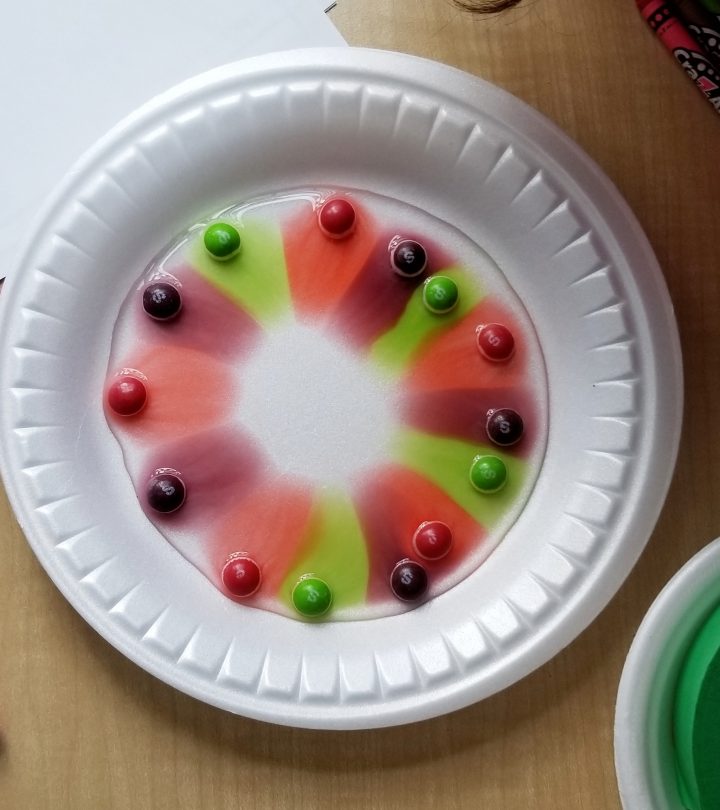
I encouraged children to choose a variety of colors of Skittles and create a pattern on their plate around the tape.
We had a lot of great discussions about what patterns they created. Most children switched up their pattern as they made their way around the tape with the candies.
As long as they were able to tell me where their new pattern started, and what the pattern was, I was happy.
Children created ABAB patterns and ABCABC patterns. It way a great way for them to show me what they had learned, and understood, in a really fun, hands-on way.
Once children create their pattern, they can remove the roll of tape and they are ready for the science part of the activity.
Rainbow Experiment – Science Steps
The circle of Skittles already books beautiful and the more colors children chose the better!
If any Skittles do move out of place after removing the tape, simple move them back into their spot in the pattern.
Next, add some warm water onto the plate. (You don’t need to use very warm water. If the water is only luke warm, and safe for the group you are working with, they can pour the water onto their own plate.
Make sure to pour enough water to touch all of the Skittles, but not too much that you cover the Skittles with the water.
Make sure to not look away because it doesn’t take long before the candies begin to dissolve and the rainbow begins to appear.
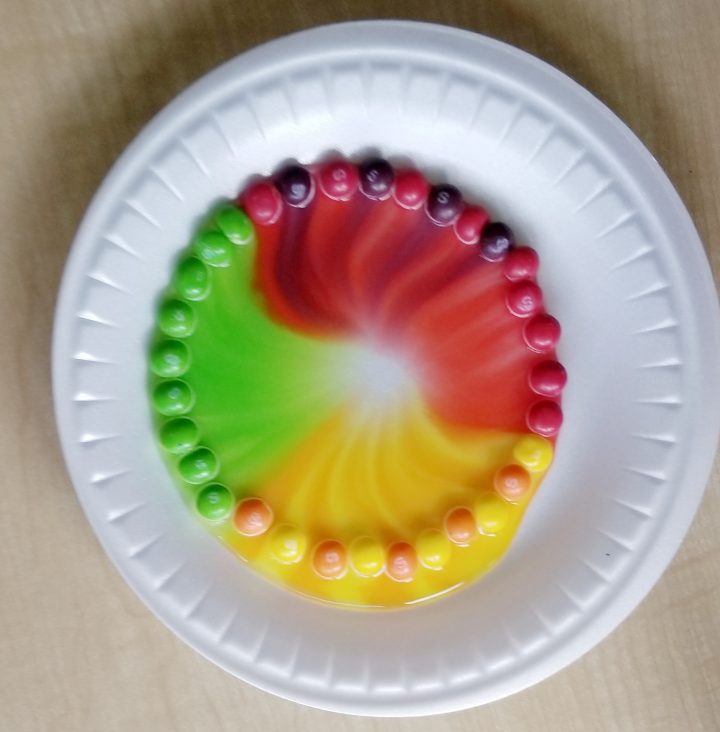
Within a few seconds, the water begins to dissolve the color coating on the Skittles and the color begins to run to the middle of the plate.
The warm water begins to dissolve the coloring on the candies and they create a line with their color to the middle of the plate.
The color looks beautiful as it runs into the middle of the plate. Each of the streaks of color remains separate from the color beside it. They don’t mix or blend as they create a rainbow.
This creates a beautiful rainbow of colors! When the candies begin to dissolve and the colors create their pattern, children were quickly able to see if they had missed a Skittle in their pattern.
I love the endless number of patterns possible with the Skittles for this rainbow experiment and my students loved watching their rainbow form right before their eyes.
For your convenience, this post contains affiliate links. As an Amazon Associate I earn from qualifying purchases and I may earn a small commission at no cost to you.
Extension Ideas
If I were to do this experiment again, I would take pictures of the candy circles before, or after adding the water. I would love to use them to post on our board in the classroom. Children could look at the pictures and have to figure out what each pattern is.
You can also try the experiment again and try different spacings of the candies. If you create the biggest circle on the plate that you can and have the candies all touching each other how does it look different then if you space out your candies? Do the streaks of color still touch?
Once completing the experiment, you can leave the plates for a little while and then check back on them after an hour or two. What has happened to the colors?
Another extension activity that you could try would be to use a different candy, and not Skittles. Do different candies dissolve in the same way? Are their others that work better? Make predictions as to why they react differently.
Another extension activity is to use different temperatures of water. Will it make a difference? If you add ice water to one plate with a Skittles circle and to another plate add warm water. What happens?
Do they react differently? Does one rainbow appear faster? Why? We tried a similar experiment with jars of water and food coloring. A link to my “Properties of Water” experiment is found below.
Join Hands-On Teaching Ideas
Join Hands-On Teaching Ideas to gain access to my Free Resource Library filled with lots of printable learning resources, from a choice board full of STEM activities for kids to escape room games, you can download anything that interests you for your classroom or home. Subscribe here.
More Hands-On Teaching Ideas
There are lots of learning activities that you can do with kids at home, or in the classroom. Below is a collection of my favorite and most popular blog posts, there’s lots to keep kids busy and learning.



Leave a Reply