
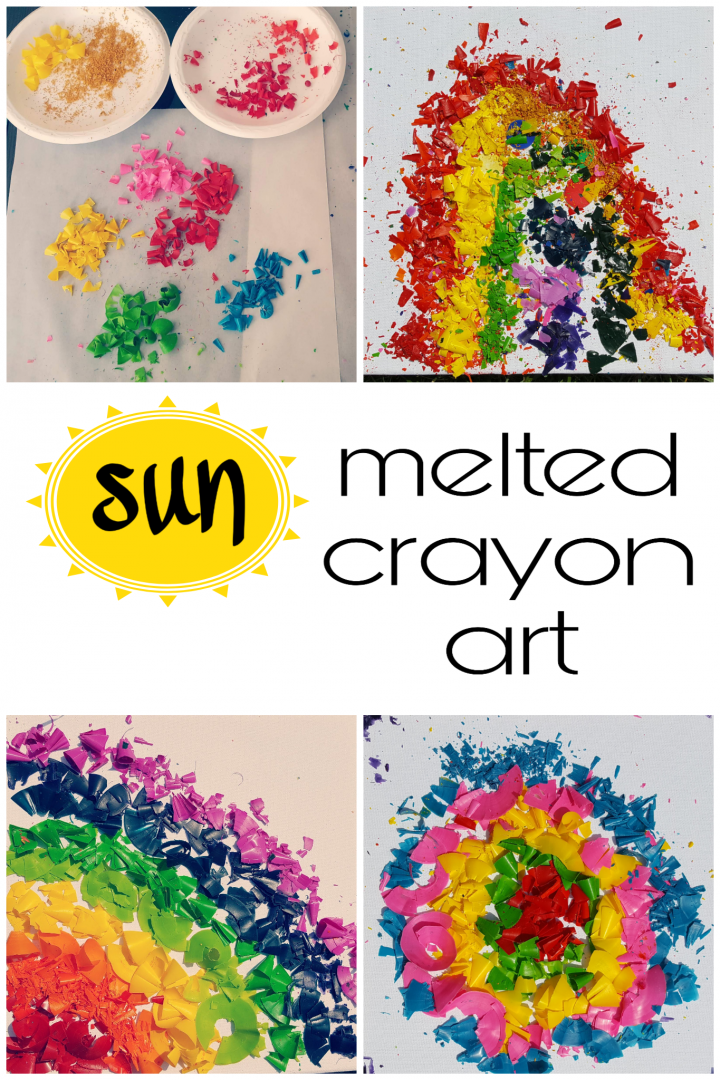
The sun is finally shining and it is beginning to feel like summer! We took advantage of the weather with some summer melted crayon art. We also used up some of our collection of crayons that we have accumulated over the years.
I have done melted crayon art in the past with a hairdryer and iron, but after we found a melted crayon outside I figured that we could use the heat to create something beautiful.
On a hot summer day when you are looking for an art activity to do with kids, this is a simple, but fun and inexpensive project to try.
This melted crayon art project also ended up including a little bit of science, which as a teacher I loved!
My kids made this art independently and although it did not go exactly as planned we learned a lot and our creations were works of art! This could also work really well in a classroom setting because it is so simple.
This is a great art project for the summer, check out another art activity using a similar idea for Christmas: Melted Crayon Christmas Ornaments
Materials
You don’t need a lot of materials for this activity and kids will enjoy being able to largely create the art on their own.
- Crayons – A Rainbow of Colors
- Pencil Sharpener
- Canvas (Or Thick Paper)
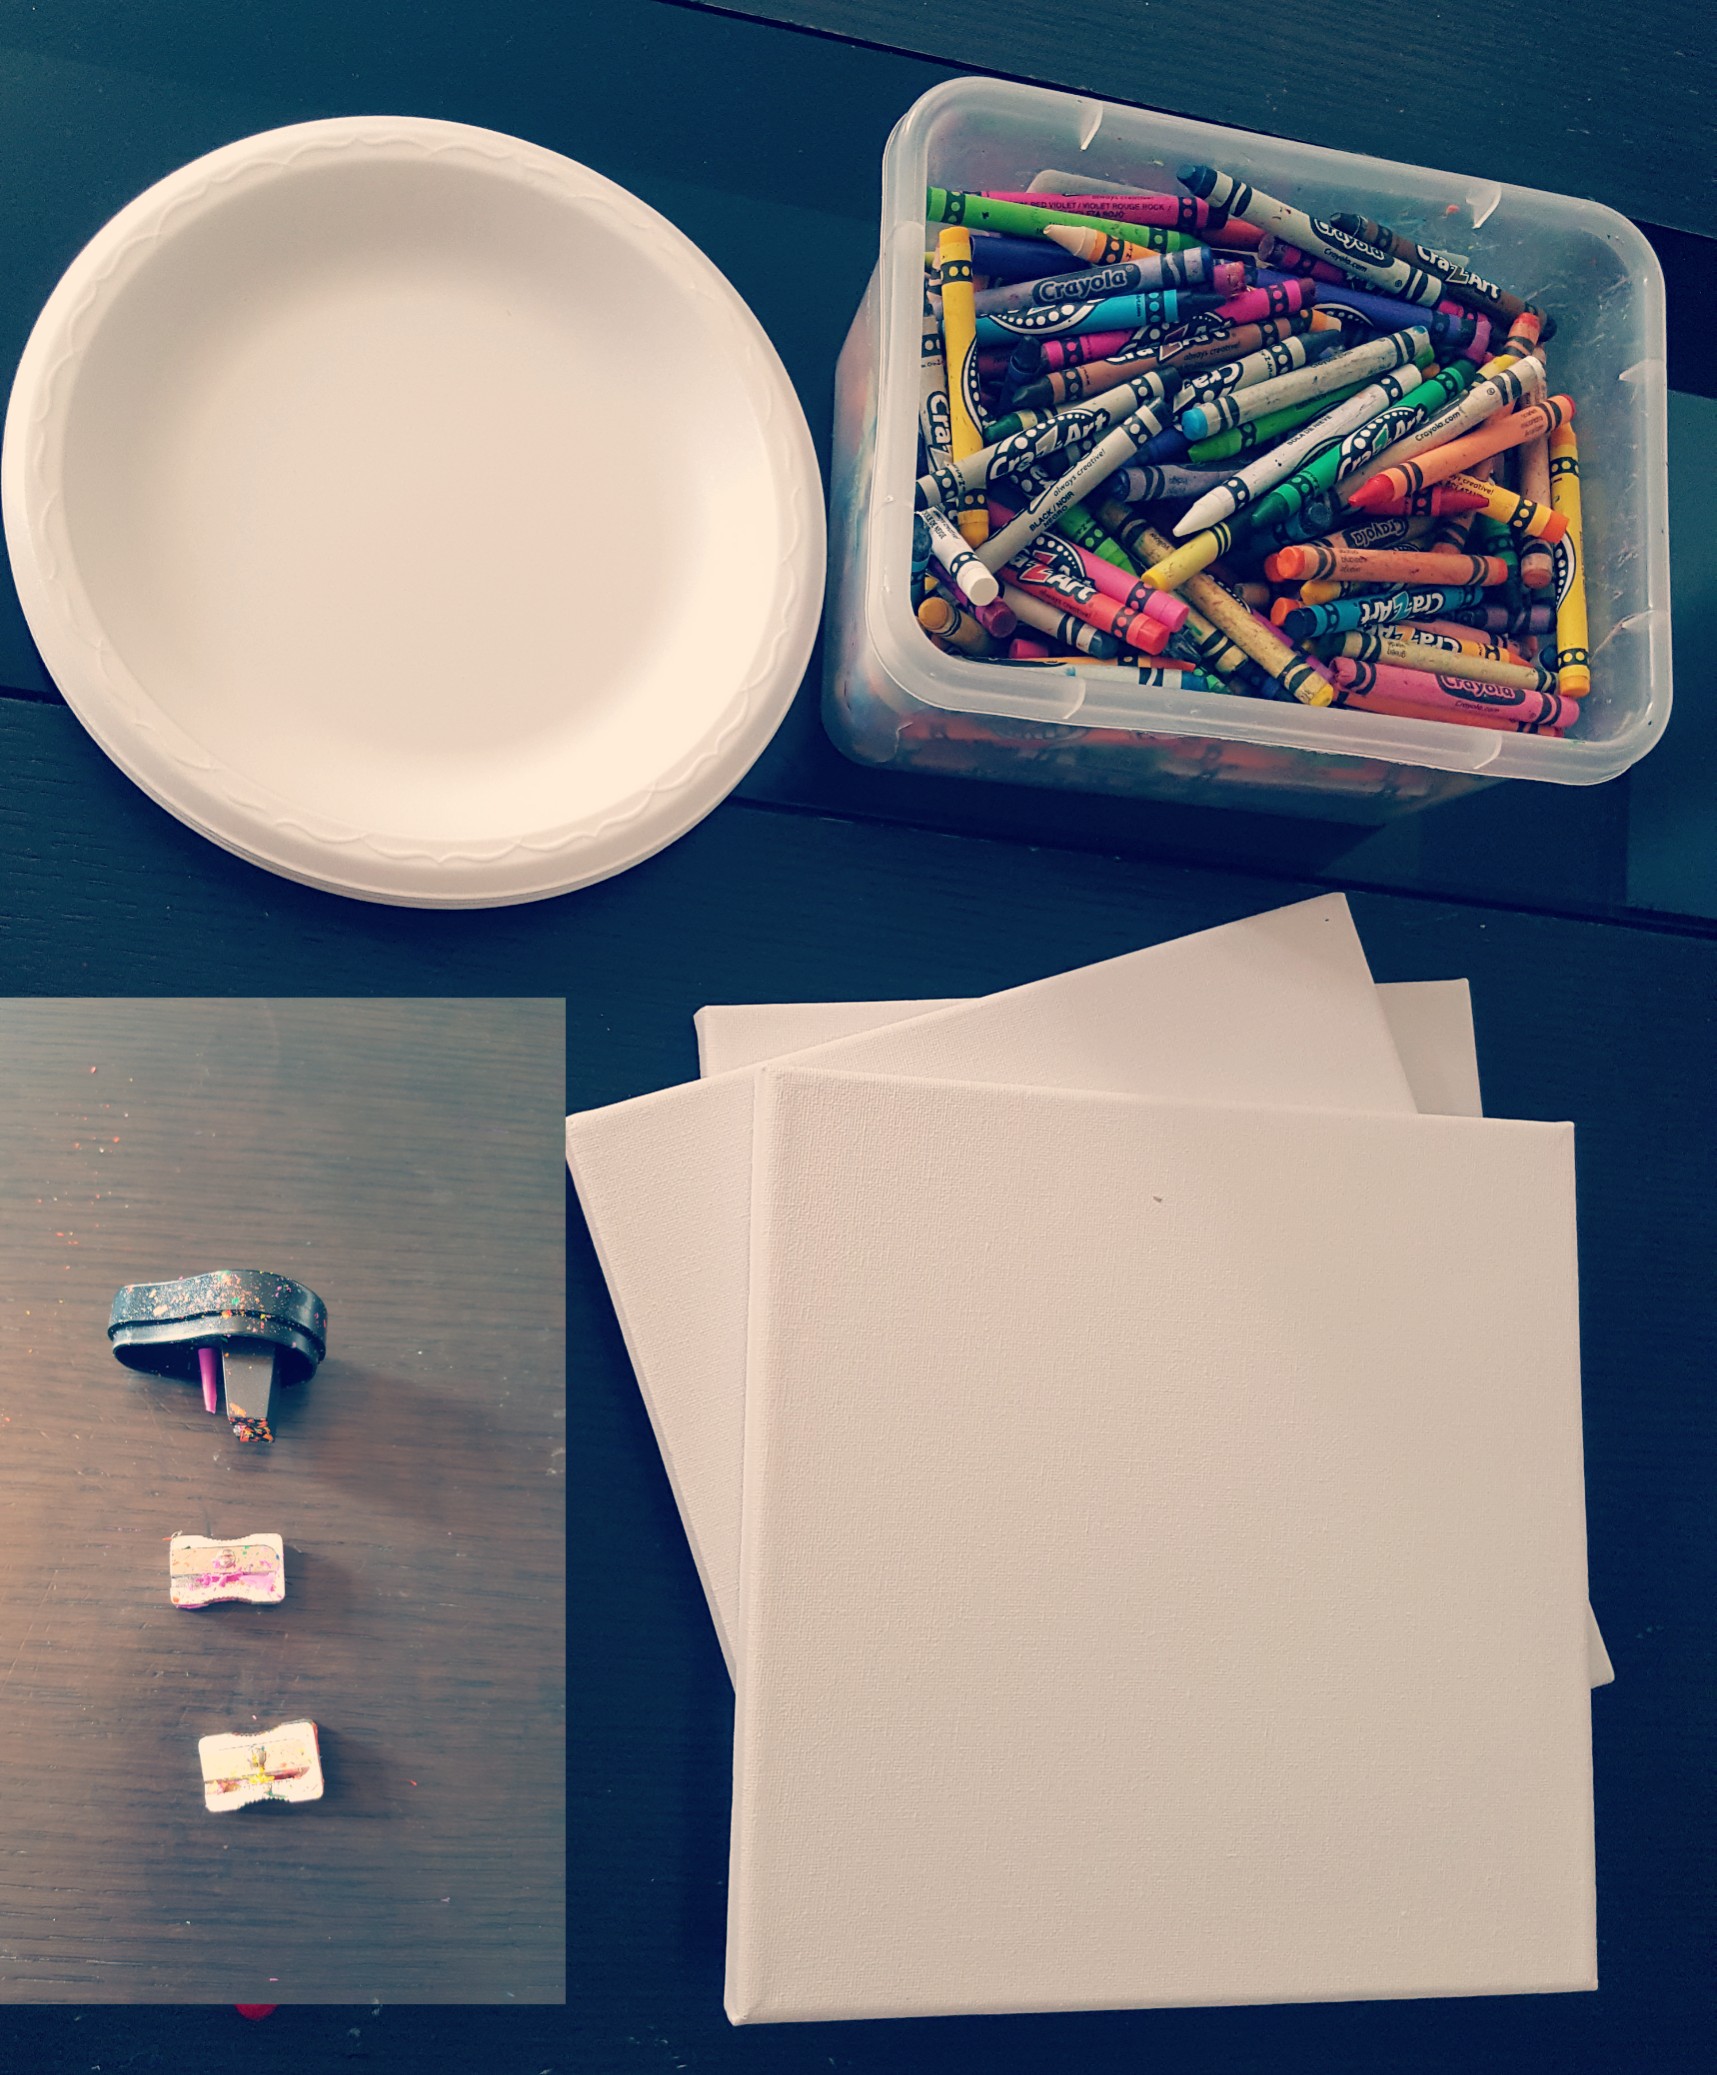
Depending on the age of the children doing this art activity, they can try sharpening the crayons to get the crayon shredding/peelings. There are special sharpeners available that are intended for sharpening crayons.
Crayon / pencil sharpeners worked really well, just be careful with little fingers. If young children are creating the art, you can prepare ahead of time by sharpening the crayons.
Creating the Melted Crayon Art
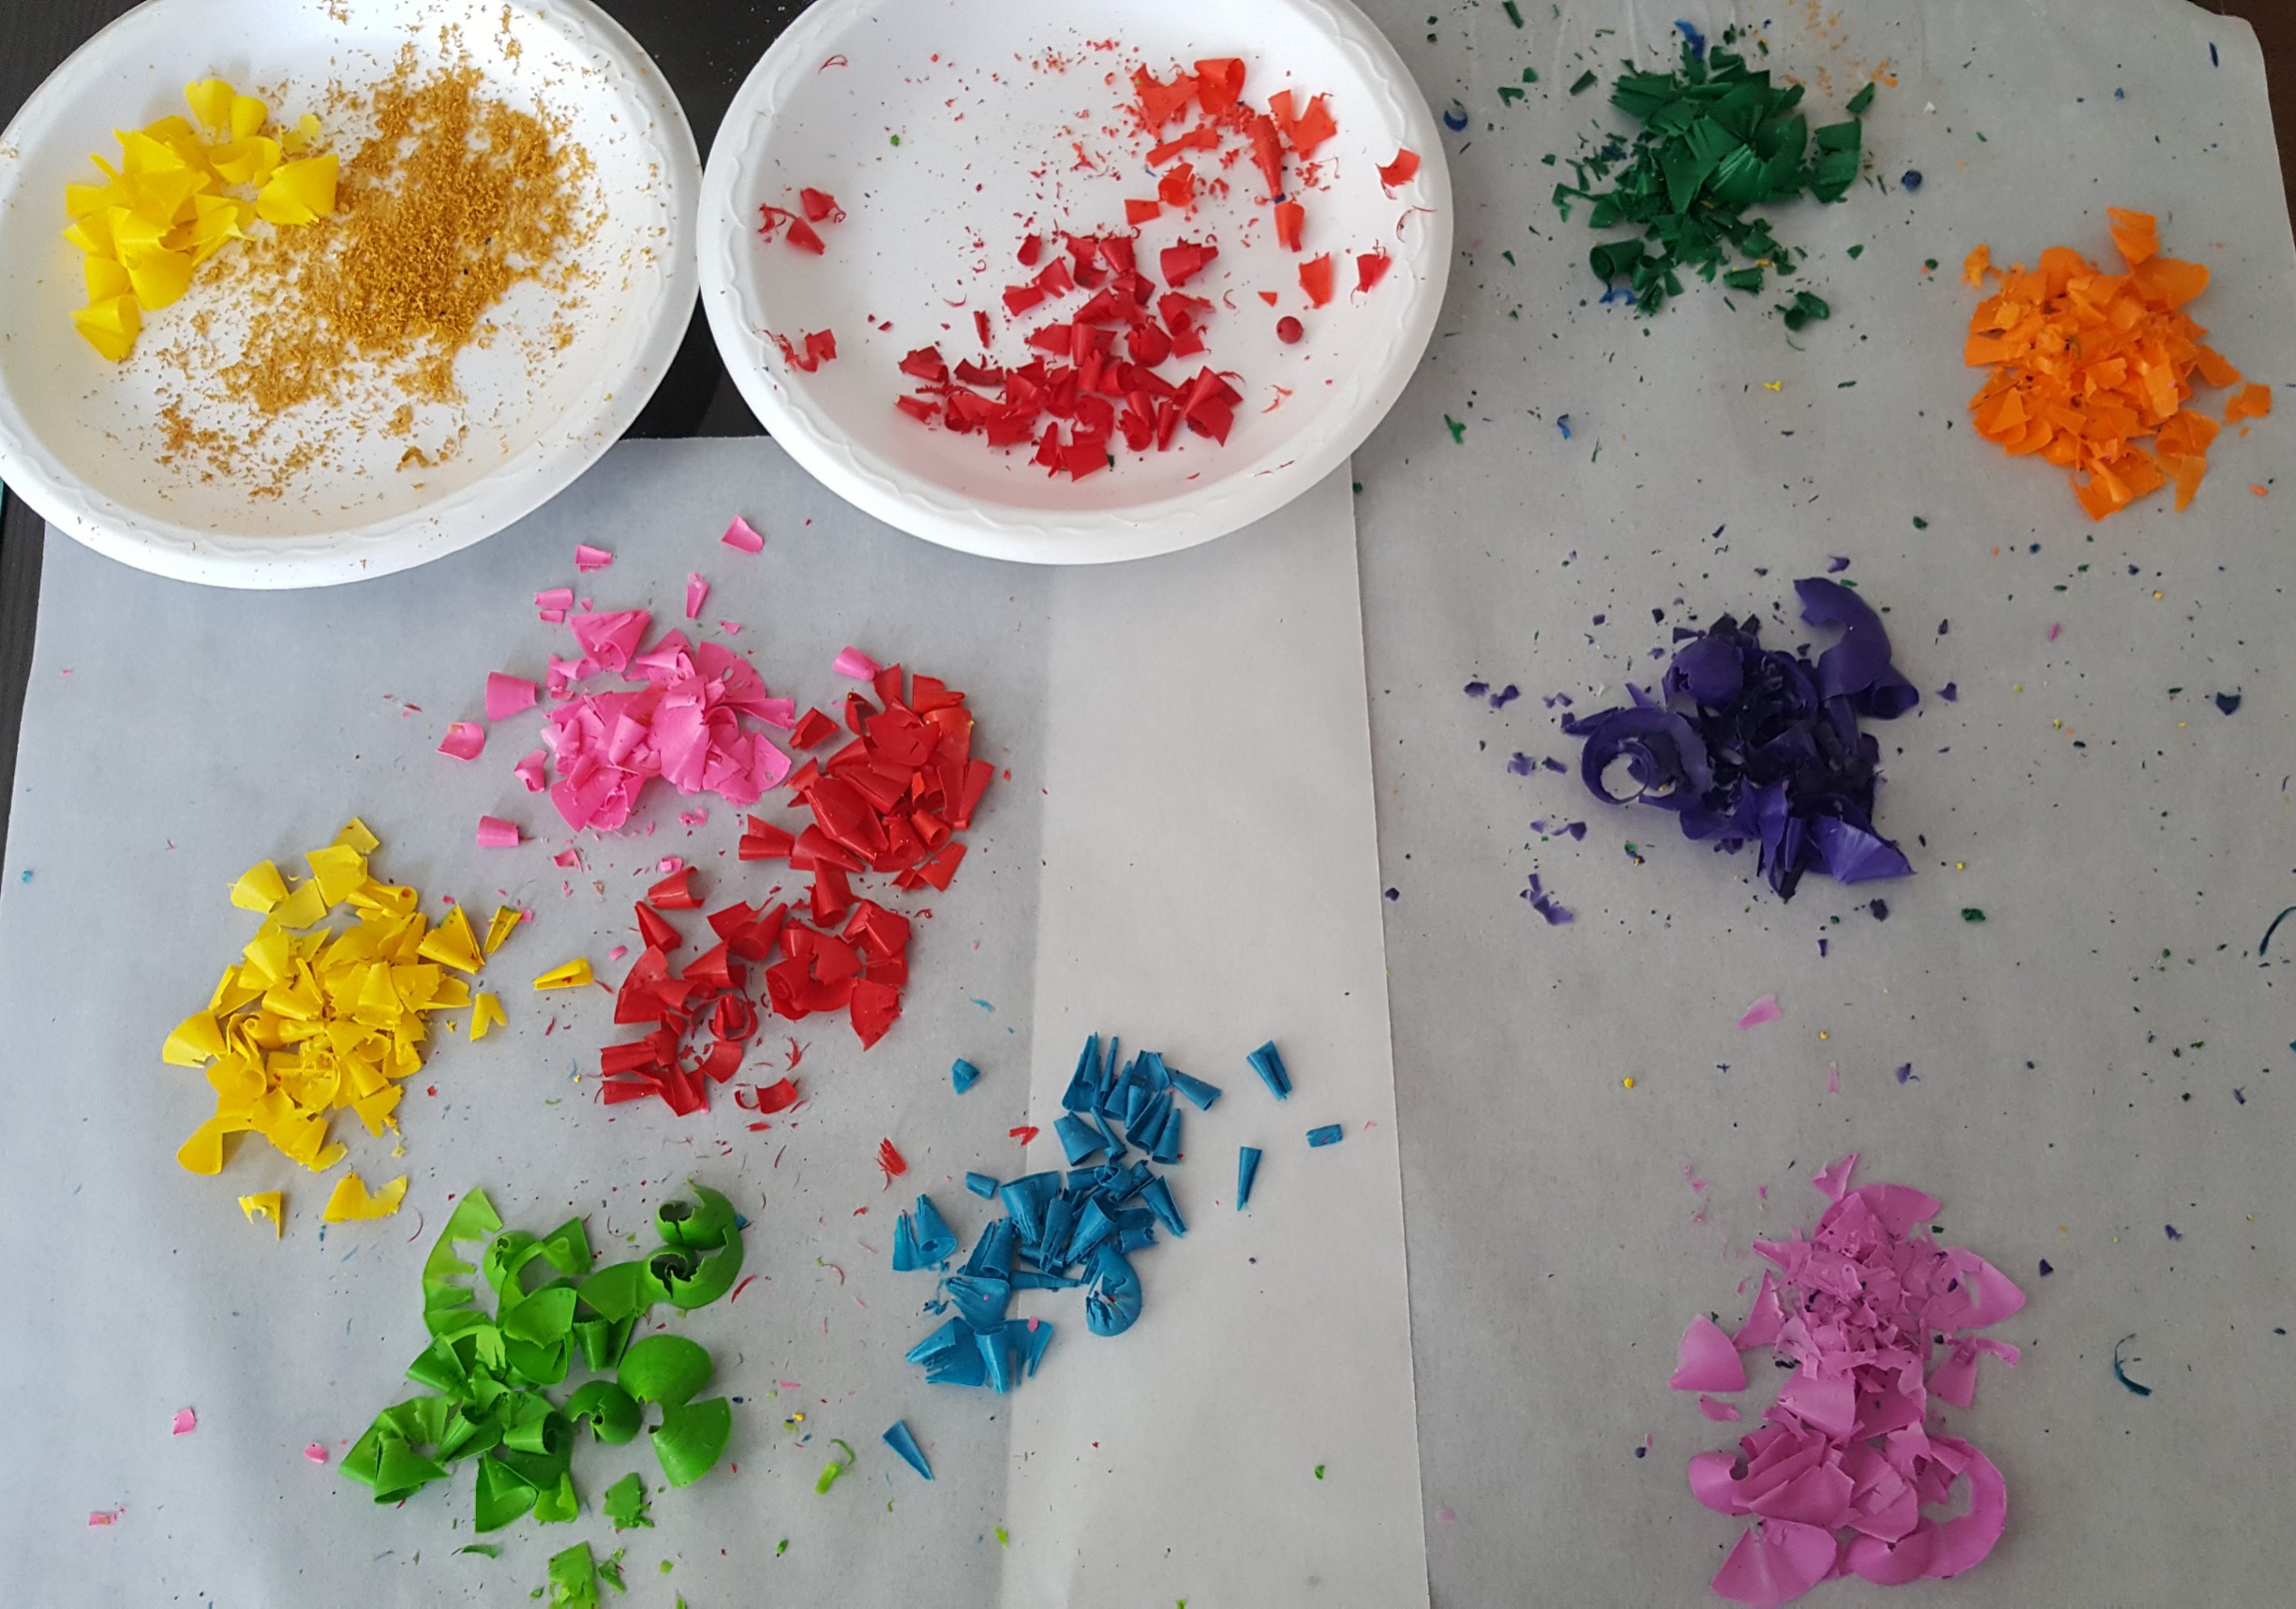
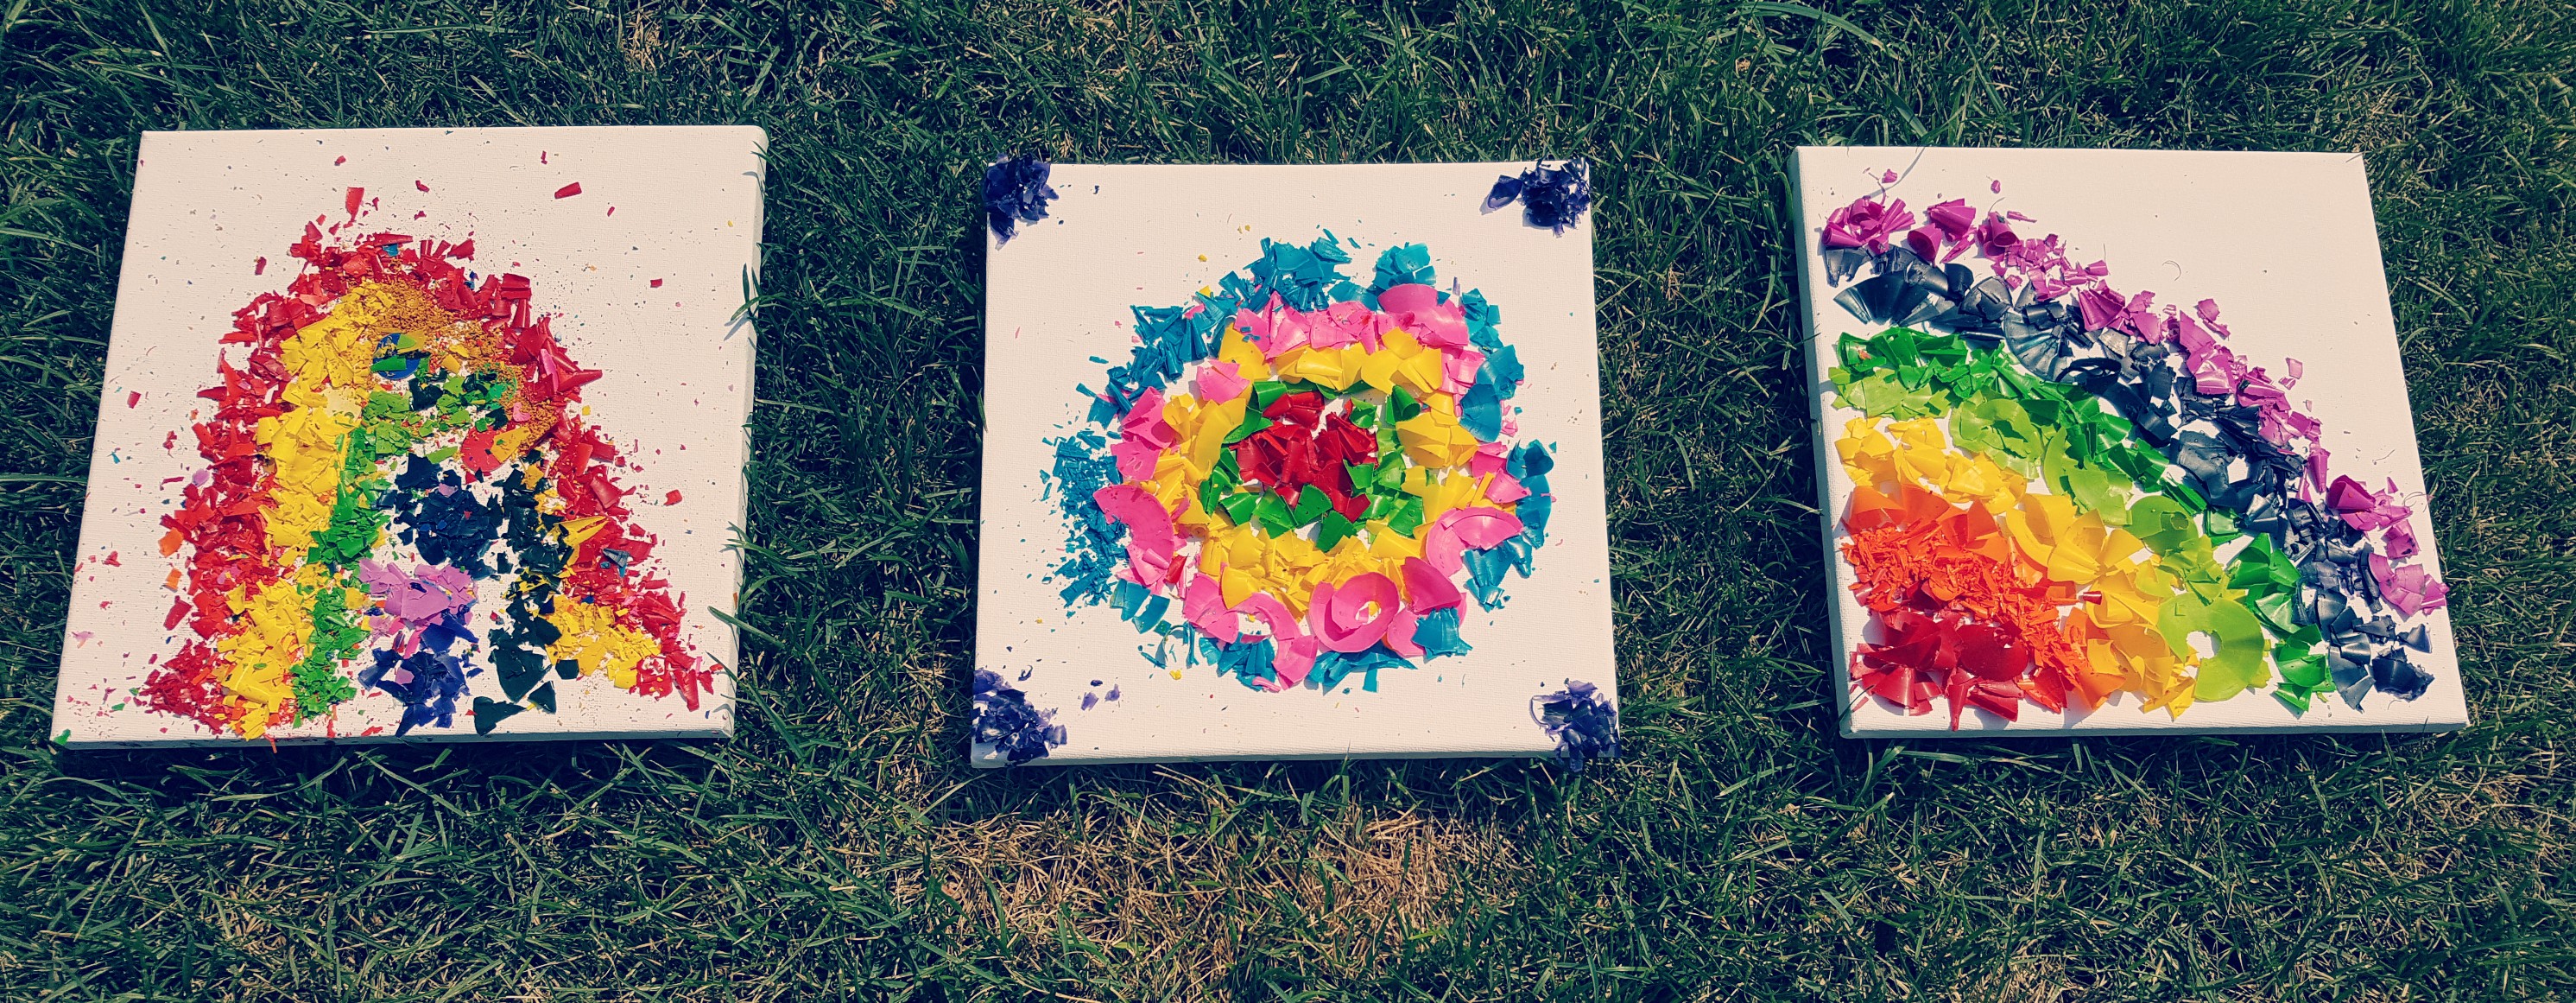
The first thing you need to do to begin your art, is take the wrapper off of the crayons. A rainbow of crayon colors is best.
Next, ‘sharpen’ different colored crayons. We sharpened until we had a small pile of each color. Then we were ready to start our pictures.
You can crush the larger pieces of crayon shavings if you want. My kids liked the larger shavings and they are easier to set and fill a space on the canvas.
How to Make Your Picture
The great thing about this art is you can’t do it wrong. Children can choose to create any image they want to. Simply pick up a collection of the shavings of the color of your choice and put it on the canvas.
My kids decided to make a rainbow and a colorful design. They laid the shavings onto the canvas wherever they wanted to create their picture.
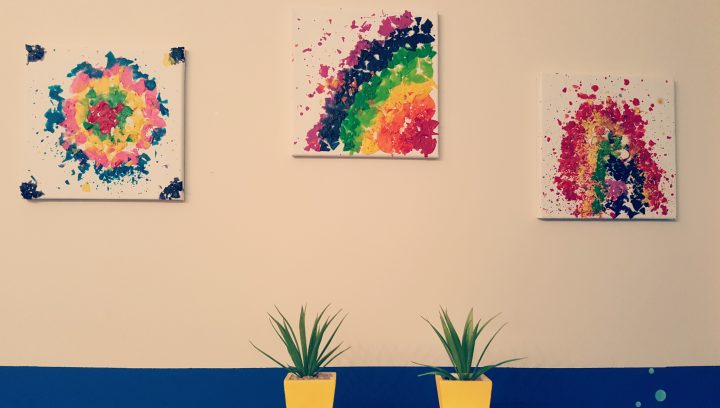
The colors looked great and my kids really liked the fact that their art was 3D!
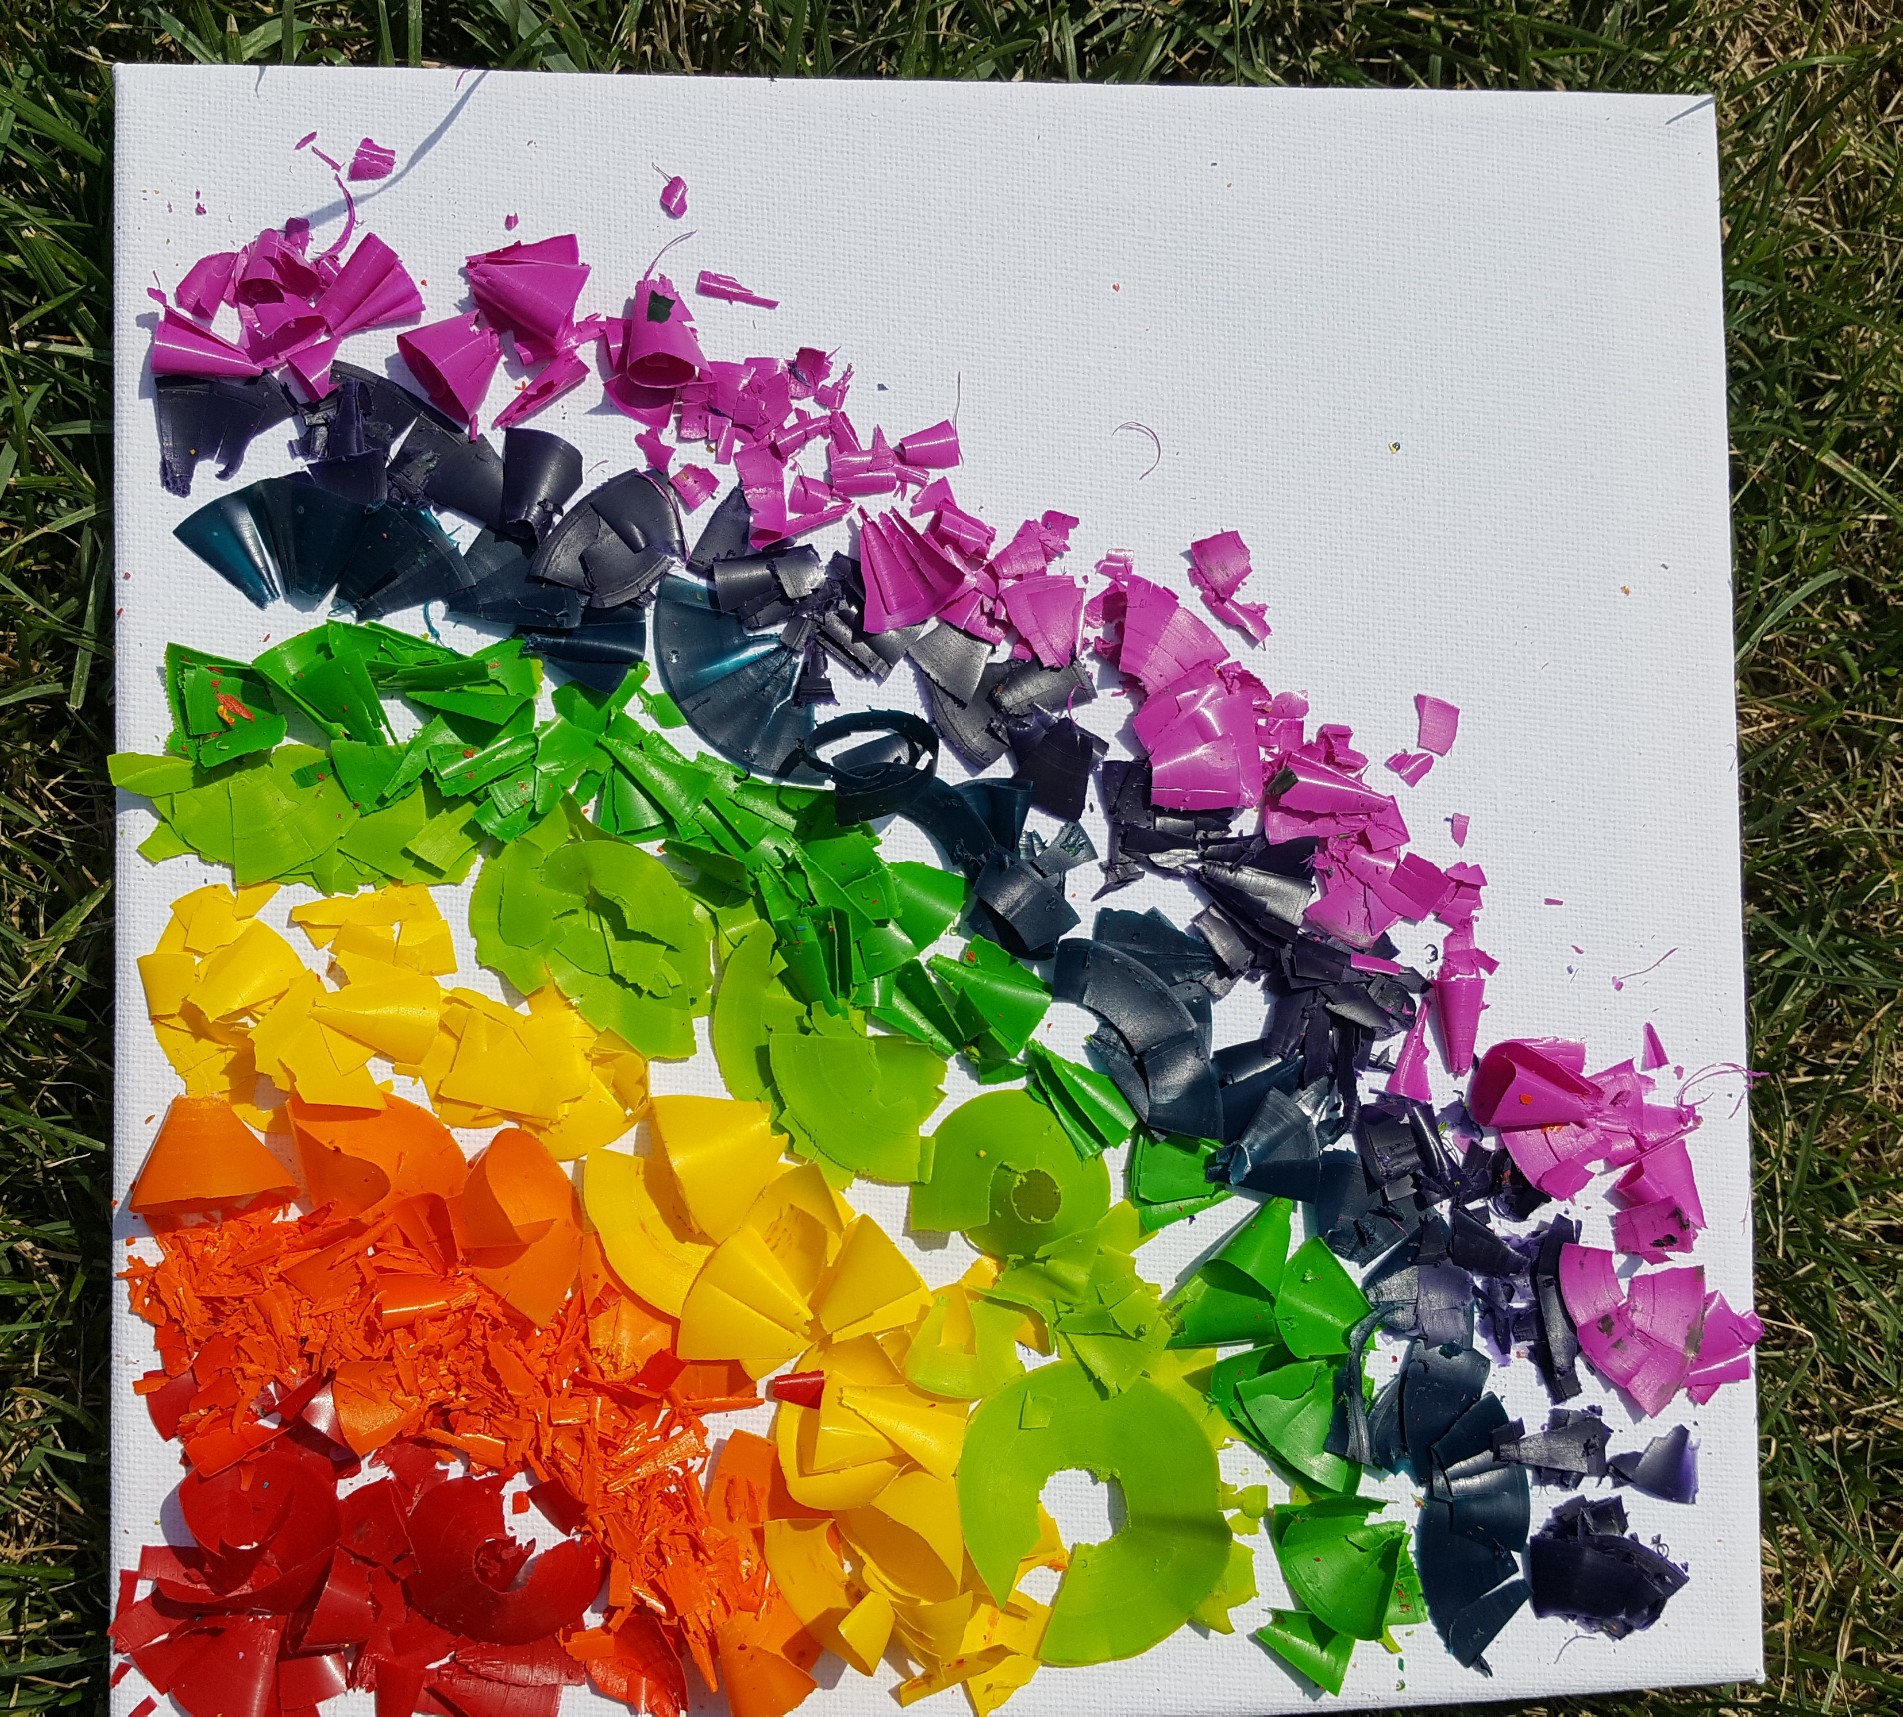
Once our pictures were made we put them outside to start melting in the sun. Make sure that there is little to no wind or your crayon shavings may be blown away before they begin to melt.
We made sure to do the art on a day that was really hot and sunny outside, but make sure that there is also no wind. Otherwise all of the crayon shavings will blow off the canvas before they have a chance to melt and set
If it is not hot and sunny outside for you to be able to put your art out, you can use a piece of wax paper and lay it on top of your art and crayon shavings. On the lowest setting, an adult can then run an iron over the wax paper to melt the crayon wax.
If you have the option to wait for a sunny day, I suggest waiting. My kids loved designing their art, but their favourite part was checking on their art outside and watching it melt.
They loved the fact that the sun was helping them make their melted crayon art.
Melted Crayon Art – A Bit of Science
The other great thing about the sun melted the crayon shavings is that our project turned into a science experiment.
As my kids kept checking their art, they noticed that some of the crayon colors were melting a lot faster than others.
At first they thought it may have been the crayon brand since we used a mix of old crayons and different brands. However, then they noticed that it was the darker colors that were melting first on all 3 of our melted crayon art projects
My kids had lots of predictions as to why this was happening. We wondered if the darker colors happened to be in more direct light.
We settled on the idea that the darker colors were attracting the sun and therefore melting first.
This seemed to make sense since it was the yellow and orange that were the last to melt. They also commented about the fact that if they wear a black shirt in summer they get hotter then if they wear something white.
It took a few hours for our melted crayon art to fully melt. We made sure to bring the art inside before the crayons started to run and completely become liquid.
We let our art dry inside and then we had some beautiful new art for our home.
Extension Ideas and Tips
If you are doing this art project with older children, you could challenge them to create a real, and detailed picture using the crayon shavings. The shavings are hard to create details with, but older children could try.
For some children, it is tricky to create a picture with the shavings. If you are working with younger children, you could draw a picture onto the canvas and then have the child set the shavings onto the different, pre drawn shapes and images.
If you really want to get creative with your melted crayon art, you could try a little bit of color mixing. Put some shavings on top of each other and let the heat from the sun mix them into a new color.
There is lots to do with melted crayons!
For your convenience, this post contains affiliate links. As an Amazon Associate I earn from qualifying purchases and I may earn a small commission at no cost to you.
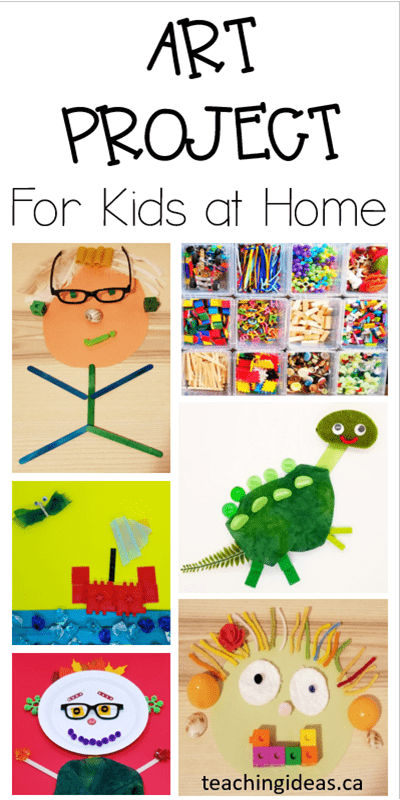
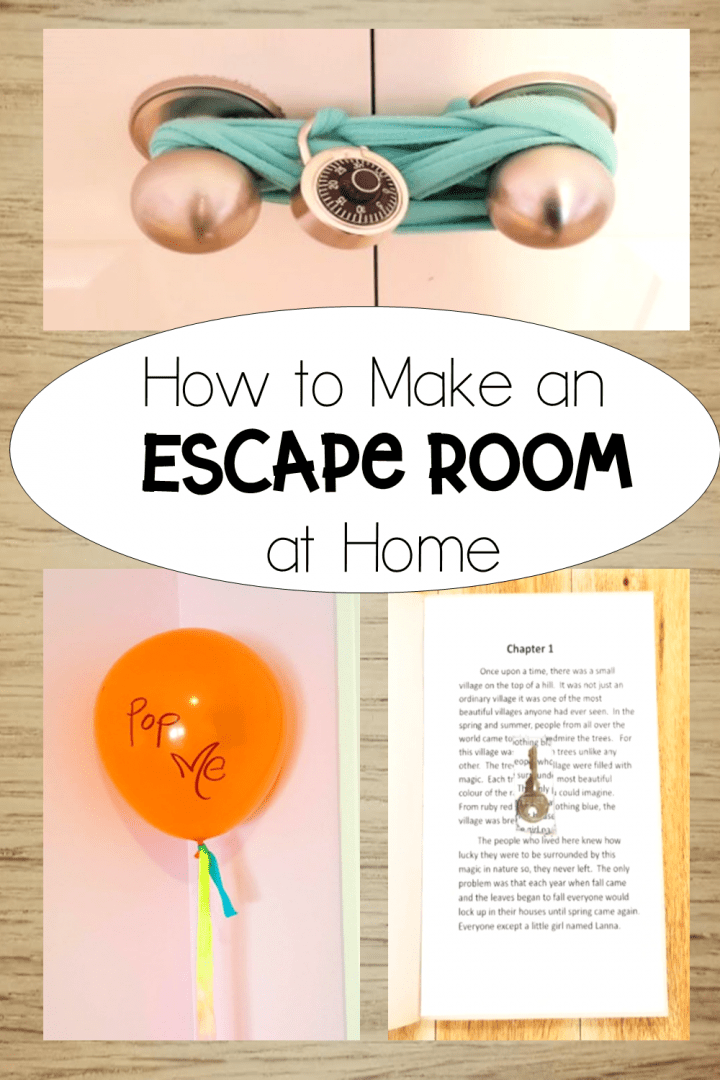
More Hands-On Teaching Ideas
For more learning activities for kids at home or school, take a look below at a collection of my favourite and most popular posts for home or school. From object art and calming stones to team building art and escape rooms, there is lots to keep kids engaged and learning.


Leave a Reply